


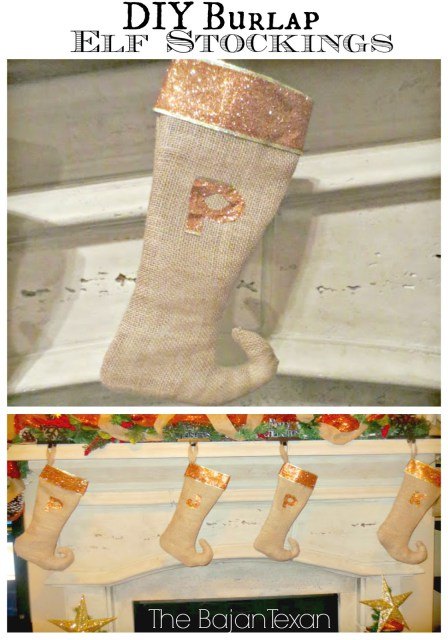
DIY Burlap Elf Stockings for Your Christmas Mantle

I started working on my Christmas mantle, and I decided to go with the colors of my tree for the mantle this year which are copper and gold, for the mantle I decided to add some burlap to that color combo and it is really starting to come together. I searched high and low for some stockings that would fit the color scheme to no avail. Then I thought maybe I can sew some stockings myself! Enter a little google and I found this gem of a tutorial. The great thing about this tutorial is that it has a pattern! (PS If you enjoy my tutorials you will love my DIY Home decor subscription box Home Made Luxe. Its pinterest in a box! Check it out www.HomeMadeLuxe.com )
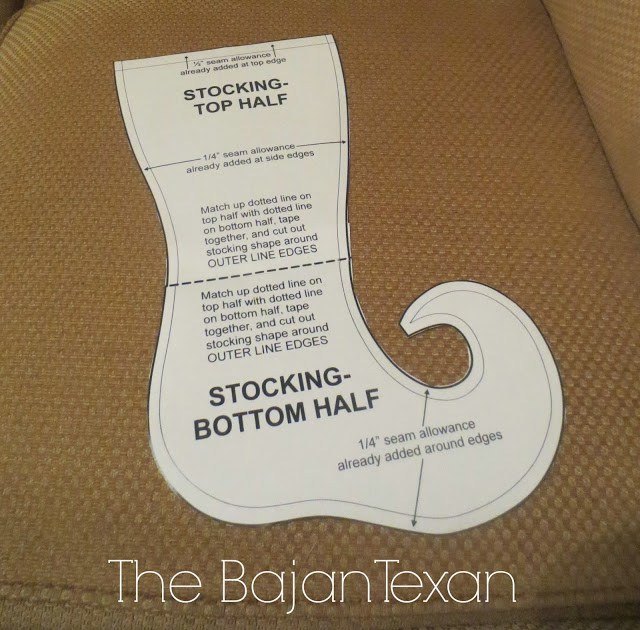
So step 1 print out the pattern from the website (remember to turn off shrink to fit or scaling of any kind) the pattern is already to scale. Just cut out the stockings and tape together on the dotted lines. The tutorial suggested you cut pieces individually. Ain’t nobody got time for that. The good thing about burlap is that it doesn’t have wrong sides, so I kept it folded in half, pinned the pattern to the burlap and cut both sides at one time. (you could probably cut 4 sides at a time and save even more time by cutting two stockings at one time).
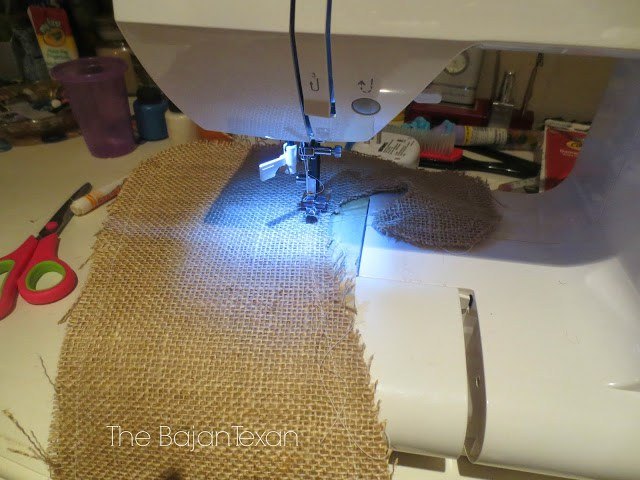
Time to hit the sewing machine! Just sewed a straight stitch with a 1/4″ seam allowance. If you wanted to make this no sew you could use hot glue or that fabric glue stuff. Me I’m all about busting out the singer! lol
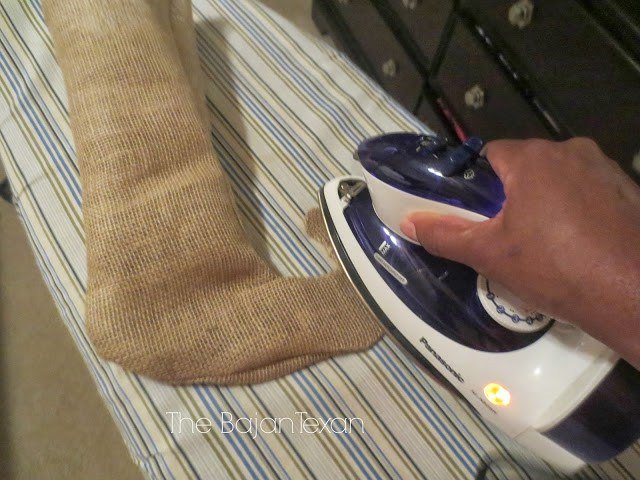
Next turn your stocking inside out and press.
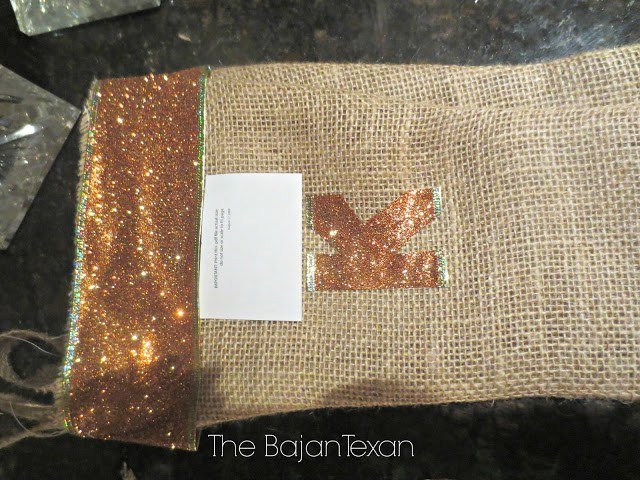
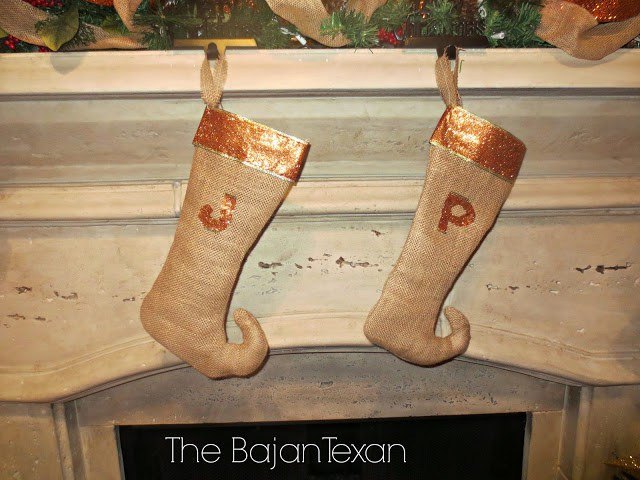
Now time to embellish. I used my hot glue gun to add copper wired ribbon to trim the top and to make initials.
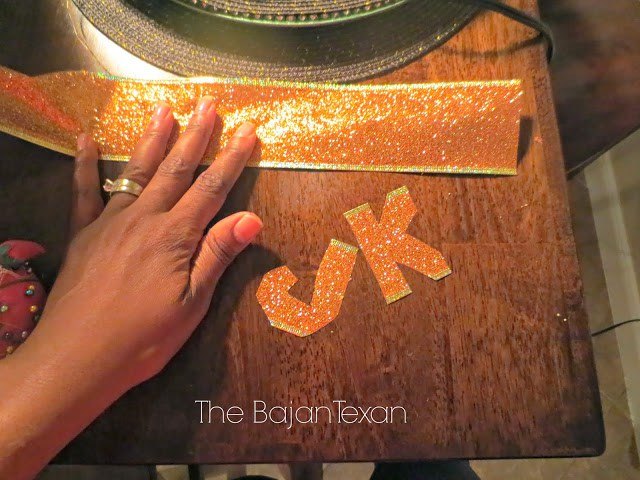
I used a scrap piece of paper from the pattern to space the letters evenly
Cut strips of burlap
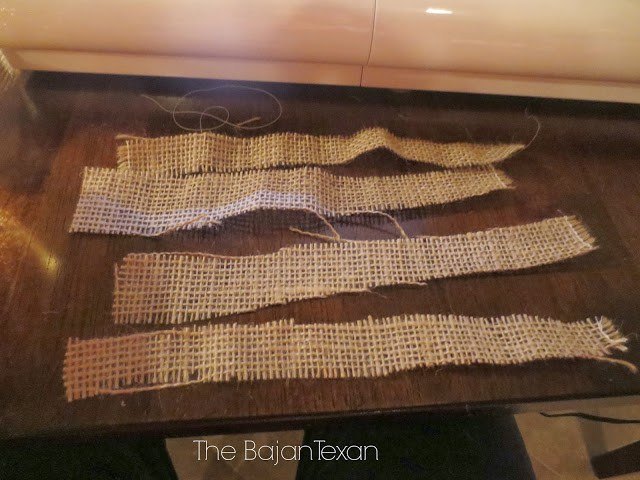
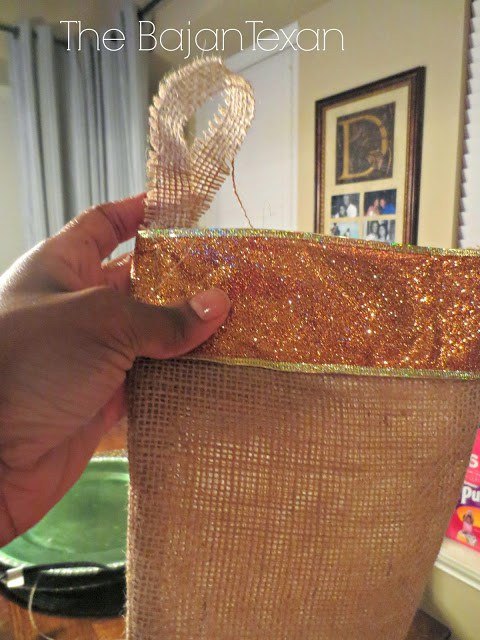
So I just bent my strips in half and hand sewed them to the stocking. I tried to use the machine but my freaking needle popped out of the machine cause of the hot glue. TIP: If I did these again I would attach the hooks before I hot glued the ribbon.
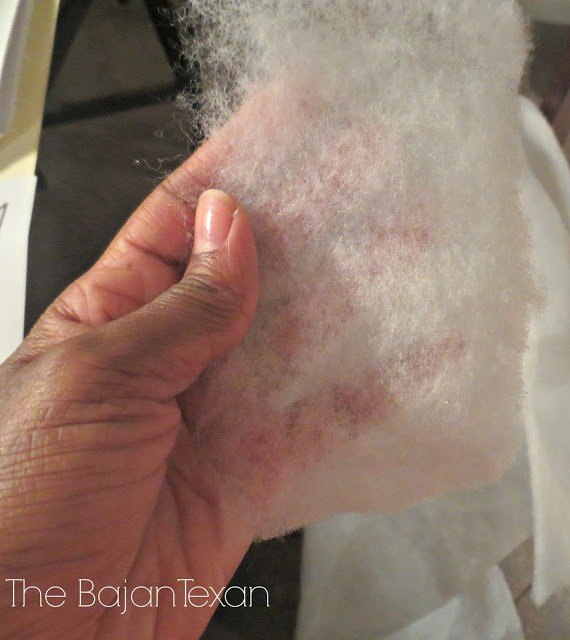
Last step I filled the toes of the stockings with batting/polyster fill. I made them more stiff and pronounced.
They came out lovely! Check out the blog post for more details!
(PS If you enjoy my tutorials you will love my DIY Home decor subscription box Home Made Luxe. Its pinterest in a box! Check it out www.HomeMadeLuxe.com )
Comments
Join the conversation
4 comments
-
You had me at copper and burlap! Very cute!
-
Very cute!! I am in the process of redoing my office/craft space so I will have room to set up my sewing machine. I hope I get it done in time to make these this year. If not...there is always next year. I am pinning for future reference just in case. Love them.


Frequently asked questions
Have a question about this project?