


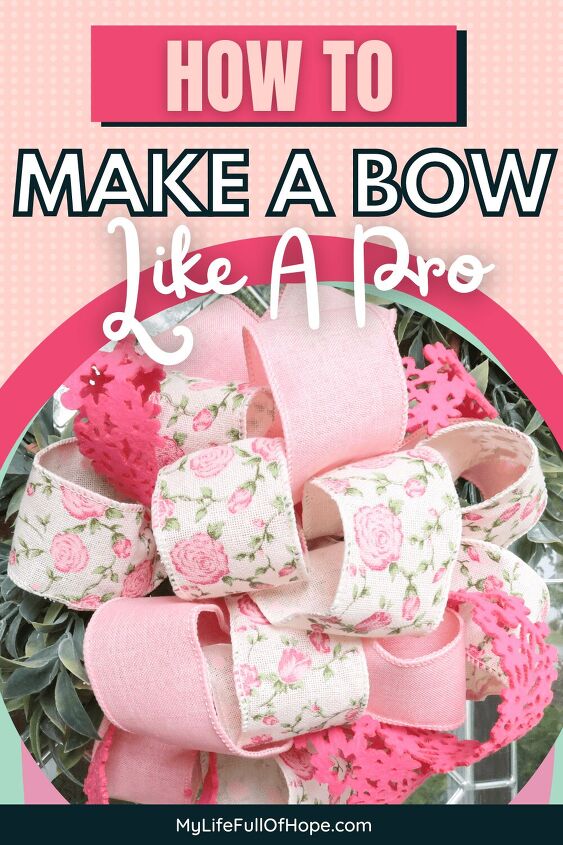
How To Make A Bow | Just Like A Pro

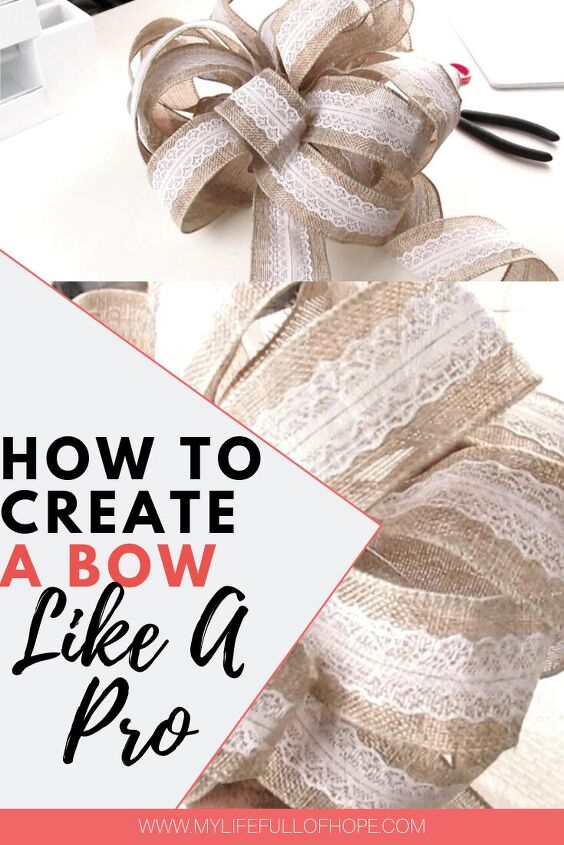
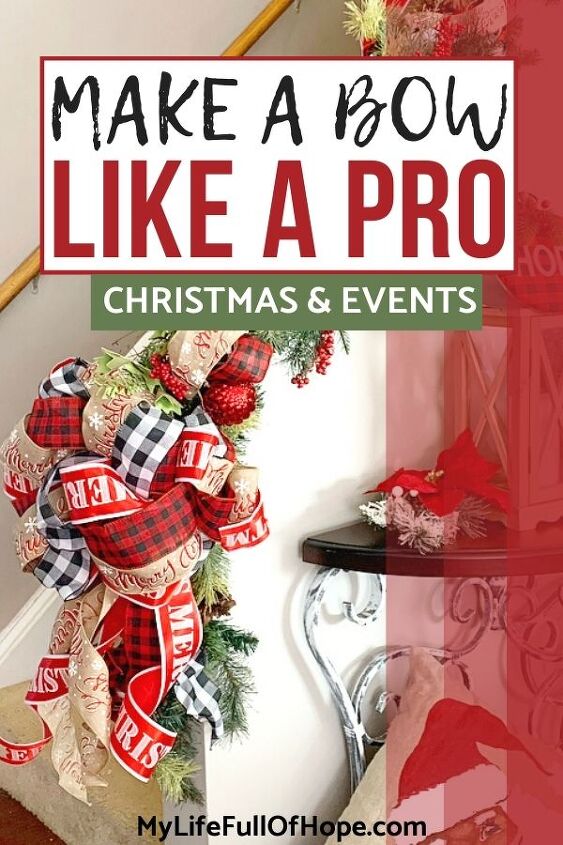
How To Make Christmas Bow | Like A PRO
Do you ever wonder how do they create those huge beautiful bows that you see in the stores? Or maybe you’re tired of spending money on cheaply made bows. Well, today I am going to show you how to make a bow out of ribbon.
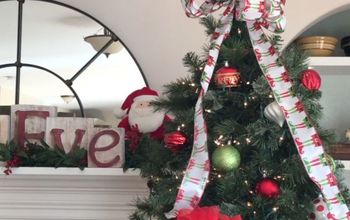
Creating your very own custom, easy ribbon bow on a budget. That is right!! You will be able to decorate anything and everything from how to make a Christmas tree bow, weddings, wreaths, seasonal decor, and more.
I created two videos step by step of how to create your very own bows; the video can be found down below. Check them out for more details.https://www.hometalk.com/diy/how-to-make-a-christmas-bow-44453983
You can do this with a little practice, it is easy!!
https://youtu.be/nNnleB2pi7o
*This post contains some affiliate links, meaning I will receive a small commission but by clicking the link it doesn’t cost anything.

MATERIALS:
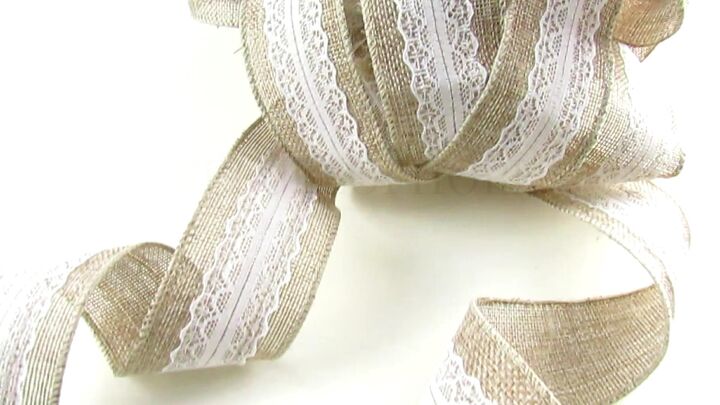
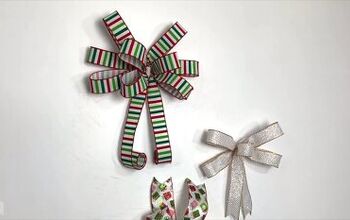
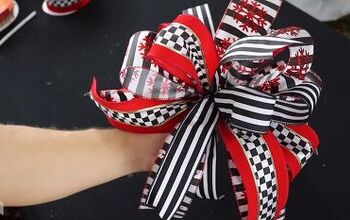
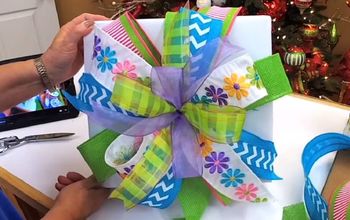
Ribbon 2-3 rolls of 9ft ribbon (or more) different colors or same (Wired Ribbon Is Optional But Works Best)
Choose what color and design that works best for you. Down below are similar designs I have used in the video tutorial.
Buffalo Plaid ribbon
Little Red Truck ribbon
Lace and Burlap ribbon
Floral Wire
Floral Wire Cutters
Scissors
Optional if needed: Hot Glue Gun and Glue Sticks
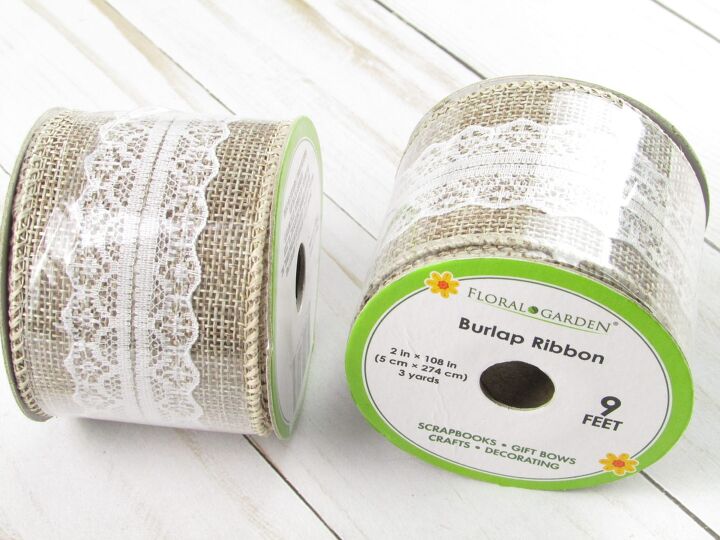
Burlap wire lace ribbon from Dollar Tree, the ribbon is 9 feet long so you may need 2-3 rolls of ribbon to complete your bow.
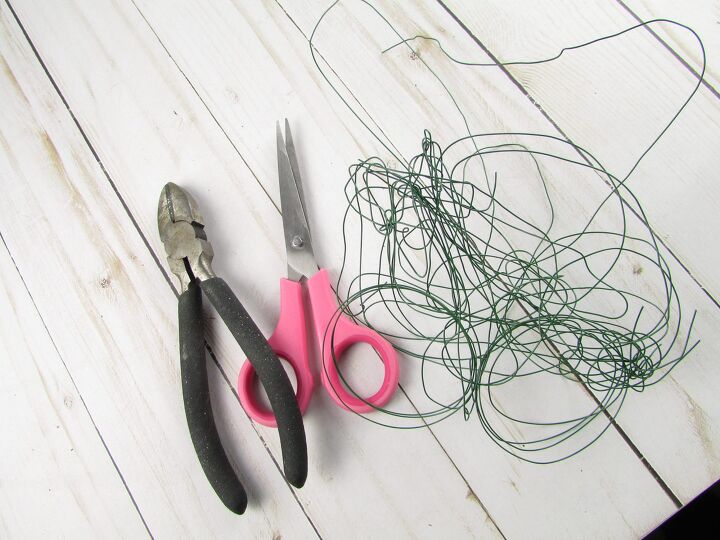
Wire cutters, scissors, and floral wire
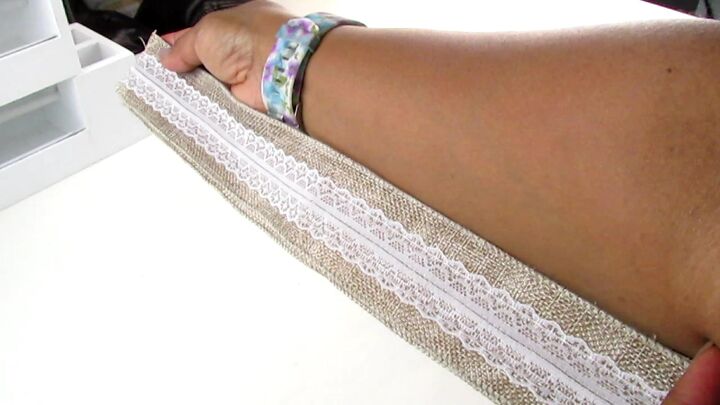
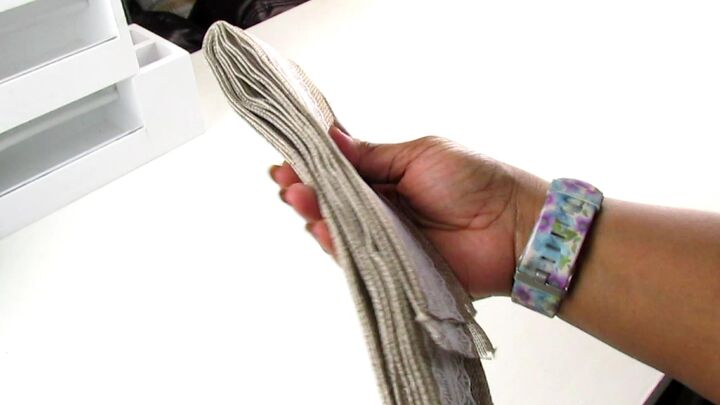
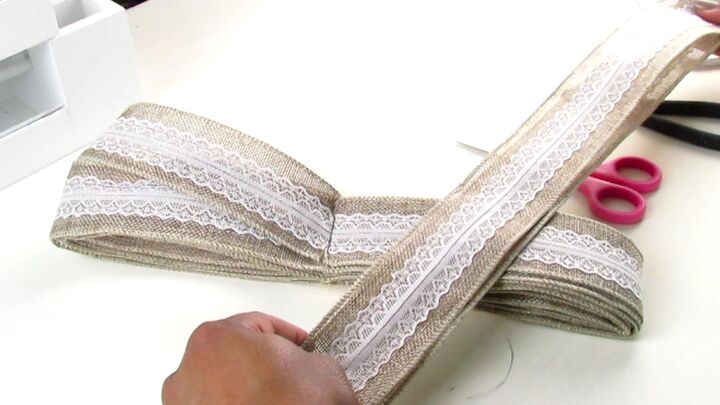
First, you are going to take both ends of your two ribbon rolls and meet both ends together. Using the length of your inner forearm to your fingertips is going to be the length of your ribbon for your bow.
Once you have your length then fold your ribbon with the length you started with measuring from your forearm to the fingertips
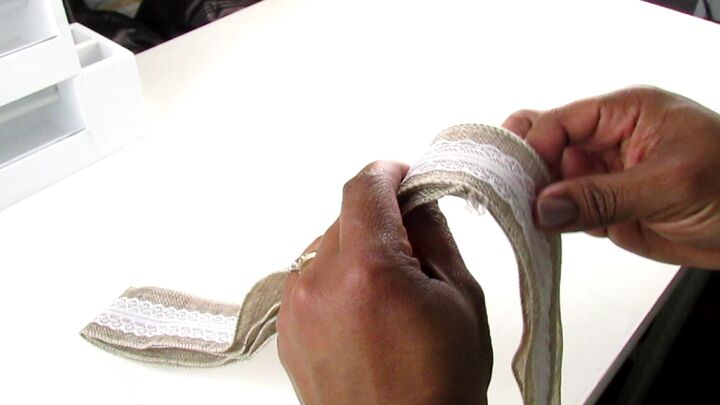
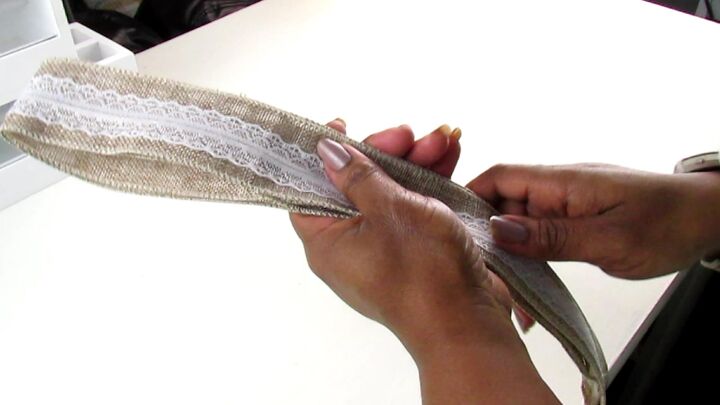
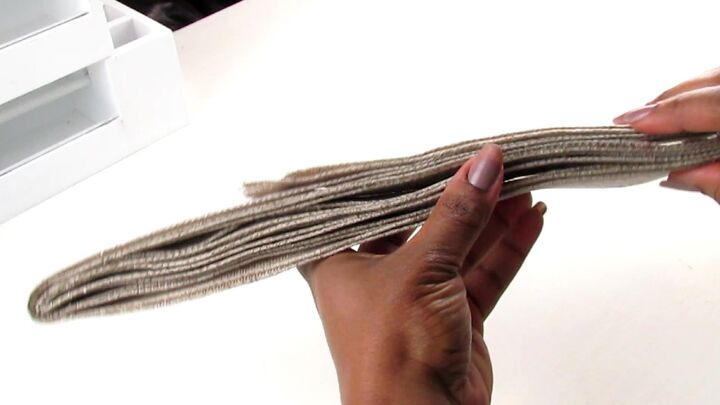
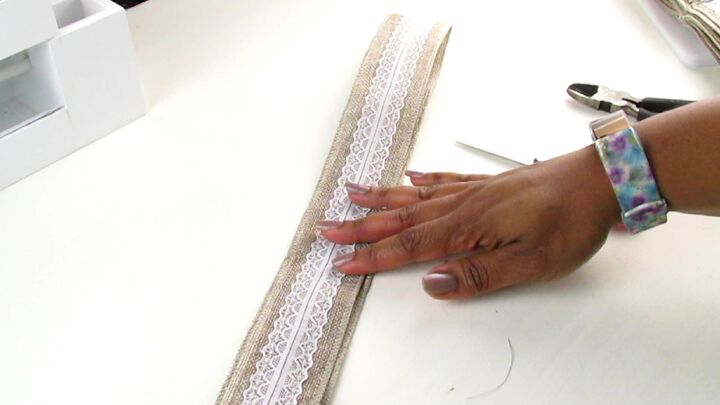
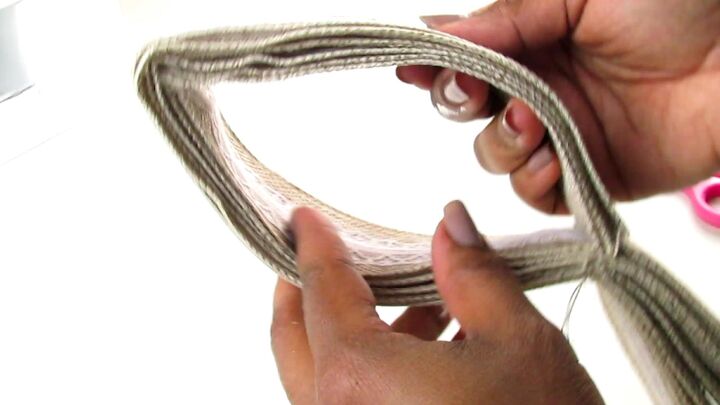
Continue to fold your ribbon. If using Dollar Tree ribbon you will make about 8-9 turns or until the ribbon runs out (since it is shorter than traditional ribbon rolls at most craft stores). If using ribbon longer than 9 feet continue to fold, turning the ribbon 10 to 12 turns (folds).
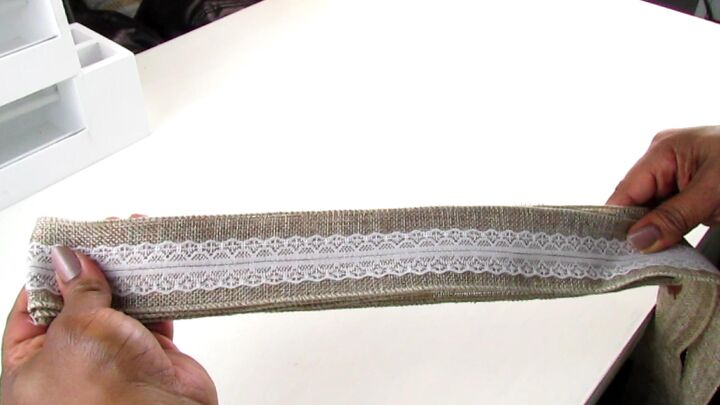
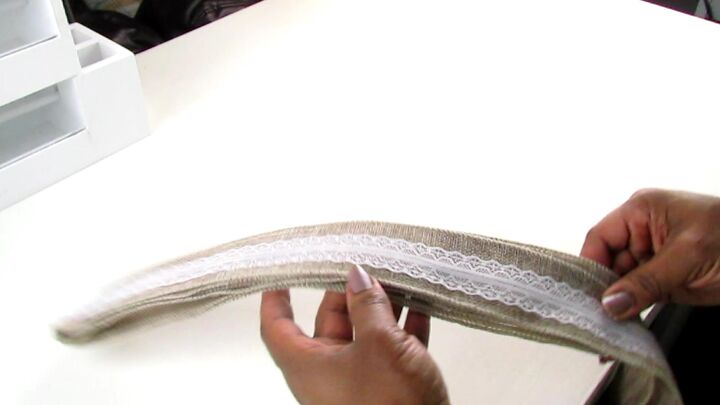
Continue to turn the ribbon. Crease the ends throughout the turns to make the ribbon flatter and smoother to work with.
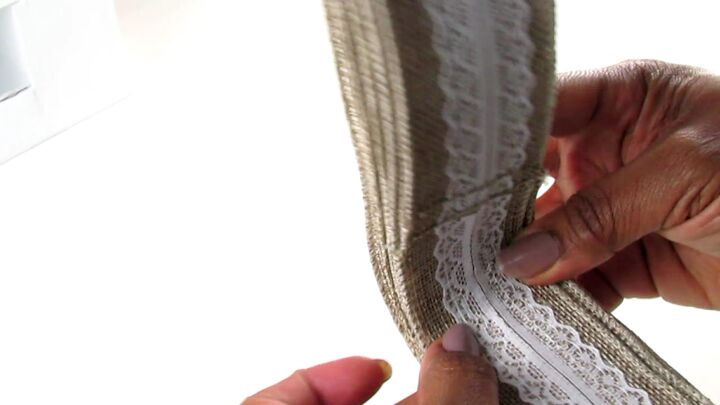
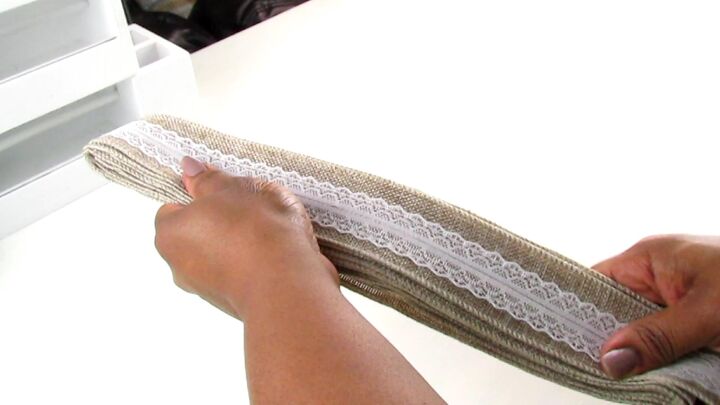
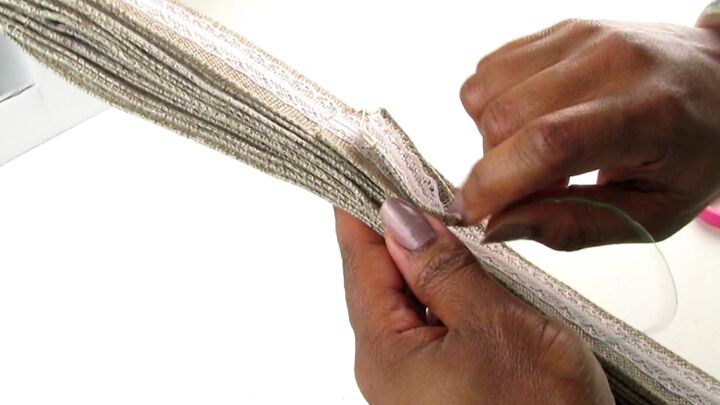
Now take the ribbon and fold that in half.
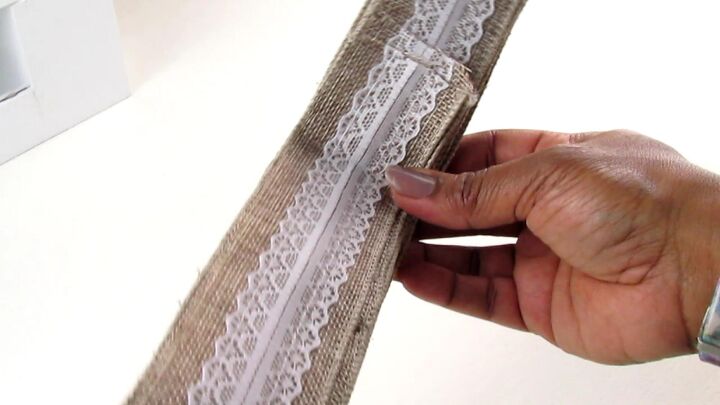
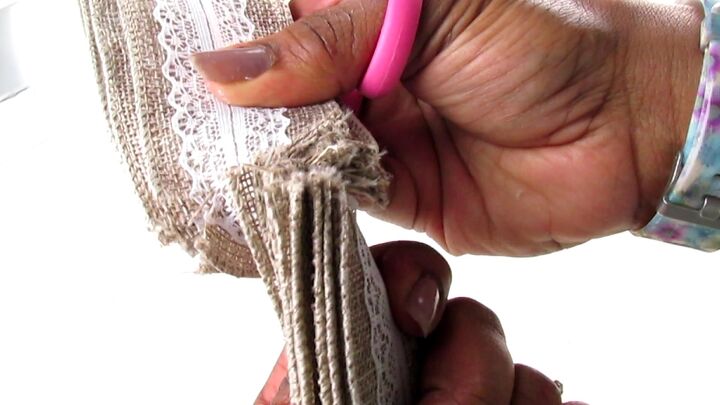
Open ribbon back up to begin cutting both sides
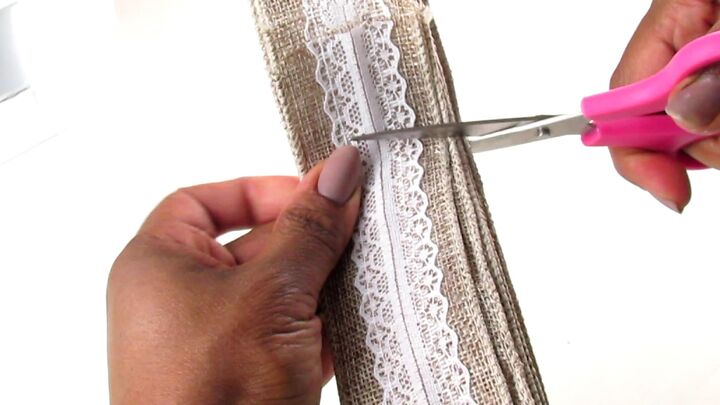
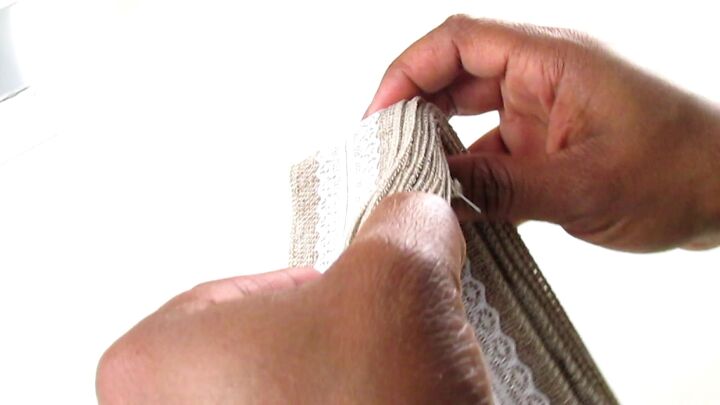
Once the ribbon is cut in half then you are going to cut the edges on both sides without cutting the center. You need to center to remain intact to give the bow some stability.
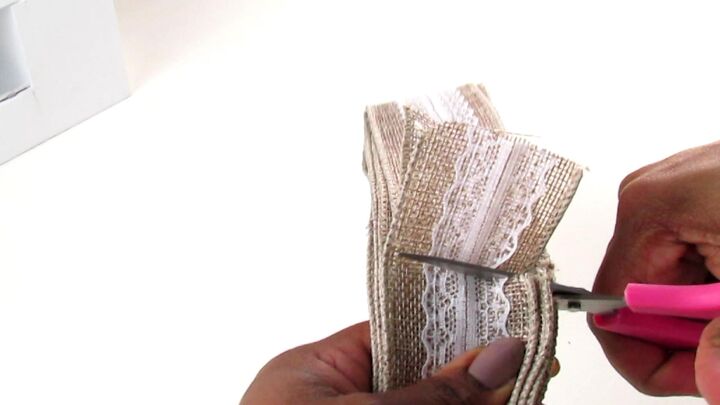
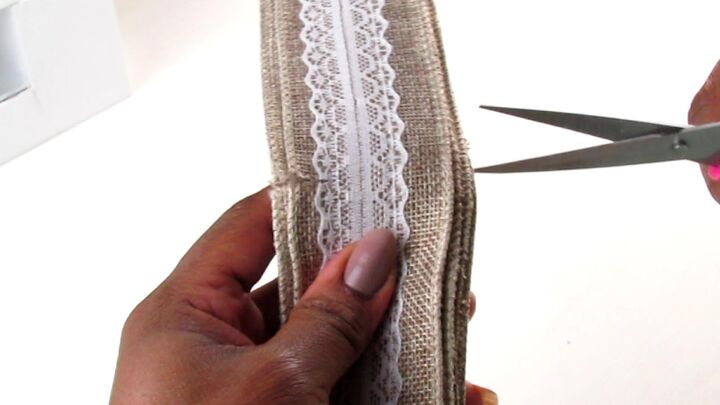
Cutting the other side edge making a slit, making sure to leave the center.

Be careful not to cut too much or you may have to start over or have a really floppy bow.

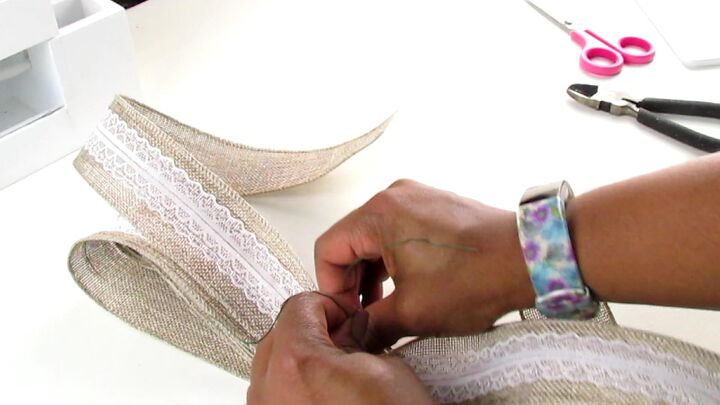
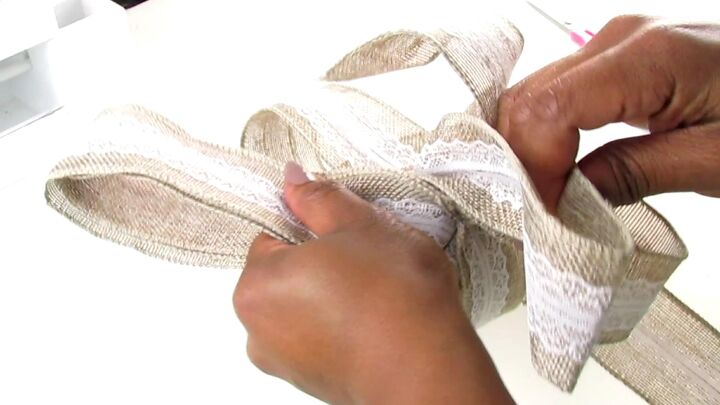
Once there is a slit on both sides take about 14 inches of floral wire and cut the wire.
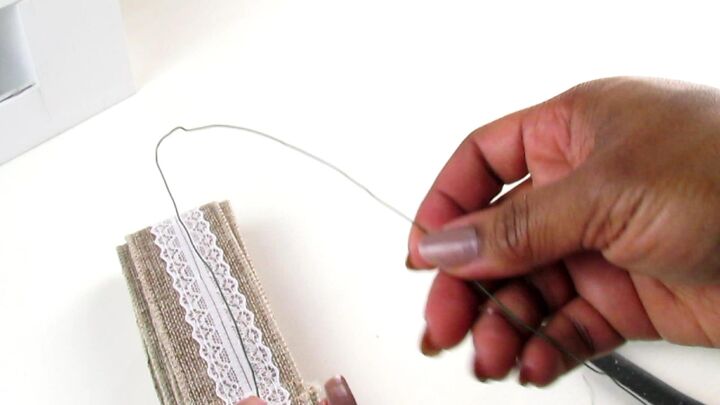
Find the center of the floral wire and add the ribbon to the center of the wire (so that the wire is even on both sides).
Add the wire on both sides of the ribbon slits. Make sure that the length is even on both sides, you will need this later if you would like to add tails to your bow.
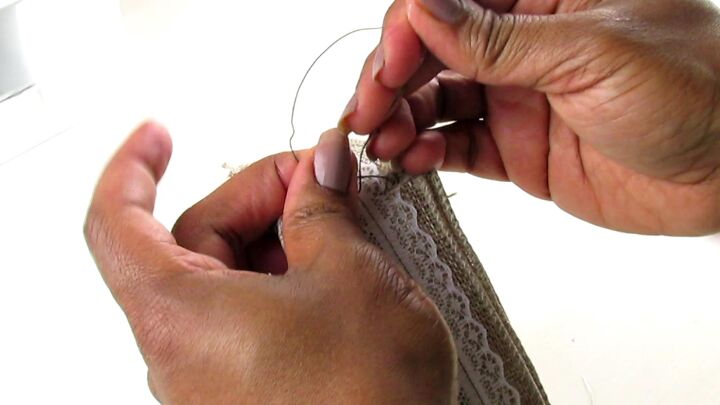
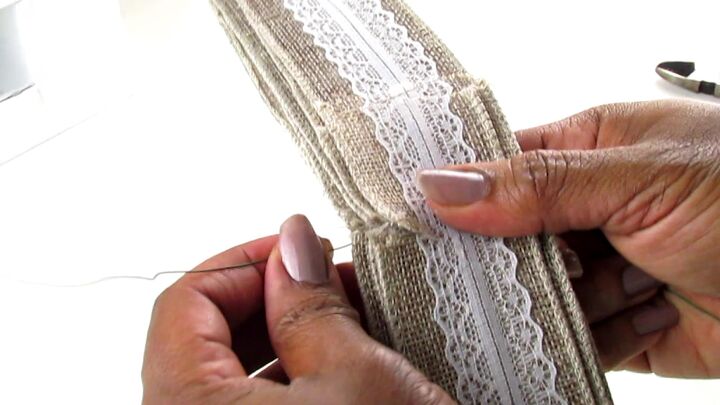
Twist and to tie the floral wire together.

Continue to tie until the ribbon is secure (3-4 times).
OTHER RELATED BLOG POST YOU WILL ENJOY:
AFFORDABLE DIY BRIDESMAID FLOWERS | Rustic Wedding
Easy & Elegant Centerpiece DIY ~ Weddings, Parties or Glam Celebrations
Rustic Budget Wedding Ideas
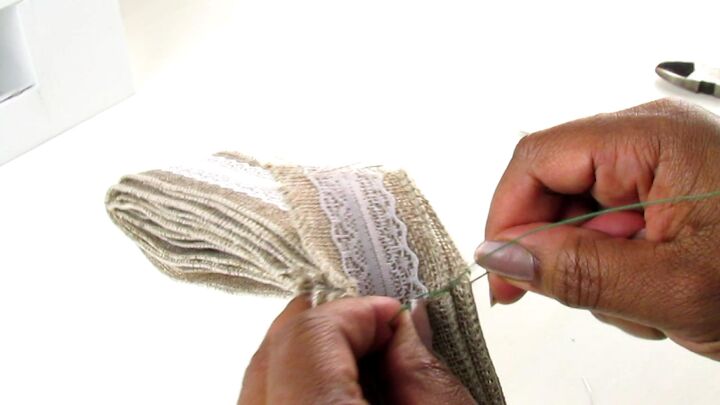
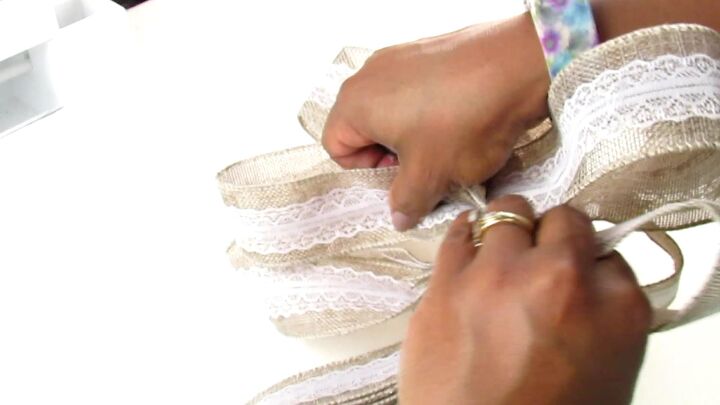
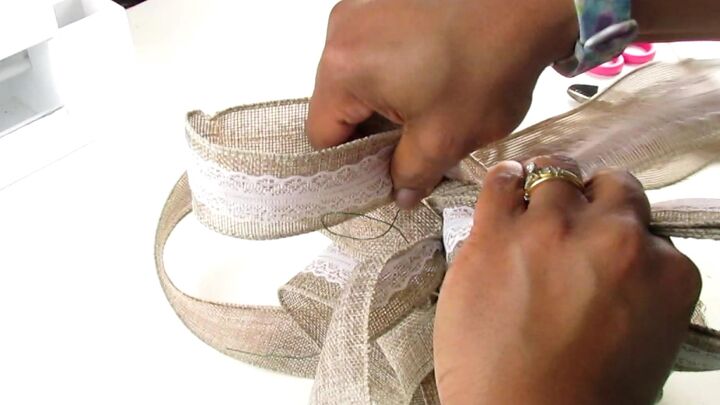
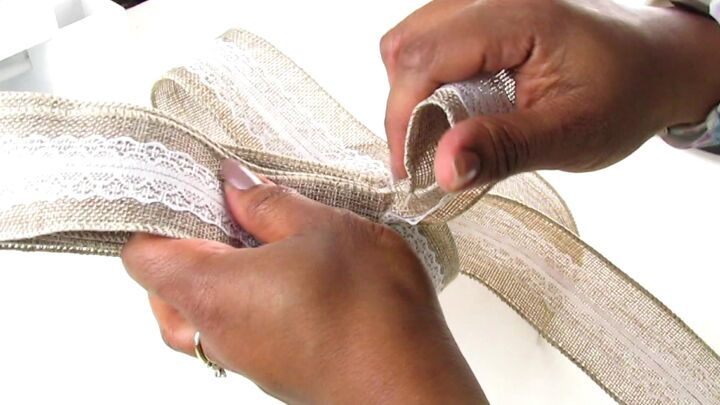
Now take your extra ribbon and cut the desired length (or about 24 inches) for the tails of the bow. Then fold in half.
Add the tails to the leftover wire ends. Place the center of the tails down between the wires and twist the wire to secure the tails.

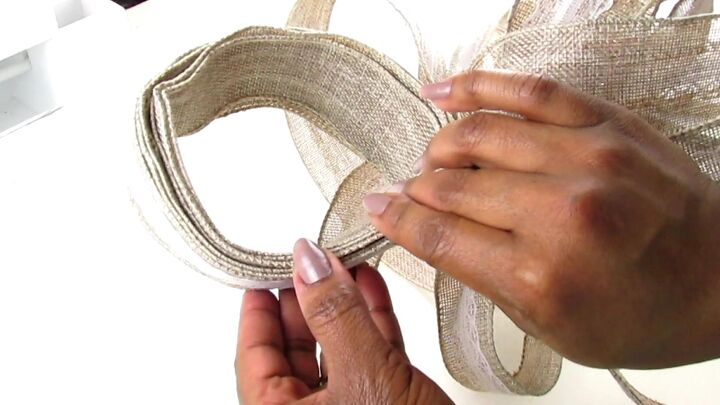
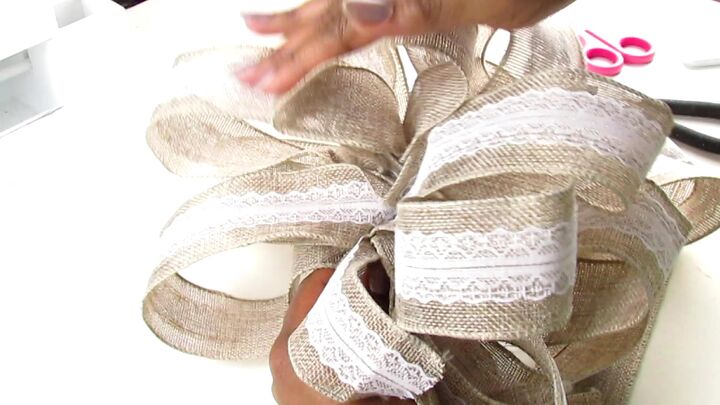
Open one side of the loops and find the center then separate them.
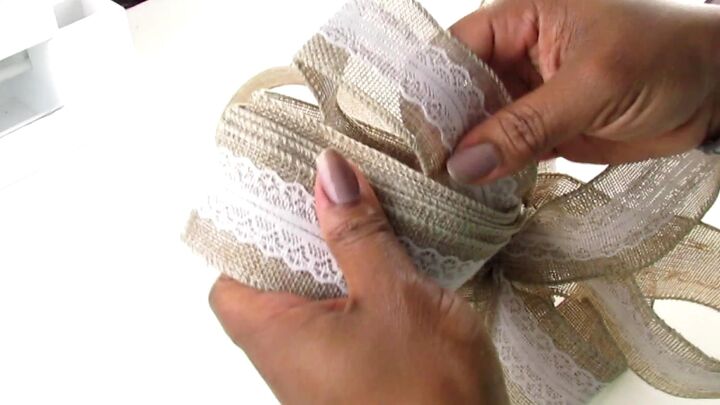
Start to pull out one of the loops out, starting from the center. Pull that loop out towards the front (towards you).
Pull the next loop out and move that loop backward (away from your body).
Pull the next loop forward. Continue with the forward and backward motions with the loops until all are done on both sides.
Start the other side of the loops.
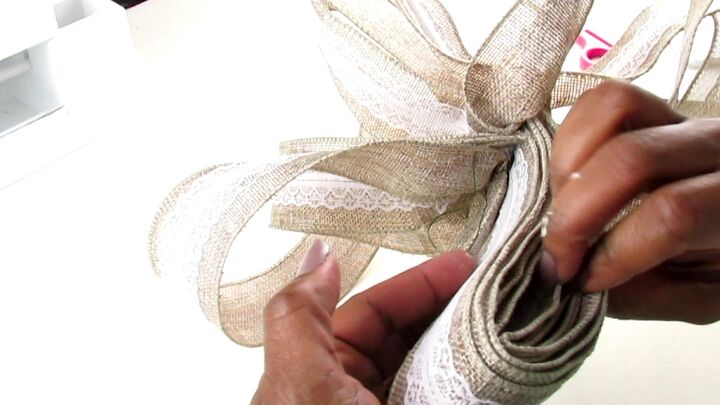

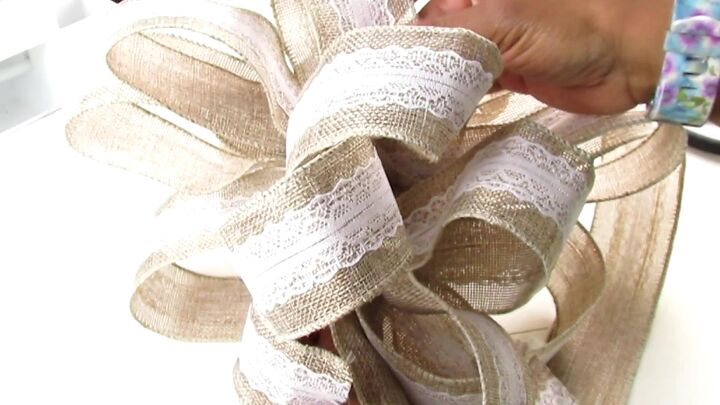
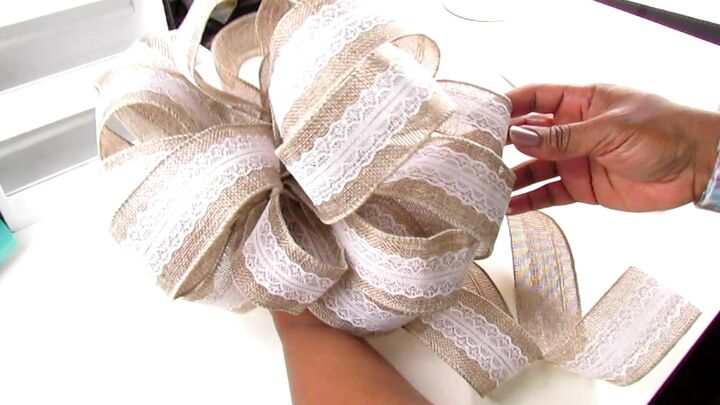
Once done start to fluff the loops of your bow.
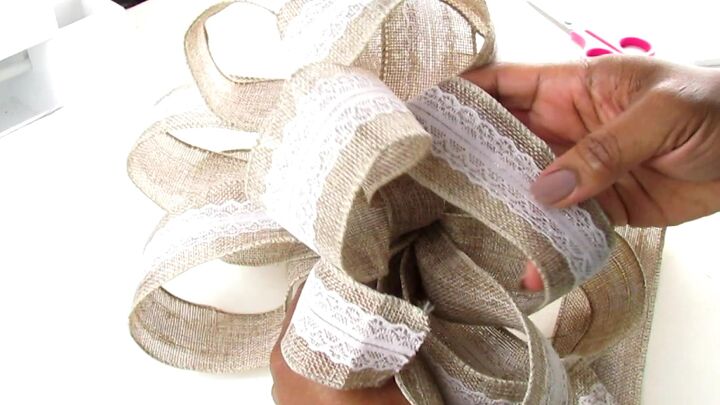
Fluff

Fluff and form with your fingers to form the bow.
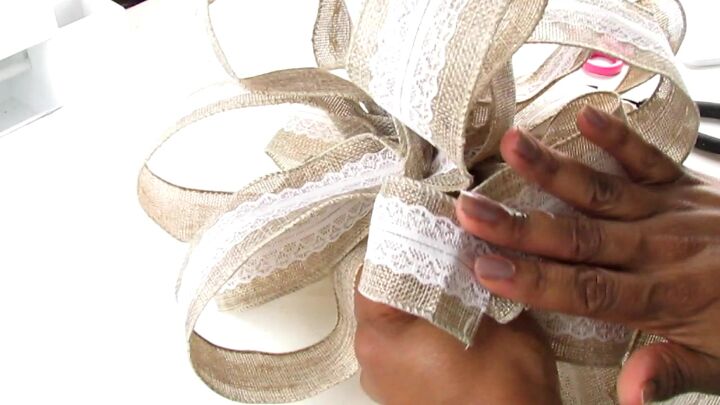
Form with the bow with the palm of your hands.
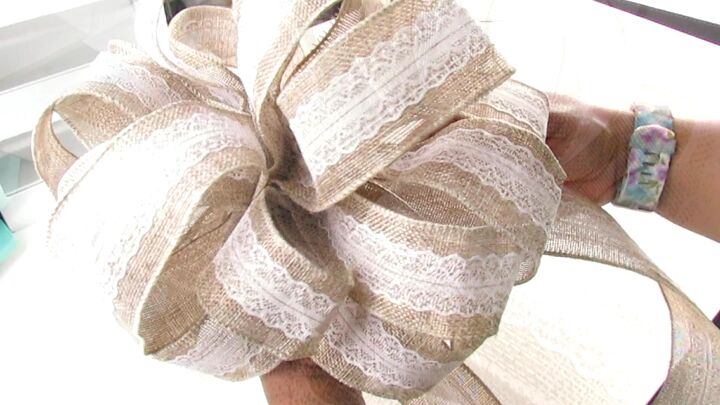
*Note this is out of order to show: Curl those ends of the ribbon that did not make a complete loop into a loop/curl to form a small bow loop.
All Done!
CHECK OUT BOTH VIDEOS BELOW FOR ALL THE DETAILS
ON HOW TO MAKE A BOW:
Enjoy Your Beautiful Bow!
I really hope that this bow tutorial on how to make a bow with a wired ribbon was really helpful to you. Knowing how to make your own ribbon bow not only creates great pride and get the creative, DIY juices flowing. It saves you money in the process!!
A Win, Win!!
Yay to easy making!
You will be a bow maker machine in no time!!

SAVE PIN FOR LATER
DIY Christmas Decorations


Comments
Join the conversation
-
I cannot wait! Thought I was staying home tonight, HOWEVER….now I need some ribbon…ha! Thank you so much!!
-
Love this idea. You make it look so simple. Making my own now based on your instructions. Wondering if I can scale it down to a smaller version for topping the presents with?


Frequently asked questions
Have a question about this project?
I assume you can make a smaller bow using the same technique? I know this may sound like a stupid question but I have a hard time with bows. Thanks
Been doing this for years. I can make a bow in seconds. Learn in the 80 s at a green house. Made for Walmart Brookshires and air force base. Good to share. Put those licensed florist out of business.