


Tips and Tricks for Easy and Inexpensive Gift Wrapping
4 Materials
Easy
These are all simple and uncomplicated bows and techniques that can be used in your gift wrapping. Especially for the holidays, you can have beautiful presents without spending lots of time and money on each present you wrap.
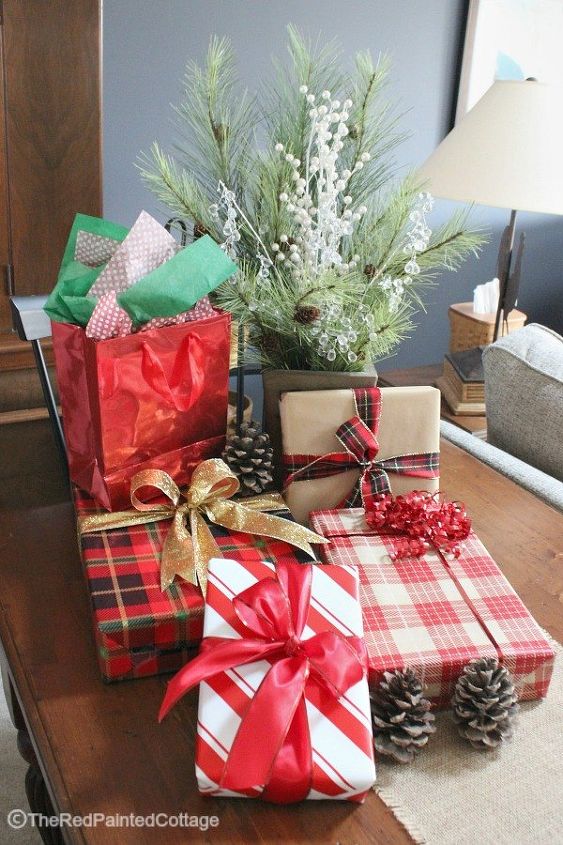
Just a tip that I use every year, buy your ribbons, wrapping paper and gift bags when they go on sale! It used to be all these items would go on sale the day after Christmas, but many stores are having spectacular sales now, just before the holidays. I try to color coordinate my paper and gift bags, and I love using just plain brown craft paper.
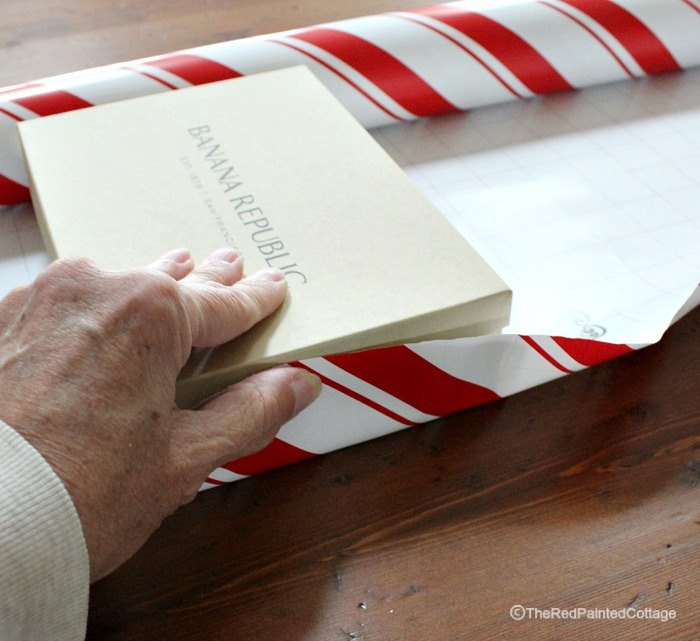
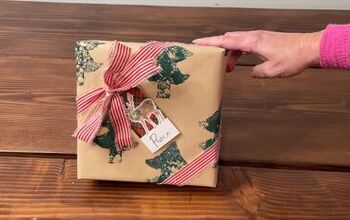
I'm assuming most everyone knows how to wrap a basic box, but for those who might need a bit of assistance, I go into a lot more details on my blog about how to do this. But to start, don't let your ends be longer than the height of your box. The box above is approximately 2 inches high and my cut on the end will be no more than 2 inches.
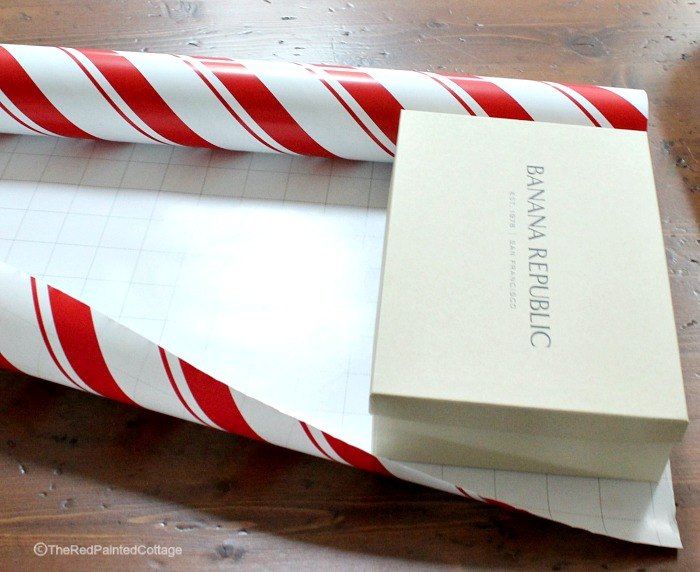
To know how much paper, start at one end of the roll of wrapping paper and turn your box over and over until you've covered all four sides, then add just another inch or two for overlapping.
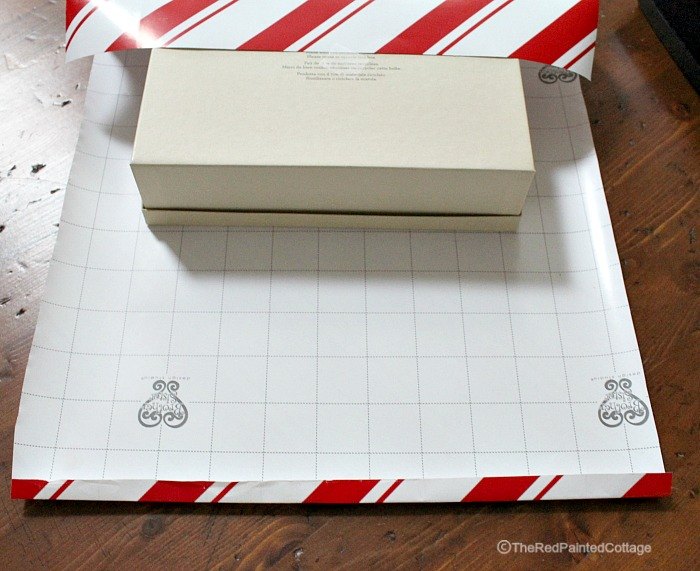
A tip I learned to use is to fold the raw end under just enough before you bring it up and tape it. This is especially true on thinner, less expensive papers.

I also fold the ends under on both sides before taping. Again, I go into much more detail on my blog, should you need it.
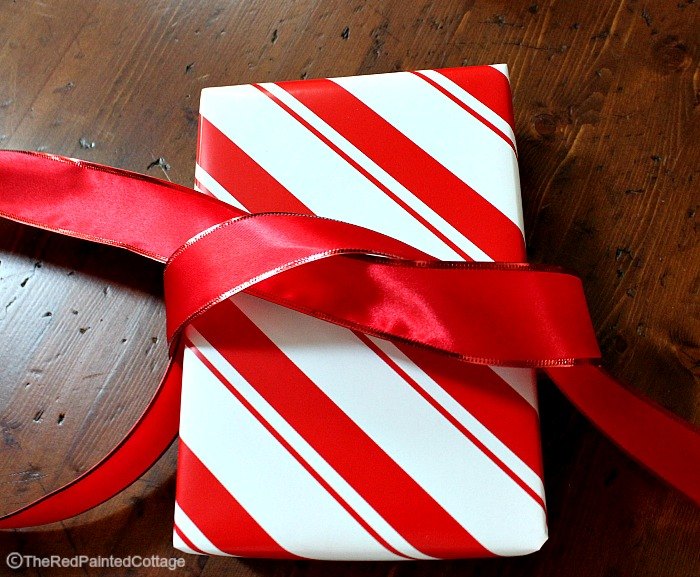
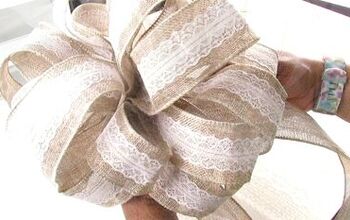
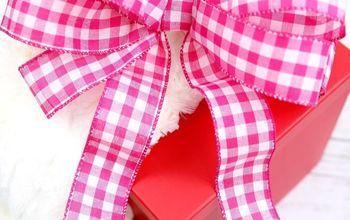
All the ribbon I'm using came from Michael's craft store that was on a fantastic sale of 60-70% off the original price. I only buy WIRE-RIMMED RIBBON. It's very forgiving and can be used again and again, if you save the ribbon.
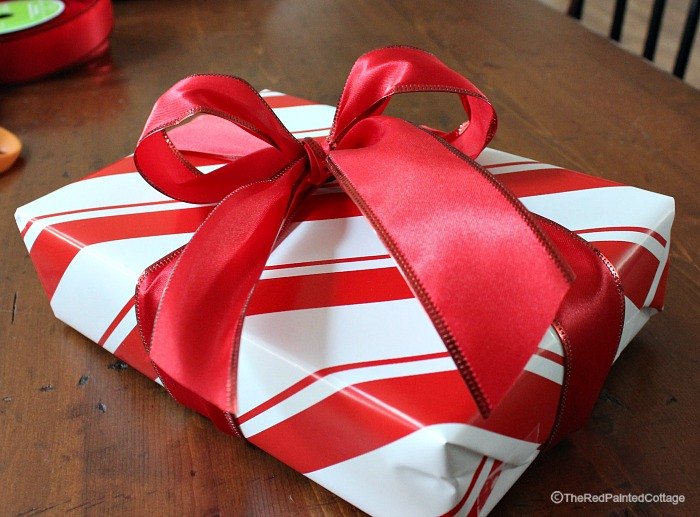
I just tie a very basic bow (like on a shoe lace) and fluff up the actual bow. The wire in the ribbon allows this and it makes your present look awesome.
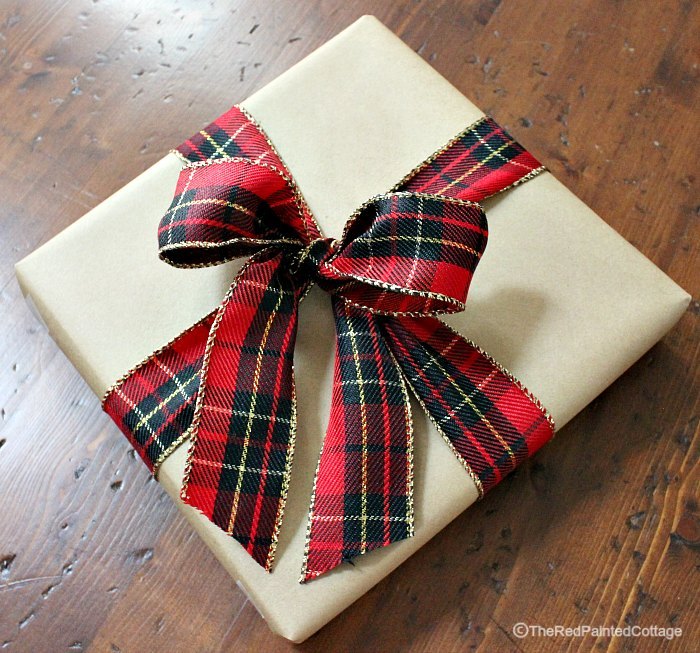
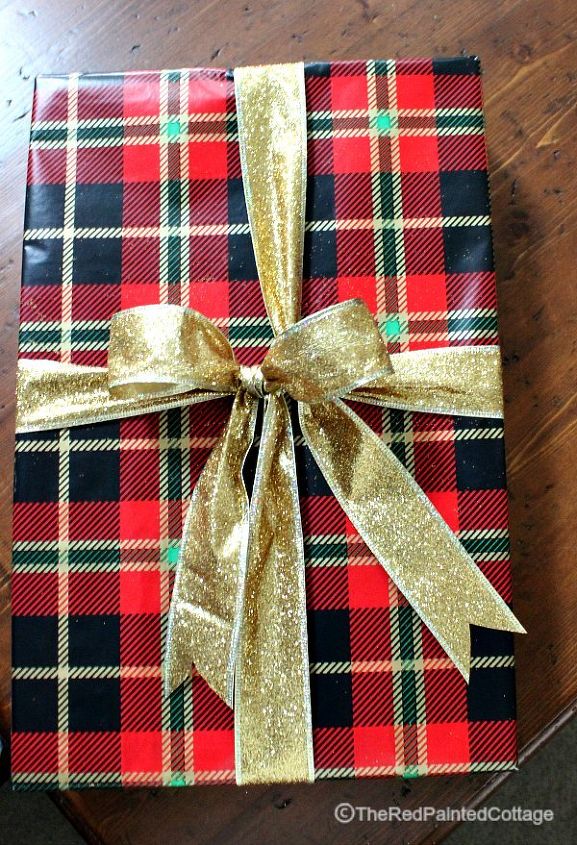
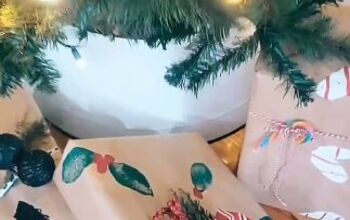
We all know you can decorate basic brown craft paper in a number of ways. You can use paint, stickers, stencils and anything else you can imagine. But I find a pretty ribbon looks spectacular on it, without spending the extra time to decorate the paper.
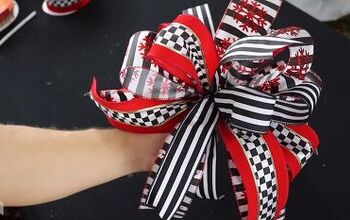
This is just another wire-rimmed ribbon that I tied into a bow.
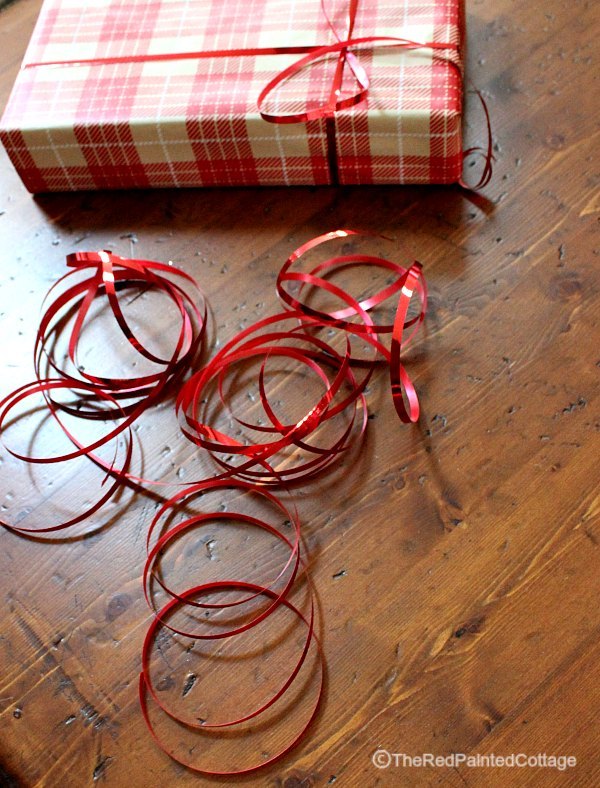
Curly ribbons are also great to use. There's lots of thin ribbons, but you need to read the label and make sure it says curling ribbon; otherwise it might now curl for you.
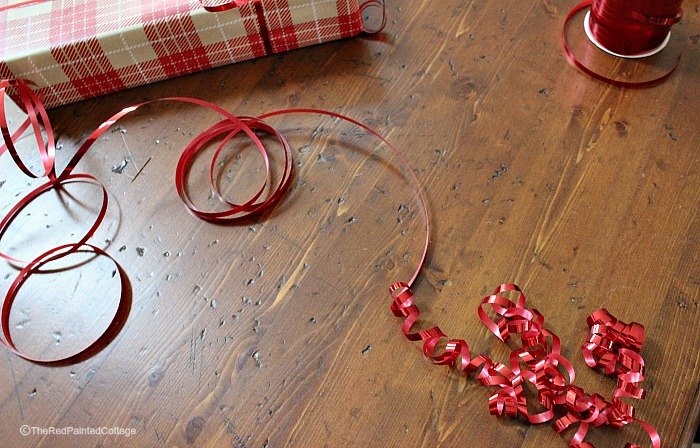
For the bow below, I cut off approximately 6 yards of curling ribbon. Starting in the middle or 3 yards from the end of the ribbon, take a pair of scissors and pull the ribbon between your thumb and blade of the scissor. It should look like this. Then go back to the center and do the rest of the ribbon.
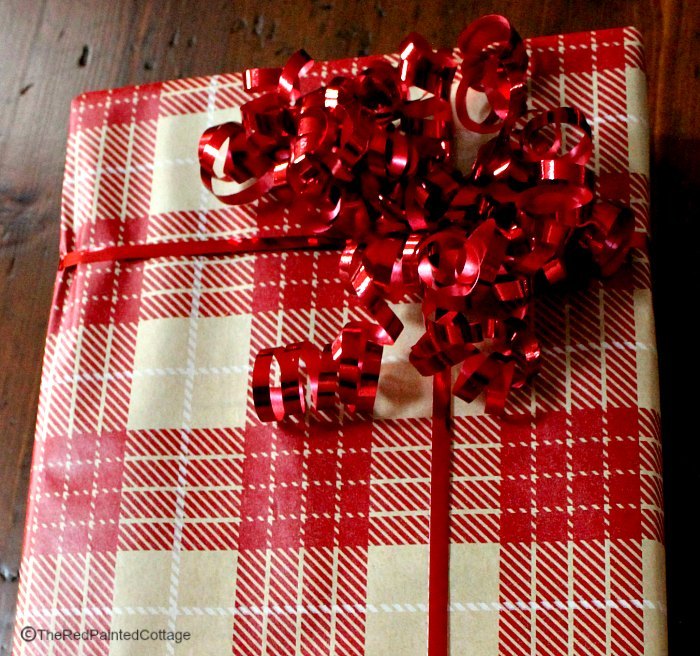
Gather all this ribbon and tie it in the middle and add to your present.

I worked part-time at a Hallmark store for a number of years and learned how to stuff gift bags with tissue paper. Believe it or not, but there's a technique to doing this the proper way. Start by laying your tissue paper right-side up. Add another one on top, but on the diagonal, as shown.
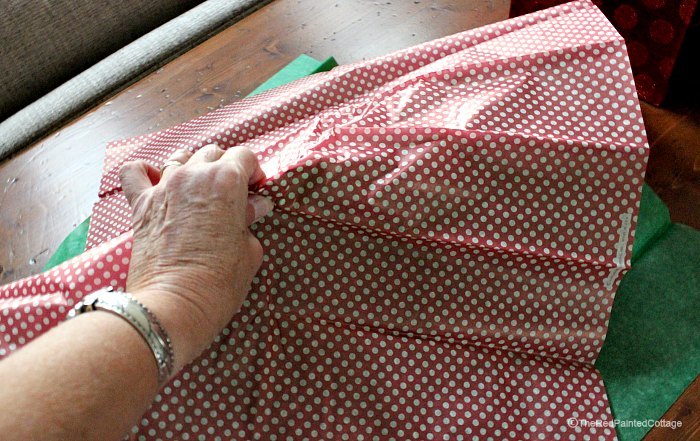
Grasp them in the middle, give a good shake and put into your gift bag.
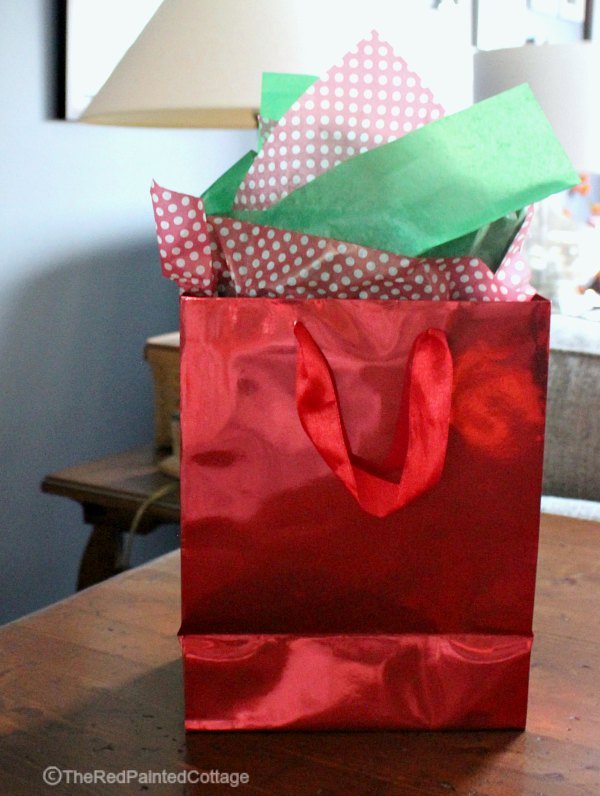
Final results for you to impress everyone!

Want more details about this and other DIY projects? Check out my blog post!
Comments
Join the conversation
3 of 52 comments
-
Awesome job!! I worked at a hallmark and learned the same techniques you showed. My family couldn't believe how pretty my wrapping skills are lol
-
Well impressed with tissue paper. Thank you x


Frequently asked questions
Have a question about this project?