


DIY Gnome Ornaments
These adorable gnome ornaments are so easy and fast to make you are going to enjoy creating them. Making Christmas ornaments is perfect for crafting with the kids. They will enjoy creating gnome ornaments for gifts, decor, a tree ornament, and just for fun.
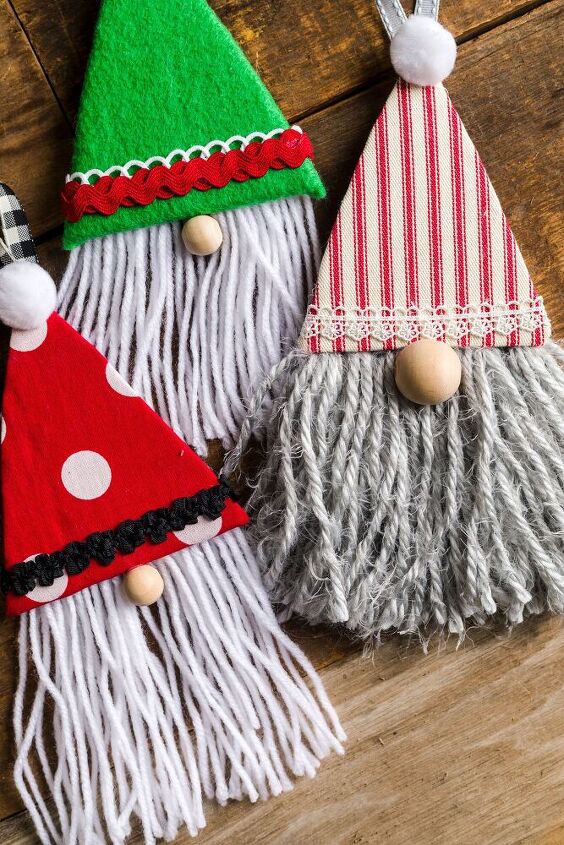
You can make Mr. Gnome for any season by using seasonal fabric and trims.
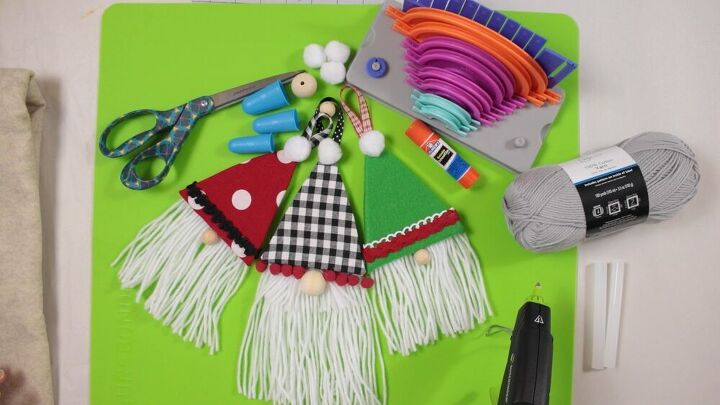
Supplies:
You can find all my favorite crafting supplies HERE.
- Tassel Maker
- Pattern (printout)
- Yarn
- Hot glue gun
- Silicone mat
- Silicone fingers
- Glue stick
- Scissors
- Felt
- Trims
- Cardboard
- Mini pom-poms
- Wood bead
- Measuring tape
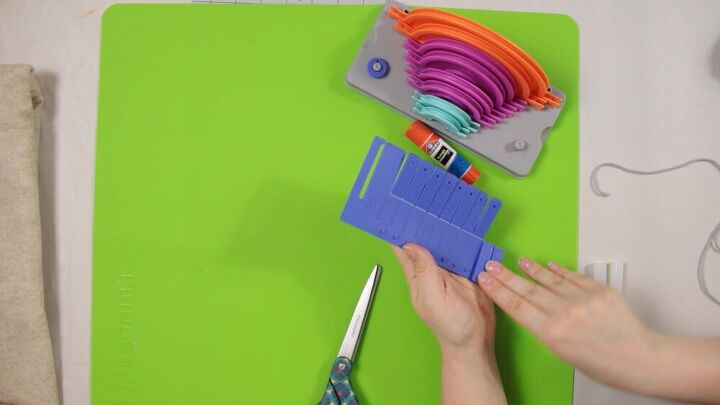
To make the beard tassels begin by turning back the bottom two tabs on the tassel maker to make a 5.25″ tassel.
Starting at the bottom (5.25″ mark) gently hold the cut end and wrap the yarn 6 times around.

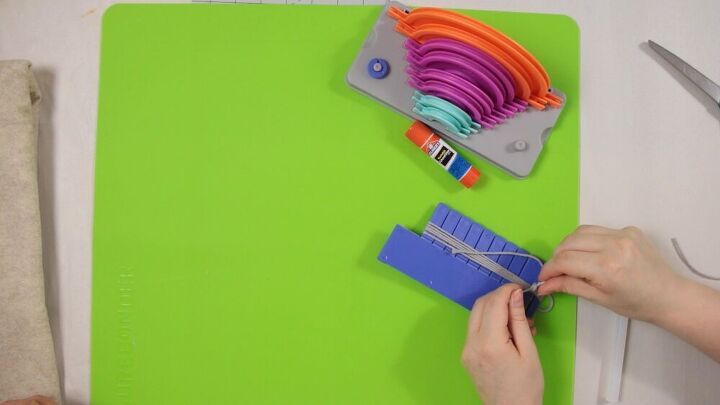
Next cut an 8″ piece of yarn to tie off the tassel. Slip the yarn ends into the long slot at the top of the tassel maker around the yarn loops and tie off.
Next cut an 8″ piece of yarn to tie off the tassel. Slip the yarn ends into the long slot at the top of the tassel maker around the yarn loops and tie off.

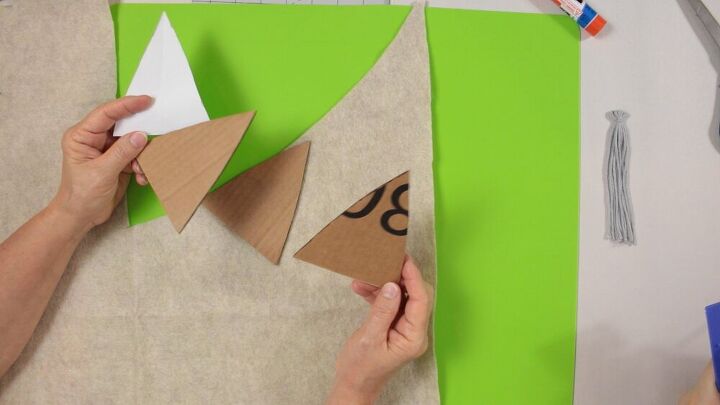
Next, place your pattern on your felt and cut around leaving an extra 5/8″ all the way around.
To help hold the fabric on the cardboard I used a glue stick in the center of the gnome hat. Then I placed the cardboard in the center of the fabric triangle.
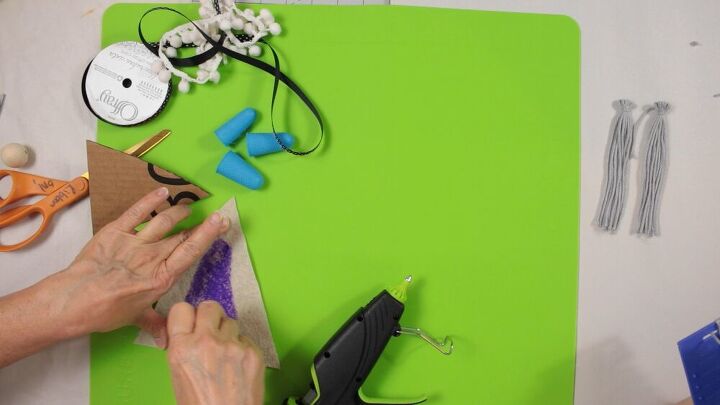
Fold the fabric to the wrong side and glue with hot glue leaving the corners unglued then press with your silicone finger protectors on.
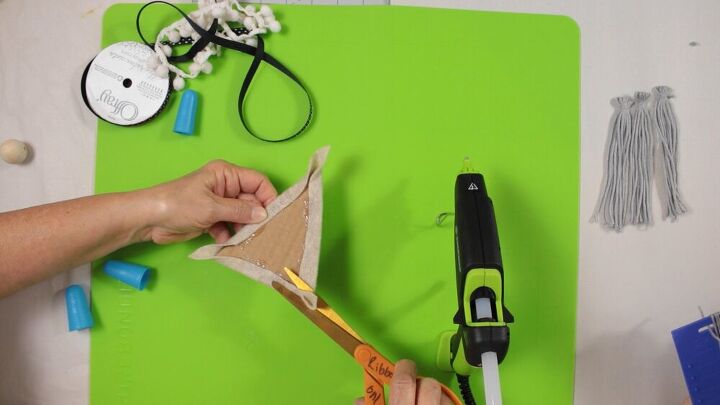
Trim away the extra fabric in the corners and add a dot of glue to hold the corners together.
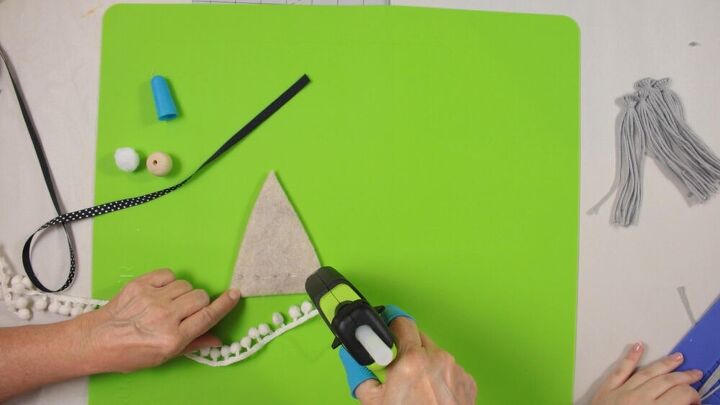
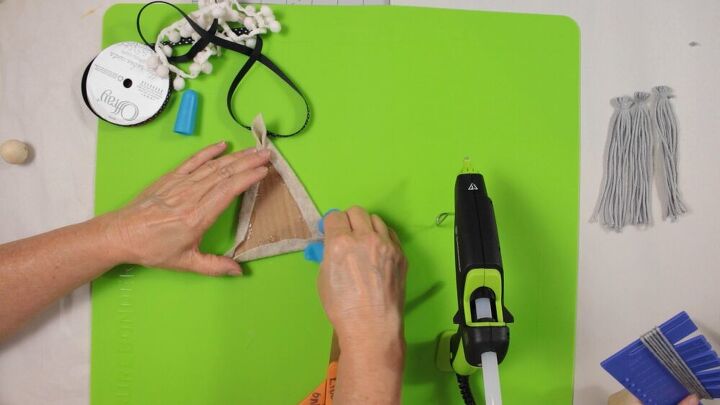
Place small dots of hot glue along the area you would like to attach the hat trim and gently tap your trim in place with your silicon finger protectors on.
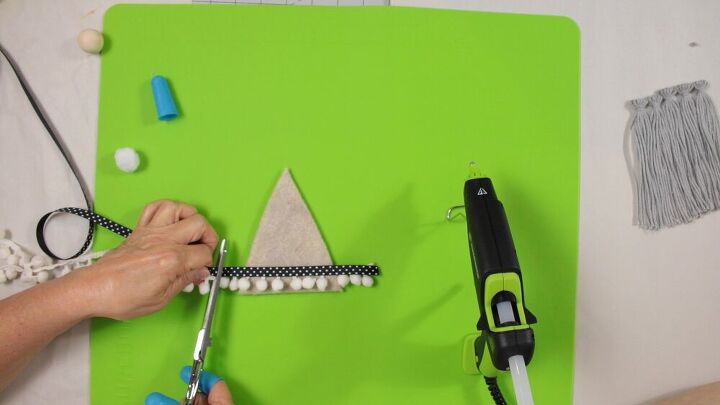
Add the second trim with the same method. Cut the trims longer than the width of the hat.
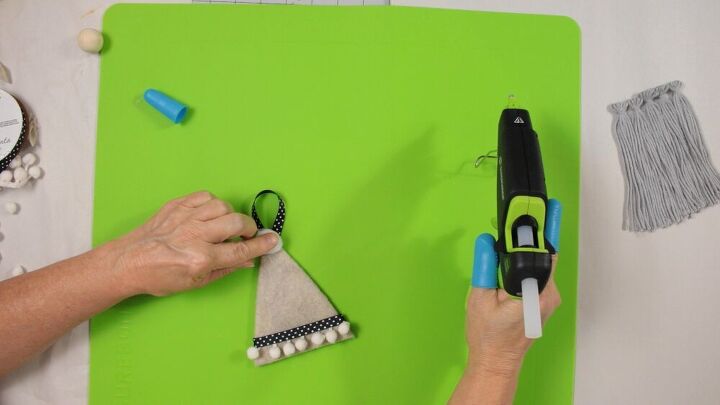
Cut a 6″ length of ribbon for your ornament hanger. Glue it to the back and then add a pom pom on the tip of the hat.

Glue the yarn beard tassels close together on the back of the hat. The amount of tassels needed is dependent on the weight and size of the yarn used. I recommend making 6 tassels to start with. Note: you can glue yarn on for the bread instead of tassels.
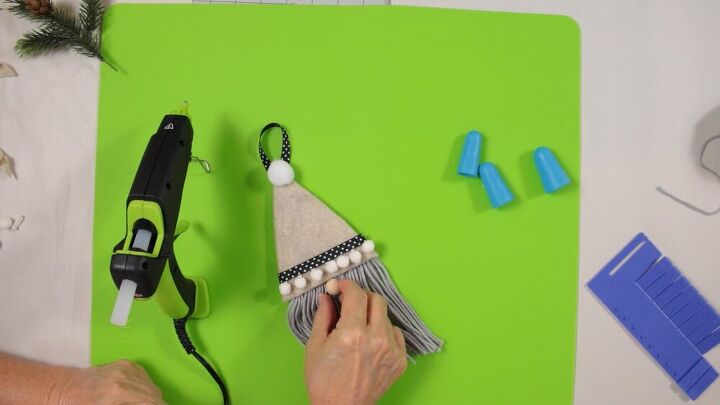
You can use a wooden bead or another pom-pom for the nose. Glue on the nose carefully using hot glue.


Comments
Join the conversation
-
Very cute and creative. Handmade ornaments are the best
-
These are adorable. I am going to make Easter Gnomes and string them together as a garland.


Frequently asked questions
Have a question about this project?
Can't you use a mop head from the dollar tree?
What size are your cardboard triangles? this info was left off ...