


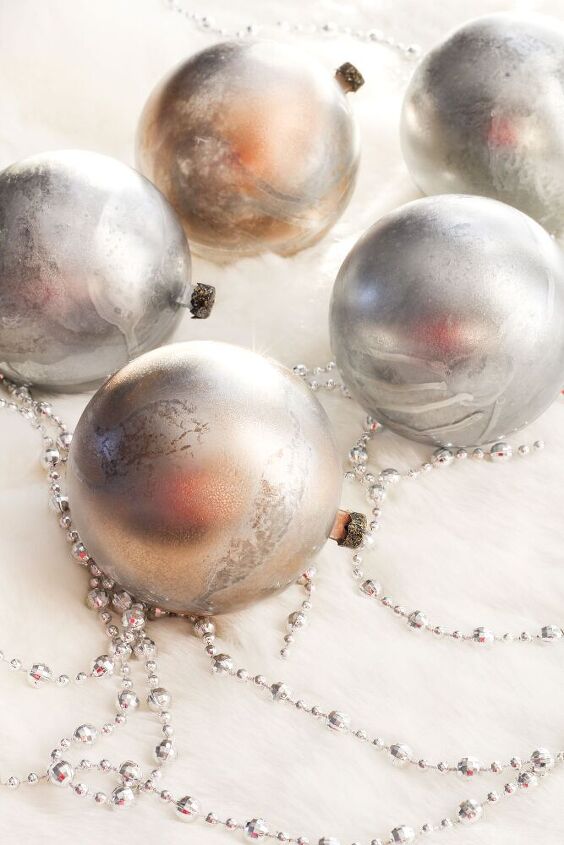
Dollar Store DIY Faux Mercury Glass Ornaments
Create high-end looking Mercury Glass using plastic dollar store ornaments and paint!
I recently joined a DIY challenge to create using clear ornaments. Initially I wanted the clear plastic ornaments that have the hole on the top and a cap, but I couldn't find any at our local dollar store so I picked up some that came apart in two pieces.

It was a bit more challenging because these didn't have the decorative cap that I wanted. So I would also need to come up with an idea to create one.
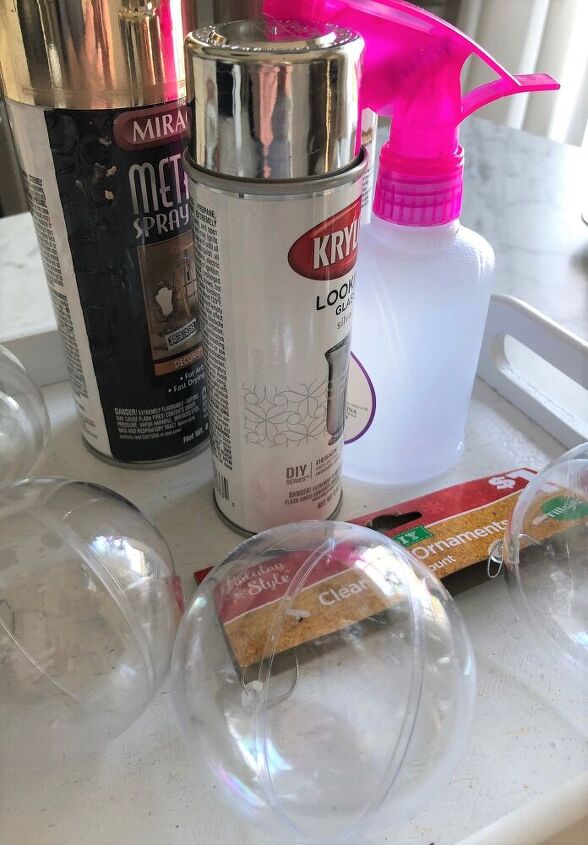
The technique I had planned on using was to first spray a bit of looking glass paint into the inside of the ornament. Then spray a bit of vinegar water. And then swirl both around to create texture and a design. Lastly, I would use a blow-dryer and dry the paint quickly so I could repeat these steps until I had the look I wanted.
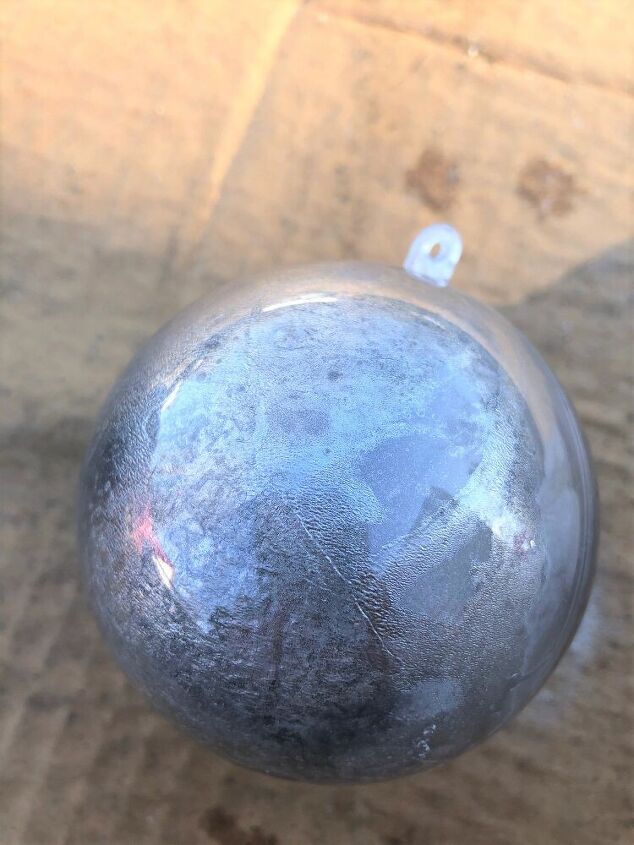
But after I did this technique with the first ornament I didn't like the end result.Although it was prettier-the ornament still looked...well, plastic! And worse the line where the two parts came together was even more visible! So it was back to the drawing board. This time I decided I would use the same ornament and experiment by using the same technique but this time on the outside!
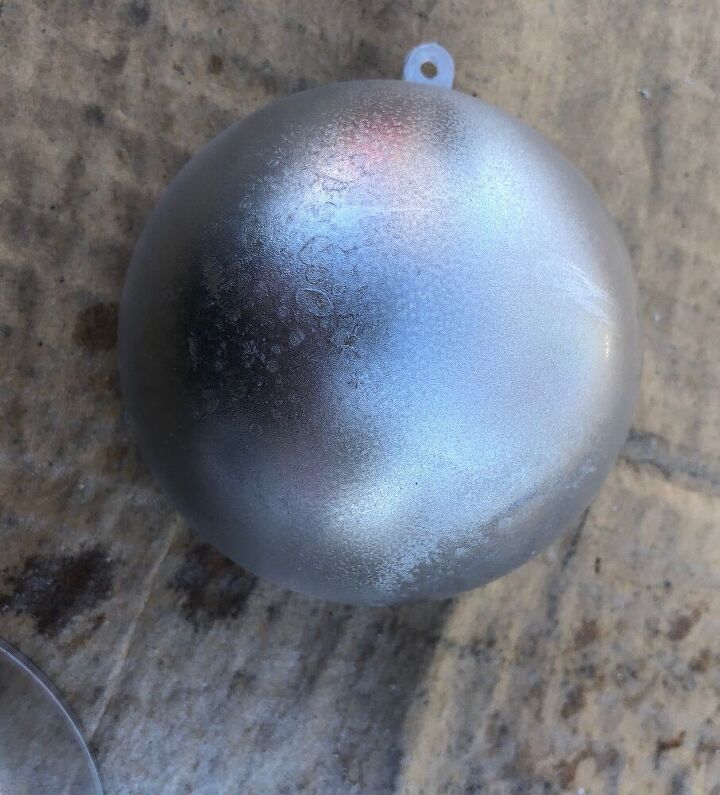
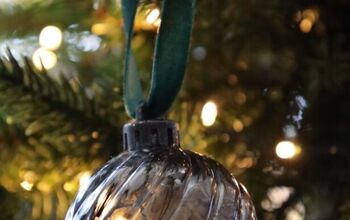
I started by spraying the looking glass spray in small sections. Then spritzing a bit of the vinegar water on and swirling it around. This created a fun pattern. Then I blow dried the area and started in a new section. This time before I blow-dried the paint and water I used a paper towel and dabbed it a bit creating a bit of texture. I repeated these steps until both sides were completing covered.
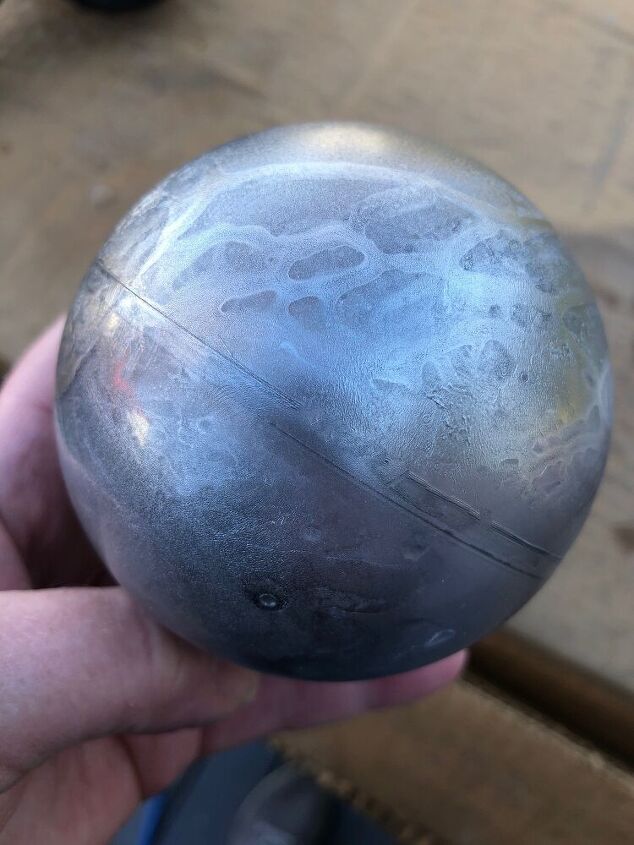
When I placed the two pieces together I noticed that some of the line where they came together had disappeared under the textured paint. Had it not been 35 degrees outside I probably would have added more paint and removed the entire line but since it was, I decided to move on with the other ornaments.
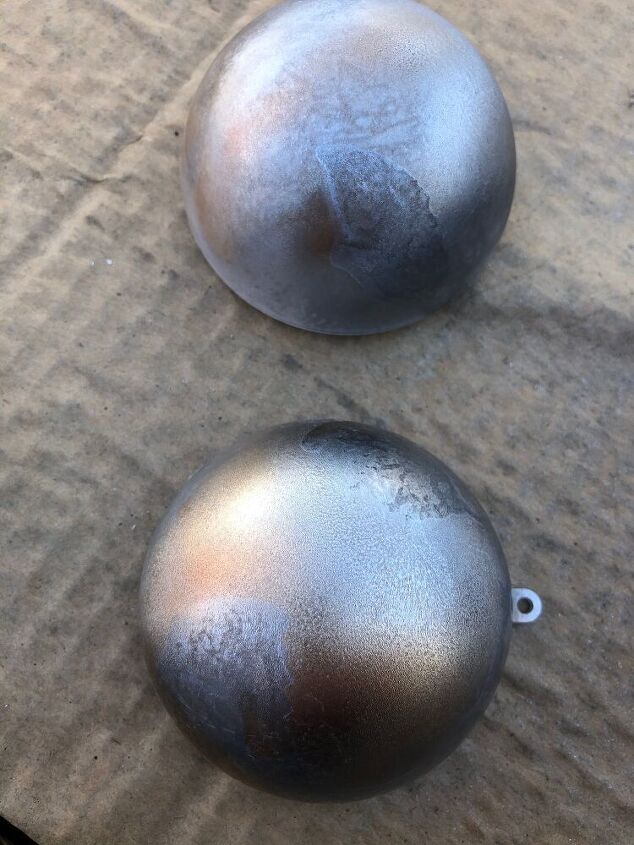
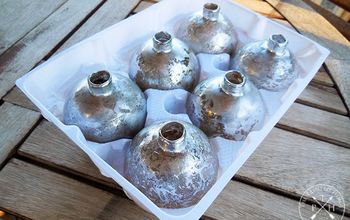
For the next ornaments, I decided to add in some gold and silver metallic paint. This time I skipped the step of painting the inside and foced on the outside only. Basically, the steps were the same as the first ornament but this time I sprayed a bit of gold (or silver) paint here and there and used the paper towel to create texture on that too.

After I had all the ornaments painted and had allowed them to dry completely I decided to add some decorative caps. I had a bunch of these that I'd saved from broken ornaments but you can buy them on Amazon or in any craft store. To add a bit more vintage style to them I gave each one a coat of black matte paint and then touched them up with a bit of gold glitter paint.
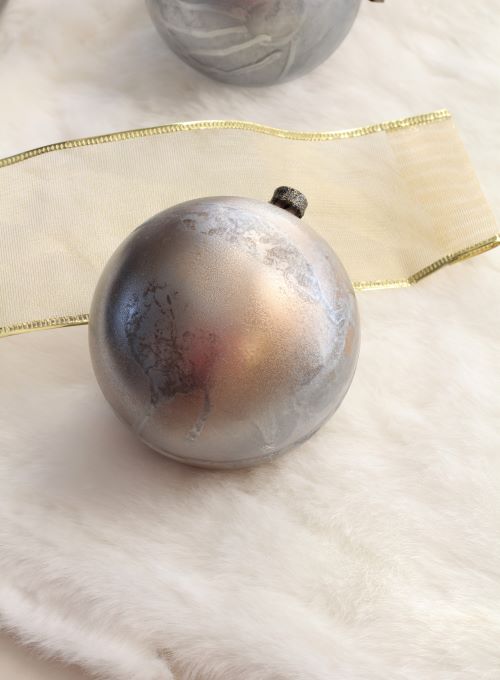
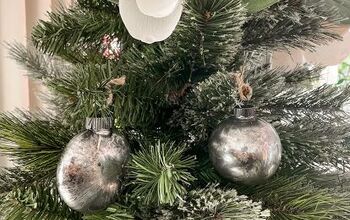
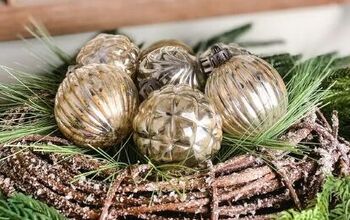
I plan to display some of these Mercury Glass ornaments in a vintage sleigh, but I will be hanging some of the on the tree in our dining room. For those I simply tied a piece of gold stretch cord around the top under the cap.

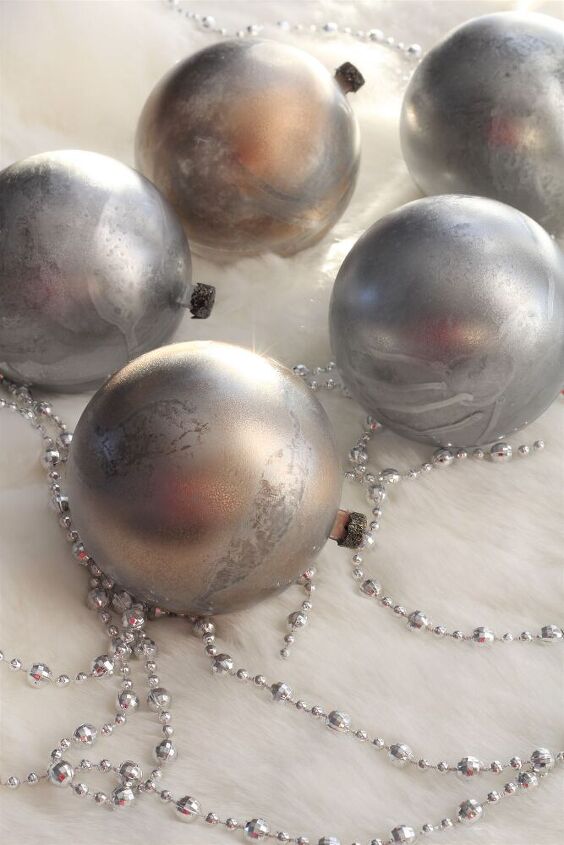
I love how each ornament is unique! And since I had everything but the clear ornaments the total cost for 6 was only $3!!!
Resources for this project:
See all materials


Comments
Join the conversation
-
The plastic piece at the top looked to big to do that. Thanks for the info. Enjoy your holidays.
-
I love love love these, I will be changing my colors fir Chris year. Thank you for sharing


Frequently asked questions
Have a question about this project?
what is the vinegar/water ratio?
do you think this would work on an old gold chandelier? i want it to look tarnished and like the mercury glass but wasn't sure how to do it. should it always be the looking glass paint or would just silver work? i'm going to try the ornaments first tho, they look awesome!