


DIY Outdoor Cat Shelter

About 2 years ago, a feral female cat started showing up at our house. Being animal lovers, we couldn’t help ourselves so we started feeding her regularly. Of course, because she had a consistent food source here, she stuck around. About 6 months into her being a frequent visitor, we realized she looked pregnant and sure enough, shortly after that, she showed up with three precious kittens. We ended up trapping the babies and the now momma cat, waited until they were weaned, and got them all fixed. We kept the three kittens as our pets, but set the momma cat free after she had recovered from her surgery because like I said before, she’s feral. That means that she doesn’t like human contact, she’s afraid of people, and she’s much happier living her life outside. All of that to say that this year I finally decided that if she’s going to keep sticking around, I wanted to build her a shelter to keep her out of the elements and provide a warm and dry place to sleep. We live in southern NC so our winters aren’t terribly cold, but we do get an occasional light snow and sometimes temperatures dip into the teens.
I did a Google search for outdoor cat houses and found this photo for inspiration.
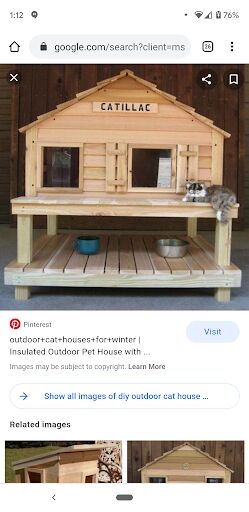
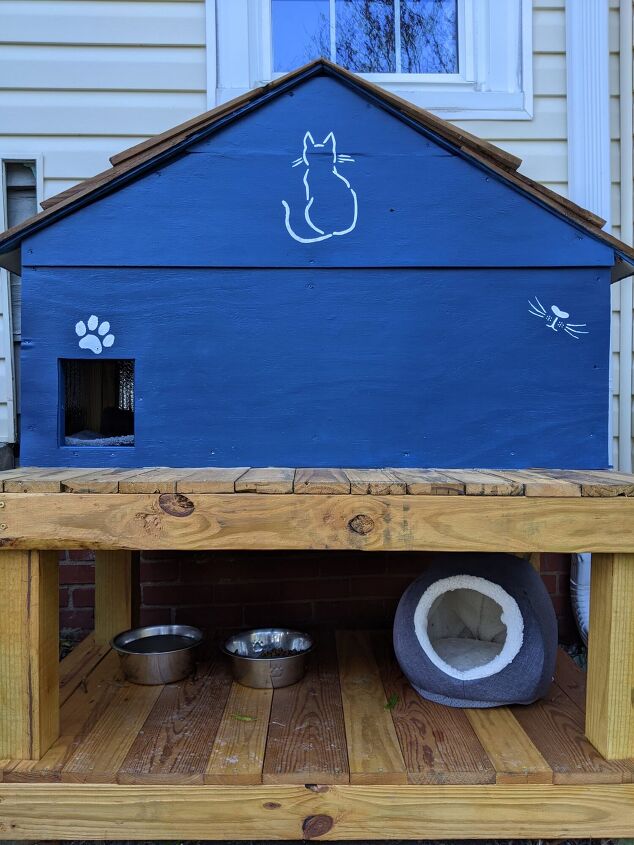
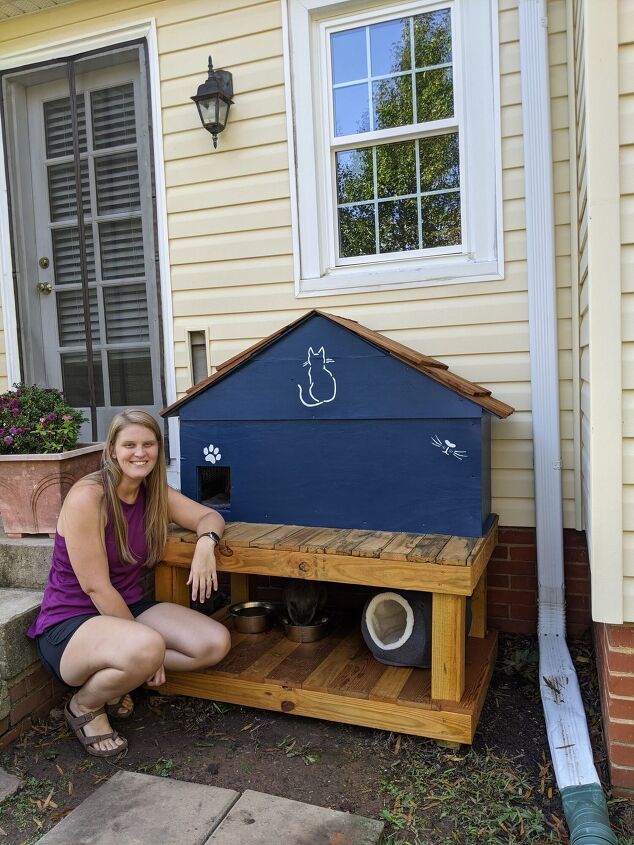
I liked that this photo had a “double decker” vibe that provides shelter underneath as well as inside the house part. I also liked that having the underneath area provided a place for us to put food and water without it getting wet if it rains and also keeps the water bowl out of the house so that if it accidentally got knocked over, it wouldn’t soak her sleeping quarters.
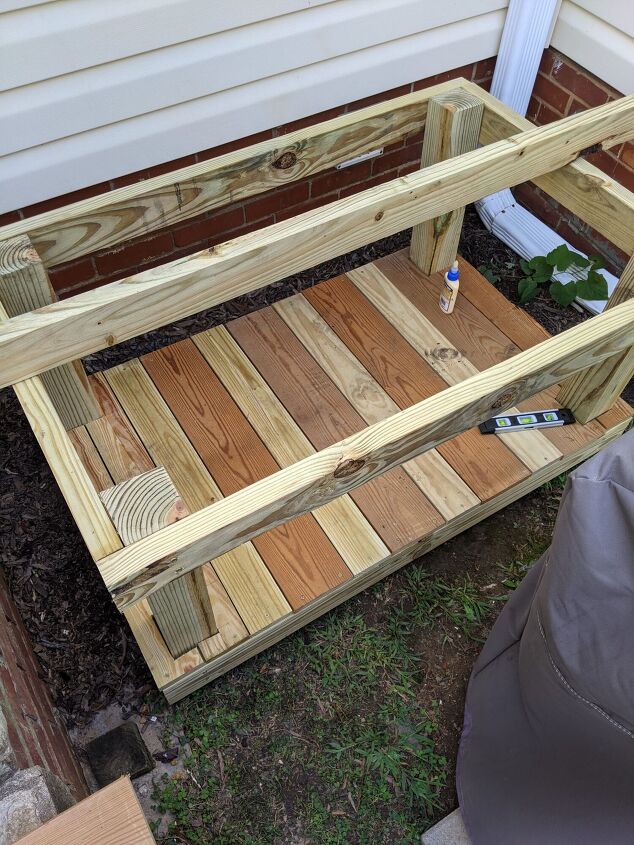
I honestly started out the planning process by just studying the picture and measuring the area where I wanted to place the shelter. I figured out how big I wanted it to be, did a bit of math to calculate how much wood I needed to buy, and then got to work. Most of the wood for the bottom level and top platform were scrap pieces that I already had on hand. I only had to buy 4×4 posts for the corners and 2x4s to support between the posts.
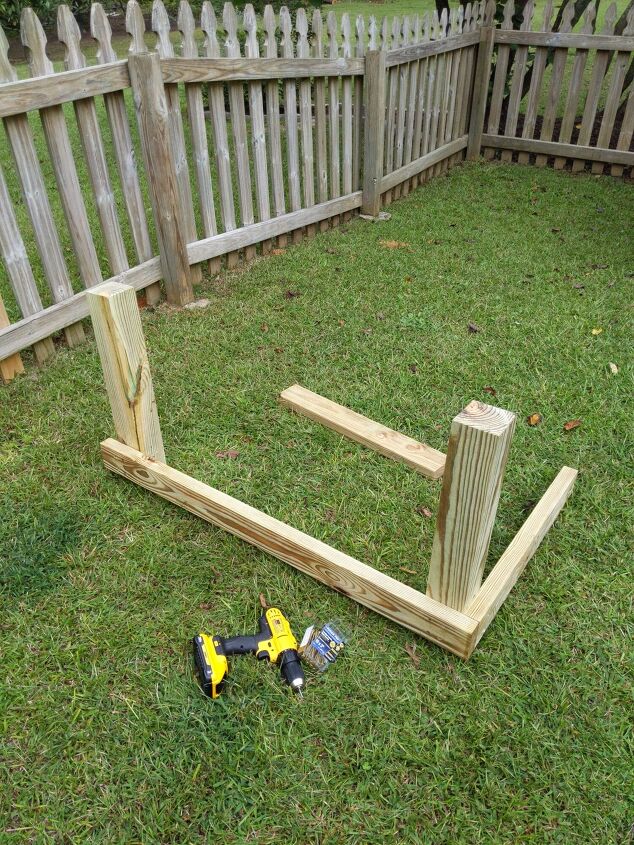
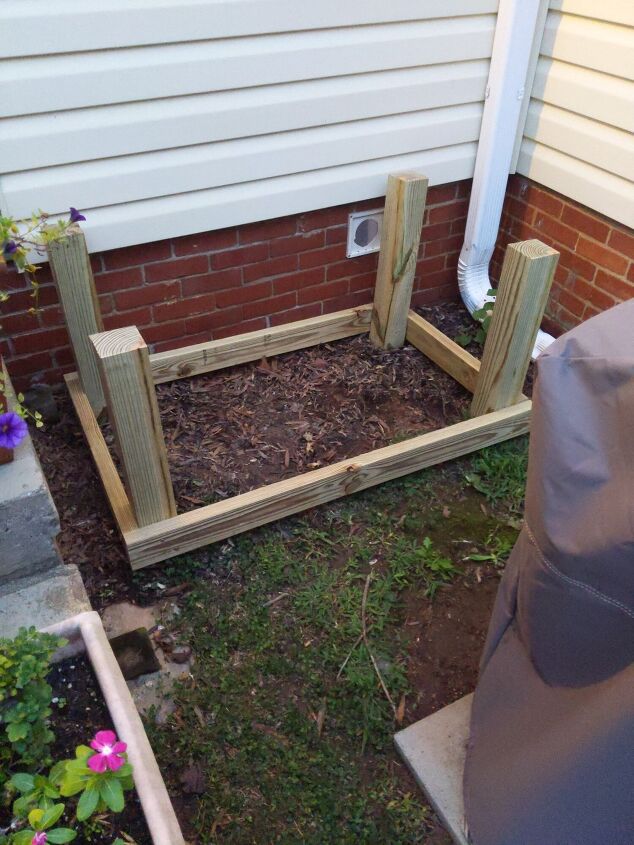
I did my best to make sure it was level and attached the 2x4s to the posts with Power Pro screws. I really like these screws because they don’t require predrilling and they have a star head design that provides more points of contact and is therefore less like to strip. I also wanted to use screws instead of nails because a) I think screws are easier to work with and b) because I wanted to be able to disassemble it relatively easily if I ever need/want to move it.
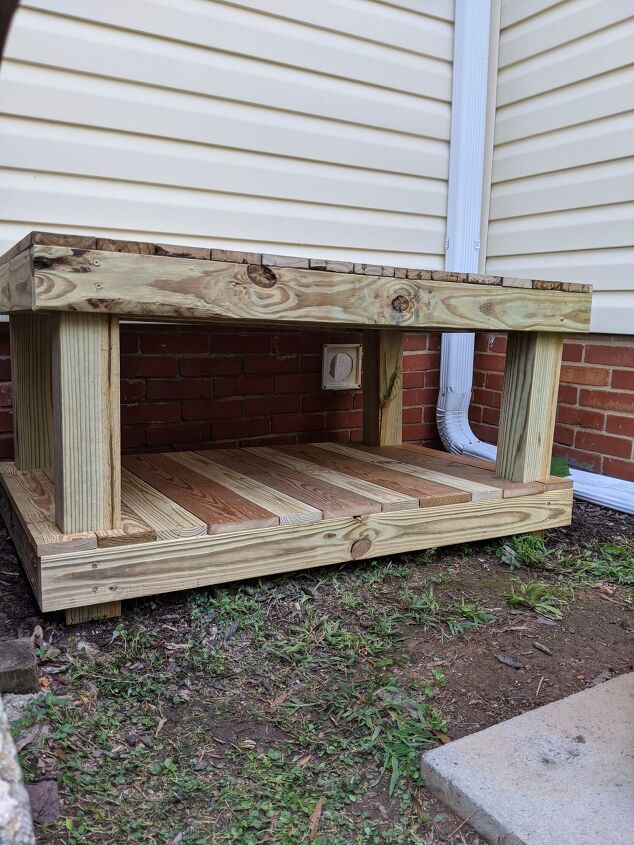
Once I got the frame built, it was decently easy to cut the wood to create the platforms. I left slight gaps between the wood so that it would have room to expand and contract with weather changes.
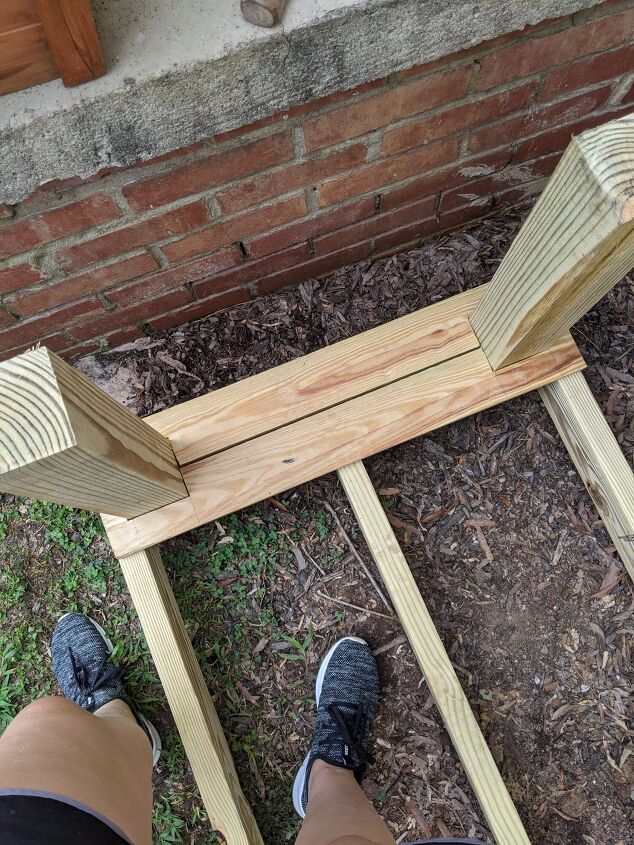
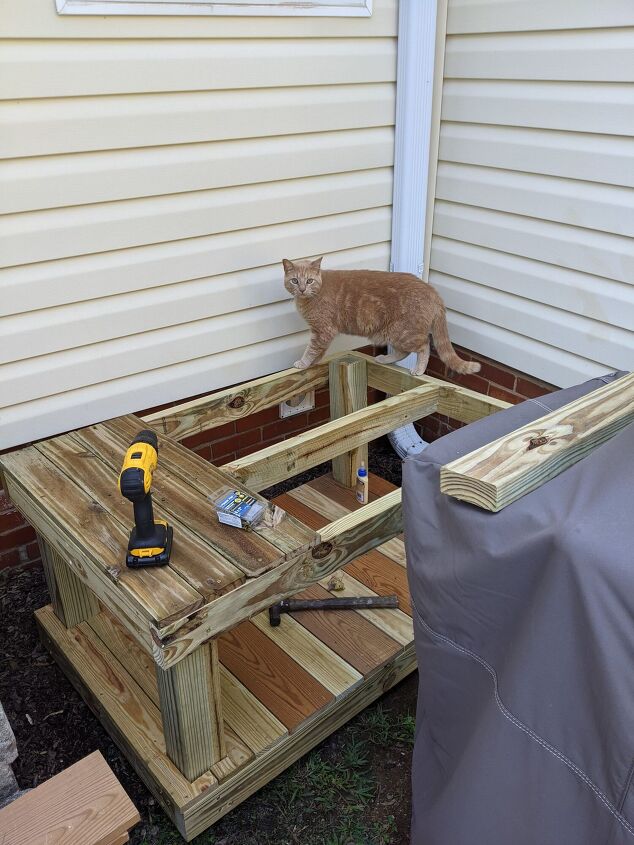
I also added an additional 2×4 for support in the middle of the top platform. It might have been a bit overkill, but I wanted to make sure it was sturdy.
Once I got the two platforms built, I honestly put this project on hold for a while. I did that partly because I was nervous about building the house part and felt intimidated about where to start and also because I decided to build this in the middle of refinishing the floors in our upstairs guest bedroom. Story of my life: too many projects going on at once. Eventually I got back to it though and started working on the house. I decided to make the house the full length of the top platform and about half the width so it’s decently large. I started by placing a sheet of plywood as the base so that air couldn’t come in through the gaps in the wood and make the interior of the house drafty. Once the plywood was attached, I then started building the walls. I used 2x2s and again used screws to attach the wood to each other. This part wasn’t that difficult. I just measured the width and length of the plywood base and then eyeballed how tall I wanted it to be.
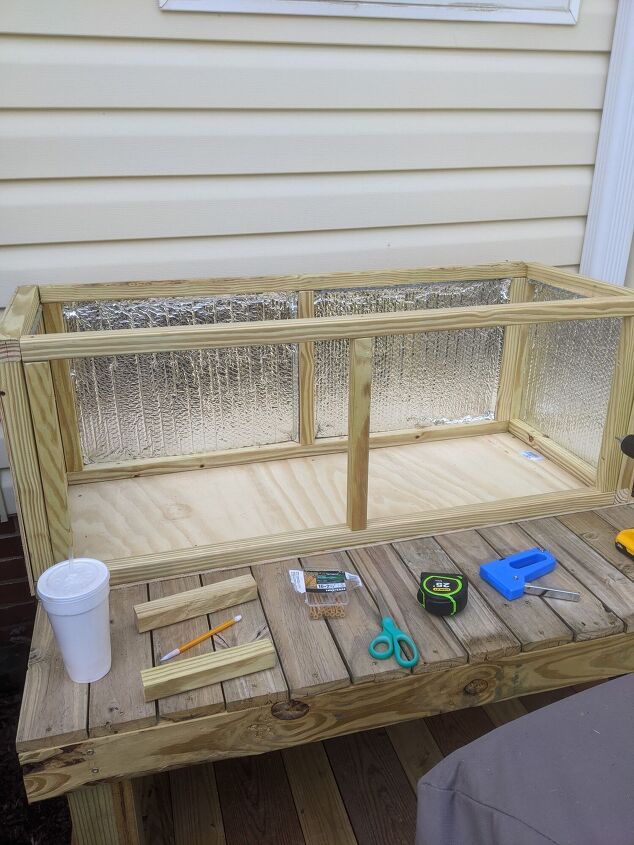
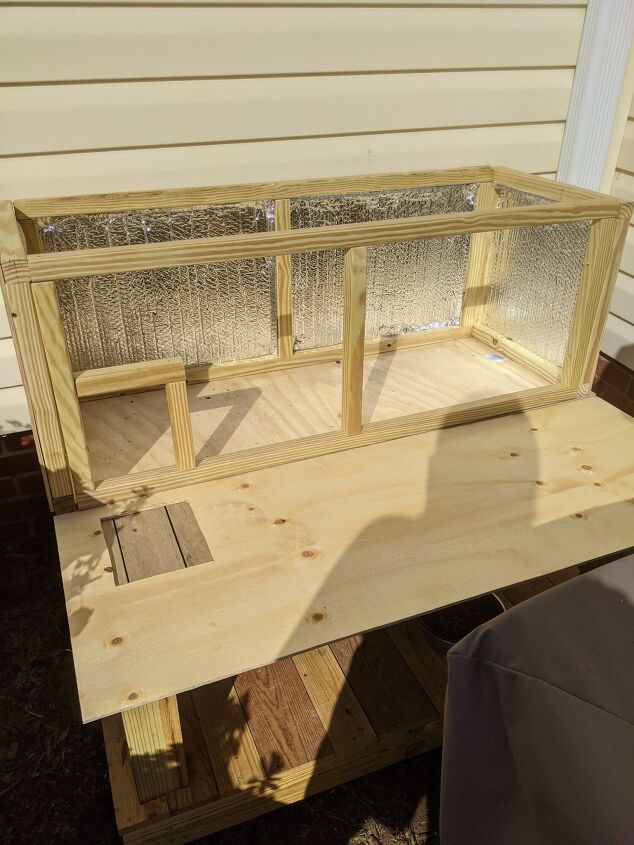
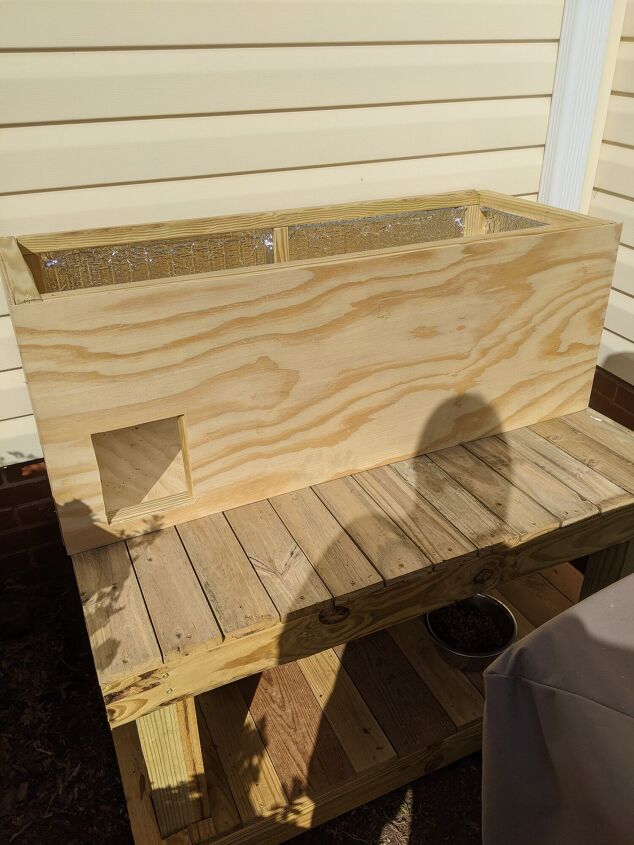
I screwed each wall into the plywood and then attached them to each other as well. This made it pretty sturdy. Once the walls were up, I attached plywood to the outside of the frame and then stapled insulation to the plywood. I bought this reflective type of insulation so that it wouldn’t be itchy and because I thought it could help with reflecting body heat back to her once she was inside the house. It was also really easy to cut to the appropriate size. I just used scissors. Once the two sides and the back were fully assembled, I cut a piece of plywood with a hole to go on the front. The hole is large enough for a cat to enter, but I think small enough so that raccoons and other larger wildlife couldn’t fit.
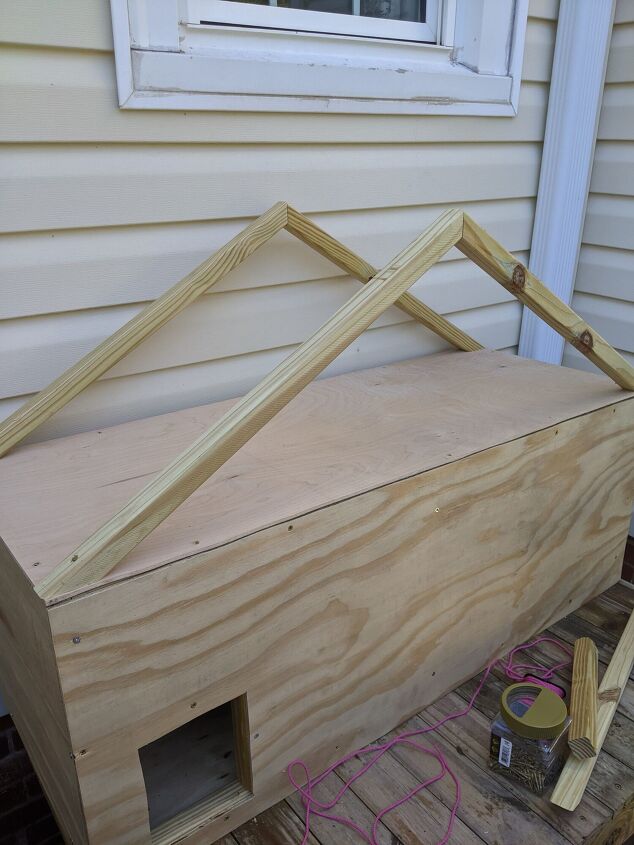
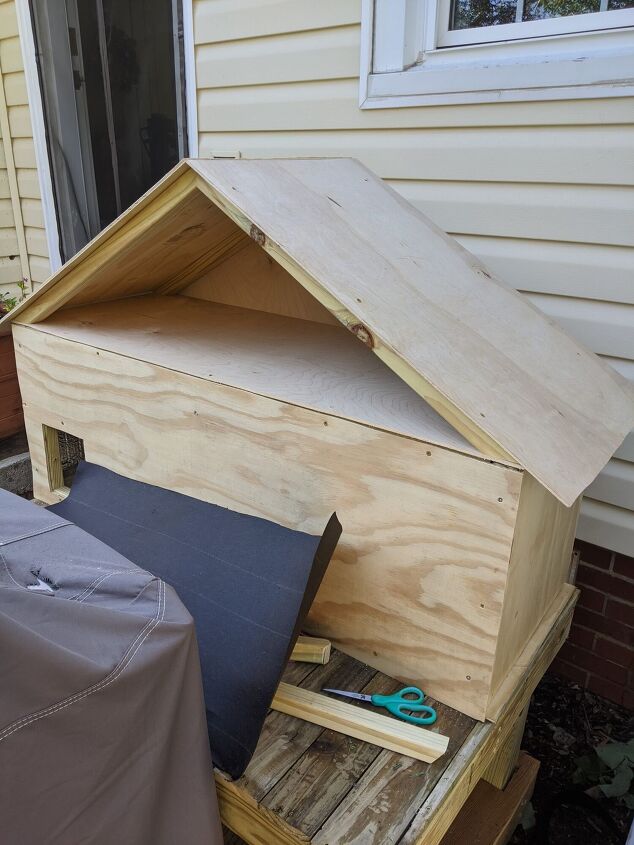
The next part was figuring out how to do the roof. I knew I wanted it to be angled so that water wouldn’t pool on top of it and cause structural issues down the road. I also actually wanted it to look house like so a slanted roof provided that look. I’m going to be honest: this part was by far the hardest for me and I messed up SO many times before I got it right. I ended up having to recruit my husband to help me calculate the correct angles because I hate math, particularly geometry. Hah. Once I got him to help me, it was pretty easy. I placed a sheet of plywood on top to close in the house because I didn’t want it to be so large that it would be impossible for a cat’s body heat to provide enough warmth. Then I screwed the framing pieces for the roof into the plywood and again screwed those boards into each other. I used 2x2s for this as well.
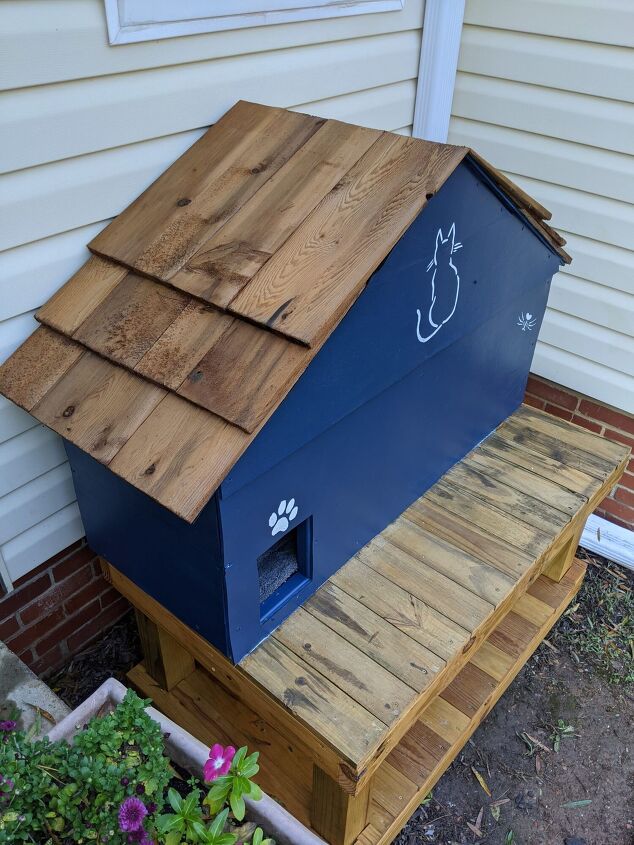
After the frame was in place, it was just a matter of adding plywood to close it in and cedar shingles to make it look pretty and more like a roof.
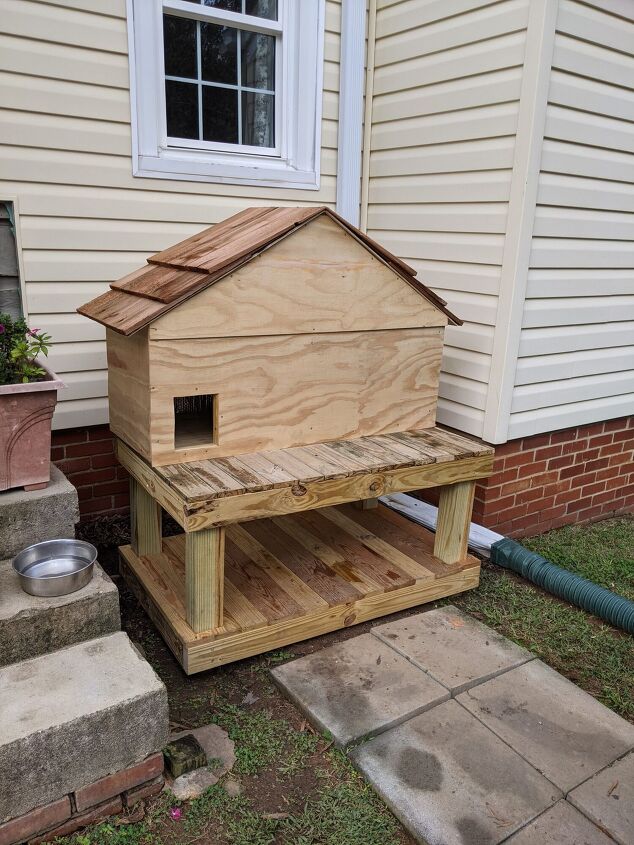
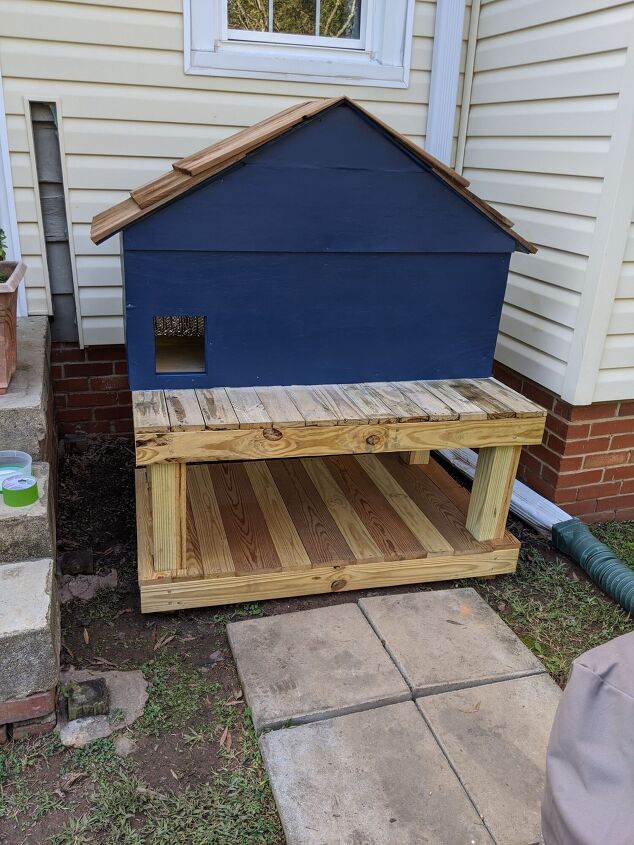
At this point, I decided I couldn’t just leave it as is so I used some leftover outdoor paint from when I painted our sheds a few months back to spruce it up a bit. I also used an outdoor stain that I already had on hand for the rest of the structure to protect the wood.
And lastly, I wanted to make it “cute” and look more homey because that’s just how I am so I added some decorative touches in the form of a cat, whiskers, and a paw print in white paint.
Overall, I’m really pleased with how this turned out and I learned a lot from the process. I linked a few things that I used in this post, but if you have specific questions or want to know more, feel free to ask in the comments below!
Resources for this project:
See all materials


Comments
Join the conversation
-
I love this. Suggestion though. I would suggest adding a side door. If the cat is inside and another animal or predator enters the cat is trapped and doesn’t have an exit. I read that in another house I saw. When I do make one I will make sure to do that extra door.
-
I know it's been awhile since you built this and it's freaking awesome!! I love it!! Also, want to say thanks for putting the effort into providing great details, pictures and step-by-step, during the process. Helps me see that i can do it, too. I might use pallets fur the floors to make it a little easier and might use deconstructed pallets to make walls. Somebody above suggested flaps or cat door which is a great idea, too. To make it fun 1-2 holes could be cut into the inside ceiling or adding a window using plexiglass or similar or a real window depending on size. But, of course, yours is perfect the way it is, so who knows i might just copy it completely! We'll see 😸.


Frequently asked questions
Have a question about this project?
Does she use it?
I love this! I have been looking for something like this for the feral cat we have been feeding and with cooler weather here, I need exactly this structure! Can you provide the dimensions of the lumber you used? Thank you!
Do you have plans? Or how W x L X H? I have 7 ferals that I am trying to build a home.