(Twin) DIY Rustic Dog Bed

by
ChrisGagnon
(IC: vlogger)
2 Materials
$5
6 Hours
Easy
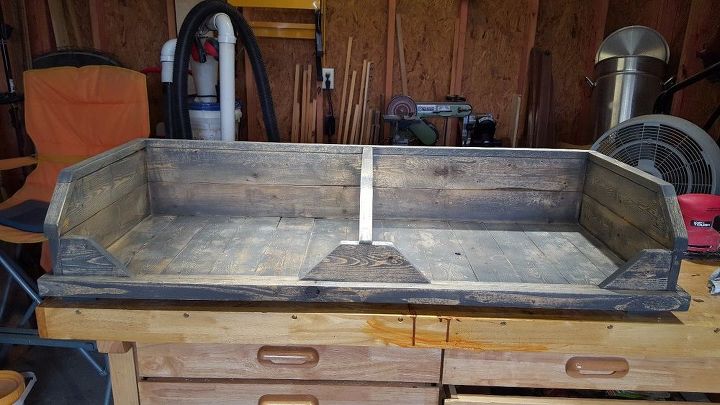
If you have a pet, I hope you will love this DIYs Pallet wood Twin Dog Bed. I hope to inspire you to make something special and personal for your furry loved one. I was inspired when my neighbor said she could use a dog bed that two dogs could use sharing the space but dividing the dogs space at the same time. The dogs love it and I hope you will to.
This project started with a few pallets made from 1 x 4 in boards. These are easy to find at places that receive large things that need to be put into crates. I like using this material because there is not a lot of nail removal so I us it when I can. I also grab these board anytime I see them out by the curb. The only problem with this wood is that some time and in my case a lot of it is warped. One way to help with that is when you can cut the boards to shorter lengths like I did on the bottom of the bed. This will make the twisting and warping less noticeable.
I also use pocket screws and glue to put this project together. Thanks to some help I was able to sand the whole project down and make it ready for stain in a reasonable amount of time. We would not want those pets to get splinters.
After the final sanding I applied some carbon grey stain to the outside and inside.
This was a very fun project and I enjoyed building this dog bed for my friend and neighbors.
Feel free to message me with any questions that you may have about the project I will be glad to support you on yours.
Thanks friends for viewing my post.
{
"id": "3904076",
"alt": "",
"title": "",
"video_link": "https://www.youtube.com/embed/ZbVDio3OOPI",
"youtube_video_id": "ZbVDio3OOPI"
}
{
"width": 634,
"height": 357,
"showRelated": true
}
You are going to love this Easy to Build Twin Dog be and they will to.
I went out to my local pallet stash and picked up some good old pallet wood.
This is what it looked like before the beautiful carbon grey stain was applied.
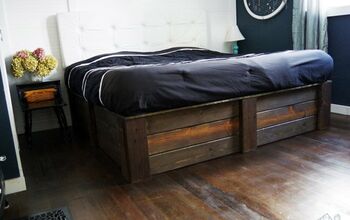
We Built this great Twin dog bed from reclaimed wood. Here is what it looks like the the cloth beds inserted
Here is the first cut for the bed as you can see this is pallet board that i need to get rid of the nails
Lots more cuts i need 16 of these 18 in long to make the bottom and the sides
got them all cut now were are ready to put them together
all the boards are glued together and now for one of the sides these are the same size as the bottom.
no that the sides and the back are on we can put in the partition these boards at the same length as the bottom and the other sides 18in long
Line it up and screw in down with pocket screws
Now it time to pun on the trim this was also pallet boards cut down to 1 1/2 in wide these will go around the bottom edge
the last thing is to put the trim on the top edge this is 1 1/4 in wide that give a small overhang from the top edge.
Enjoyed the project?
Suggested materials:
- Pallet wood (trash)
- Pocket screws (store)
Published June 21st, 2017 12:20 PM
Comments
Join the conversation
2 of 25 comments
-
-
 Ethel Kirkpatrick
on Aug 09, 2017
Nicely done and it looks fantastic! (and comfortable)
-










Frequently asked questions
Have a question about this project?
Where are the dogs? Haha
would you consider selling one of these??
thanks!