


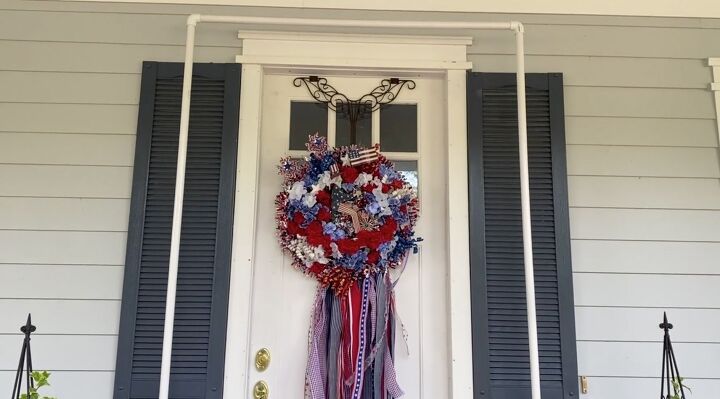
Beach Ball Archway
This post was transcribed by a member of the Hometalk editorial team from the original HometalkTV episode.
Grab all the beach balls you can find for this fantastic summer archway. Come on over to Celebrate and Decorate to see more or my projects!
Hometalk Recommends!

I was getting concerned, I couldn't find them but here they are, beach balls.
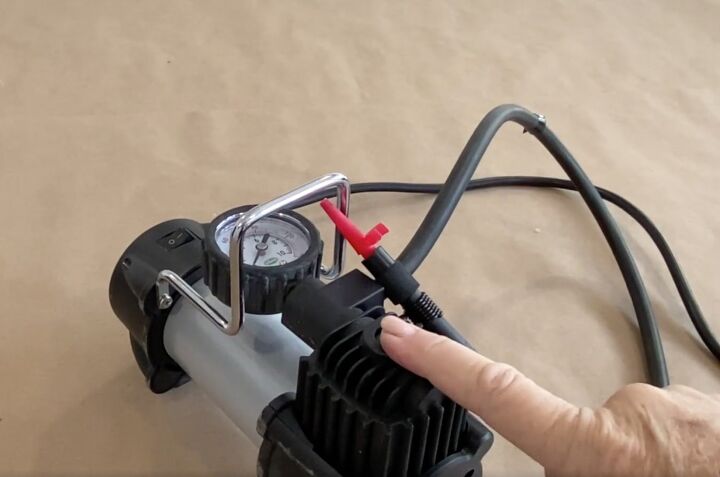
This is the little household compressor that I use to inflate the beach balls.
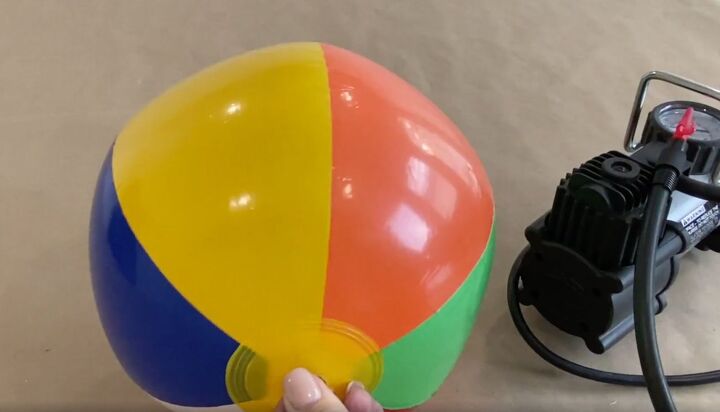
You do not want to sit and inflate all those beach ball balls just through lung power. So you can see in a matter of seconds, that the beach ball is inflated.

This is the wax string that I ordered to attach the beach balls together.
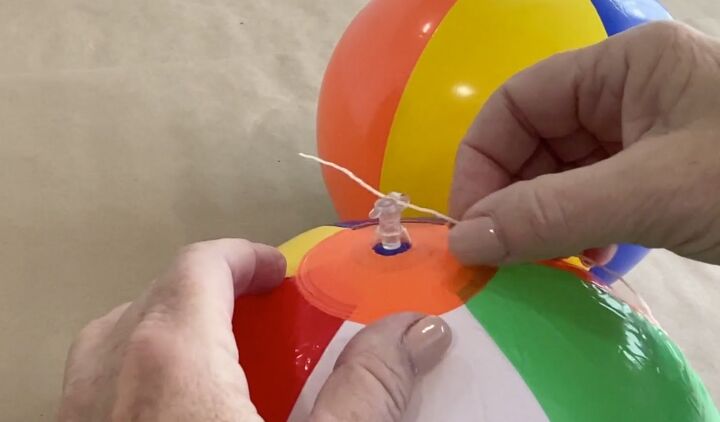
I took my beach balls and threaded the waxed string through the top of the beach ball.
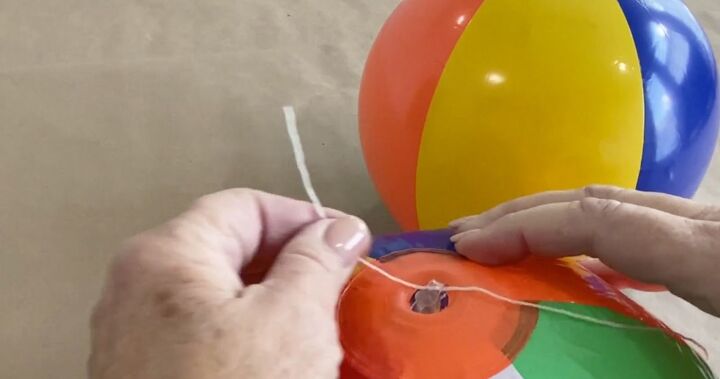
After I did that, I pushed that little plug down to keep the string in place. The string can still slide though so this will not keep them secured in place but will keep them on the string.
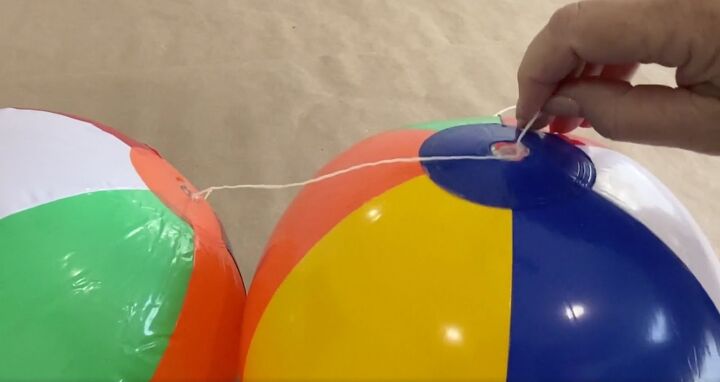
Then I would take another one and do the same thing. Feed it right through there and put them relatively close.

Once you have a few done, they are ready to hang.
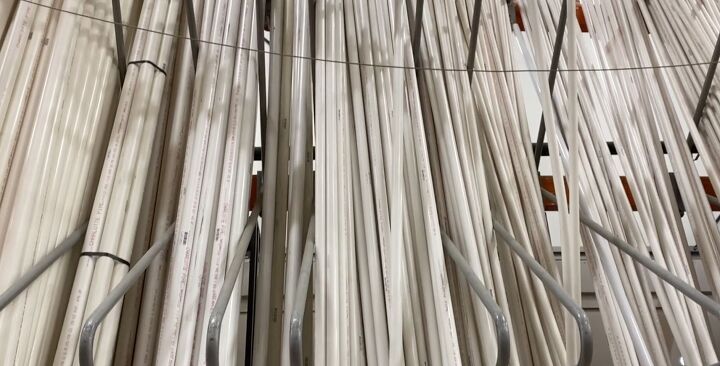
To make the archway for the beach balls, I headed to Home Depot to get some PVC which comes in ten-foot lengths. I'm going to get three pieces of one-inch diameter
and one piece of one and a quarter inch.
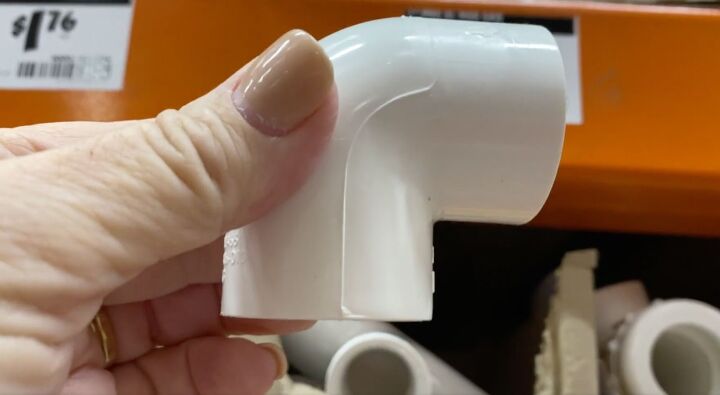
I also needed two of these connectors. I want the one inch because those are going to be to attach the piece that's going to go across the top of my door.
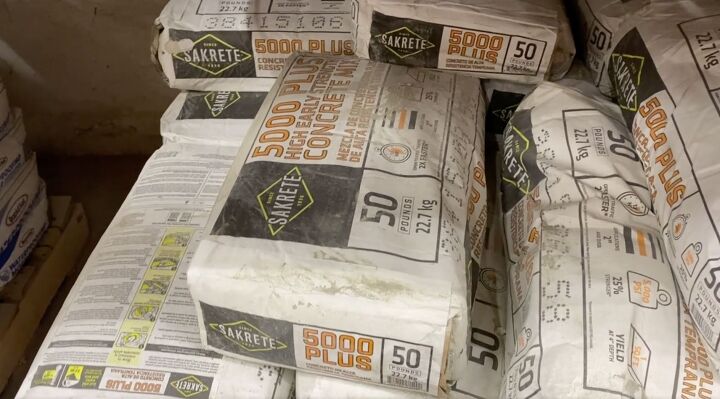
While I was there, I also grabbed two 50-pound bags of Sakrete for securing my
PVC in the pots that I bought.
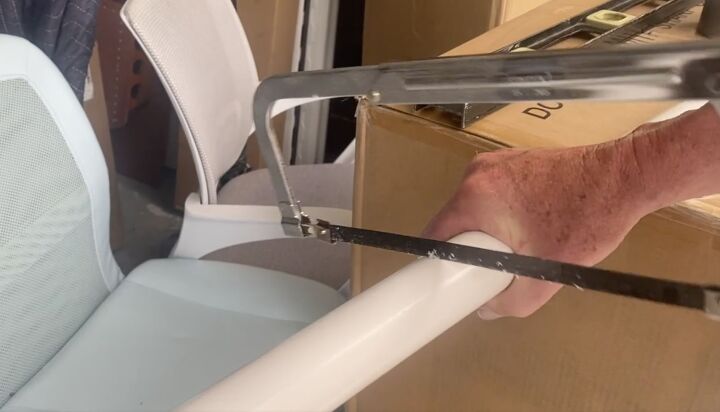
To cut the PVC pipes down to the size I needed, we used a hacksaw. You can also use a PVC cutter.
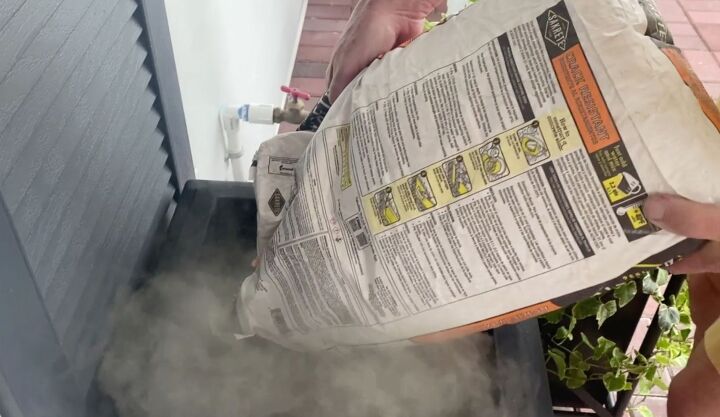
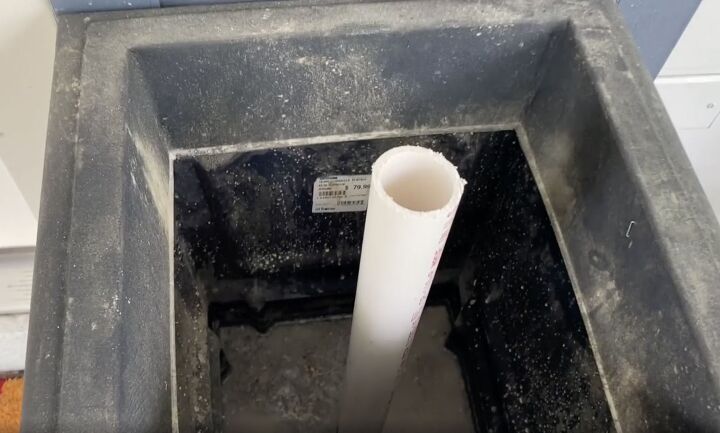
I wanted to weigh down my pots and keep the PVC in place so we dumped one 50-pound bag into each of these containers.
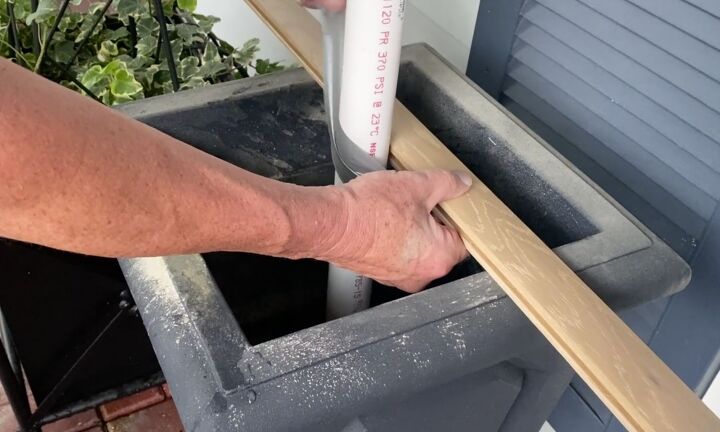
We used tape and a board to center the PVC while the concrete was drying.
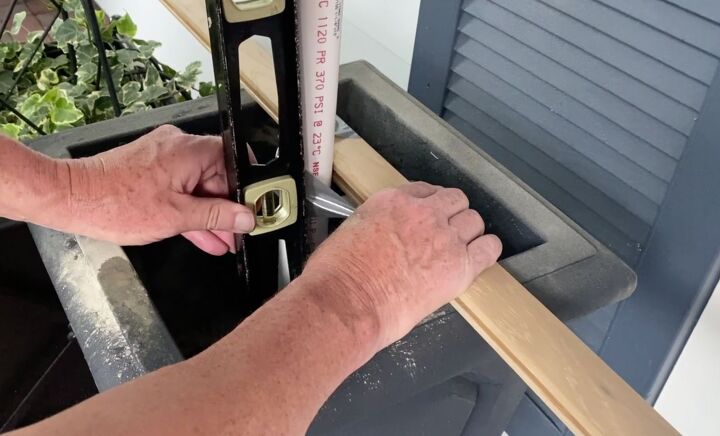
Make sure that the PVC is level.
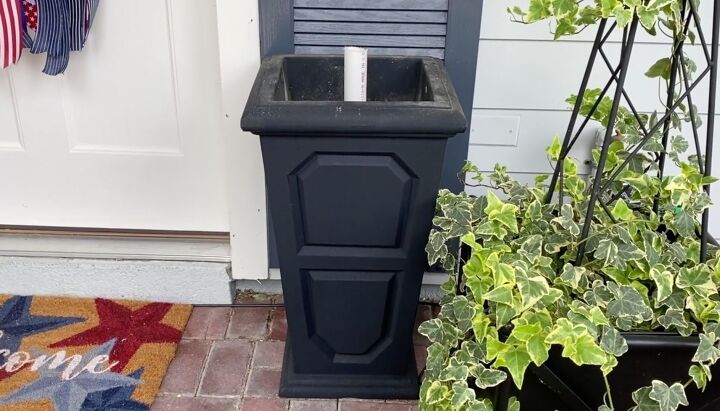
Here's the pot by the front door with the pieces of PVC set in the concrete in them.
I didn't want the pieces to set up too much higher than the edge of the pot. I'm going to put an artificial boxwood ball above those, right over the top of those, and that little bit of PVC will hold those in when I'm not using them for seasonal or holiday decor.
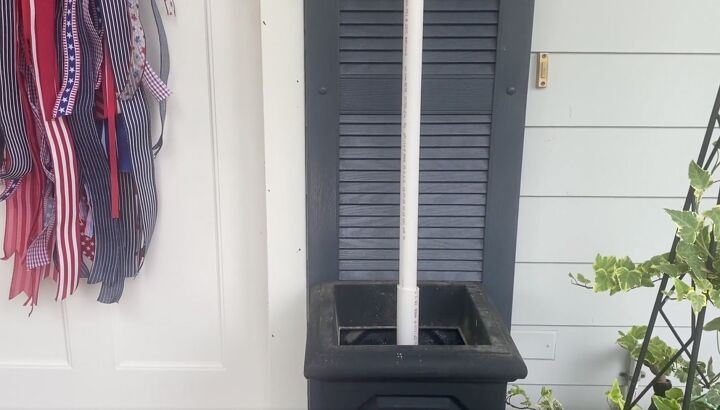
Once the PVC was ready, I slipped in the smaller PVC. We pre-measured and cut it to the length I needed.
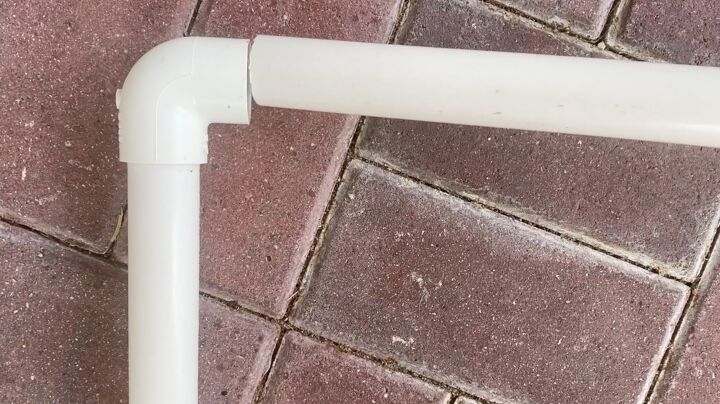
To finish the PVC, I put that elbow right on there. When you get it up there, all you have to do is just slide this right inside like that and then you're going to slide it right inside on the other end.
Here is what the archway looks like without anything on it.
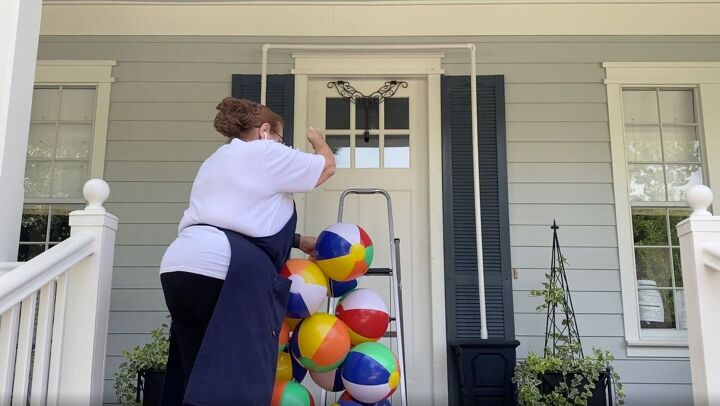
To attach the beach balls, I started with 14 beach balls on some wax string. I've already learned not to try and push them too close together or they will pop off of where I have them struck.
I started at the top and wrapped the waxed string around and it stayed in place. You can always drill holes into the PVC to thread the string through as well to keep it in place.

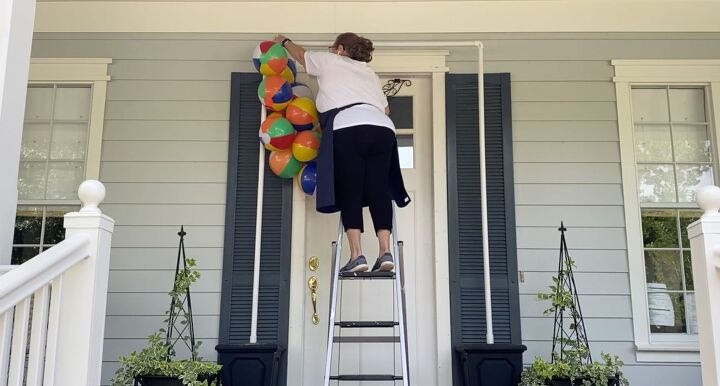
I worked with the same amount of balls on each string until I had them all filled in.
The beach balls don't stay around the pole very well, they all kind of bunch to one side so take an extra piece of wax string and tie them in place.
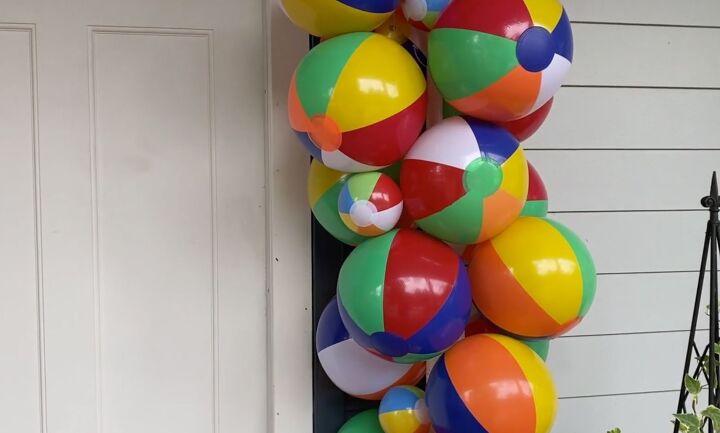
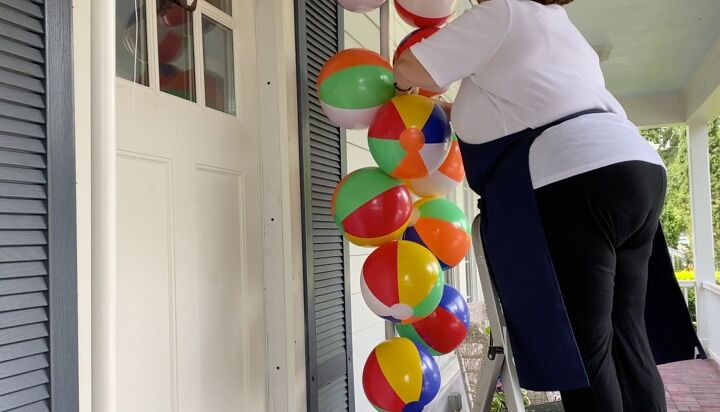
To fill in any little gaps, I used these cute little five-inch beach balls. Aren't those just the cutest little things? Don't try and just wedge balls in between where you have openings because if you do, you'll start popping them off and that is no fun. Just gently tie them in place.
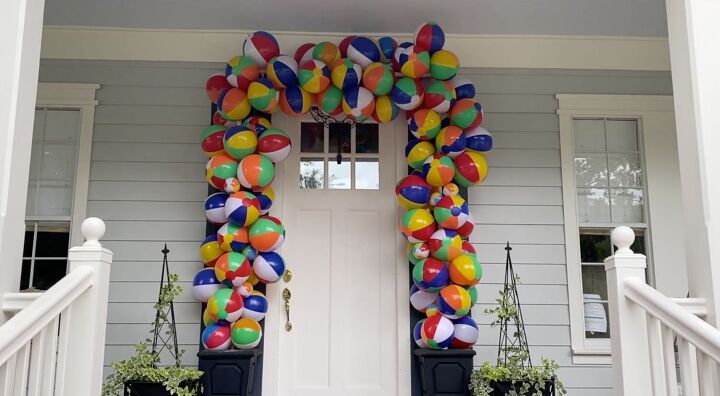
My beach ball doorway archway is finished. I think everybody will know where the party is, don't you? Have some fun with this one because there is plenty of summer left to enjoy it. As a bonus, If you build this PVC archway, you will be able to use it for all kinds of holiday archways.
Resources for this project:
See all materials


Comments
Join the conversation
-
Will definitely try this for many holidays! Thanks for sharing.
-
Love it...Adorable. And to be able to reuse the poles each season...smart.


Frequently asked questions
Have a question about this project?
Sounds like an expensive project! How many balls were used, and at what price each? Plus cost of pipe, plus cost of planters, if you don't have large one.
How do they now get stuck in your door? Lol
Pearl Ellice,
In Canada, paying $1.50 for an inflatable ball that is easy to store and is reusable is rock bottom and very wallet friendly price. If you are criticizing that the balls are made from plastic, what do you suggest as an alternative?
Also, to complete this decorating project yourself, even with purchasing exactly everything that she used would still be way less expensive than hiring a party decorating service.