


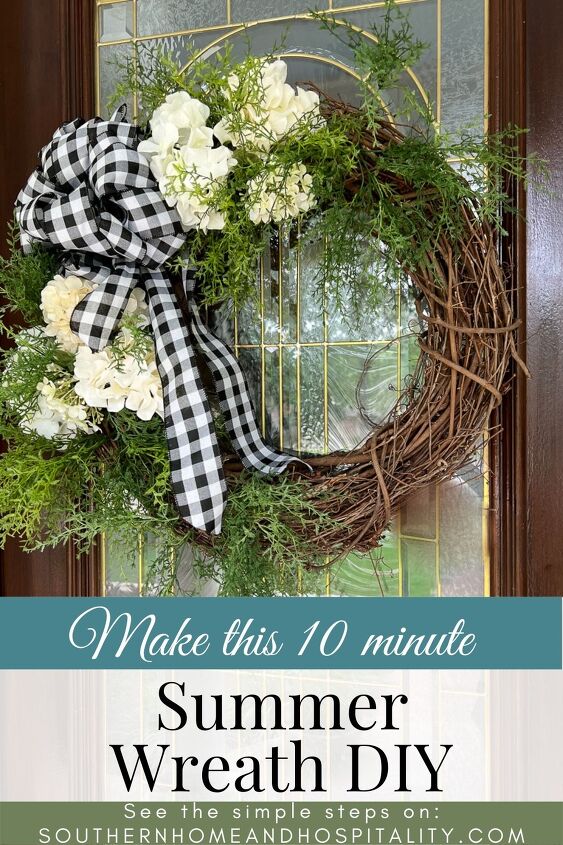
DIY Ten Minute Summer Fern and Hydrangea Wreath
Welcome the season and guests with this DIY summer wreath that just takes minutes to make and works on any style and color front door! ⟹
I adore summer’s easy, relaxed mood and hanging outdoors this time of year. I don’t want to spend a lot of time decorating in the summer but I do want to bring a summer state of mind to my home! The front door sets the tone and it needs a look befitting all that summer entails. The mood is light and loose, and lush gardens are at their abundant peak.
This post contains Amazon and other affiliate links for your convenience. As an Amazon Associate I earn from qualifying purchases. If you purchase something through any link, I may receive a small commission, at no extra charge to you. I only recommend products that I love or would purchase for myself. See my full disclosure here.
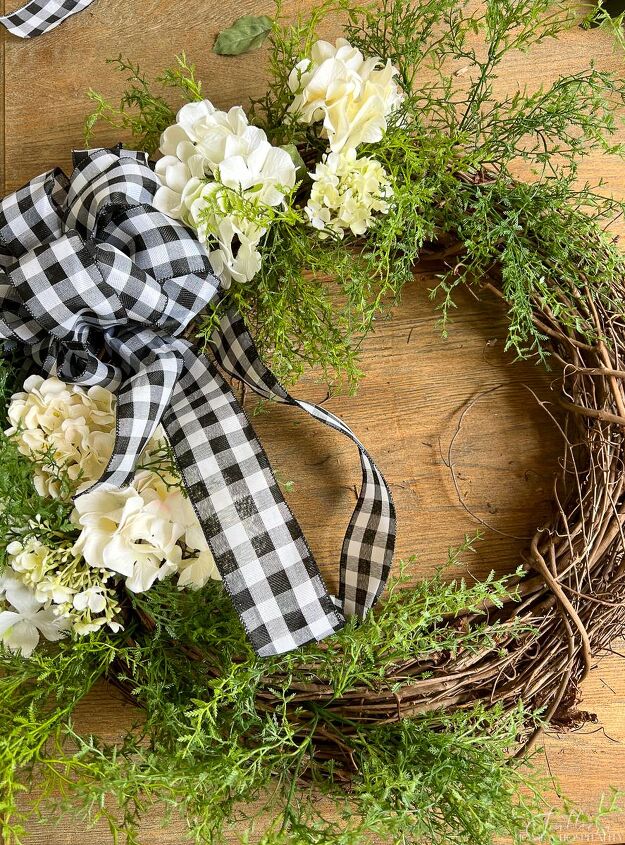
To bring that feeling to my home, my summer wreaths this year are a combination of vibrant, airy greenery and creamy white hydrangeas, accented with a black and white gingham bow. Let me show you how fast this easy DIY summer wreath really was!
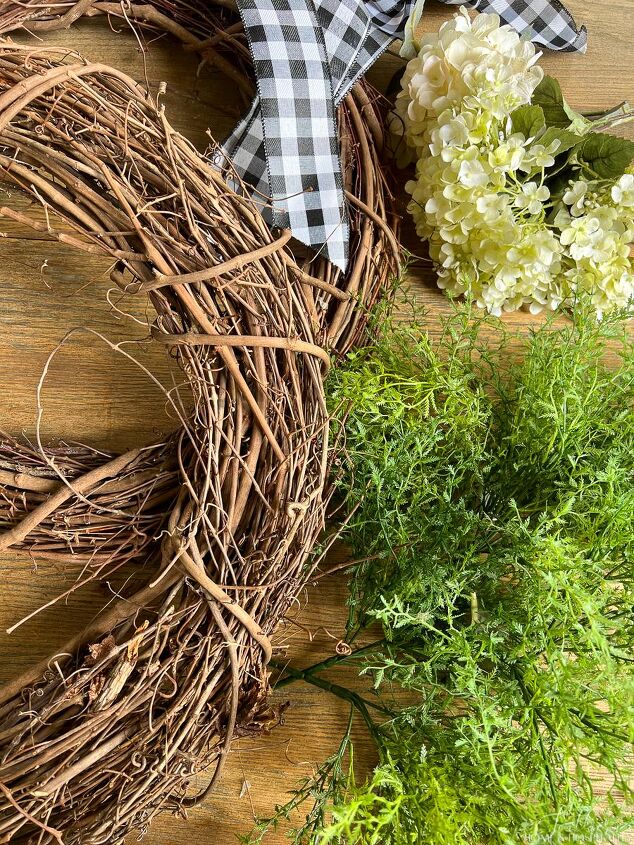
- A grapevine wreath; Mine are 24″, choose a size that works best for your door
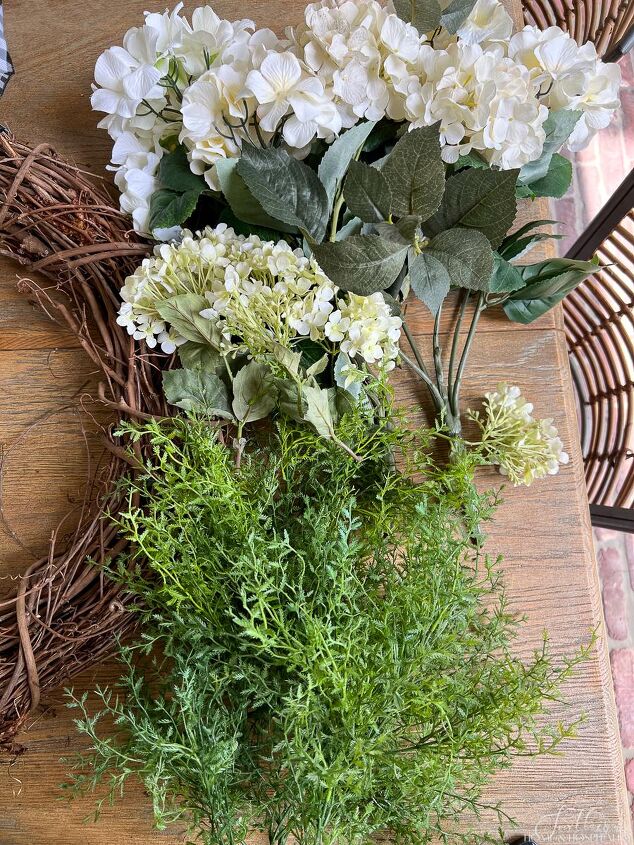
- Airy fern or fern-like greenery; I used the dill bush in the link for my airy fern look, other good options for faux airy fern are these and these.
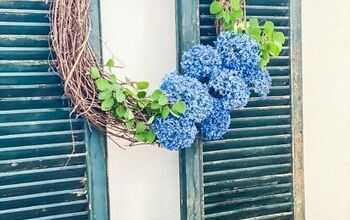
- Large white/cream hydrangeas; I used six blooms from what I already had but here is a similar option
- Smaller white bloom stems; I used four from what I already had but here is a similar option
- Ribbon for bow; I used black and white wired gingham ribbon
- Floral wire or a zip tie to attach the bow
I already had the wreath and floral stems in my stash but I’ve linked some options above for the grapevine wreath and hydrangeas to help you find similar supplies. I usually have good luck finding faux florals at Hobby Lobby, Michaels, and Joann.
First, I cut the number of blossoms I thought I would use from the floral bushes. I left enough stem to securely stick into the grapevine without having to use glue. You can use wire cutters or garden hand shears for this.
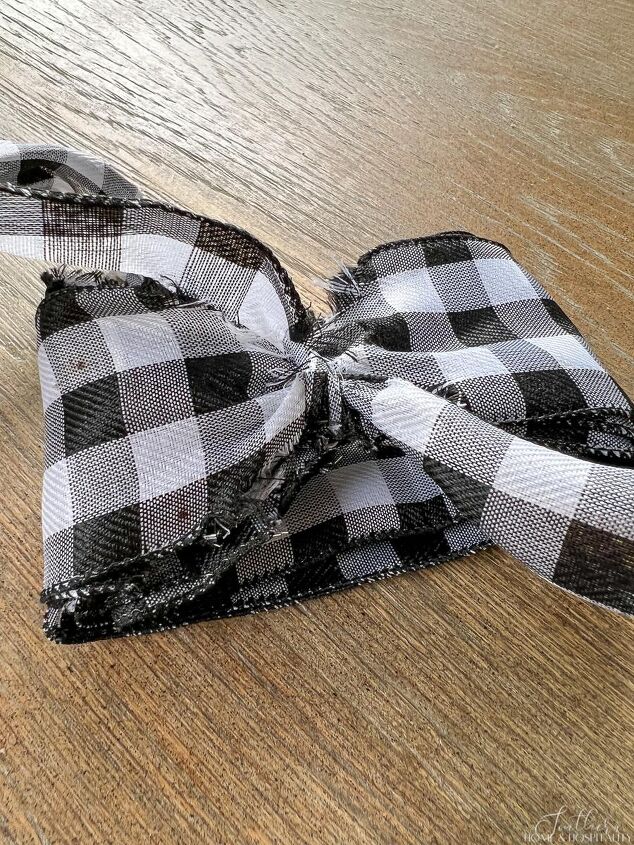
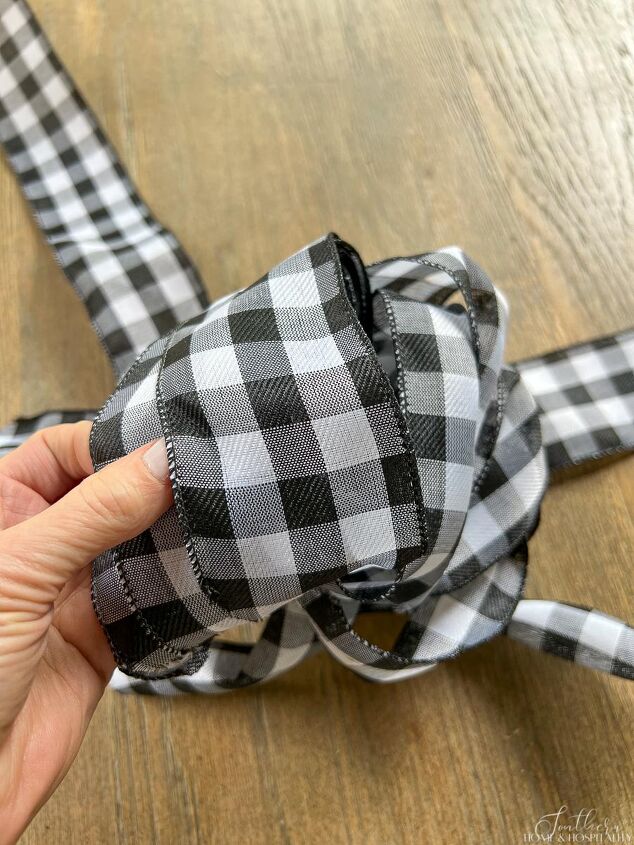
Next, I made a bow by wrapping the ribbon around making a loop, and tying it off with another streamer of ribbon. I wanted a full bow, so I looped quite a few times and then made a notch on each side of the middle by cutting a small “v” so I would be able to spread out and fluff all of the loops. I also tied a longer streamer with the same tying ribbon. Then I pulled apart and spread the loops. (If you want a simpler bow with five or less loops on each side, use this bow method where you loop two sided ribbon back and forth in a stack and pinch and tie it in the middle with no notching.)

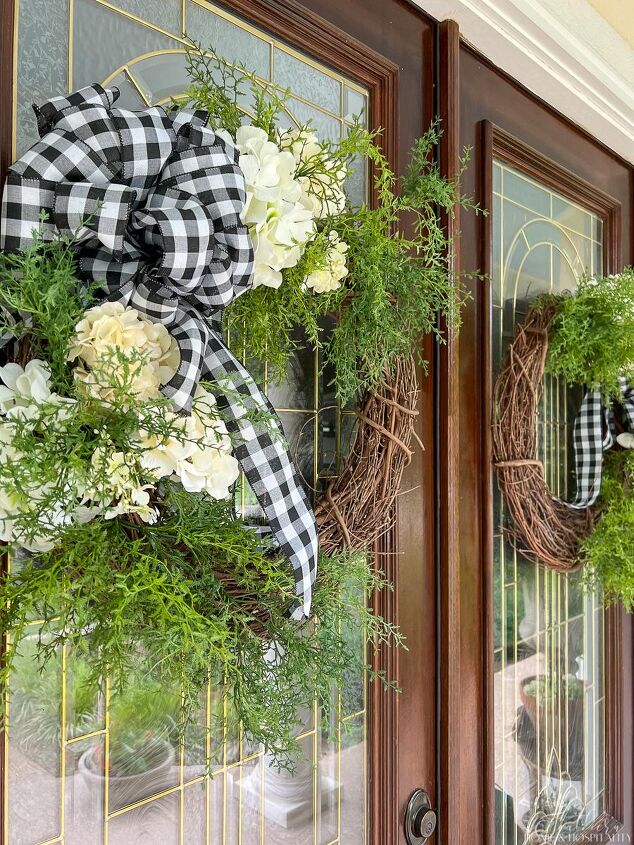
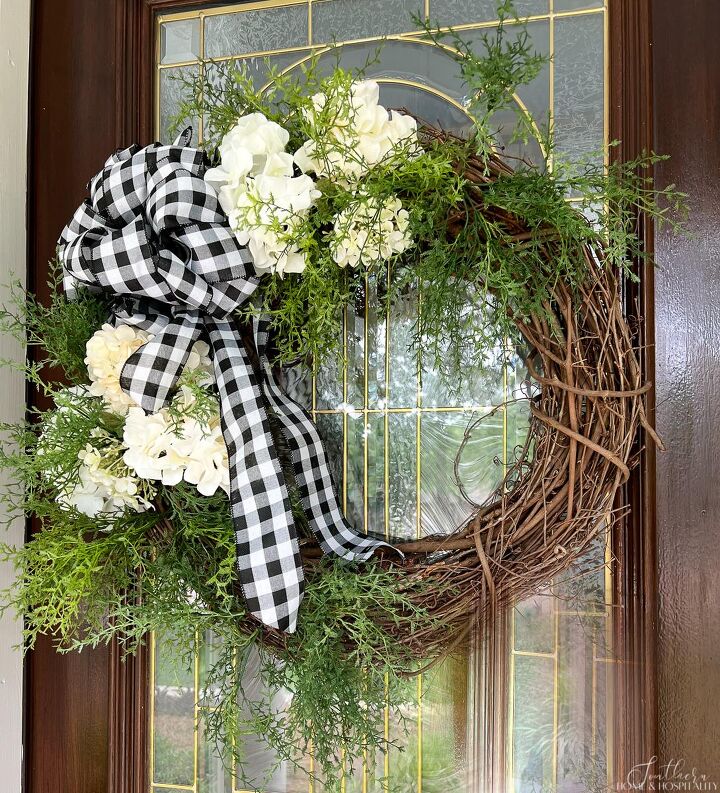
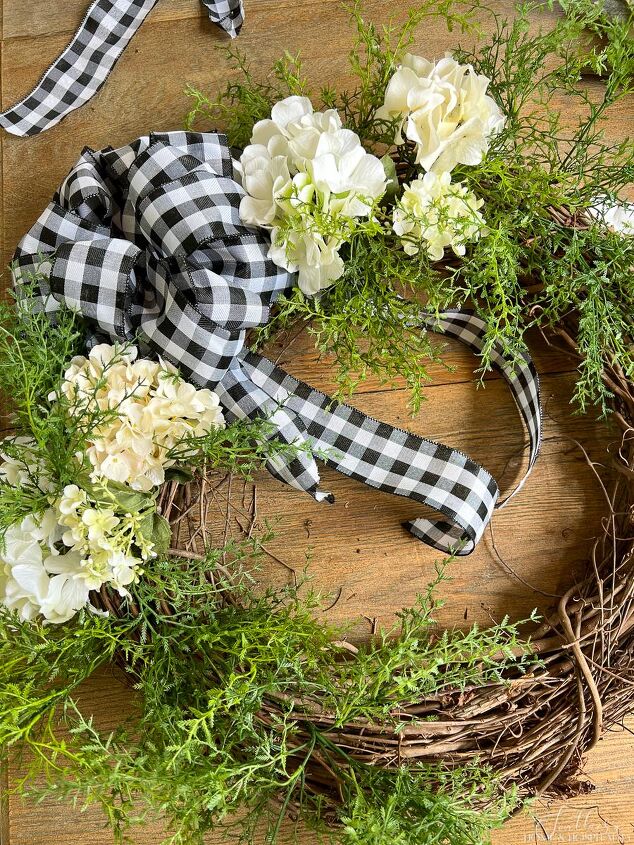
I started on the wreath by placing the bow first as my anchor point and then filled in around it. Since I planned to cover about 2/3 of the wreath and leave 1/3 of the grapevine showing, I decided to attach the bow at about 10 o’clock on the wreath.

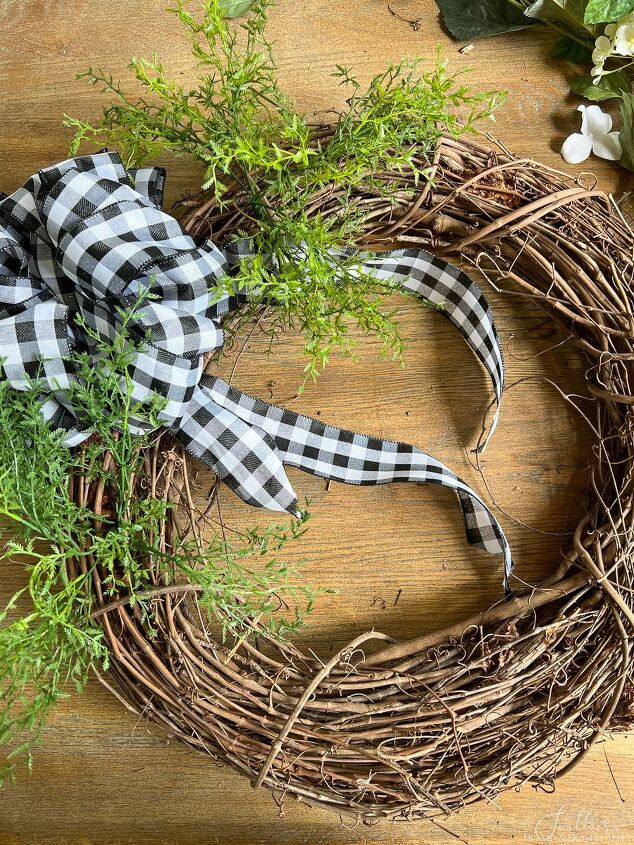
I added the first greenery pick next to the bow. For these particular picks, I inserted them almost straight in to give the most dimension coming out of the wreath. I followed with the rest of the greenery until I had covered all but about a third of the wreath.
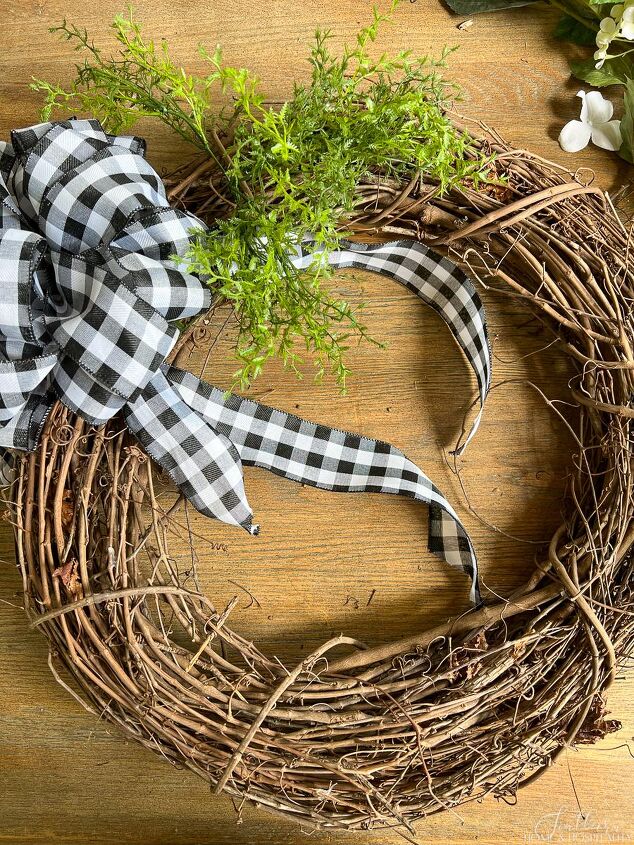
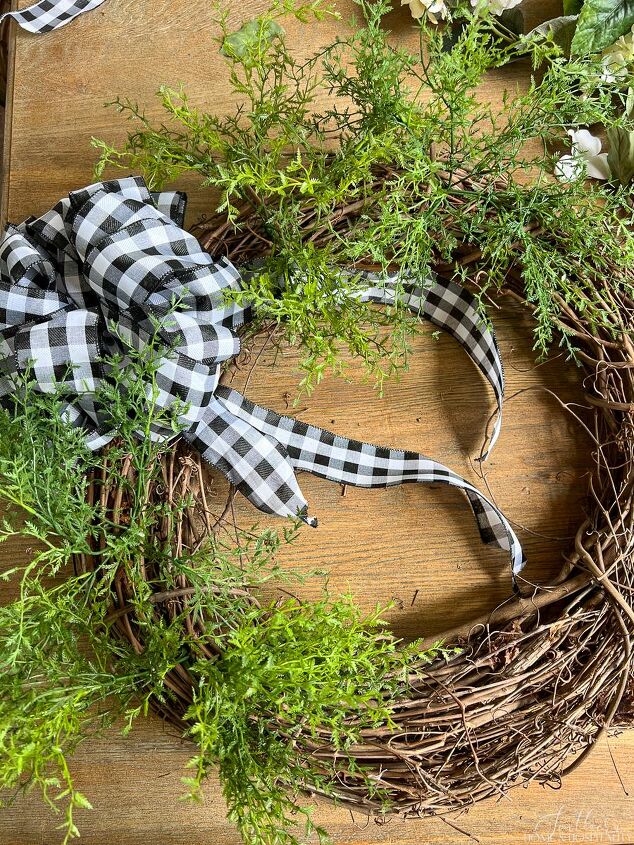
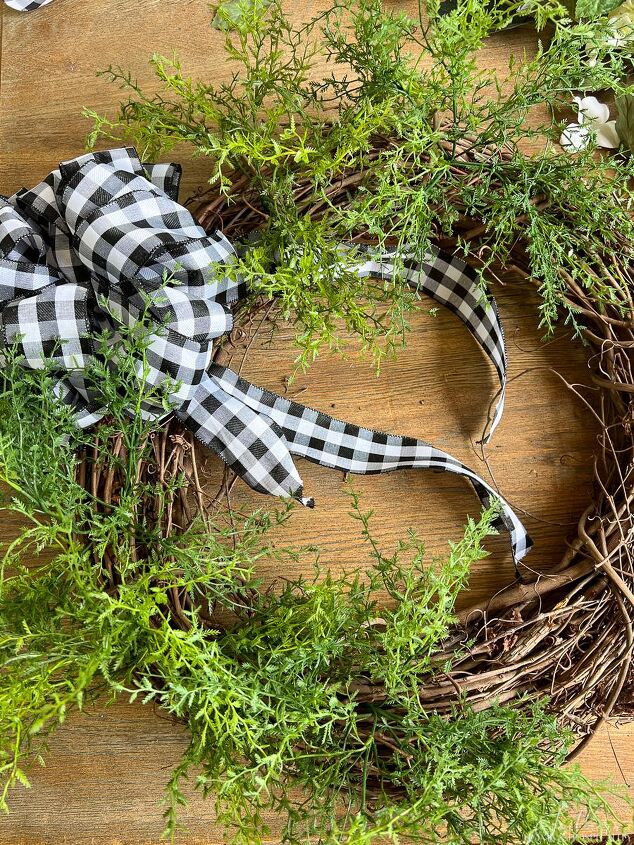
I don’t glue or wire any of the florals or greenery in because I like to use the same grapevine wreaths again for different seasons!
Next, I placed a few of the larger hydrangea flowers around the bow:
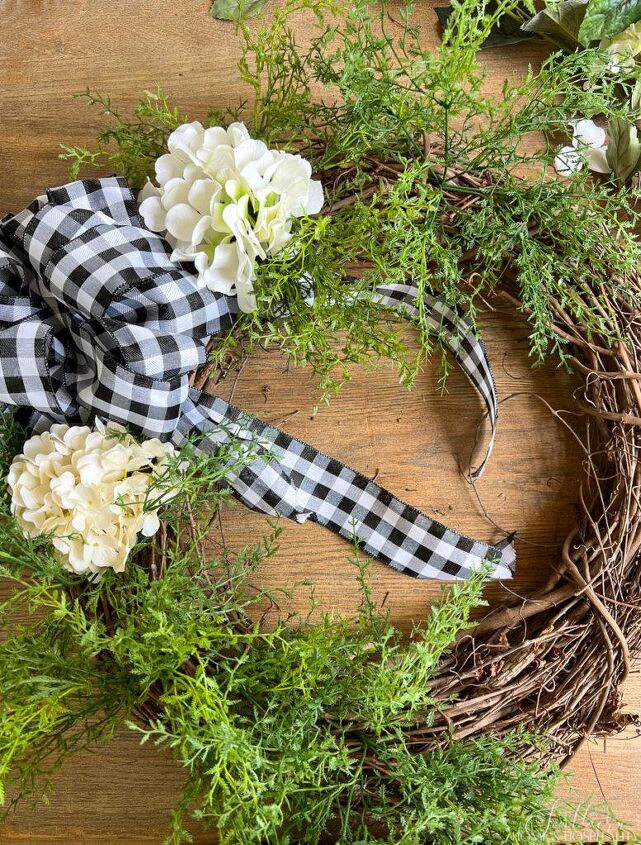
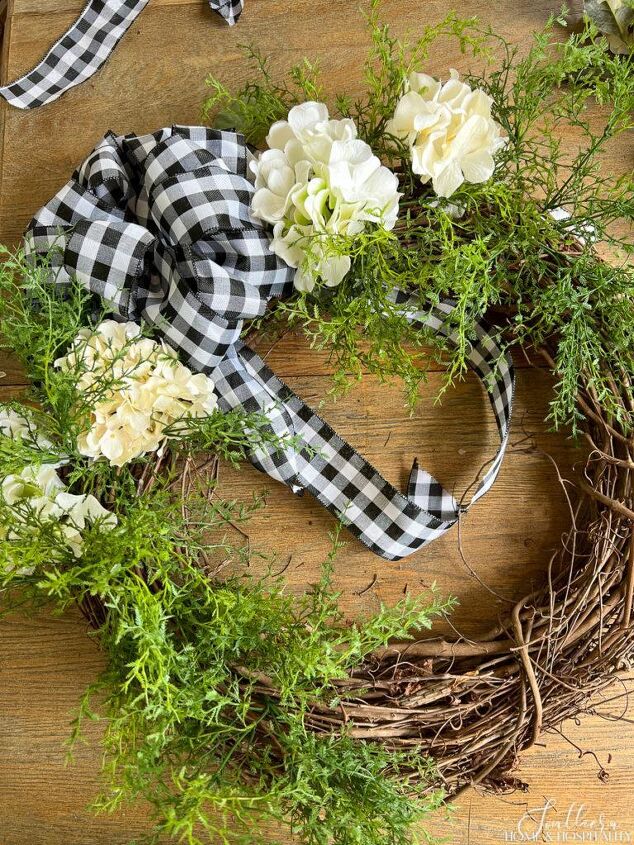
And I filled in with a few smaller blooms:
I finished fluffing and arranging when I hung it up on the door when I was able to see how everything would fall into place. And here it is in all its summer freshness…
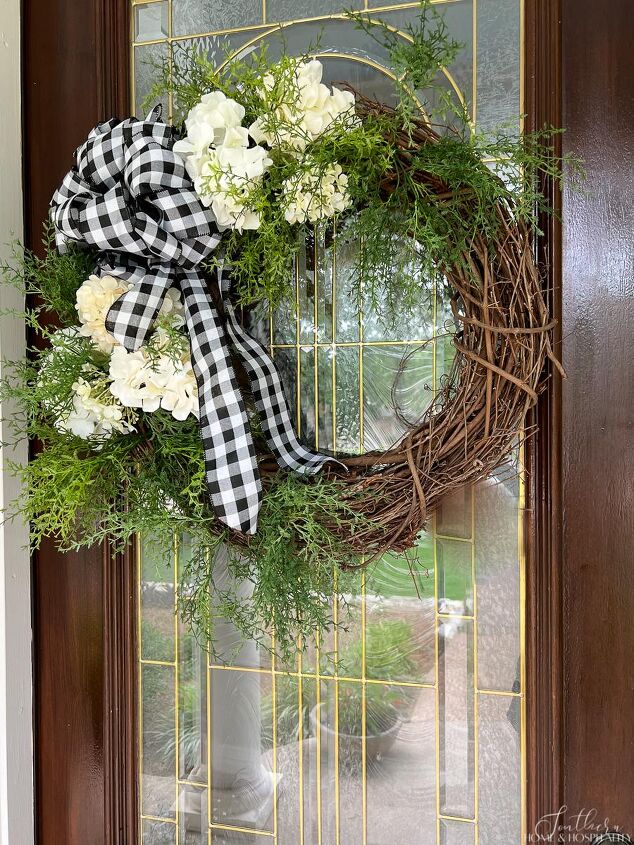
So, so very fast!! I have double front doors so it’s always double the time and money to decorate them. That’s why you’ll only see me make wreaths that are quick, easy, and inexpensive to make!
Hello Summer!!

As always, I appreciate your visit, comments, and shares here! And don’t forget to subscribe for updates to keep in touch and to follow along with me on Pinterest, Instagram, and Facebook!!
Pin this for reference later:
Remember to pin this to your Pinterest Summer decorating and craft boards to refer to later. You can FOLLOW ME ON PINTEREST and see all of my pins plus lots of other inspiring ones that I’ve found and pinned!

Comments
Join the conversation
-
I would not dare shop at hobby lobby that’s snobby lobby eight dollars for a stem of any type of floral or greenery and then the bunches or like $14-$20 for one bunch I would rather go to Michael’s The flowers are just as lovely they’re artificial and beautiful and you can’t tell the difference then hobby snobby it’s not for me lol Who wants to pay that much money for an artificial flower that you may use one season outside not me about plenty of beautiful flowers for half that price much cheaper at Michael’s and hobby snobby
-
You must not go when everything is on a great sale!!!!! My hobby lobby right now is 50% off the entire store. I don’t pay full price for things you mention And Michaels isn’t cheap either.


Frequently asked questions
Have a question about this project?