


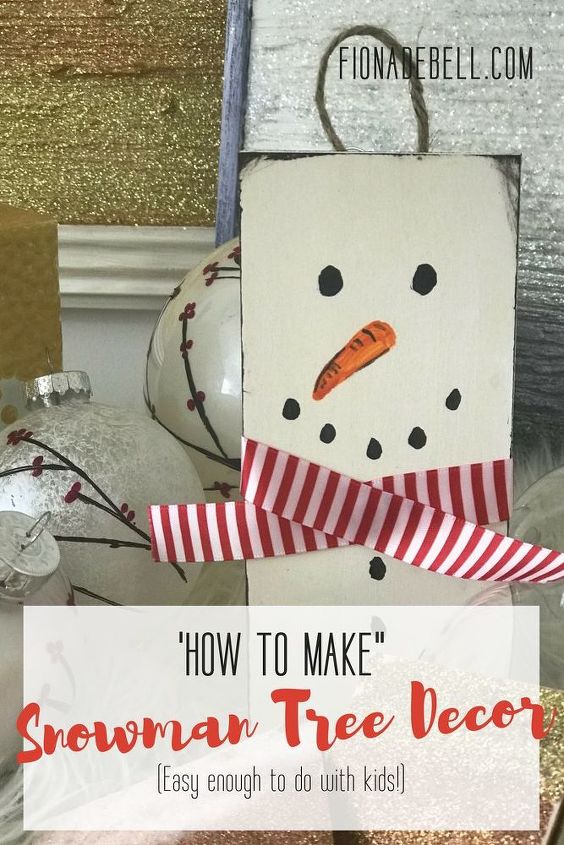
Super Simple Snowman Tree Decor - Make This With Friends!

by
Fiona Debell
5 Materials
$5
20 Minutes
Easy
I am always looking for cute hand finished Holiday Decor that is easy to create, but looks like it cost a lot of money.
I also love to do DIY with my kids and friends and this one is perfect for a 'Get Together & Create' party!
For this project you will need:
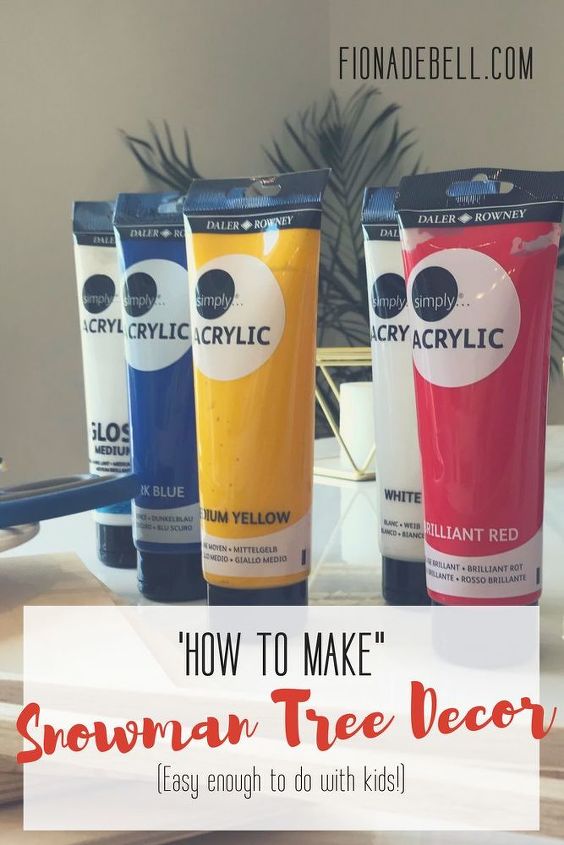
Water Based Paint. I used Art Acrylics.
Colours: Black, White & Orange, (Optional: Glitter, Glue, Metallics).
2 small artists paintbrushes
Wooden Slats (I got mine at Michaels and Amazon)
Glue Gun & Glue (you could use standard tacky glue)
String
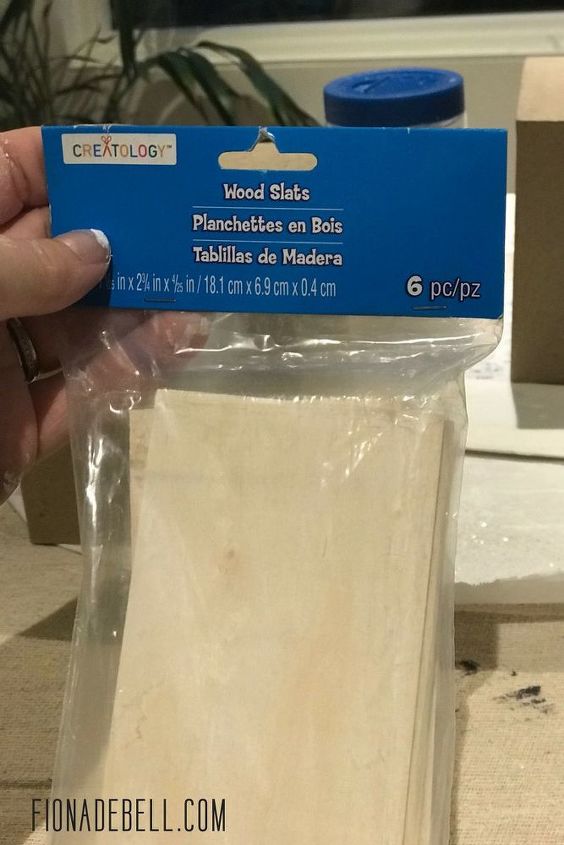
These are the slats - with a 40% off voucher I got them for $3!
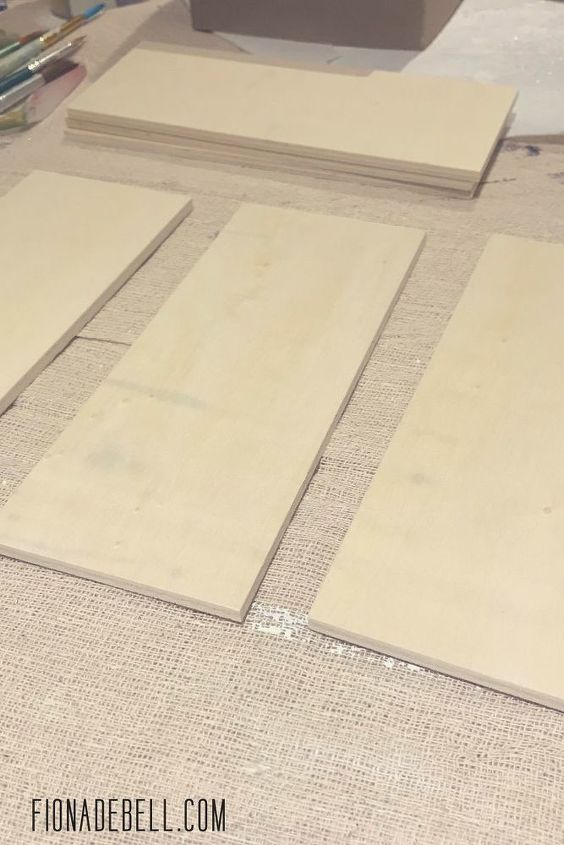
Step 1.
There is little to no prep requited before you paint these. You may want some sandpaper on hand in case they have rough edges, but mine were super smooth.
I laid all my slats out on the table and painted them all together. The best thing to do is to paint white and then follow up with a pretty shimmery pearl. You can skip the pearl if you like though!
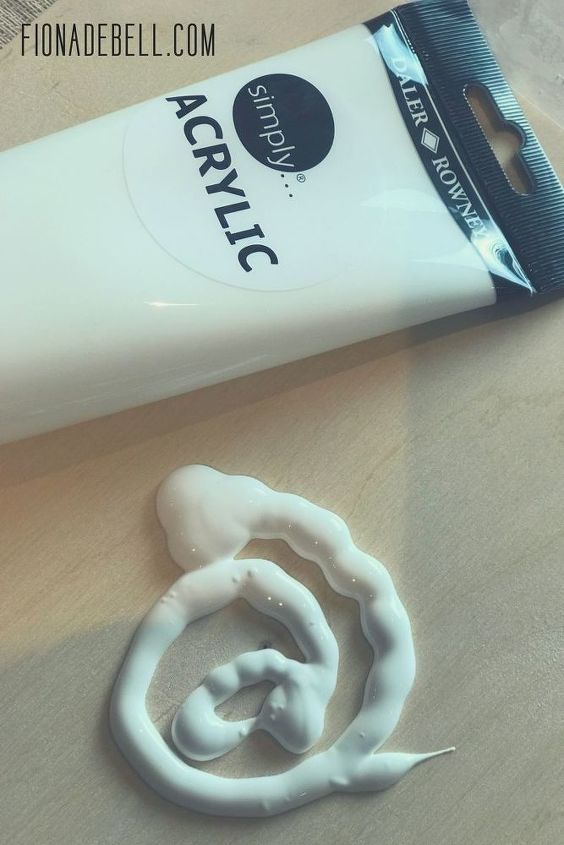
I painted the white directly onto the wood. One or two coats depending how bright you want them to be.

No need to worry about getting it totally flat. If you are doing this with kids you can let them go wild! Brush strokes are fine!
Step 2.
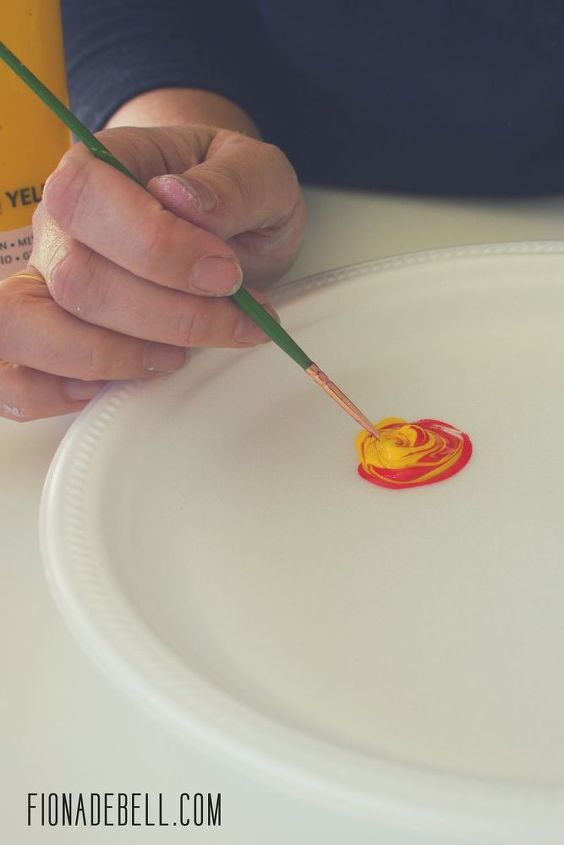
Once dry mix your 'Orange' - you are looking for a carrot colour!
Then squeeze a little black onto your paper plate, away from the orange, (you do not want to mix the 2 up).
You only need a small amount of each colour.
Taking the orange make a triangle about 3/4 of the way up the slat and in the middle. Allow to dry.
Step 3.
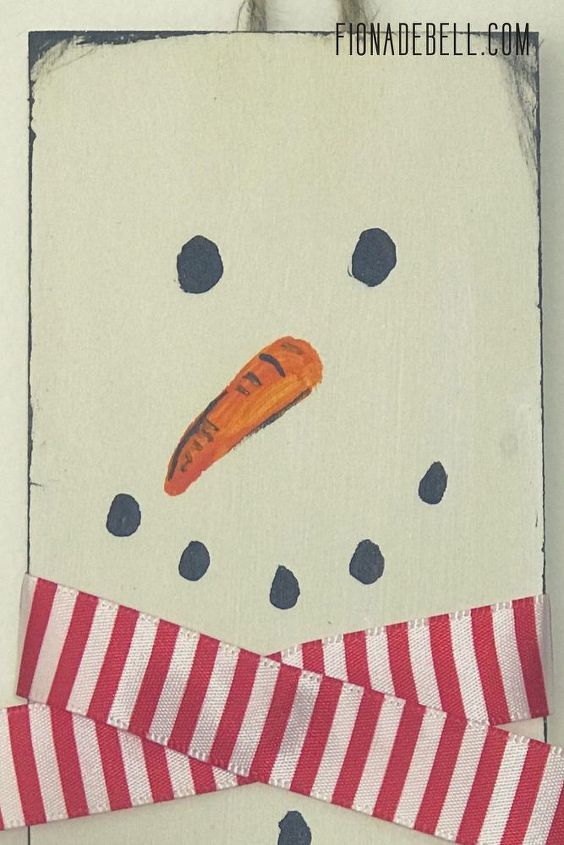
Flip your brush over and using the non-bristle side dip it in your black paint. You are going to use it to make the eyes, mouth and buttons for your snowman.
You will also need to outline your carrot nose. You can use a brush or even a toothpick as that is easier to control!
I also rubbed my black paint brush around the edge for some definition.

Your Snowman should look something like this...
Step 4
Add his scarf. I grabbed this pretty ribbon at the Dollarstore - but you can use whatever you happen to have.
Using my glue gun I daubed glue on the front of my snowman under his mouth and above his buttons to secure my scarf.
I also glued a piece of string to his head to hang him from my tree.
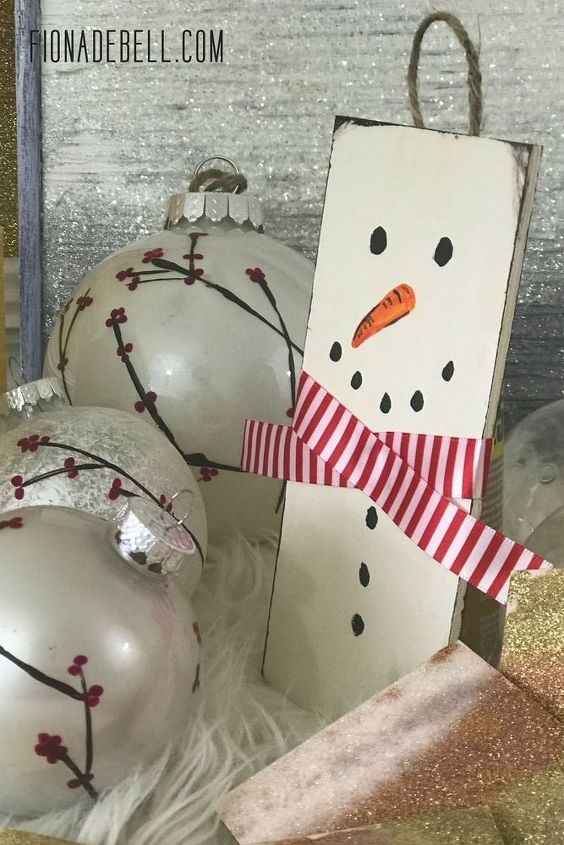
Isn't he lovely?
 TOP TIP
You can easily make him double sided!
What a great idea to gather some friends and make a bunch of these?
They would be fun for a fundraiser or as a 'make' at a Holiday Fair...quick, simple and very pretty!
I hope you show me your own versions!
Fiona XOXO
Resources for this project:
See all materials


Any price and availability information displayed on [relevant Amazon Site(s), as applicable] at the time of purchase will apply to the purchase of this product.
Hometalk may collect a small share of sales from the links on this page.More info
Want more details about this and other DIY projects? Check out my blog post!
Comments
Join the conversation
2 of 4 comments
-
Love ❤️ Him
-
Yes, hang them. thank you.


Frequently asked questions
Have a question about this project?
Did you hang these up or make a holder for them?