


The Ultimate Easy DIY Burlap Wreath for Fall

by
Cassondra
4 Materials
$25
1 Hour
Easy
Burlap decorating is currently in hot fashion. This easy DIY burlap wreath will show you just how easy it is to create your own trendy, fresh front porch decoration!
Yesterday was our city’s pumpkin patch event and I am realizing how fast time is flying by. It seems like I was just spending the last days of summer with my kids before school started and now we’ve already had our first Colorado snow. If you are late coming into the game or haven’t started your fall decor yet, this post is for you. If you happen to be ahead of the game, the flowers in this DIY burlap wreath can be changed to make this a Christmas or summer wreath instead.
Here is what you will need to make your burlap wreath:
2 or 3 rolls of burlap ribbon 10 yards
A 12 in wire wreath form (you can go for larger if you wish)
Some flowers to use as accents
Hot glue
To make the burlap wreath:
Starting out and getting a pattern going is the hardest part of making a burlap wreath. Once you get the weaving flow, this will be really easy and really repetitive. I will include some pictures so you can see how I got it started.
First, weave the burlap through the bottom slot on the wreath form. Fold it over and hot glue it in place.
Next, take the burlap up through each of the remaining slots and pull it out so they each have equal length coming through.
Next, take the burlap up through each of the remaining slots and pull it out so they each have equal length coming through.
Bring the burlap back down to the bottom rung and start again, weaving the burlap through each slot.
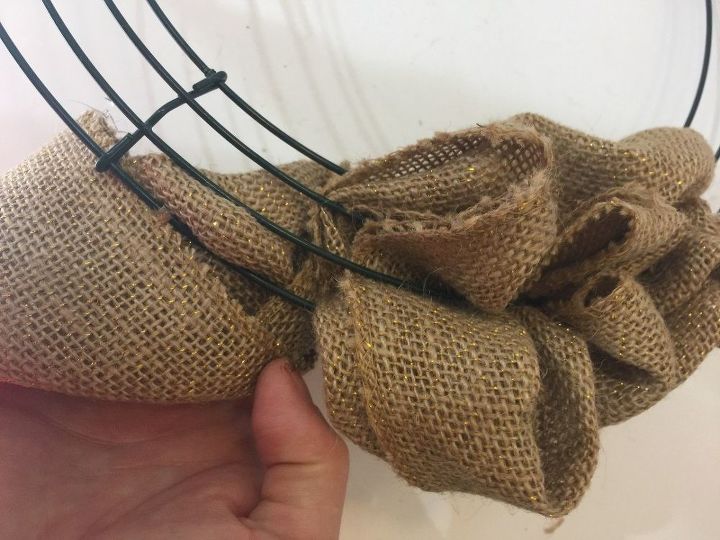
Continue this process going around the entire wreath.
It will take a few tries to get the feel for this but once you get a few rows in, it will become very easy. Also, don’t worry if the burlap twists or is not completely even, I found that it actually looks better when it’s not perfect.
If you run out of burlap along the way, simply hot glue a new ribbon on to the edge of the old one. Continue around the entire wreath until you have a full and beautiful burlap wreath.
Finishing the wreath:
To end the wreath, I just looped the ribbon around and hot glued it in place. You can also add a loop of burlap on the back for easy hanging.
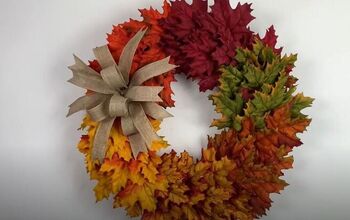
To add accents to your wreath, simply pick out some seasonal flowers and hot glue them down to your wreath. I added some fall sunflowers to the sides of my wreath to add some interest to the rest. You could also use floral wire and tie some flowers on if you would prefer to keep the wreath up all year and update it seasonally.
I hope you are motivated to create your own burlap wreath! You will be hooked once you try as it is super forgiving, fun and always beautiful! If you are searching for a different look, here is a fall wreath that we made only took a few minutes using a twig wreath form!
Be sure to subscribe for more DIY ideas and let us know how your wreath turns out! We love hearing from you! Follow us on social media for even more DIY inspiration!

Easy to do Fall burlap wreath
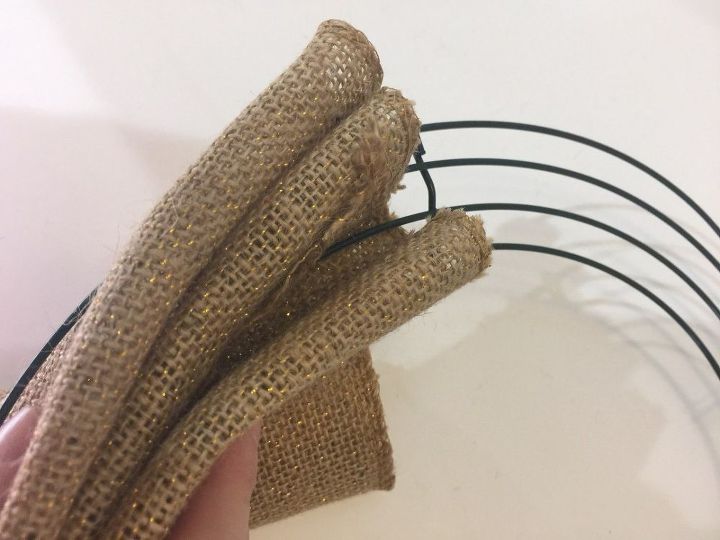
Start at the bottom opening, loop burlap over and glue in place. Weave burlap through remaining openings.
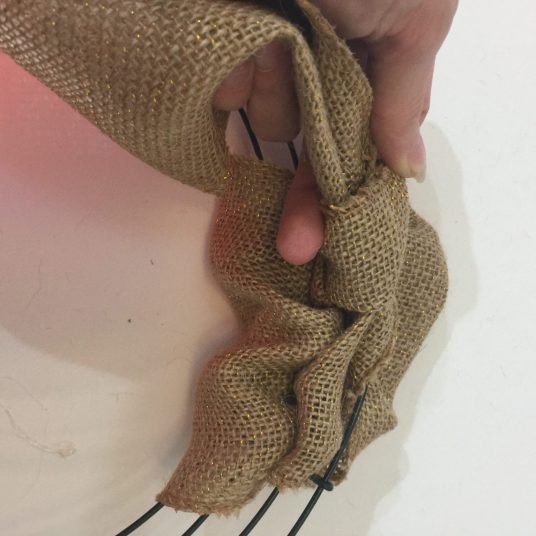
Scrunch burlap tight against the wreath forms edge. Flip over wreath form and twist ribbon a few times to secure in place.
Pull burlap to the top opening and repeat the weaving process again.
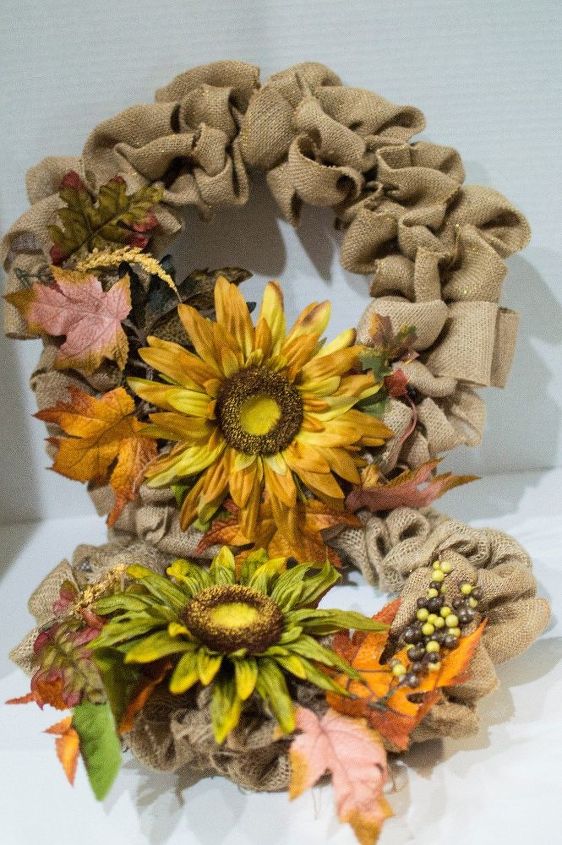
Add accent flowers of your choice.
{
"id": "4400327",
"alt": "",
"title": "",
"video_link": "https://www.youtube.com/embed/ayMHiX21oBc",
"youtube_video_id": "ayMHiX21oBc"
}
{
"width": 634,
"height": 357,
"showRelated": true
}
Easy burlap wreath video
Want more details about this and other DIY projects? Check out my blog post!


Frequently asked questions
Have a question about this project?