


A Laptop Tray for Your Laptop!

What a great idea. I have to give credit to my customer who came up with this request. She’s working from home these days and decided she needed a laptop tray!
Hometalk Recommends!
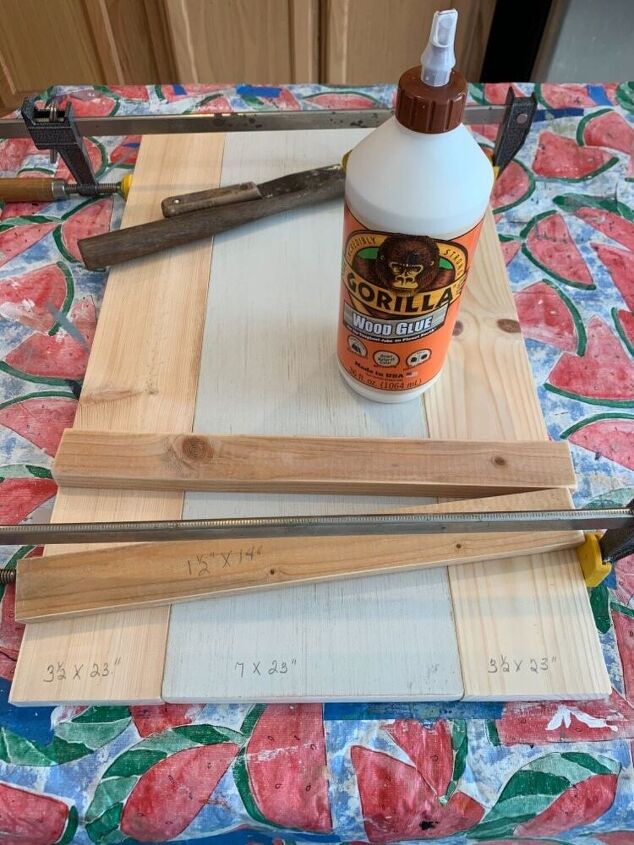
I used 3 pieces of lumber plus two smaller pieces for the cross bars. The sizes are written on the wood for you to see. I glued the three pieces together and use my handy dandy clamps to keep everything in place until it dried.
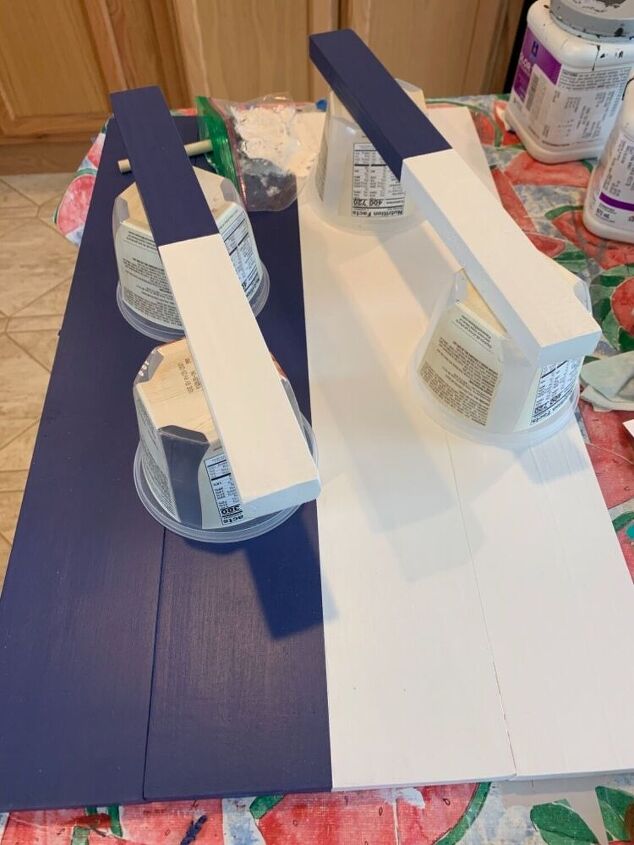
I painted the project at the halfway point half blue and half white. And I did the same with the smaller cross bars.
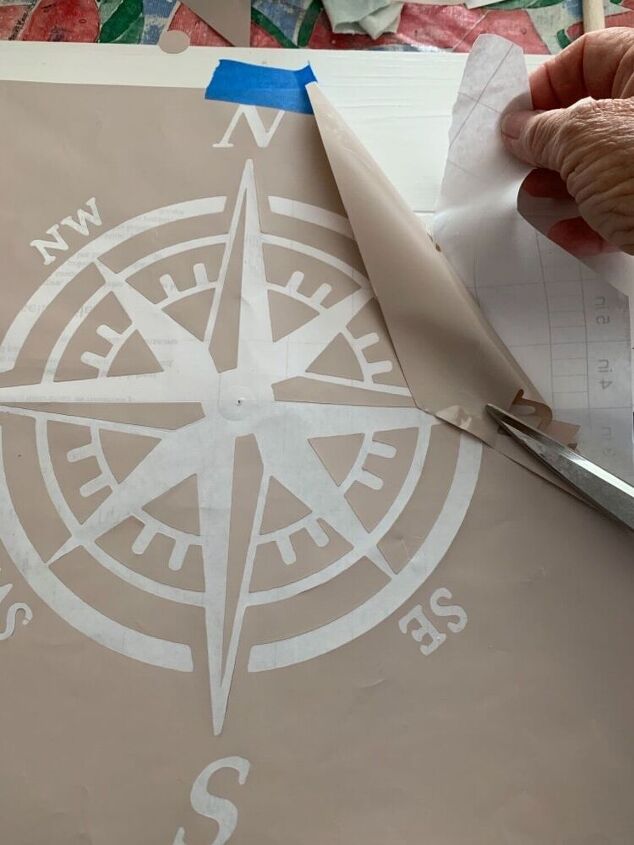
She wanted a nautical compass for the design. I use the computer’s silhouette software program to design and size the stencil. Then I used cheap cheap cheap shelf liner for the actual stencil. I don’t use transfer paper. I position it with painters tape to keep it in the correct spot. Then little by little I peel off the backing and stick it to the project.
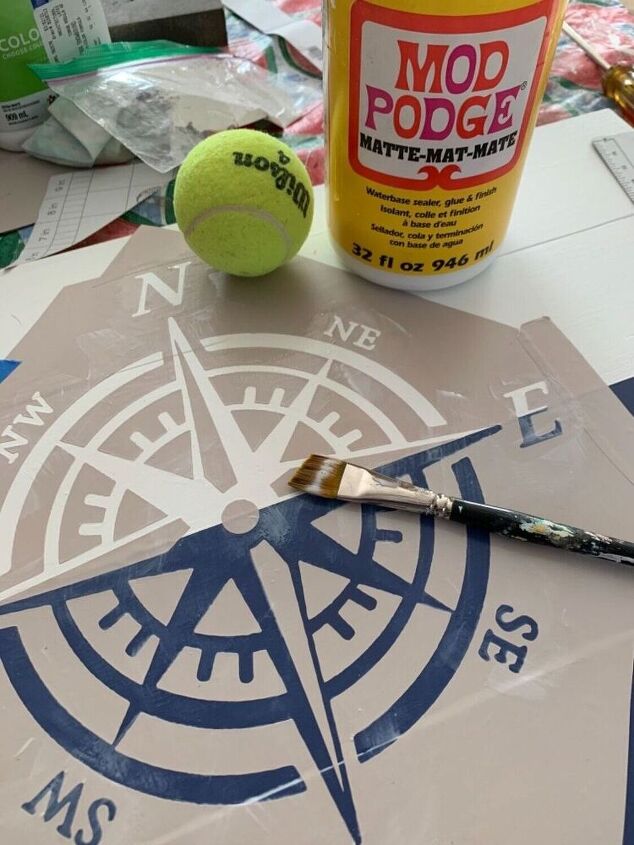
This next step assures that your paint wont seep underneath the stencil. I use the tennis ball to press down the stencil. I brush on mod podge left and right, up and down, over the entire stencil openings. This helps to seal the edges before you add the paint. Let dry. The next step was to use a stencil pouncer sponge to paint it a nice grey. Before it drys completely I very carefully remove the stencil.

I like to add a little extra somethin’ somethin’ to give it a special look. I put a very small amount of grey paint on an old chip brush. Then I offloaded the paint onto a paper towel. With just a tiny bit of paint left on, I brush the grey paint on carefully horizontally. You want to see just a little bit of the grey over the entire piece.
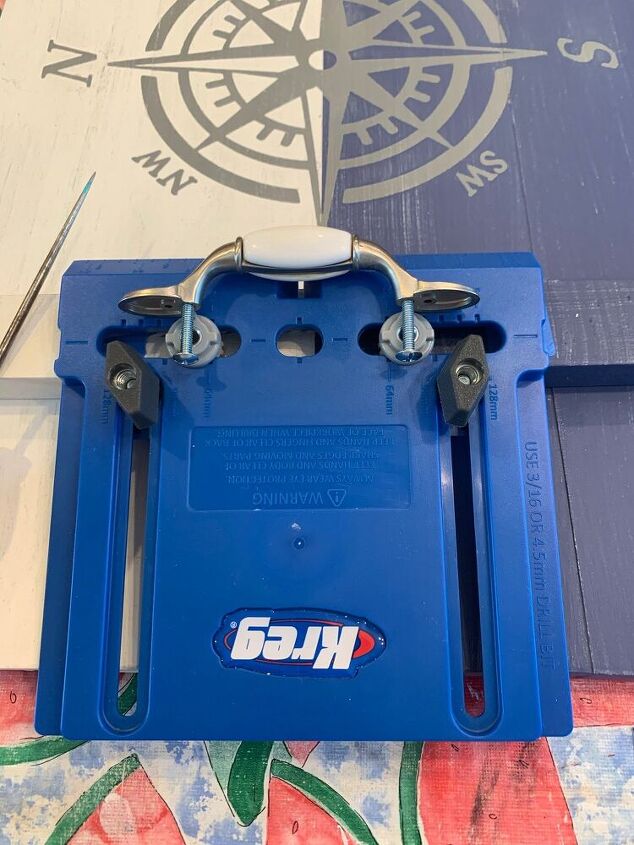
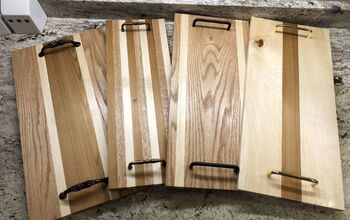
Before adding the cross bars to the tray I need to screw on the handles to the crossbars. I use this “best ever gizmo” Kreg thingy. It helps with spacing the screw holes perfectly! Just follow their directions.
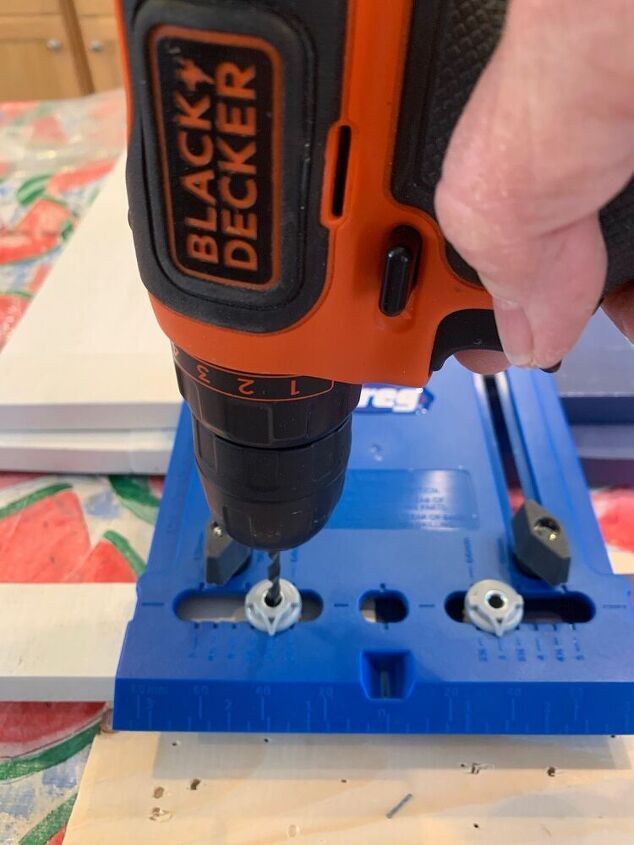
Once I line it up for the size handles that I have I center it on the cross bars. Then I drill the hole for the hardware.
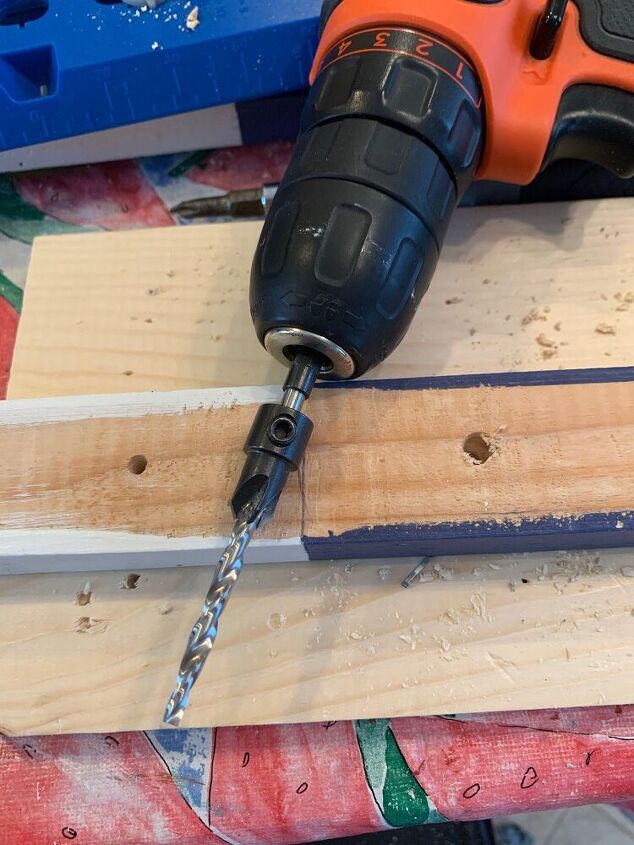
Another excellent gizmo is this drill bit with the extra sink piece attached. Basically you drill the hole and then it automatically drills a larger hole on the top. This way the head of the screw “sinks” in and doesn’t end up sitting on top of your wood. So I attached the handles and then screwed on the cross bars on each end from the backside. You can add a little glue too to make sure everything stays in place.
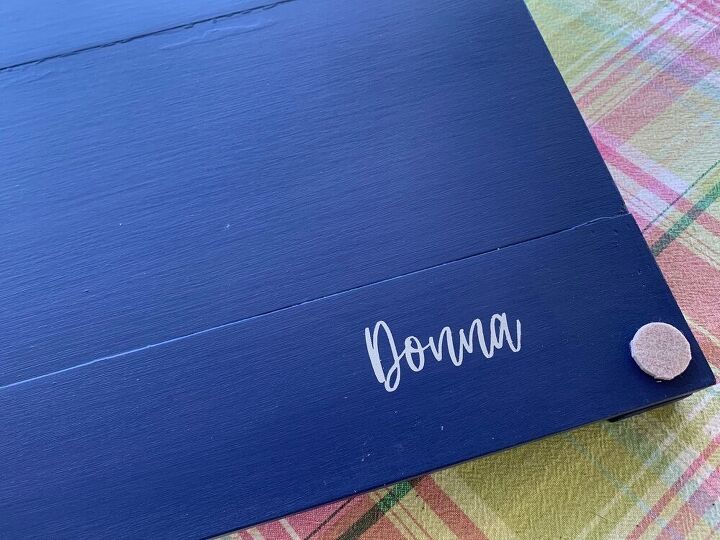
I decided to surprise my customer by adding her name to the backside. The little round felt pads hide the screw heads and protect table tops from getting scratched.
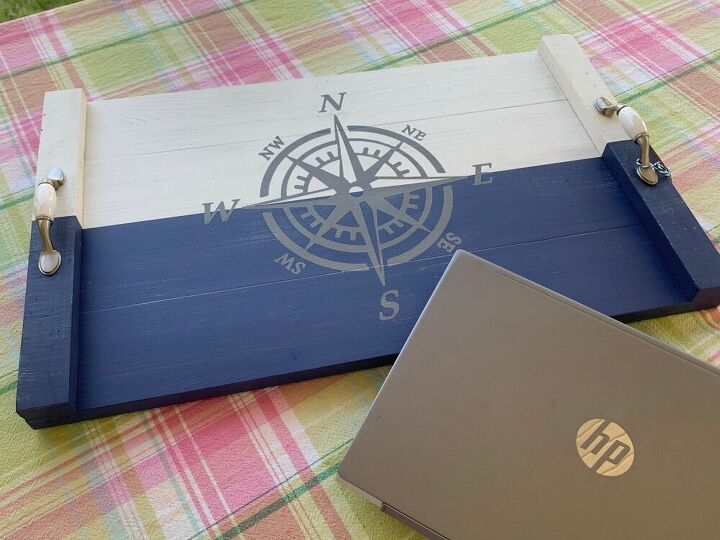
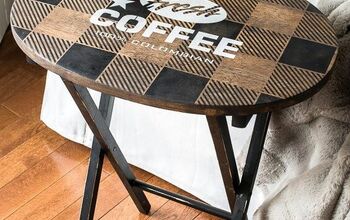
When it was all done I sealed all sides with two coats of polycrylic. And here’s how it looks all finished.

I think there’s enough room for a coffee mug too!


Comments
Join the conversation
-
Wow! That is super gorgeous and you did an awesome job on this post! I noticed for kreg tool, that has to be very useful for hole placement! Donna is very lucky to have such a cool tray!
-
When attaching the stencil, you can cover it with low tack tape to keep everything in place. That way you can remove the backing and not worry about distorting the stencil.
Beautiful job!


Frequently asked questions
Have a question about this project?