


Beautiful Breakfast in Bed Tray Makeover
What could be better than breakfast in bed? How about breakfast in bed served on a beautiful and functional bed tray! What Mom wouldn't love breakfast in bed served on a beautiful bed tray? I know I would!!
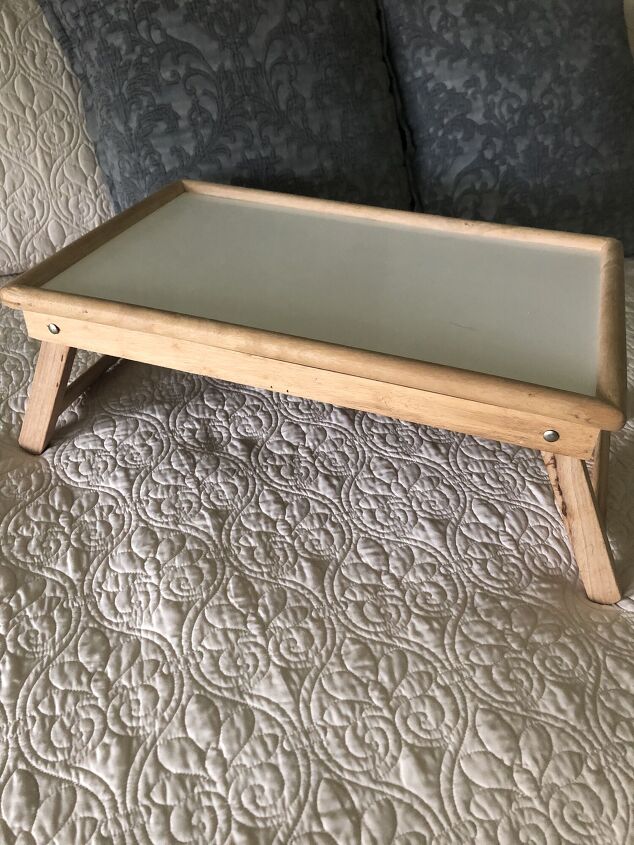
To be completely honest, the only time the bed tray gets any use is when someone is sick or recuperating from surgery. It's very functional but not very pretty. However, that's going to change! I'm going to dress up this bed tray and use it more often!
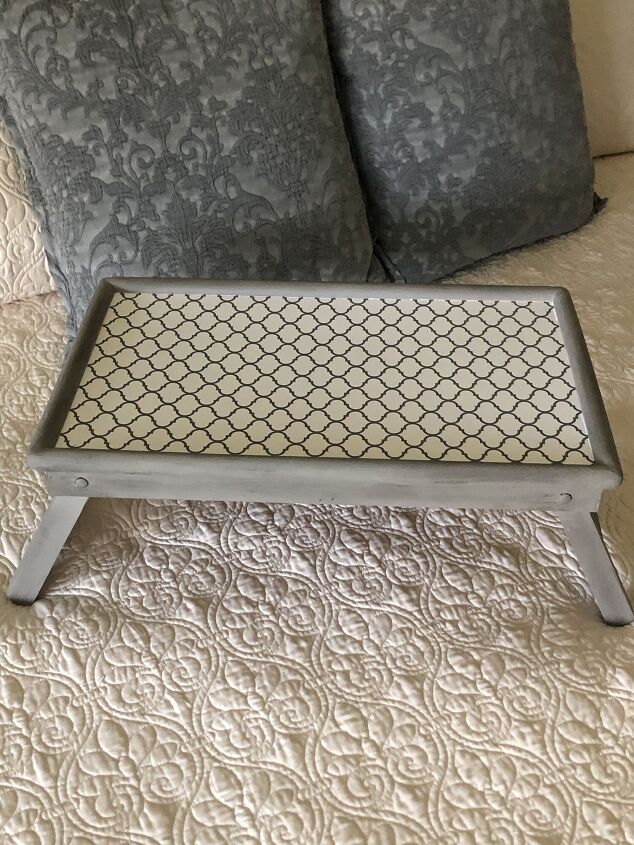
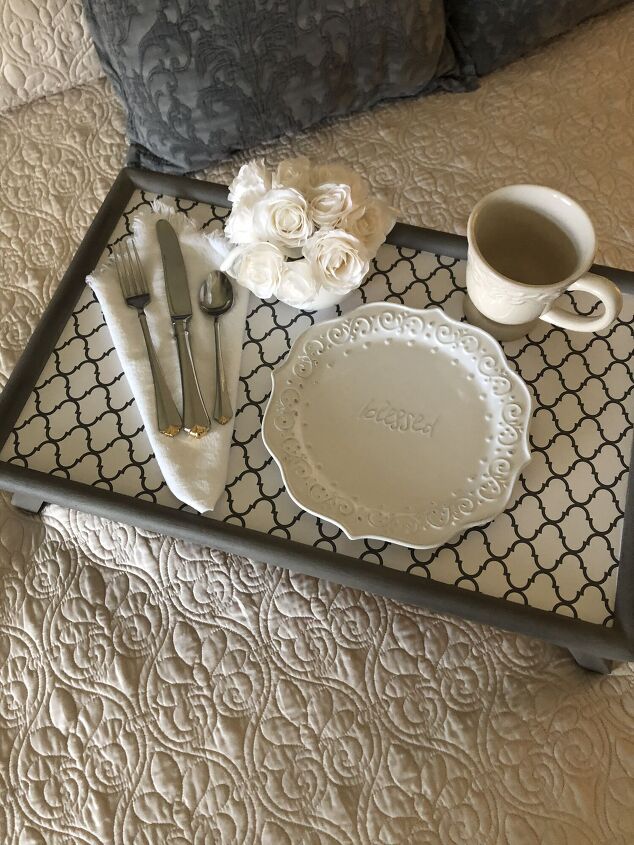
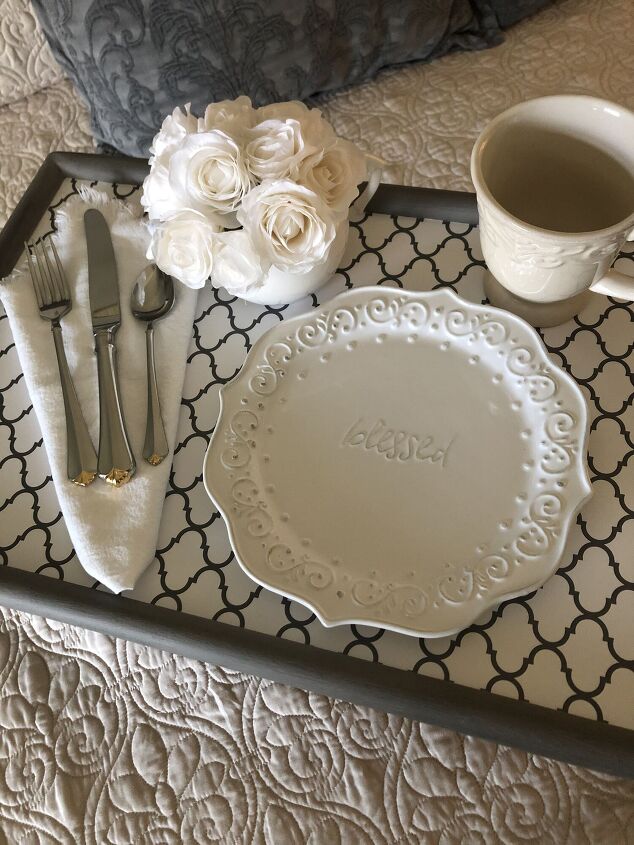
Here is the tray after the makeover! What do you think? I think it looks beautiful now! This was a very simple DIY that completely changed the look of the tray! Keep reading to see how I did it!
Gather
Gather or purchase the following items you will need to do this project!
- bed tray
- contact paper
- painters tape
- box cutter
- chalk paint
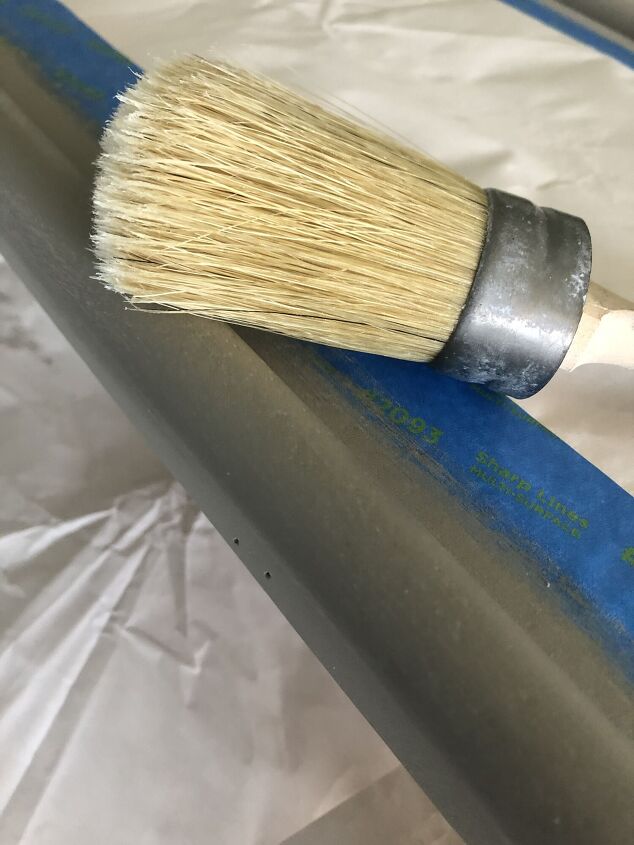
- paintbrush
- paint can opener
- stir sticks
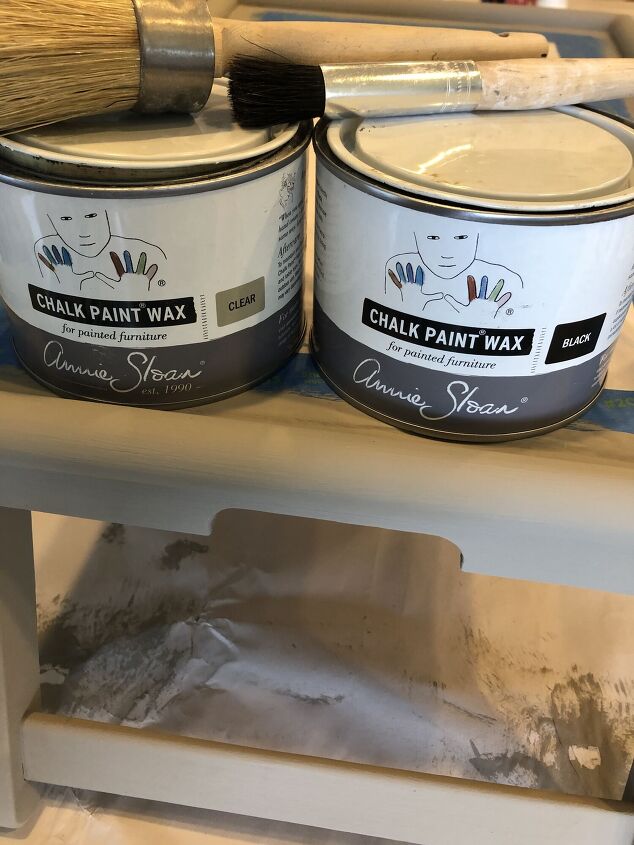
- clear wax
- wax brush for clear wax
- black wax
- small wax brush for black wax
- paper to protect work surface
Prep
Clean
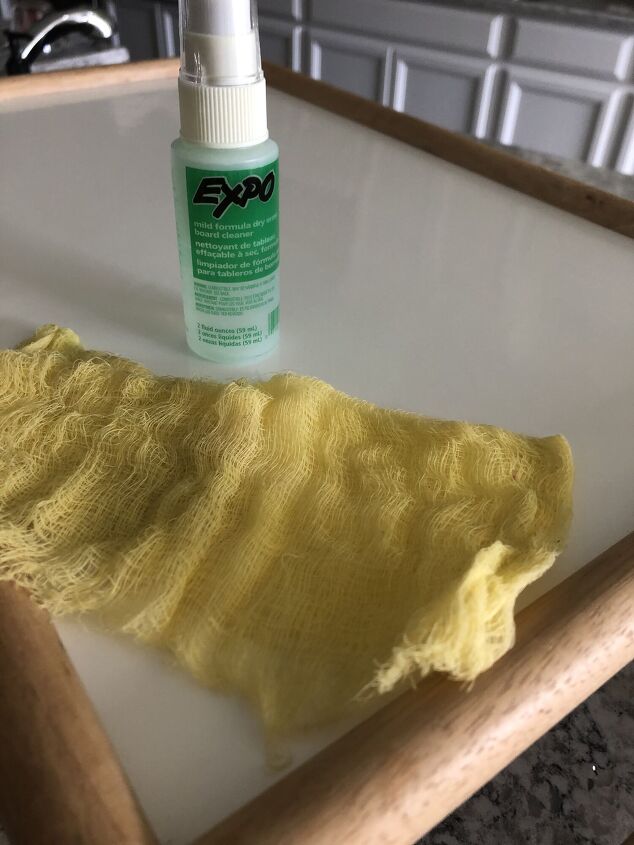
I cleaned the top of the tray with whiteboard cleaner. Then, I dusted the wood with a tack cloth to remove any dust.
Prep tray
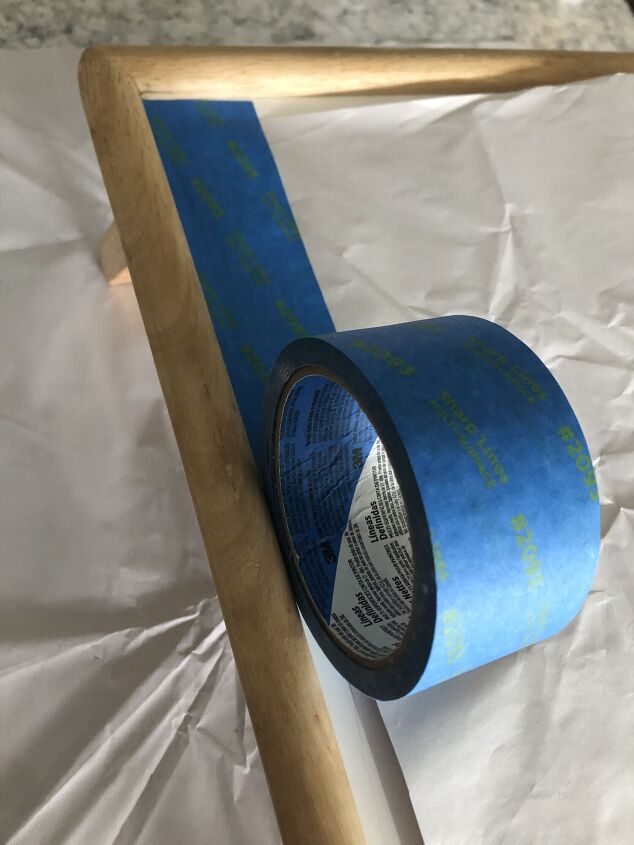
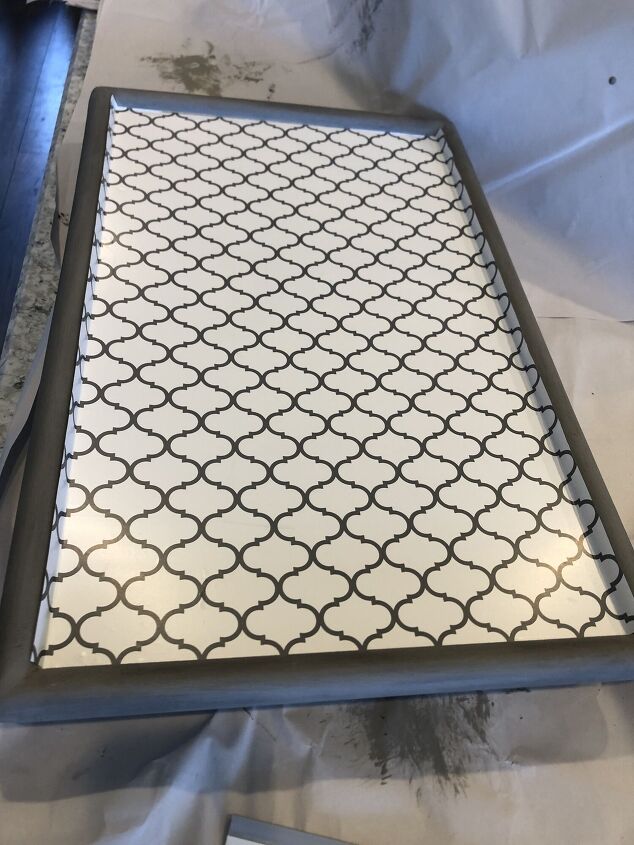
Cover the flat surface of the tray with paper. Leave 1/4 to 1/2 inch of tray showing around the edge. Tape the paper to the tray with painter's tape. Hold the painter's tape close to the edge of the tray and roll to the end. Push it into the edge and over the side.
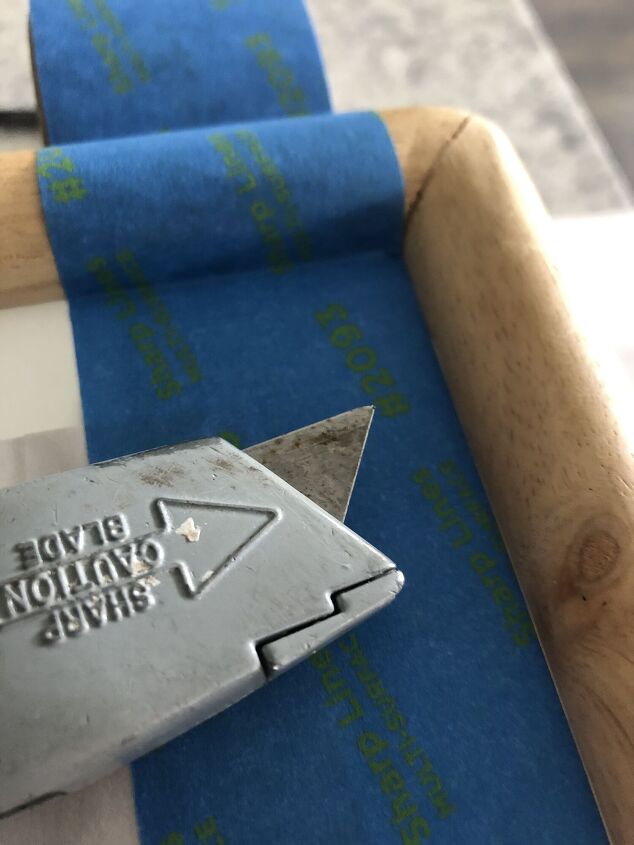
To get a a perfectly straight edge, use a box cutter to cut the painters tape.
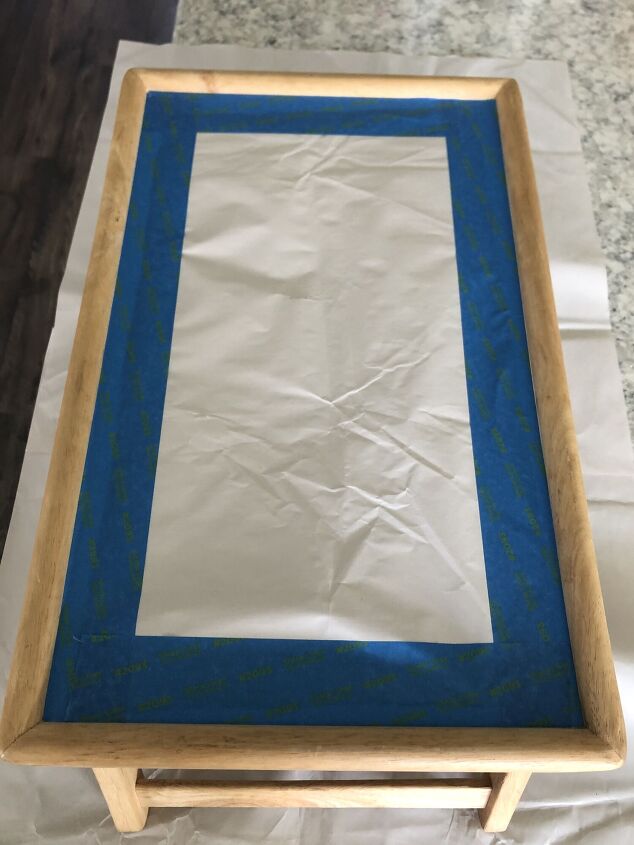
Repeat the process on the other three sides. Now the tray is ready to paint!
Prep Surface
Put down paper, plastic, or cardboard to protect the surface you will be painting on.
Choose Paint Color

I don't want to spend any money on this makeover! The contact paper I'm going to use on the top of the tray has gray lines. So, I have three cans of gray-colored paint to choose from. None will be an exact match, but I can use dark wax to change the color if needed.

To begin, I turned the tray upside down and found an inconspicuous area to test the paint colors. My goal is to match the paint to the gray lines of the contact paper. I forgot to take a picture of the three original paint colors. The color on the left was too dark. The middle and right colors were too light. So, I added black wax on top of them. It darkened the color on the right enough to almost match the contact paper! The winner is Annie Sloan French Linen covered with Annie Sloan Black wax!
How to Makeover a Breakfast in Bed Tray
Paint
Here are the steps I used to paint the wood parts of the tray.
- open can and stir paint
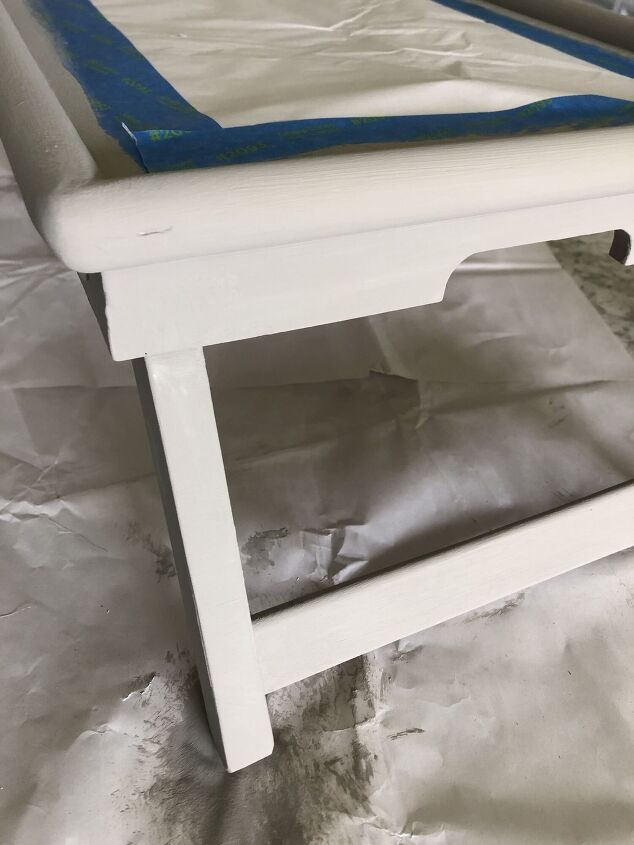
- paint the wood
- let paint dry, I waited one hour
- apply second coat of paint
- let dry
Wax
Whenever you use black wax, it's important to remember to use clear wax first. Otherwise, the black wax can be too dark and hard to remove if you get too much on the first time.
Remember, always apply clear wax first in small sections.
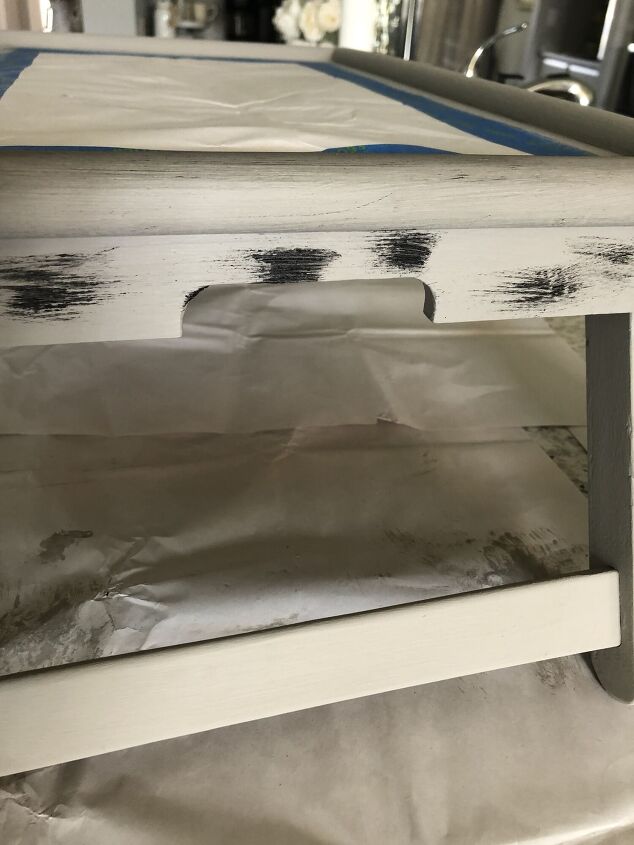
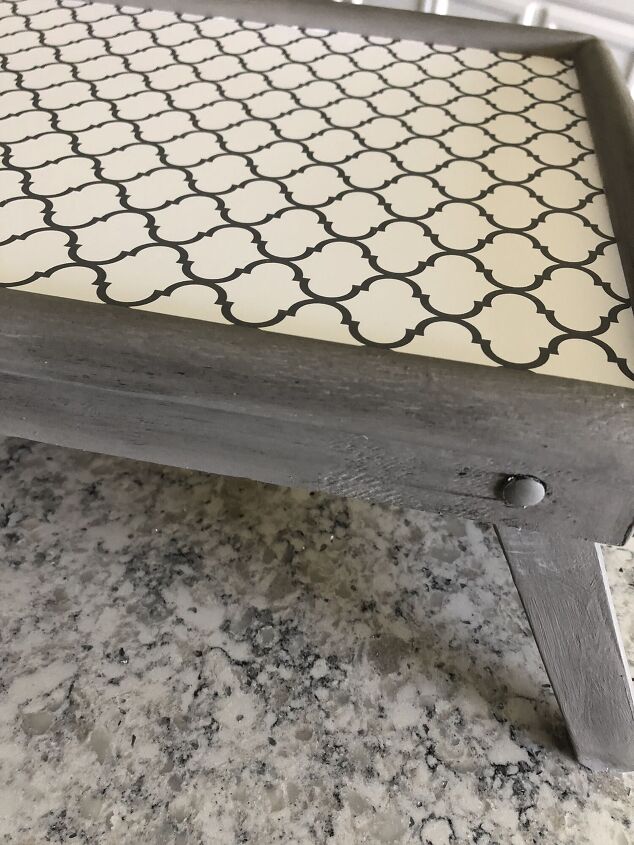
Next, apply the dark wax with a small brush. As you can see in the picture above, I applied sparingly. You can always add more. Rub the dark wax into the wood, removing it until you like the color.
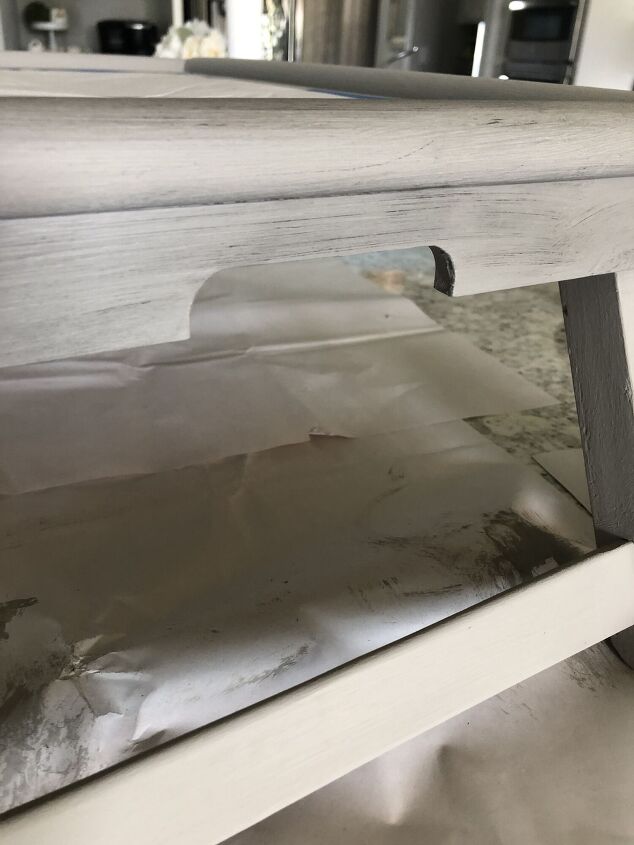
Dark wax shows the brush strokes and gives the piece more character! It also gives the overall color a darker appearance.
Apply Contact Paper
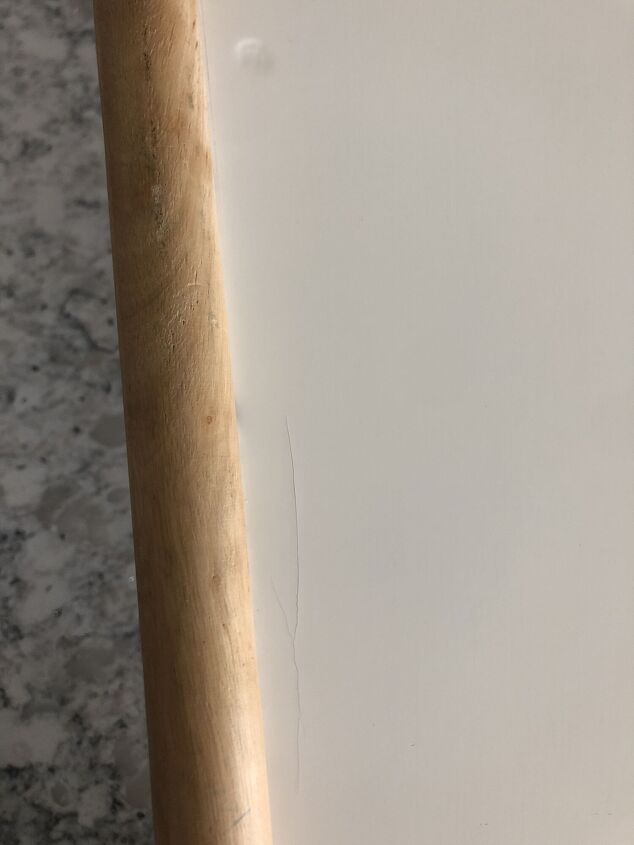
As you can see from the picture above, the top of the tray had some imperfections. So, I decided to cover the surface with contact paper. This will make the top look new and different!
First, measure the contact paper. My contact paper was the exact width that I needed for the tray. Next, I measured the height and added 1 inch.
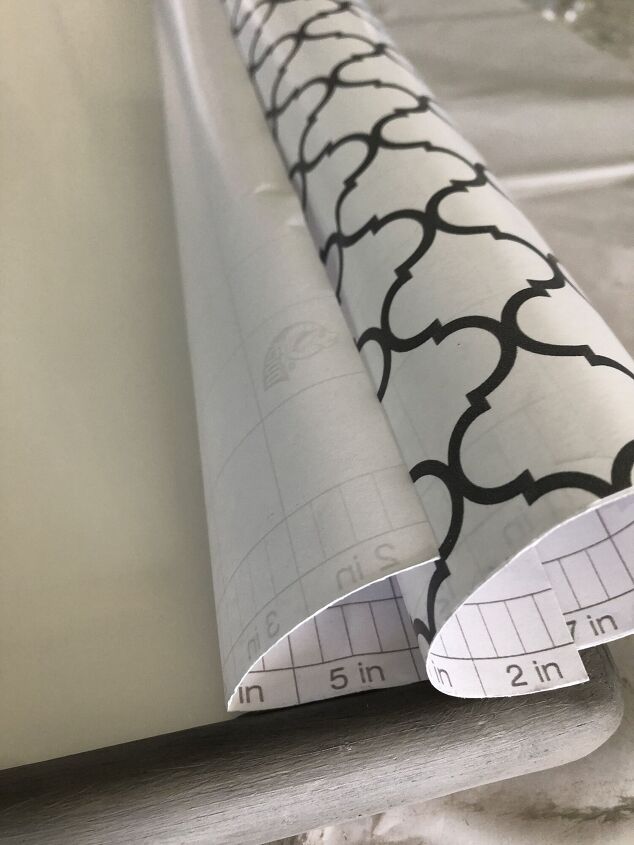
Now cut the contact paper. The back of the contact paper has a grid printed on it. Cut your contact paper using the grid to make sure the pattern is straight.

Apply the contact paper using manufacturers' instructions. Peel the backing from the contact paper. I only peel it a couple of inches at a time, as you can see in the picture above. Very carefully line the paper to the edge, letting it hang over the sides.
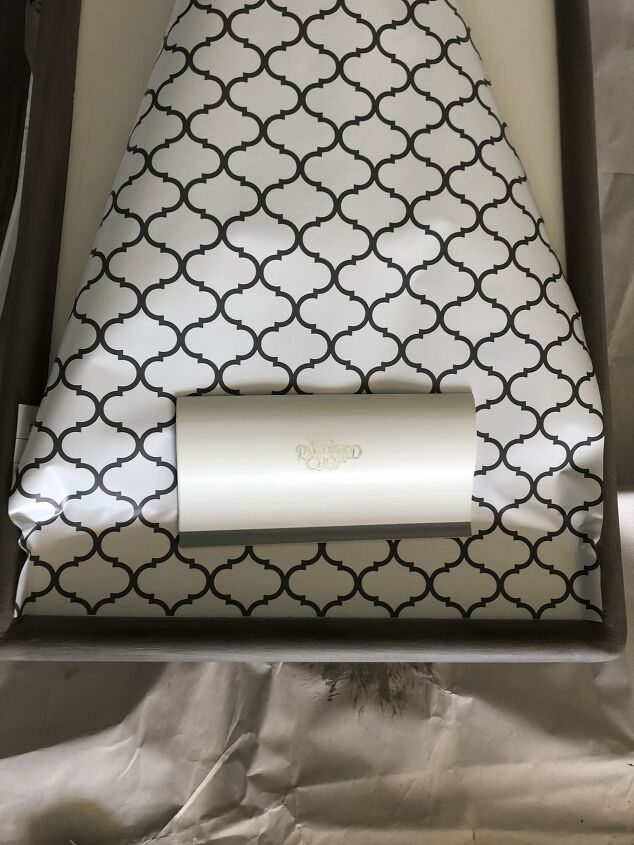
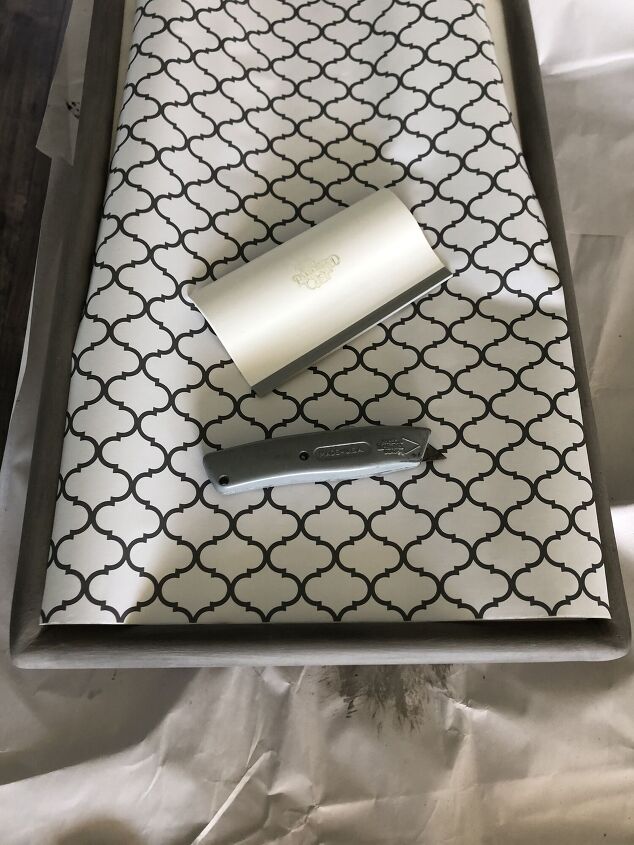
Now you have to scrap the contact paper to remove any air bubbles. This step is very important! You do not want to have any air bubbles between the surface and the contact paper. You must go slowly and push all of the air out as you go. I used my Pampered Chef Kitchen Scraper and it worked great! When you are sure the contact paper is completely flat, pull a couple more inches of the backing paper away from the contact paper and scrap again. Repeat this process until you reach the opposite end of the tray.
Woo hoo! The hardest part is over! What a relief to get the contact paper on smoothly!!
The last step is to remove the over-hanging contact paper. Use the box cutter to remove the excess contact paper from the edges of the tray! It came off so easily and the edge looked perfect!!
The Finished Bed Tray
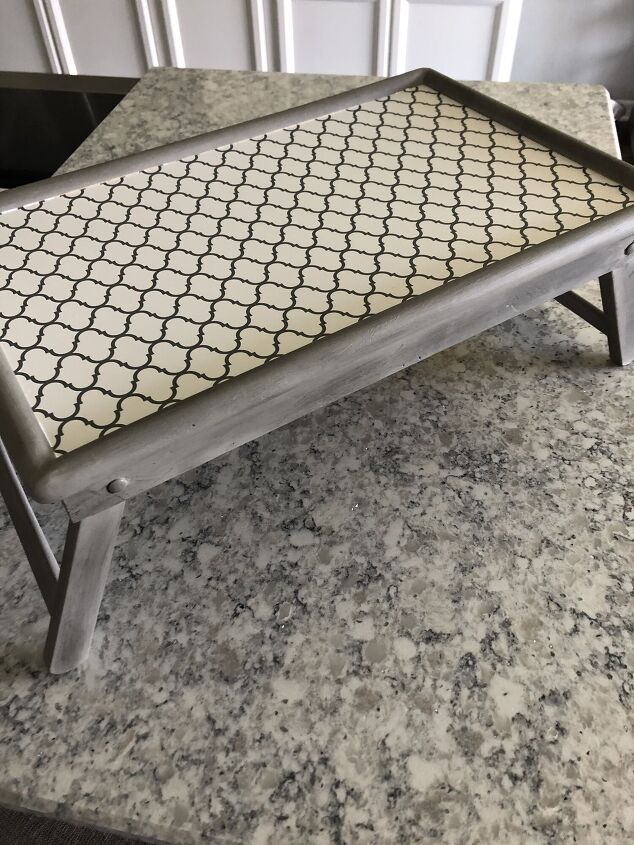
The makeover is done! Now I have a tray that is not only functional but beautiful as well! I'm so happy with how it turned out! But, it gets even better because while I was working on the project, I discovered a bonus!
New Discovery
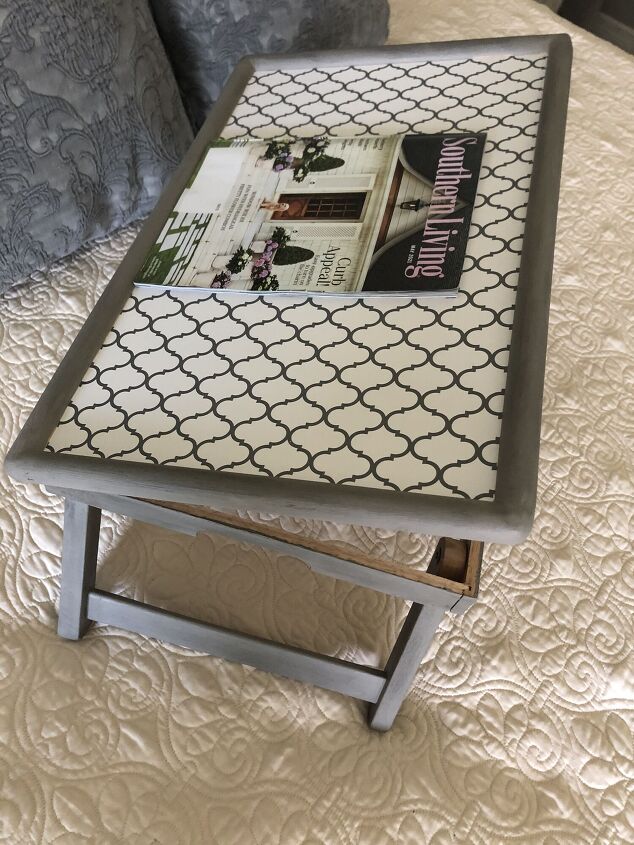
Life never ceases to amaze me! I learned something new while doing this makeover! I´ve had this tray for at least 20 years and had not realized that the flat surface tilts upward to use when reading! Not only did the makeover turn out beautiful, but the breakfast in bed tray is even more functional than before! Now I can also use it when reading or working on my Ipad!
To see other DIY projects I've done lately as well as new posts, click here to join our mailing list!
Blessings, Donna and Rich
Resources for this project:
See all materials


Comments
Join the conversation
-
Too funny! I still can't believe I had the tray for so long and didn't realize I could raise it!! Thank you for your kind words! Donna
-
Me too, I have a tray like this & had no idea it lifted. Thanks for the share.


Frequently asked questions
Have a question about this project?