


$0 Gorgeous Pine Cone Garland for Fall & Christmas Decor

by
Bren Did
2 Materials
$2
3 Hours
Easy
I love using garlands to decorate my mantle, staircase, and railings for the holidays. Last year I decided to use real pine cones to create my own pine cone holiday garland. I figured out an easy trick to naturally preserve and cure pine cones that costs $0! Add a bit of twine and you have a gorgeous (and affordable) new decoration... no special craft supplies needed!
Last holiday season I saw a rustic faux pine cone garland that was beautiful... but cost $26 for 4 feet. Decorating my staircase would have cost me $130... And it didn't even have the natural beauty and scent of REAL pine cones!

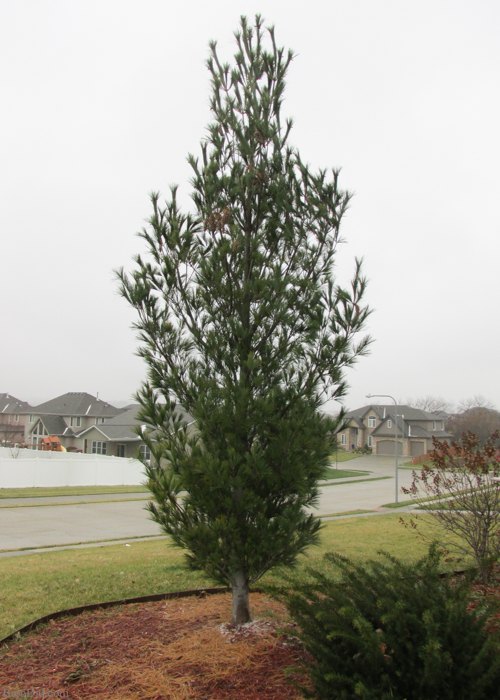
Step 1 - Collect pine cones. Pine cone are available for free in the great outdoors! This one small tree in my yard produces enough pine cones for an 8 foot garland each year. You could also look for pine cones in local parks and neighbors' yards.
You may notice that freshly collected pine cones have a dingy or white appearance from dried sap. I wanted shiny brown pine cones that looked like they came from the craft store.....AND I did not want to bring in mold, mildew, or creepy crawlies from outdoor.
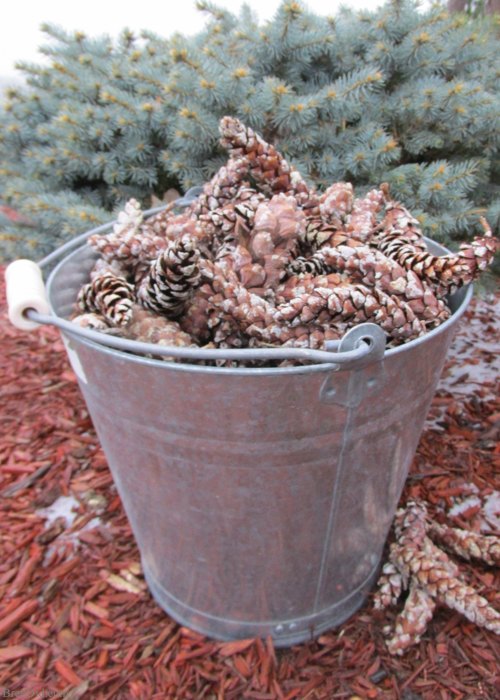
Unfortunately all the directions I found for preserving pine cones called for soaking them in bleach and then air drying. Yuck! I wanted a nice pine smell... not the odor of chlorine all season long. I tried a few of my own ideas and stumbled onto an easy preservation method.
Step 2 - Preserve the pine cones. You can cure pine cones using things found in your own kitchen! Learn the simple three step preservation method in this post: How to Prepare Pine Cones for Crafts

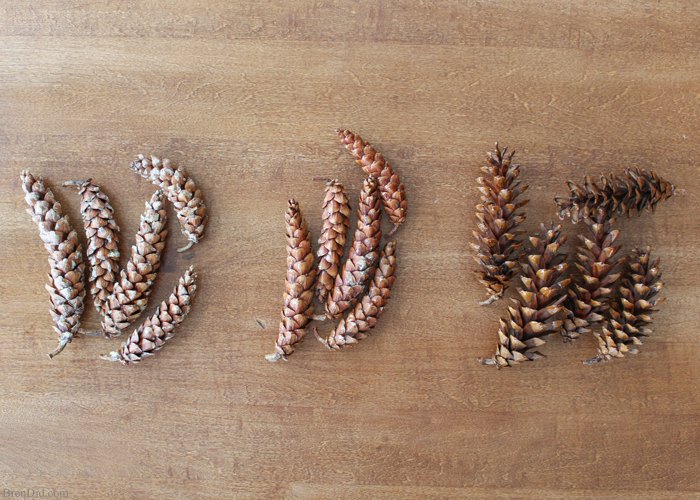
Step 3 - Gather supplies for the garland. You need heavy weight twine, lightweight twine, and the prepared pine cones.
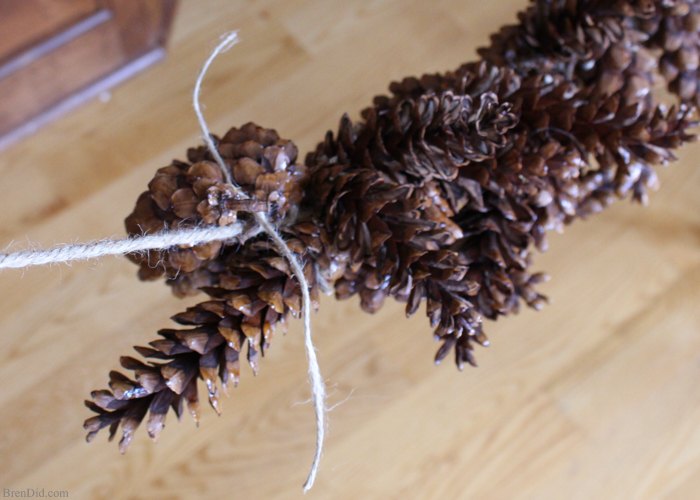
Step 4 - Secure the pine cones to the heavy weight garland using the lightweight twine. See all my garland tips and tricks here: How to Make a Pine Cone Garland
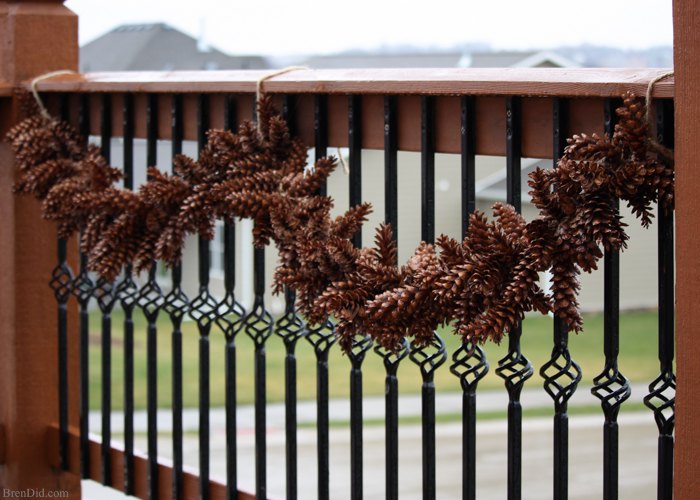
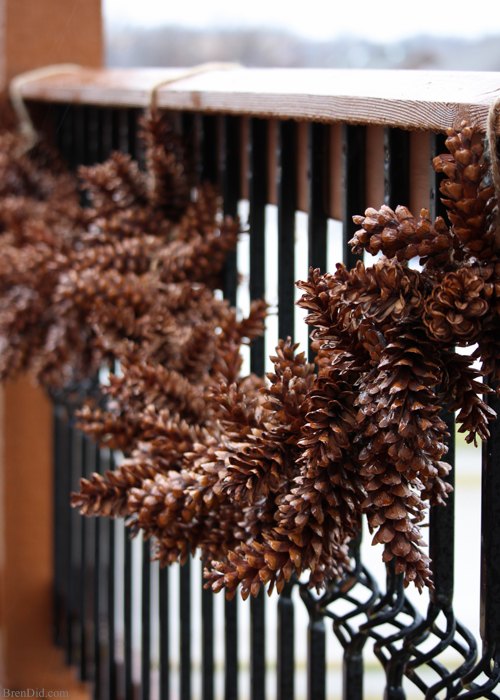
Step 5 - Display your natural masterpiece. Use extra twine to secure your garland for display. The naturally cured pine cones are water and snow resistant with no paint, shellac, or finish. The whole garland looked just as lovely at the end of the holidays! It's currently hanging in my garage wait to be displayed next year.

If you like affordable, natural crafts check out my Fresh Fall Leaves wreath. It uses just cardboard and fall leaves to make a beautiful front door wreath! (See it in my Hometalk profile or at http://brendid.com/fall-leaves-front-door-wreath/)
Want more details about this and other DIY projects? Check out my blog post!
Comments
Join the conversation
1 comment
-
I saw this yesterday. Fortunately where I live we have an abundance of pinecones. I went out immediately found what I needed and went home and soaked them according to instructions. This morning I started baking them. I was pleasantly surprised at how easy this process has been. We love the result. Everyone should use this to preserve their pinecones. I LOVE THEM.


Frequently asked questions
Have a question about this project?