


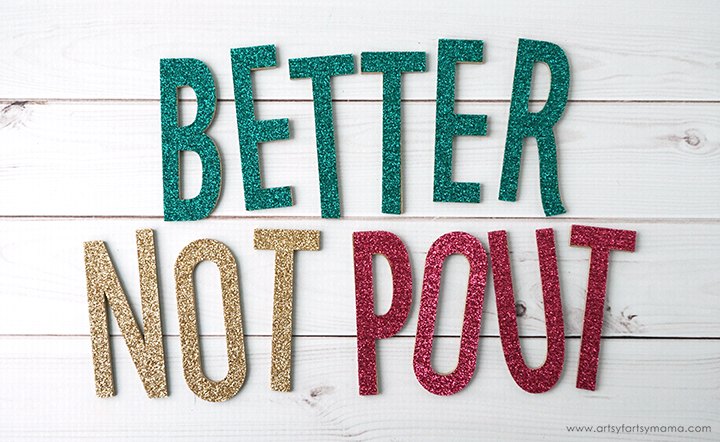
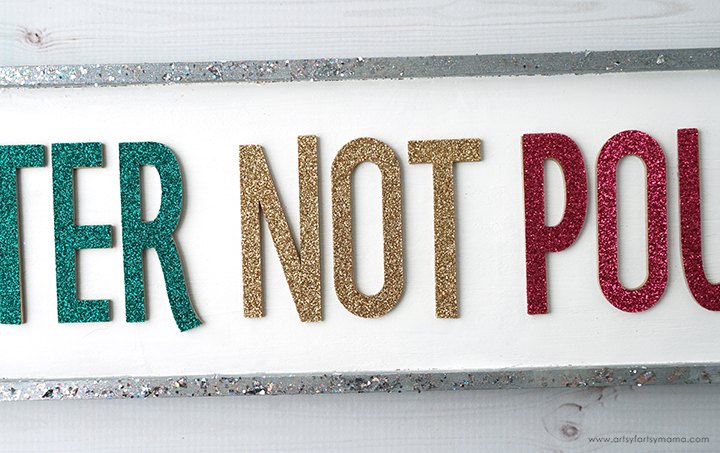
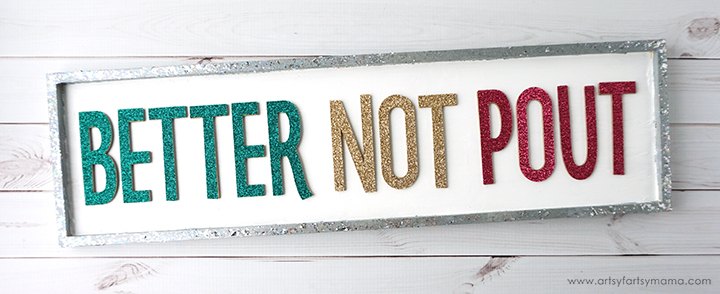
"Better Not Pout" Christmas Sign
$20
2 Hours
Easy
Santa Claus is Coming to Town! This "Better Not Pout" Christmas Sign is a colorful reminder to be on your best behavior this holiday season!
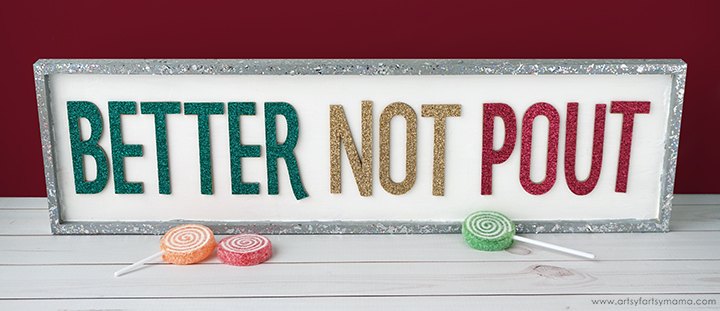
- Blank Wooden Plaque (I found this 18"x5" one at Michael's)
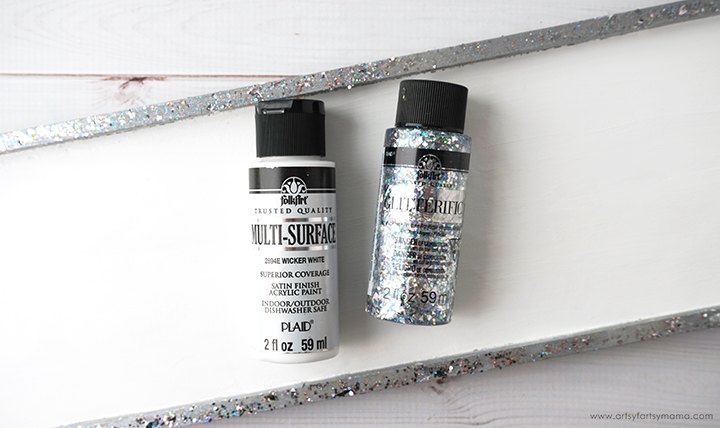
- Acrylic Paint
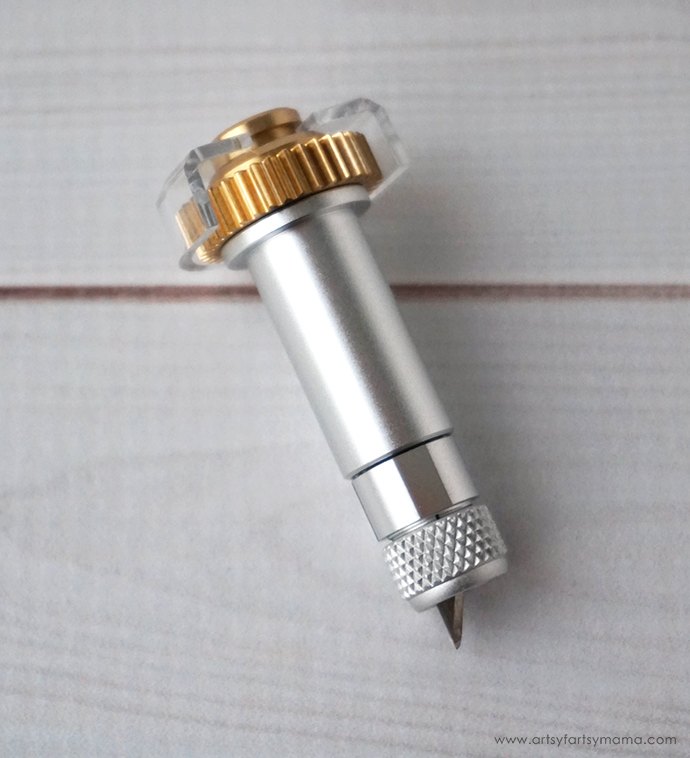
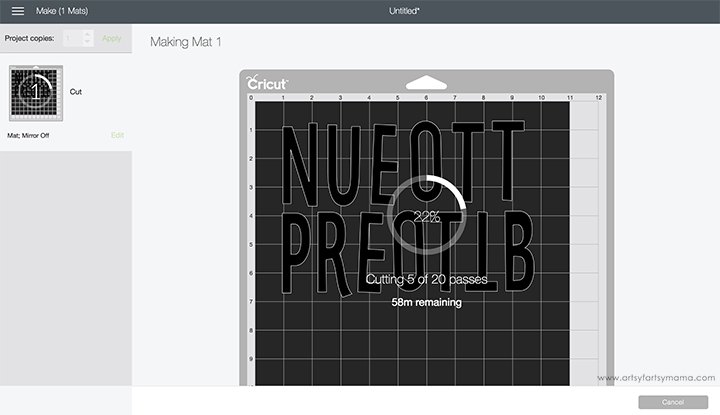
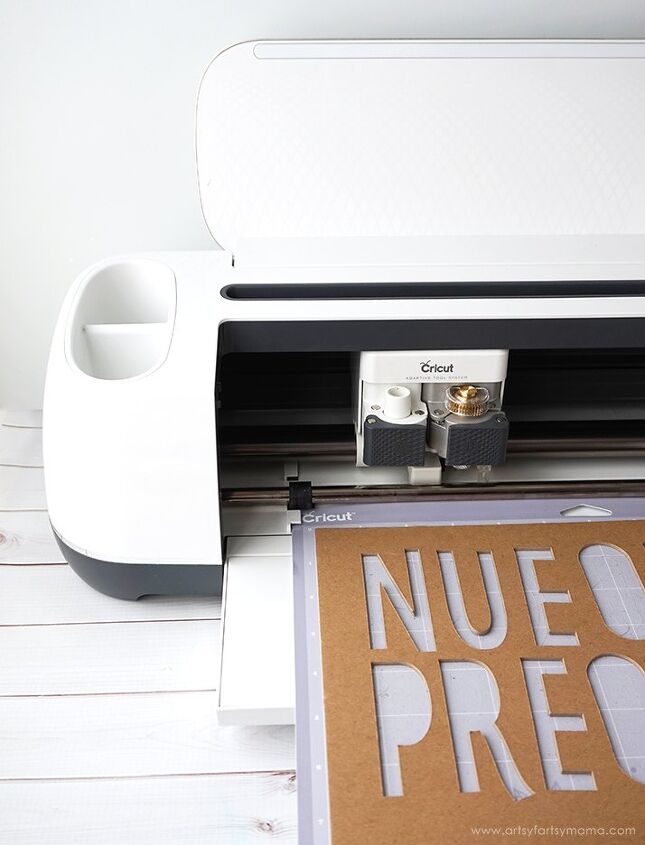
- Cricut Maker machine
- "Better Not Pout" Design Space File (for personal use only)
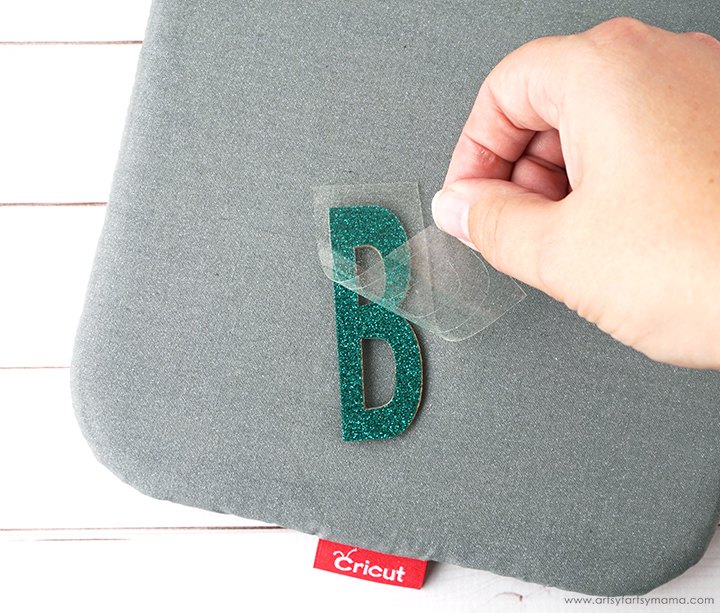
- Cricut Maker Knife Blade
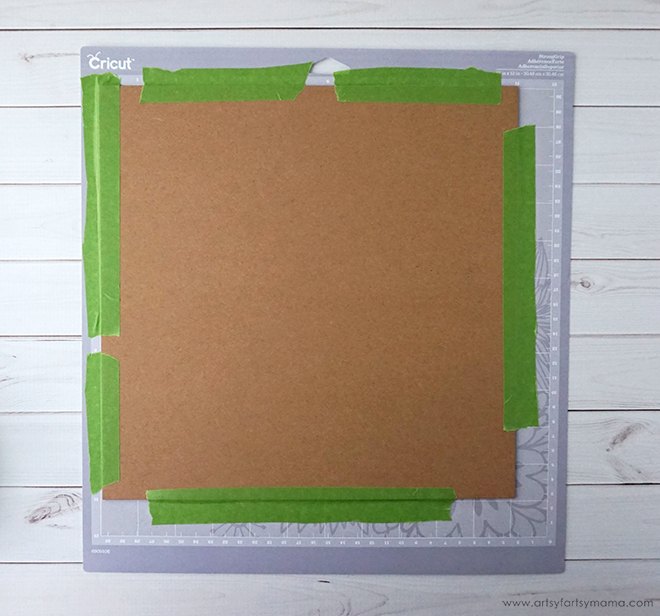
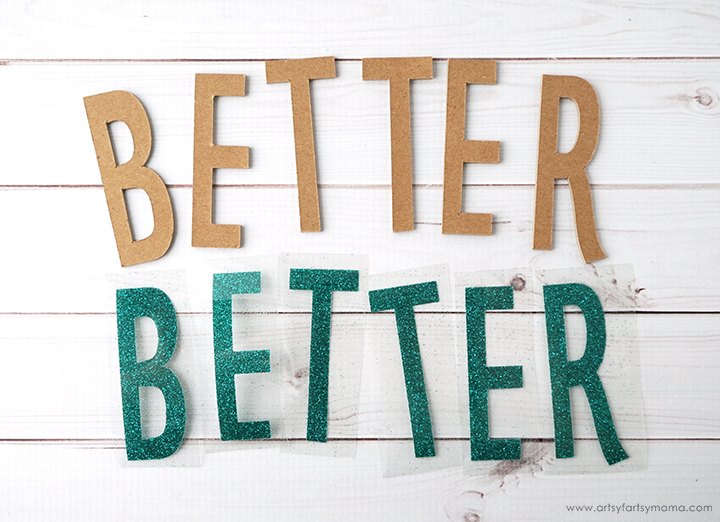
- Cricut Chipboard 2mm
- Glitter Iron-On Vinyl
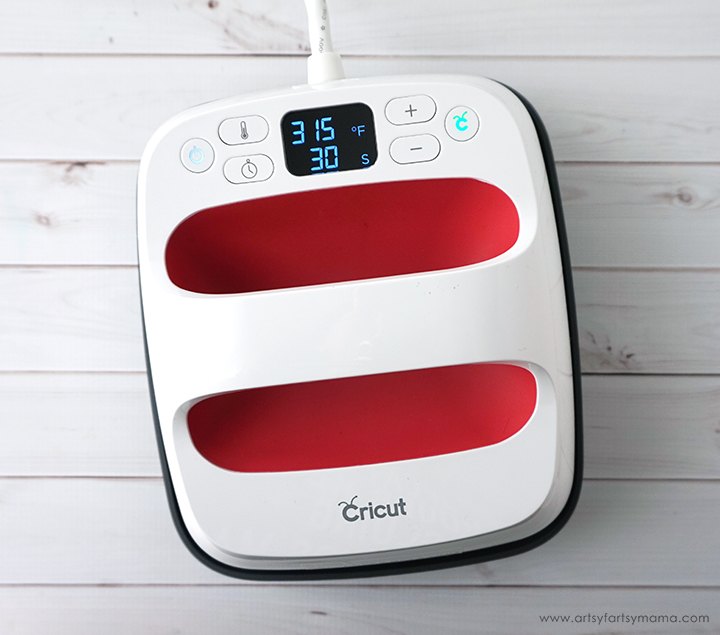
- 6"x7" EasyPress 2
- EasyPress Mat
- Weeding Tools

This is a sponsored conversation written by me on behalf of Cricut. The opinions and text are all mine.

Want more details about this and other DIY projects? Check out my blog post!


Frequently asked questions
Have a question about this project?