


Dollar Store Gift Idea DIY!
Can you believe that the year is 2019 and we are almost to December. Hey there, Sweet Friends, today on the blog I’ll be sharing with you a very easy DIY Holiday Gift Idea.
HANDMADE GIFT IDEA DIY!
There are many on my gift list that have everything. Do you know anyone like that?
When that is the case, I always turn to handmade. It’s meaningful and sentimental and I find my friends are grateful for the time I take to make a handmade gift.
DOLLAR STORE CHARGER HOLIDAY DECOR!
Do you remember last year when I showed off my DIY Holiday Gift Idea with a Dollar Store Tray? You can read about it here.
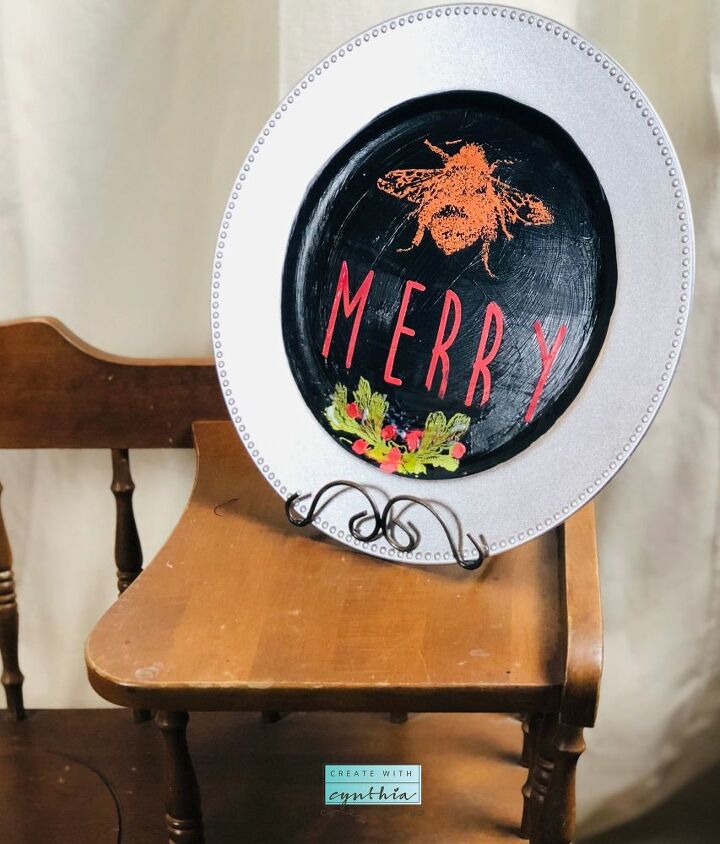
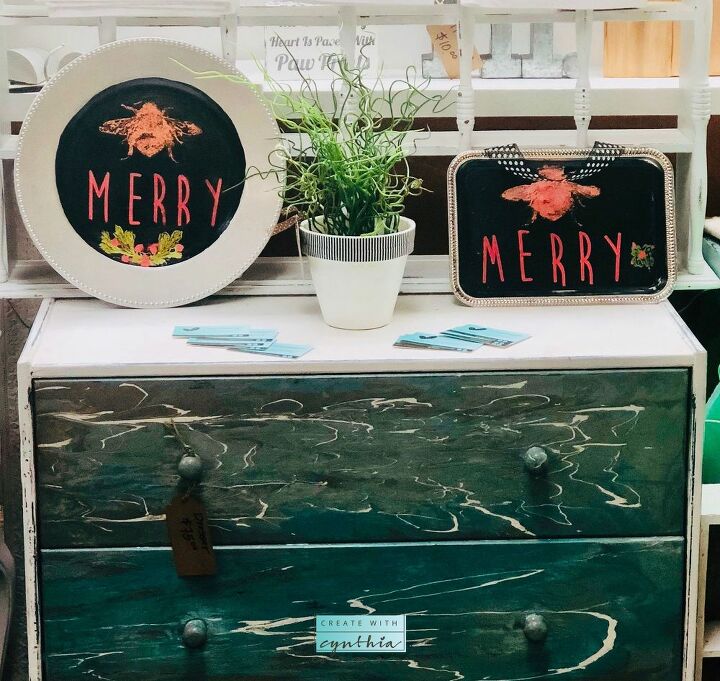
This year I’m showing off my Dollar Store Charger Holiday Decor Gift Idea!
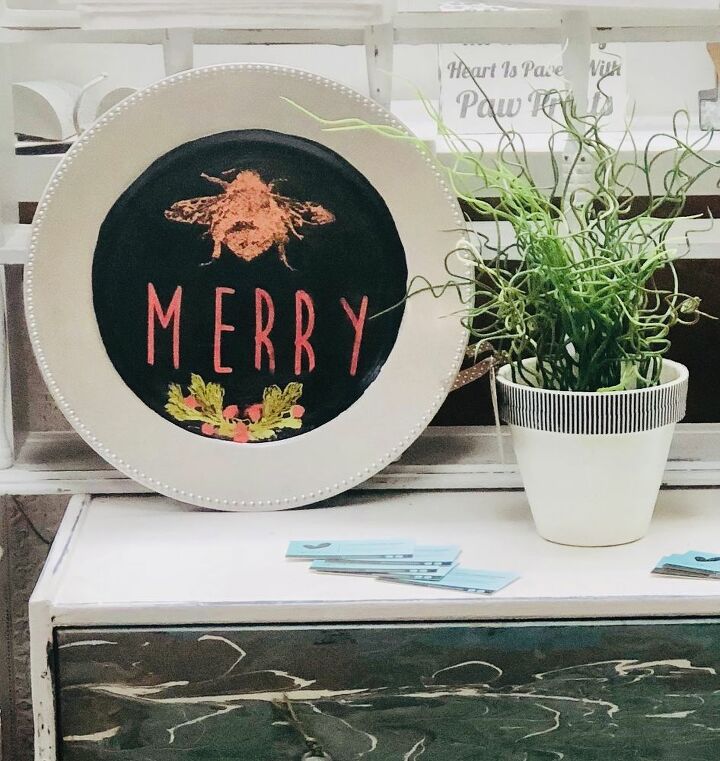
Here is the DIY for the Dollar Store Charger Holiday Decor Gift Idea!
Materials needed:
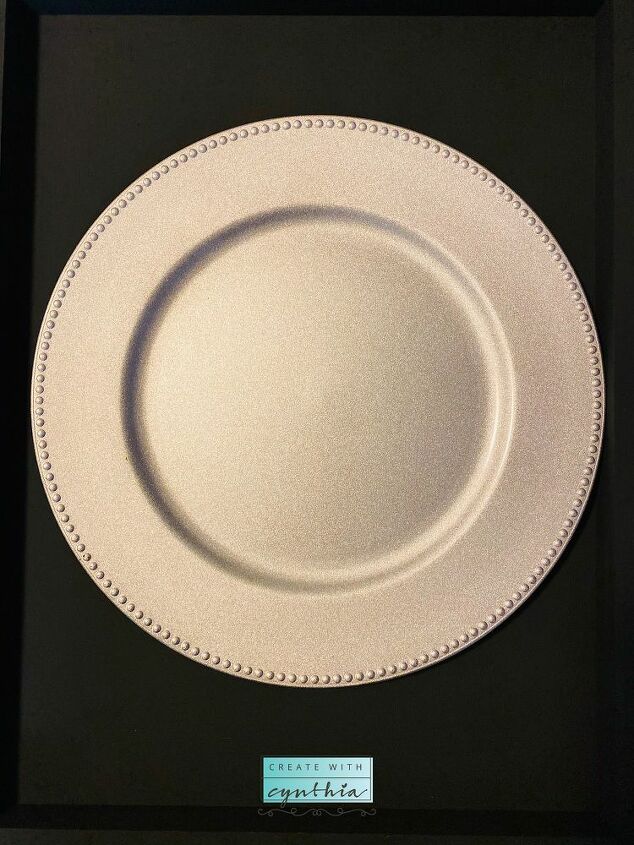
- Dollar Store Charger, I chose the color Silver
- A Maker’s Studio Rescue and Restore Paint in Little Black Dress
- A Maker’s Studio Specialty Triangle Brush
- A Maker’s Studio Adhesive Stencils in Alphabet 1
- A Maker’s Studio Chalk Art there are a variety of colors to choose from. For this project I used Red, Orange and Green
- A Maker’s Studio Adhesive Stamps in Vintage Icons
- A Maker’s Studio Matte Sealer
- A Maker’s Studio Chalk Art Spreader
- A Maker’s Studio Foam Dome Brush
Directions:
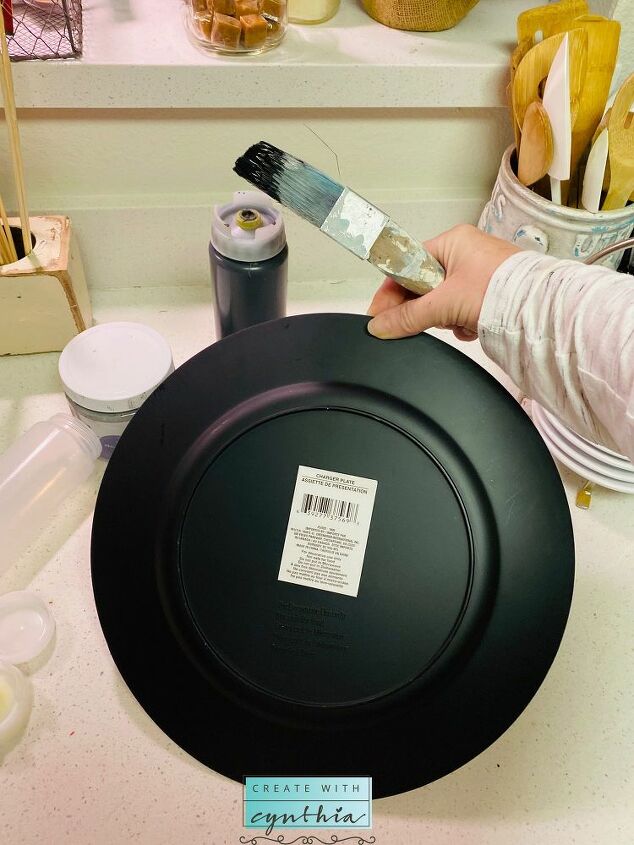
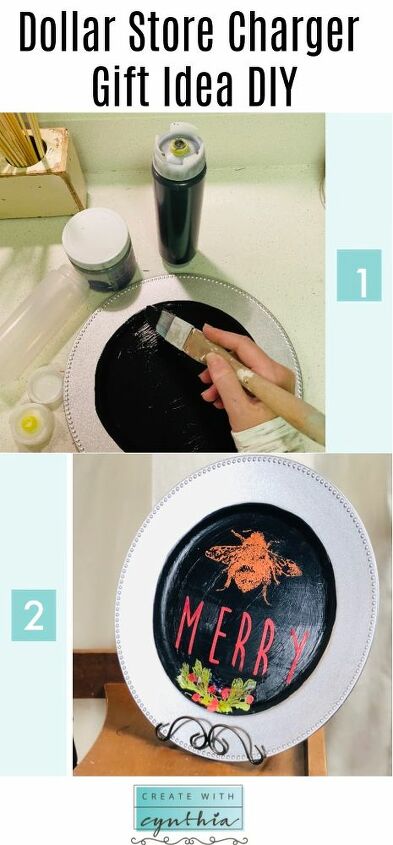
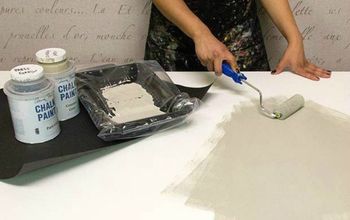
Take the Dollar Store Charger.
Wipe the Charger clean of dust or debris.
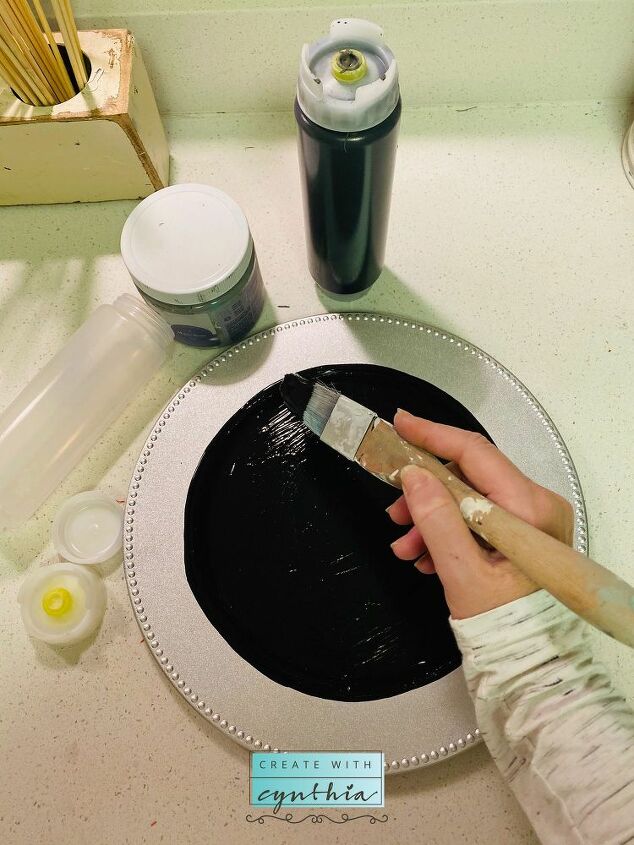
Using the A Maker’s Studio Rescue and Restore Paint in Little Black Dress and the Specialty Triangle Brush, paint the center of the charger. I did not paint the edges. Let the paint dry approximately 30 minutes.
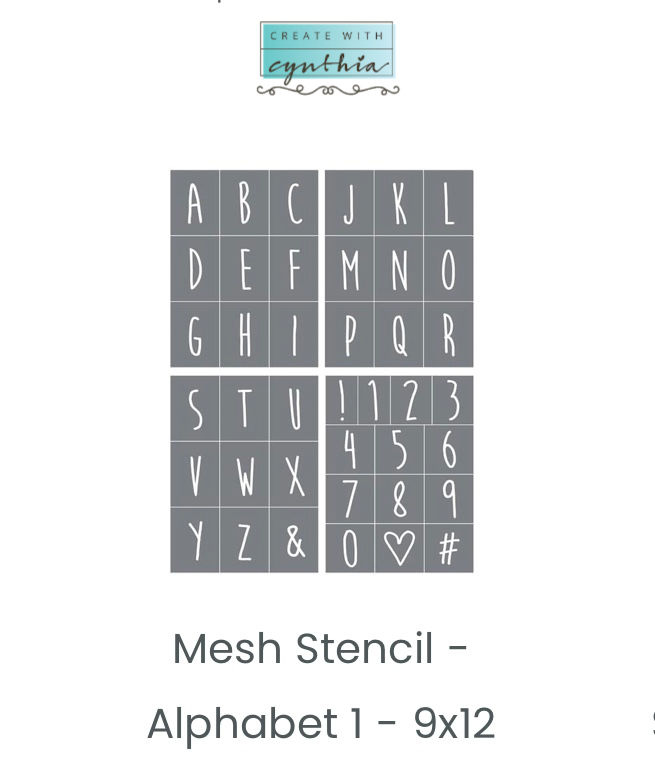
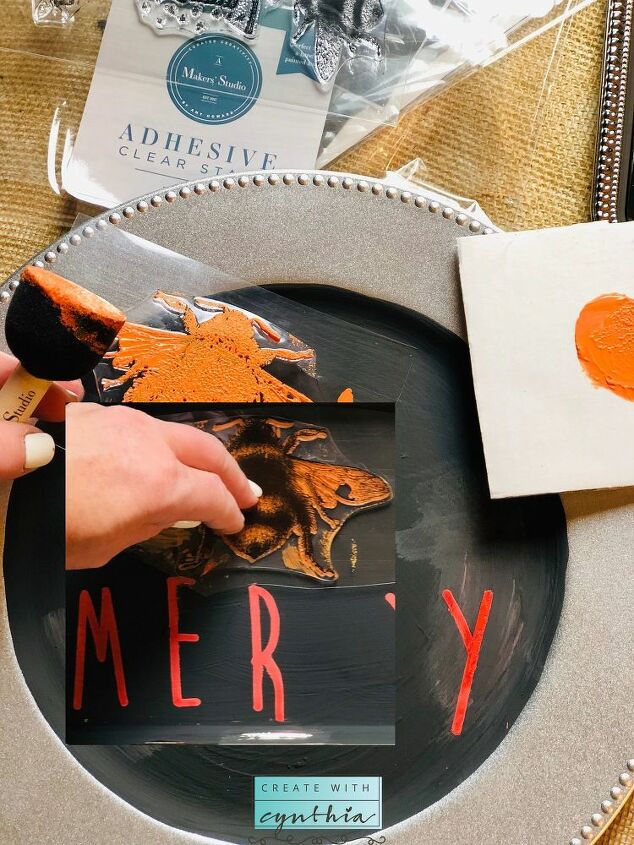
I chose A Maker's Studio Adhesive Stencil in Alphabet 1. Remove the stencil from the package and cut into individual letters.
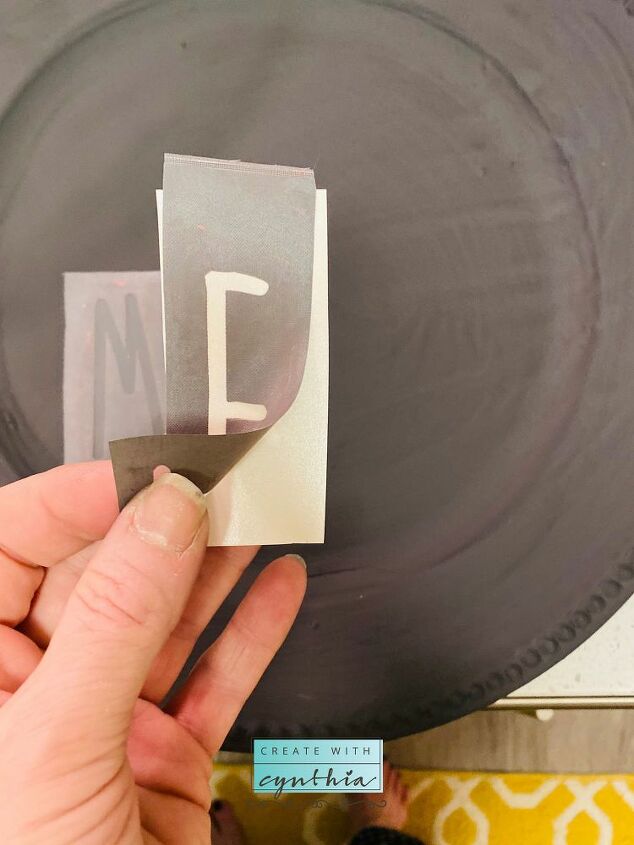
Remove backing on stencil and place stencil on the surface, spelling out your words. Using the Chalk Art and the scraper, apply Chalk Art to the stencil. Scapulas Chalk art onto stencil.
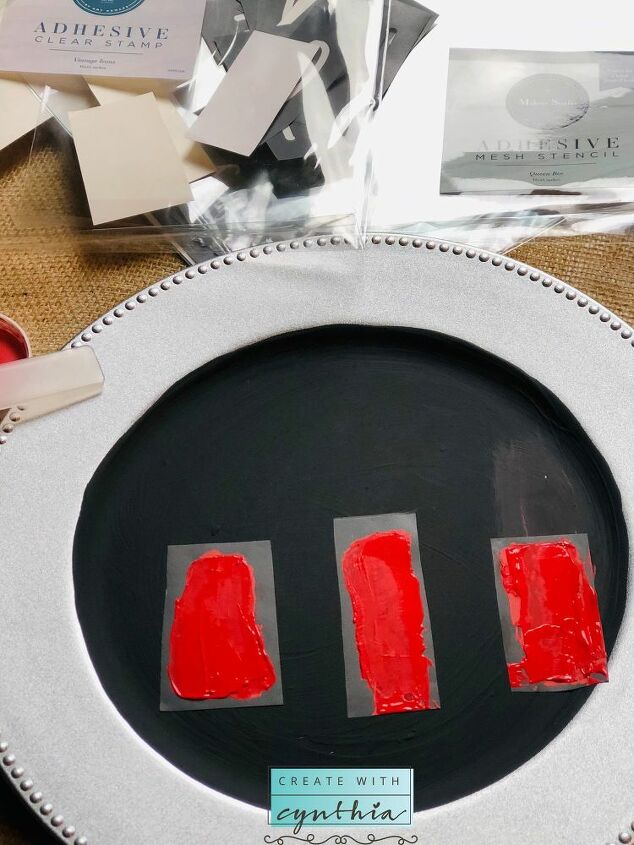
I used the Chalk Art in the color Red. Once you apply chalk art, immediately remove Stencil and soak in soapy water to clean.
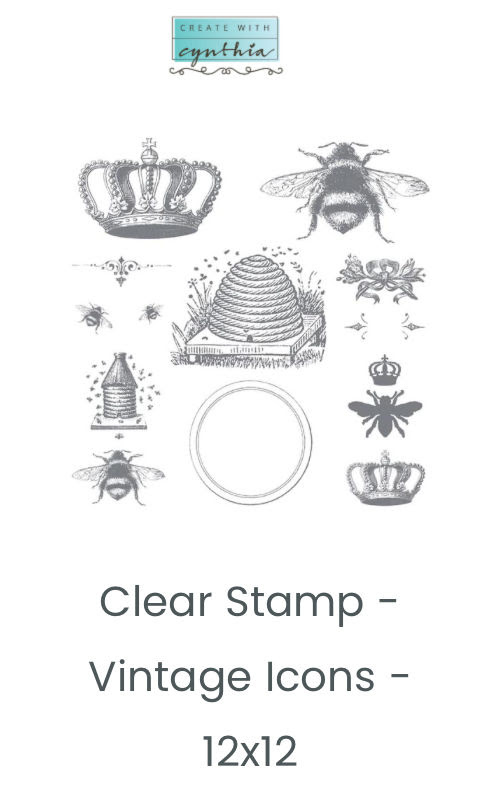
I used the Bee on the A Maker’s Studio Adhesive Stamps in Vintage Icons.
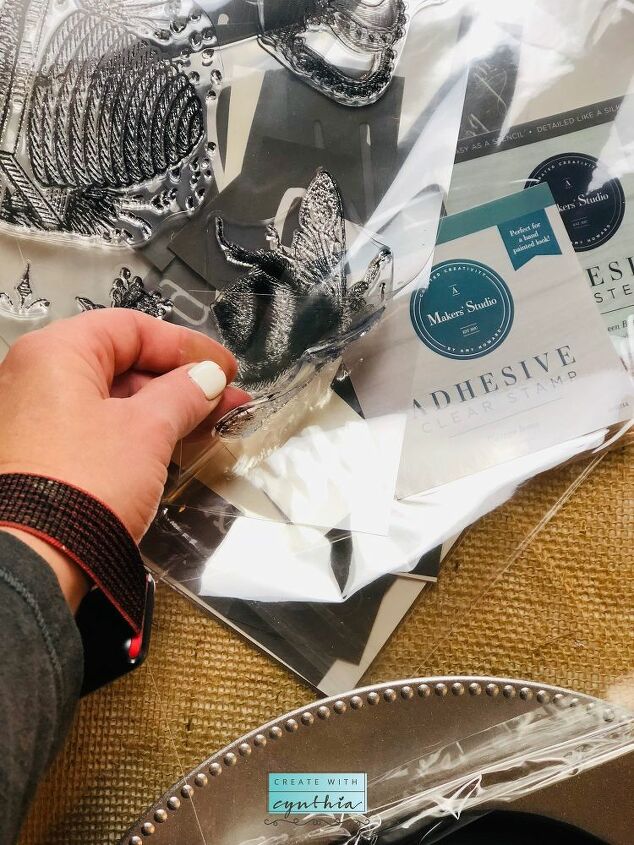
Remove Stamp from backing. Using the Foam Brush, apply chalk art in the color Orange to the Stamp.
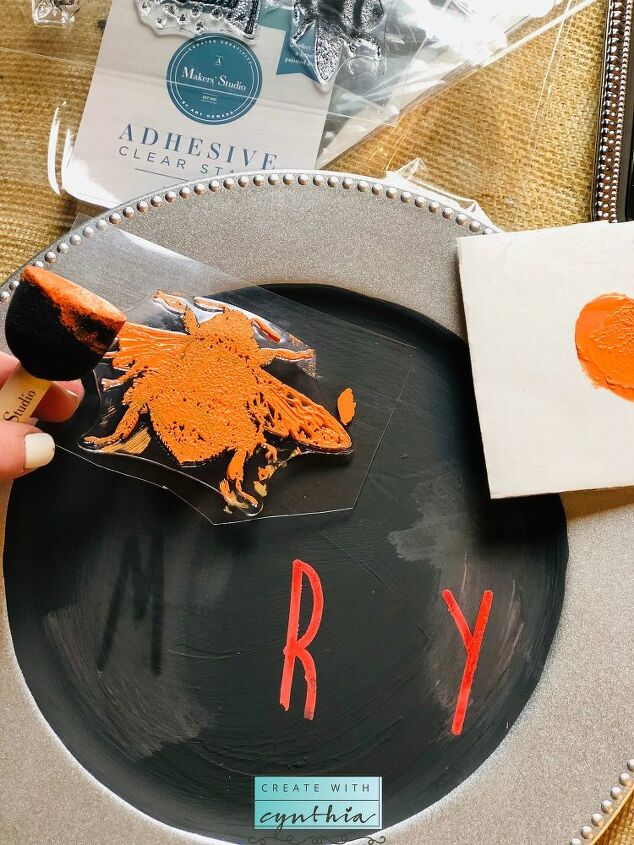
Stamp the surface.
Allow the project to dry, preferably overnight.
Use A Maker’s Studio Matte Sealer and apply to complete surface. Use light strokes and only one coat.
Using a hot glue gun, attach ribbon to the back of the charger so it can be hung on the wall or include a cake plate stand when gifting to your special someone.
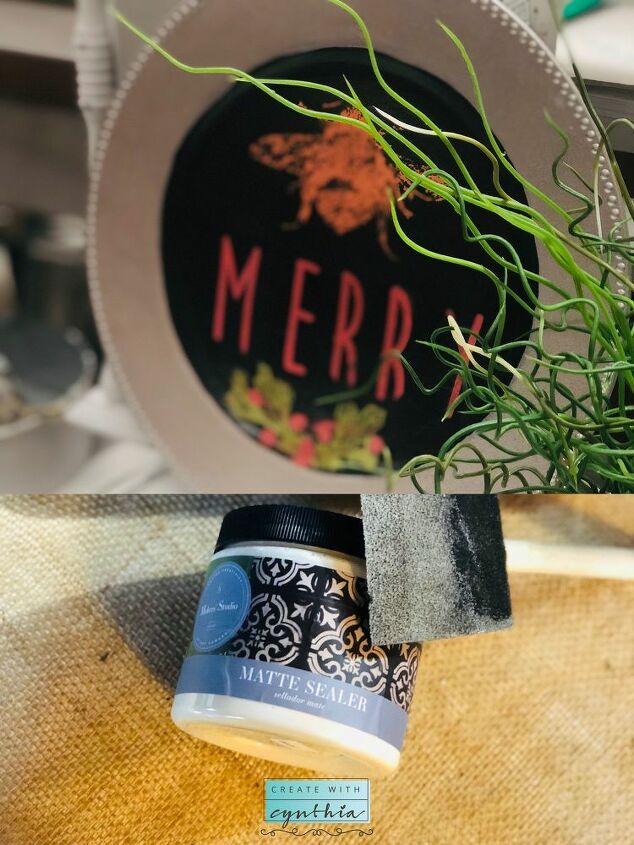
Use A Maker’s Studio Matte Sealer and apply to complete surface. Use light strokes and only one coat.
Using a hot glue gun, attach ribbon to the back of the charger so it can be hung on the wall or include a cake plate stand when gifting to your special someone.
I hope you’ll leave a comment below and let me know you followed along. Until next time Sweet Friends.
Now go out there and create something.
Cynthia
Note: This post contains affiliate links. Please see full affiliate disclosure page . Purchasing through any of my blog links and/or side bar buttons, helps to keep this blog running. All reviews and opinions of any items shared on CreateWithCynthia.com are of my own opinion and are not swayed by sponsorship or collaborations. Thank you for your support and for continuing to follow along!


Frequently asked questions
Have a question about this project?