


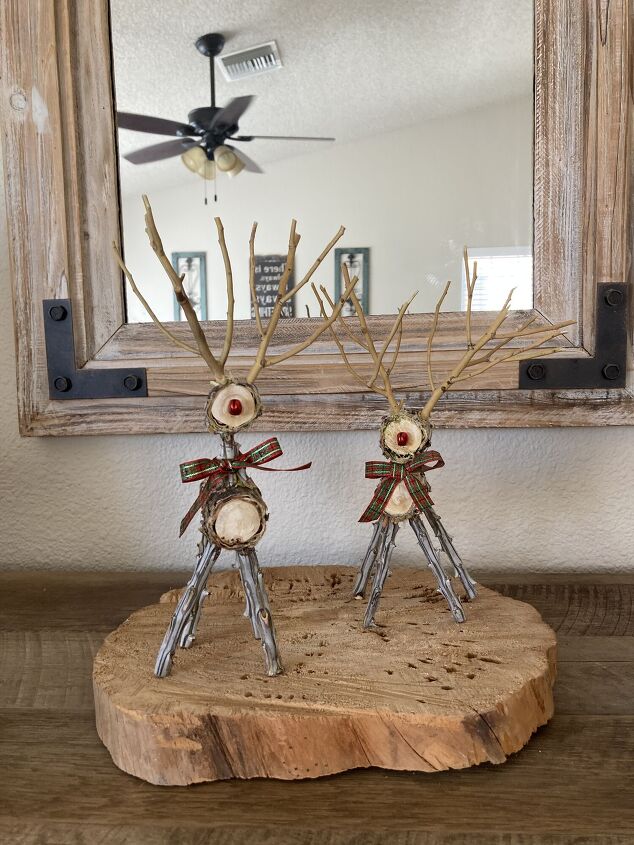
Ocotillo Christmas Reindeers

Living in the desert southwest, we have ocotillo shrubs in our backyard. After trimming our shrubs, we figured out a way to use the trimmings by making these Christmas reindeers. We took the following steps to make them:
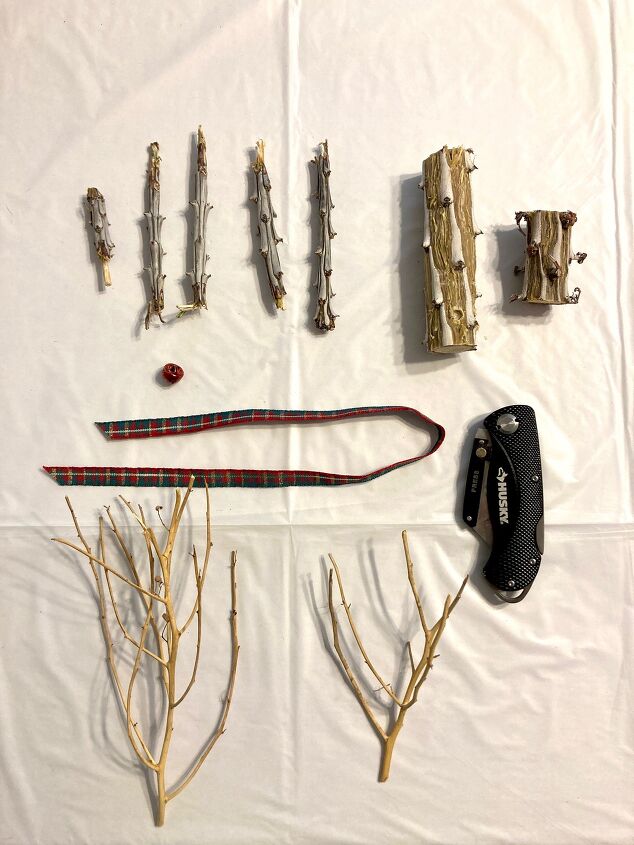
Materials Needed:
Stems from Ocotillo shrub (Tree stems can also work)
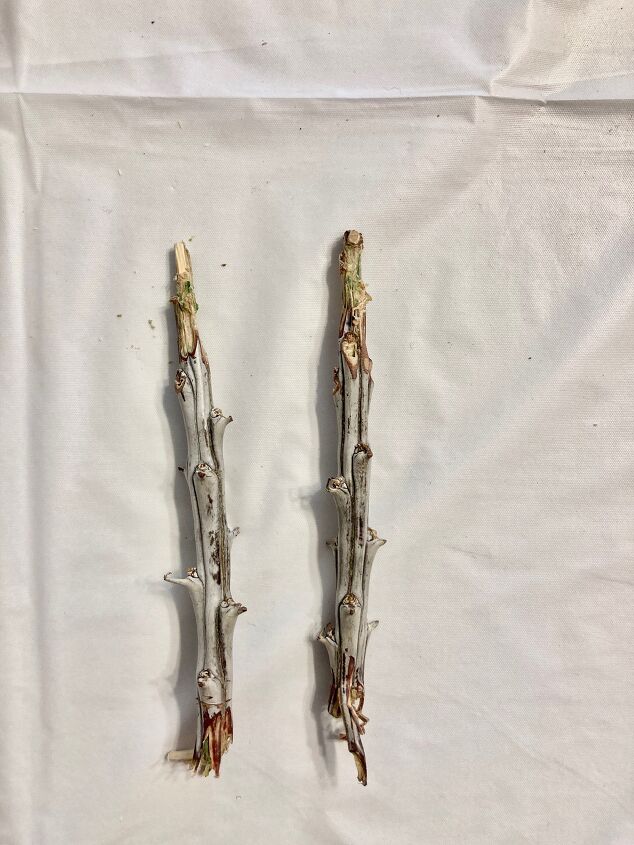
Tree branches
Wood glue
Small red christmas bell
3/8" christmas ribbon
Drill
2/18" drill bit
Hot glue gun
Knife for wood shaving
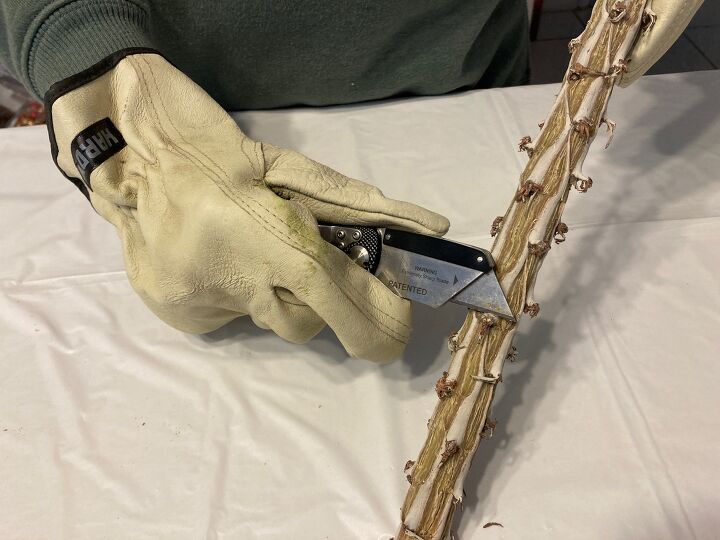
Step 1: With our gloves on, we shaved the large thorns from the ocotillo trimmings.
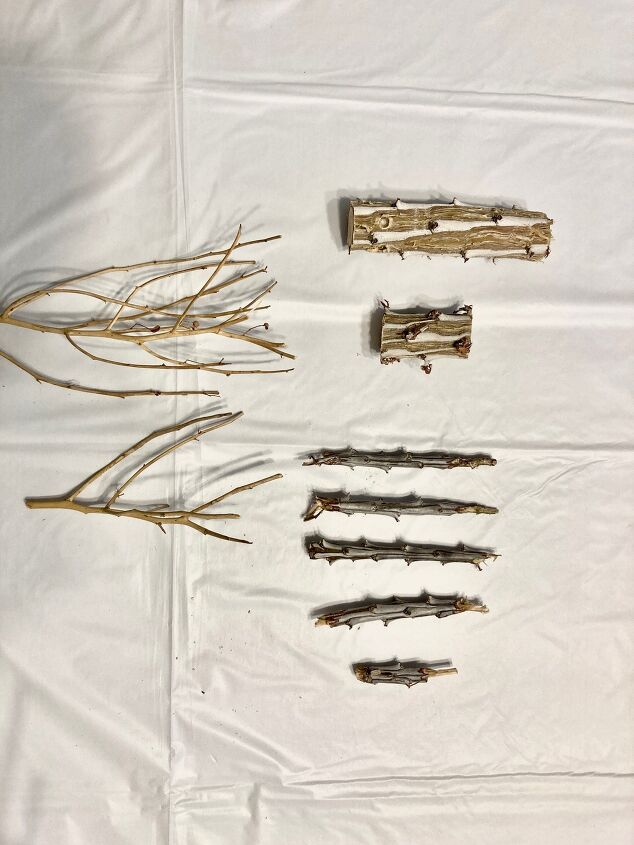
Step 2: Cut the stems in the following sizes: For the body we cut a stem six inches long by one inch in diameter. For the head, we cut a stem two inches long by one half inch in diameter. We cut four thinner stems for the legs. They measure four inches long by one quarter inch in diameter. For the neck we cut a two inch stem by one eight inches in diameter. For the antlers, we cut four inches long tree branches. However, you can cut them shorter or longer, depending on your preference.
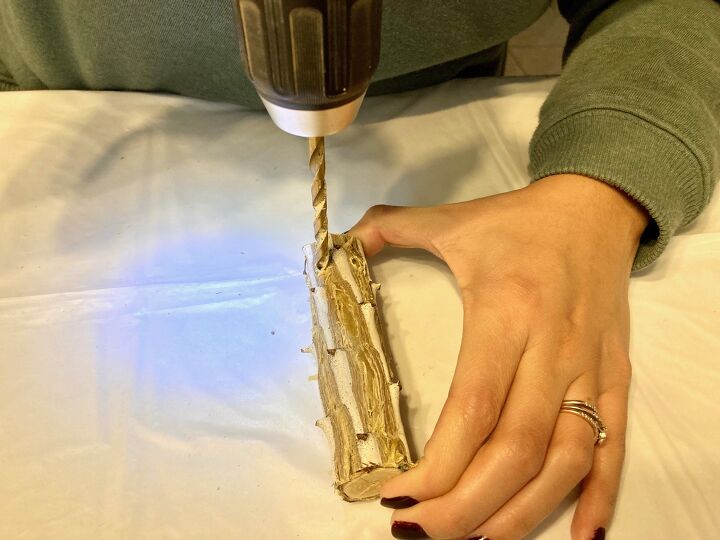
Step 3: We drilled two holes in front and two holes in the back of our six inch stem for the legs. About one quarter inch from the front and a quarter inch from the back. After drilling the four holes for the legs, we turned the stem over to drill another hole for the head, about half an inch from the front of the stem.
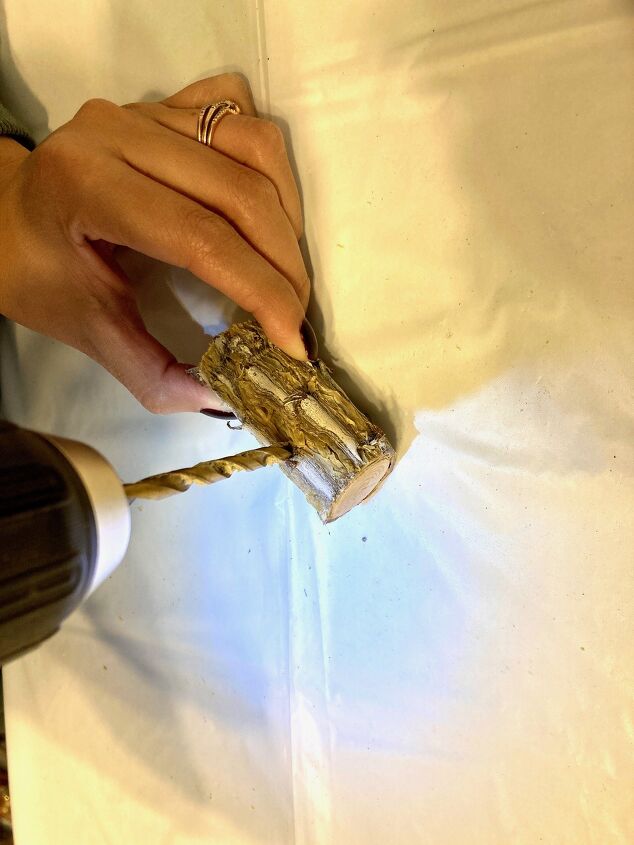
Step 4: We drilled a hole on the two inch stem, at the bottom, for the neck. Then, we turned the stem over to drill two holes on top of the stem for the antlers.
Step 5: Before assembling the reindeer, we used the pocket knife to shave off about three quarters of an inch from the four thinner stems, one side only, to be used as legs.
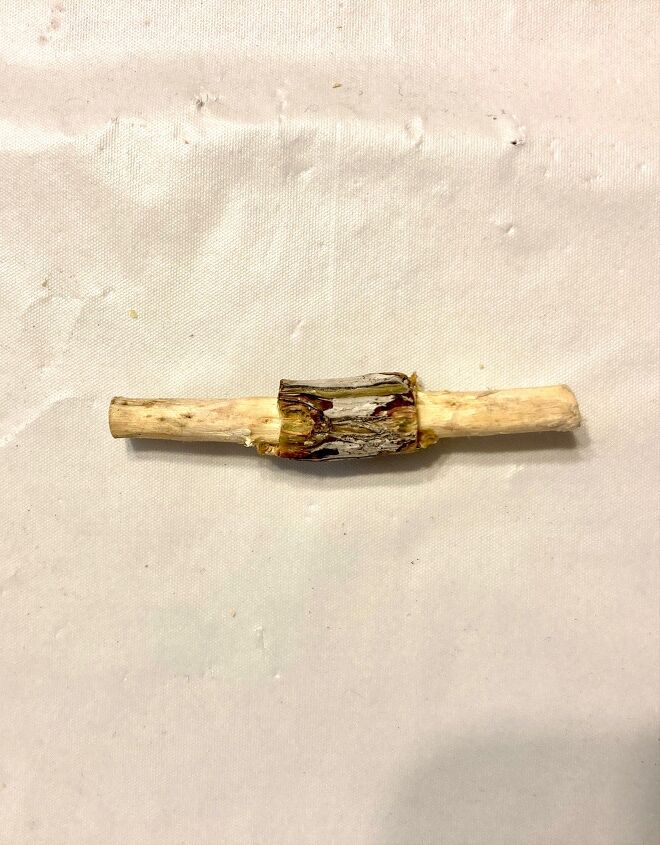
Step 6: For the neck, we shaved the two inch stem about a quarter of an inch from both sides. In order to attach the neck to the body and to the head.
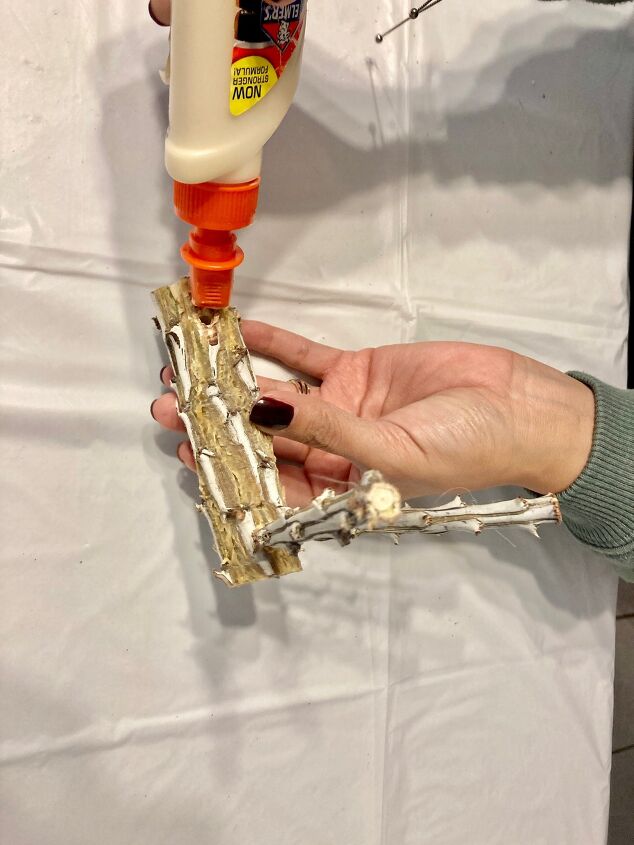
Step 7: Then we assembled the reindeer. First, we put wood glue into the four already drilled holes used for the body. Then, we inserted the legs. We let it dry for about an hour. After an hour, we continued putting wood glue in the hole in the upper part of the body to attach the neck.
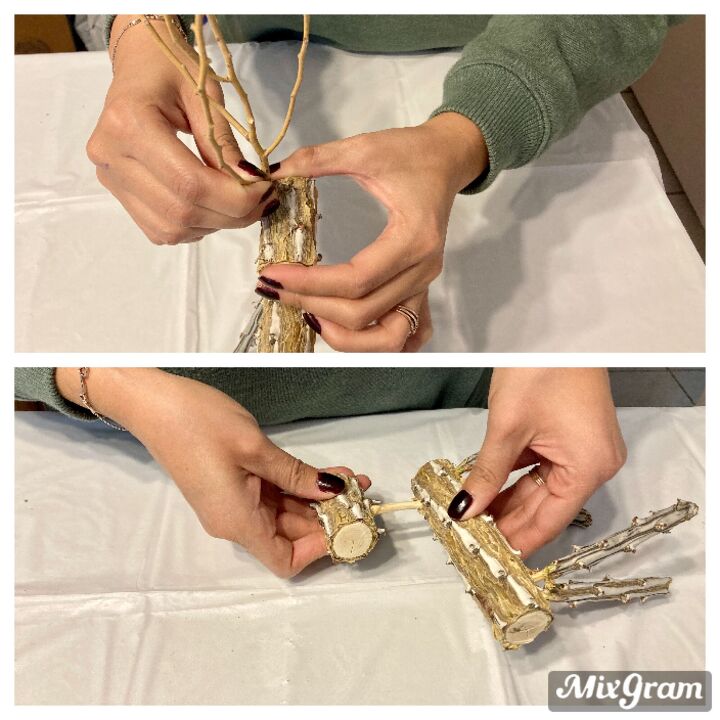
Step 8: Once the neck was attached, we turned the stem over to put glue on the hole used for the head. Once the head was attached, we put wood glue on the two drilled holes, on the upper part of the head, and inserted the antlers.
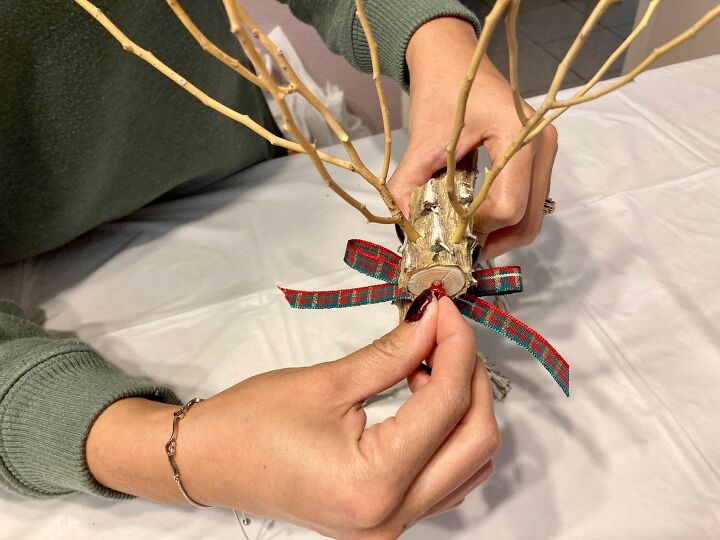
Step 9: For the last steps. We made a bow for the neck and glued a small, red bell for the nose
Comments
Join the conversation
-
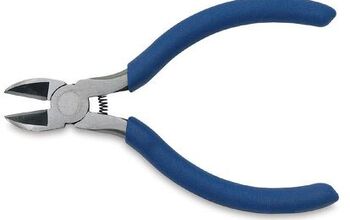
Wire cutters work well for clipping the sharp spines off the ocotillo branches, as they don't slip and gouge fingers the way a knife can.
-
Several years ago I made miniature ones like these. They’re only about an inch and a quarter tall. Look really cute in my doll house.


Frequently asked questions
Have a question about this project?