


DIY Cheese and Crackers Serving Board
1 Material
I did a gift exchange for Christmas with a fun twist: the projects had to be handmade using at least one power tool. I love to get in the workshop to make something and made a DIY Cheese and Crackers Serving Board with a groove to hold crackers.
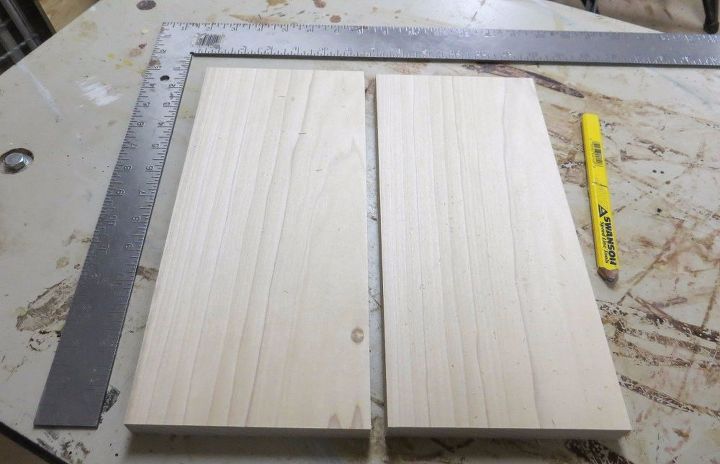
I used a 1” x 6” x 8’ poplar board to make this project. It didn't use the entire board so I'll have wood leftover for future projects.
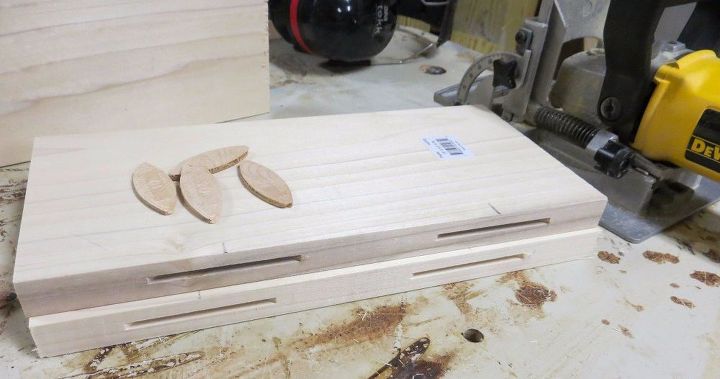
To join the two boards together, I used our biscuit joiner. The first step for using this tool is to make marks on both boards for where the biscuit will go. These are the slots in the wood that the biscuit joiner makes. Four biscuits are pictured because I actually made two cheese boards. I wanted one for myself!
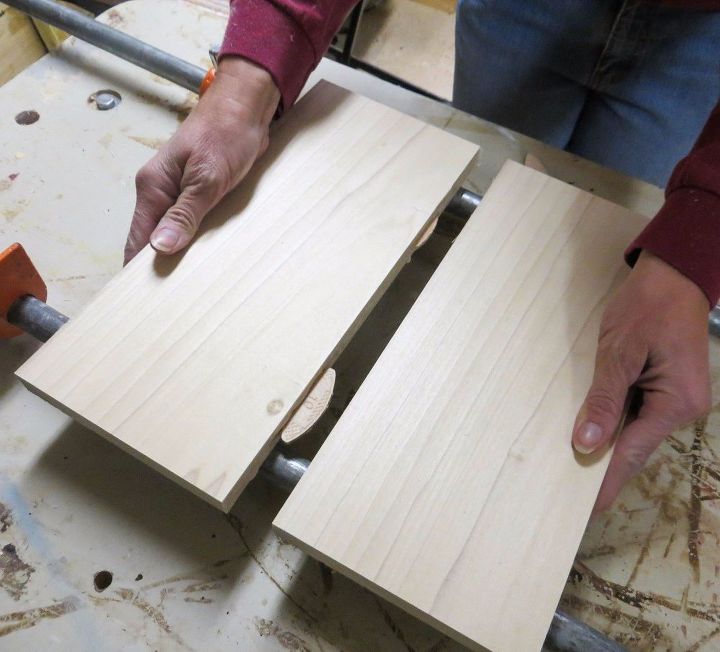
Apply Glue to the edges of the board. Insert the biscuits and press the two boards together. Use pipe clamps to keep everything square and to hold the boards in place until the glue dries. (See more pictures on my blog post. Link is below.)
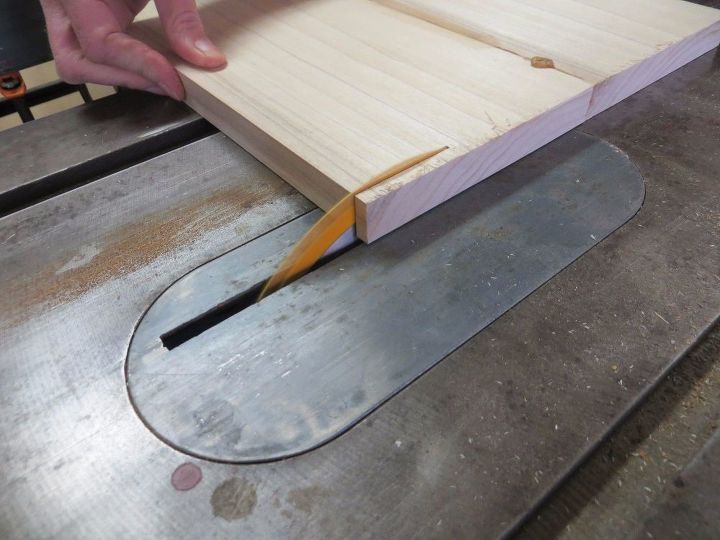
After the glue is dry, use a table saw or you could use a circular saw if you don’t have a table saw to square off the cut ends.
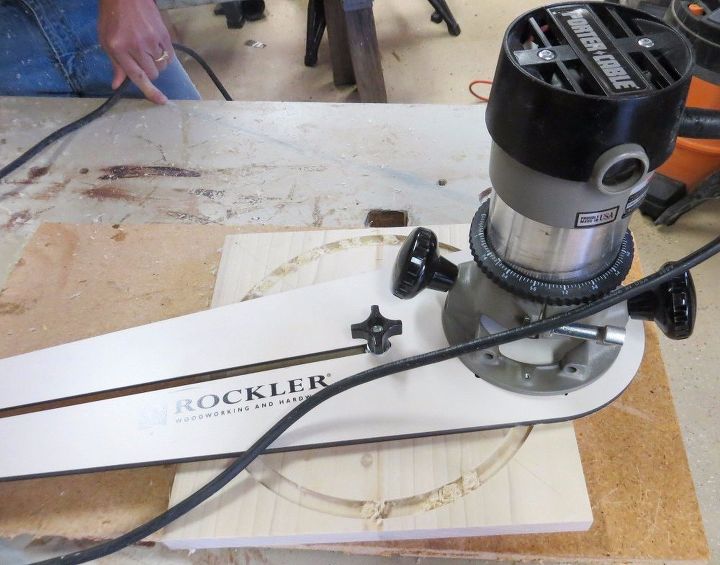
A circle cutting jig made for a router was essential for making the groove for the crackers. See my blog post for the remaining directions.
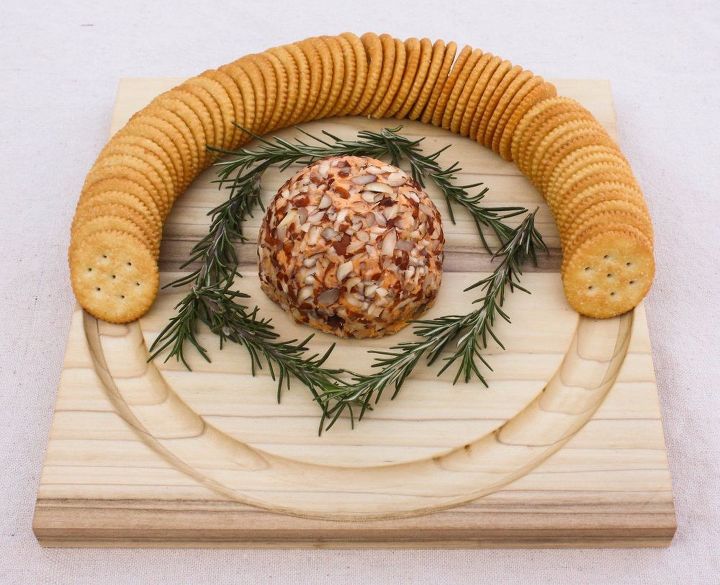
I not only use this serving tray for cheese and crackers, but also for veggies and dip. Cucumber slices fit perfectly in the groove. I put a bowl of dip in the center of the board, and surround it with veggies. Perfect!

Want more details about this and other DIY projects? Check out my blog post!


Frequently asked questions
Have a question about this project?
So what if your crackers are square? or hexagon or triangles? 😊😉
looks good!