


How to Create a Cute Boho Tray From a Dollar Store Pizza Pan
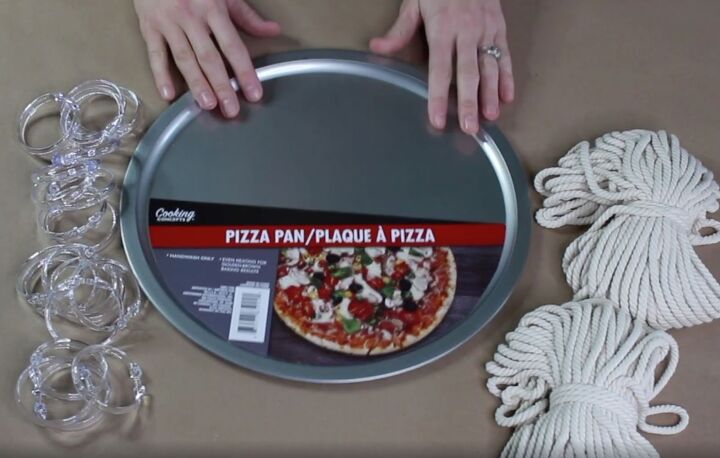
I love the look of rope trays and today I want to show you how to make a DIY boho tray with rope handles. All you need is a pizza pan, some rope, and some shower curtain rings.
Let's get crafting!
More DIY Pizza Pan Ideas
Tools and materials
To make this project I only used a couple of things from the Dollar Store. I grabbed a pizza pan, some rope, and some shower curtain rings.
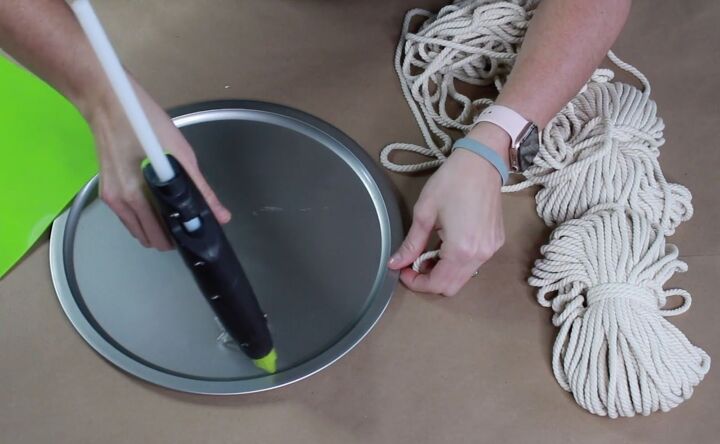
1. Cover the pizza pan with rope
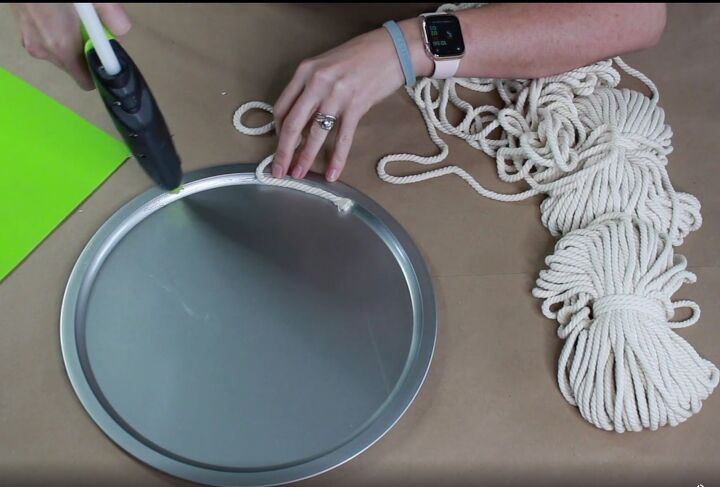
I wanted to cover the tray in the rope so I started at the dip in the tray. Using hot glue, I adhered the rope to the pan.
I did this working little bits at a time to avoid getting any hot glue peeking through.
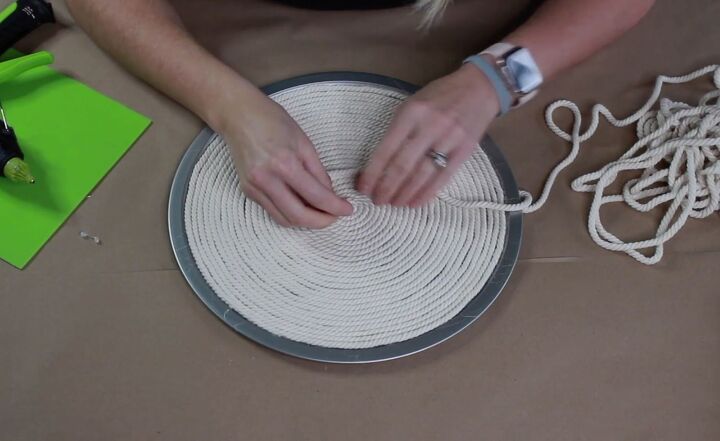
Continuing with the same process, I kept tracing around the pan until I got to the center. Depending on how big your rope is, this may take a little bit longer, or it may take you no time at all.
I love this project because it is so inexpensive and being able to make your home look a certain style on your budget is just wonderful.
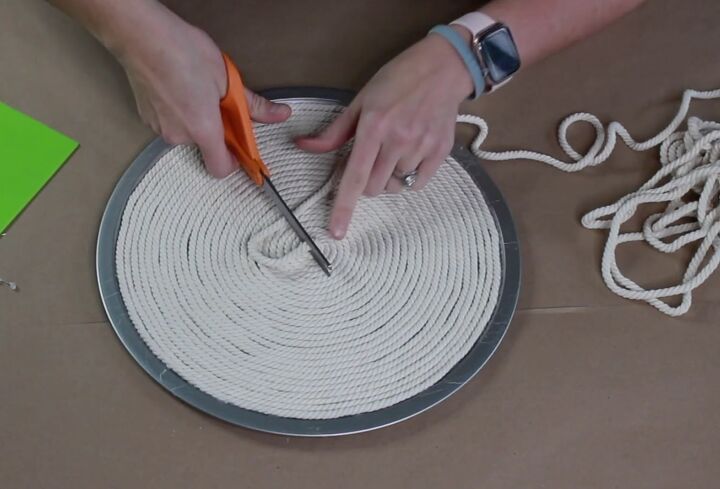
When I got to the center of the tray, I measure out how much I was going to need to finish it and snipped off the rope.

Once I had the rope snipped, I went ahead and used the hot glue to secure the centerpiece.
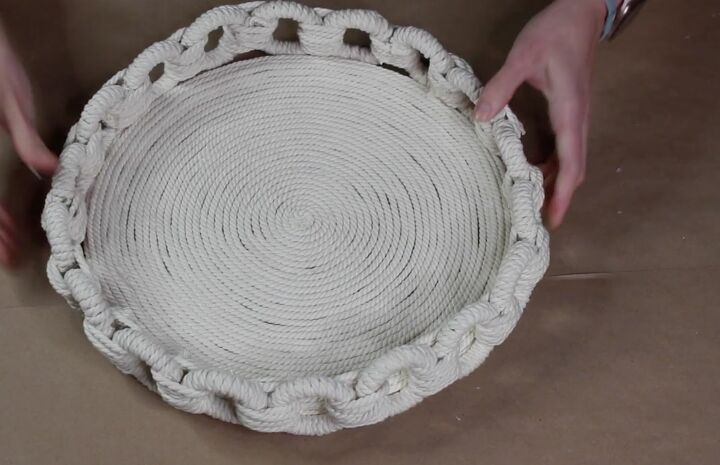
2. Add rope to the rim
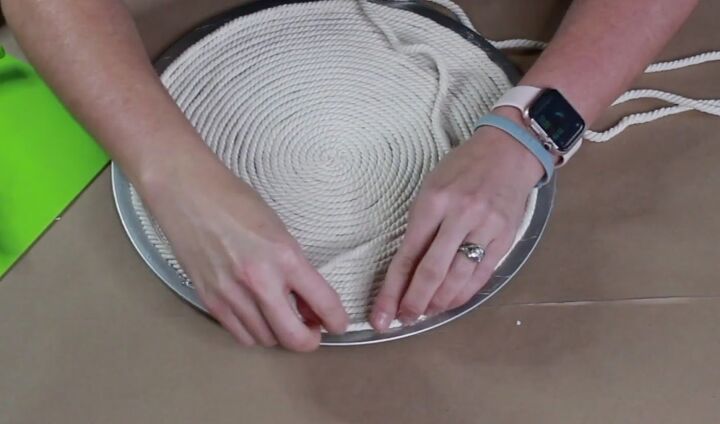
Then, I wanted to go around the edges because I wanted to make sure the whole tray was covered. I did not want it to look like a pizza pan at the end of this project.
To finish the edges, I started where I had started my first piece of rope and then went in the opposite direction and worked my way out.
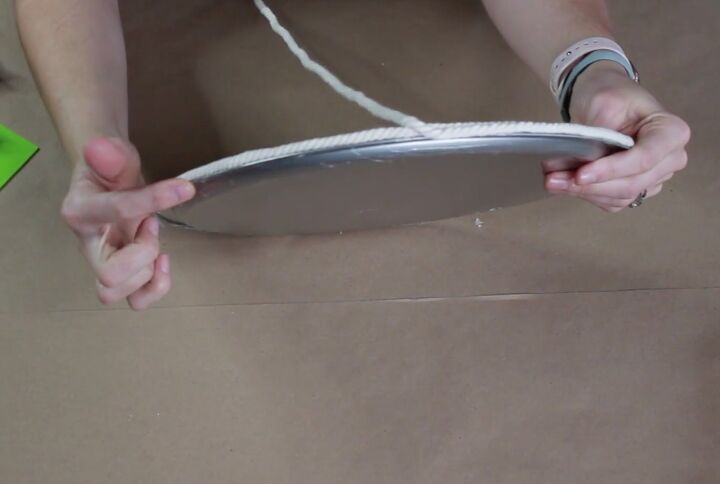
When I got to the very edge, I went ahead and continued under the lip of the pan so that nothing was visible.
3. Cover the shower rings with rope
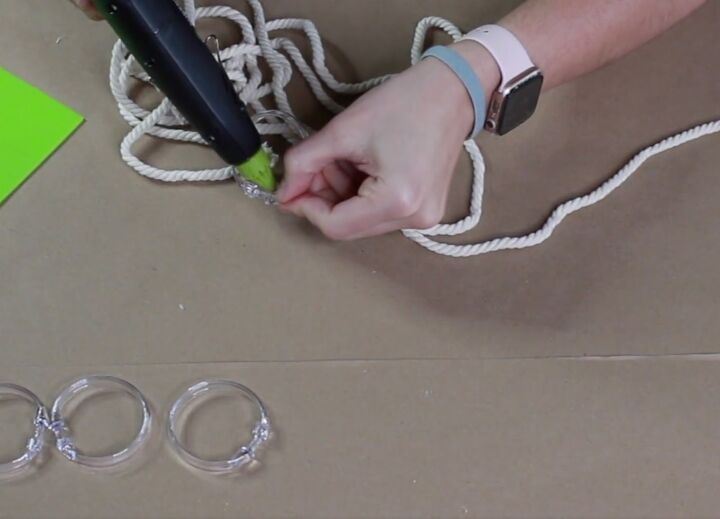
Next, it was time to cover the shower curtain rings. I covered each of the rings individually first using a dab of hot glue to keep the rope in place.
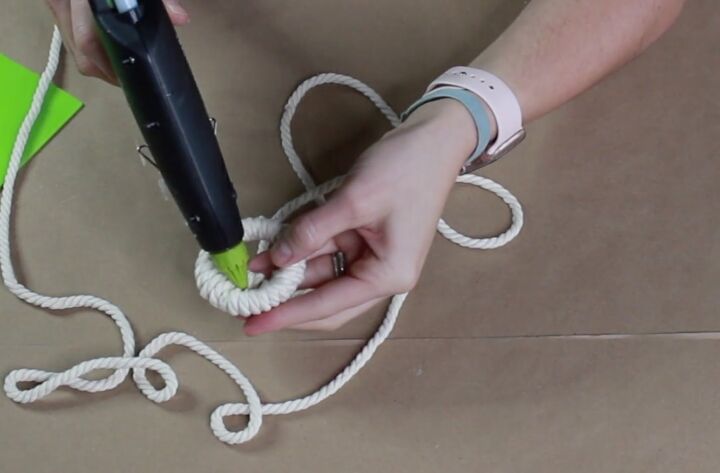
I wrapped each ring tightly with the rope and finished it off with another dab of hot glue.
4. Attaching the rings together
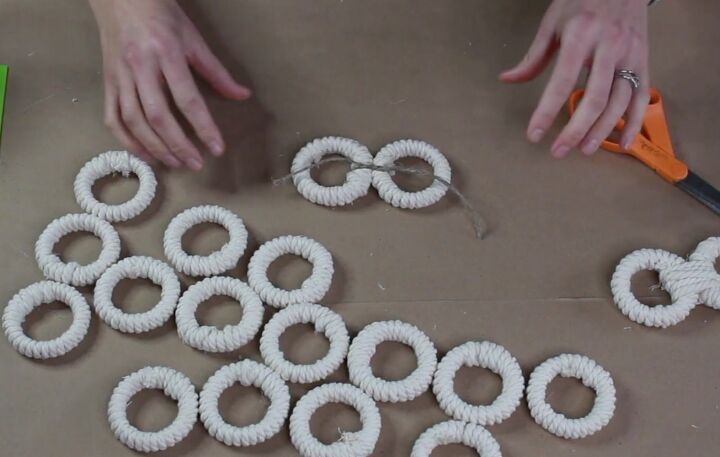
Once I had all of the rings covered, I needed to loop them together. I did this by taking a piece of twine and tying it really tight around both rings.
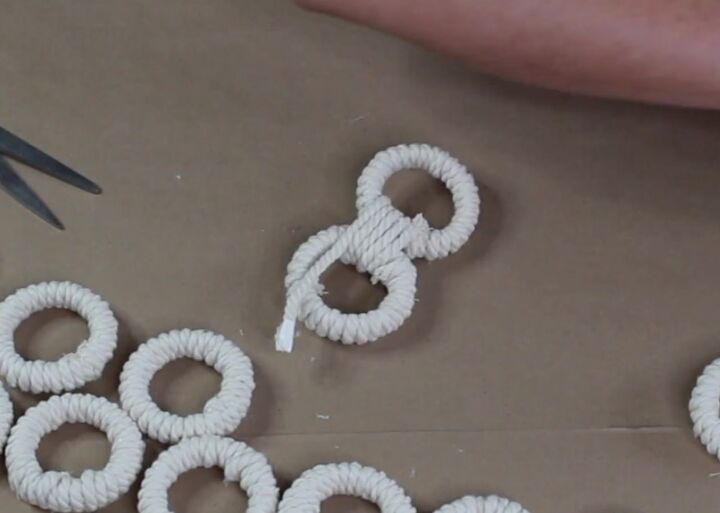
Then, I took the same rope and looped it through the rings until they were tightly together.
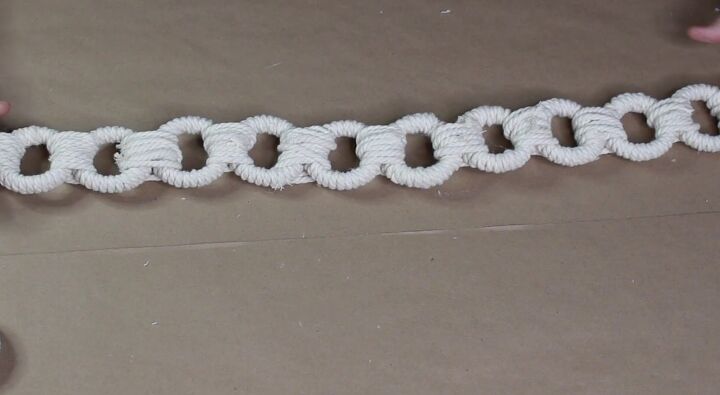
After the rings were connected in groups of two it was time to line them up and do the same thing to connect them all together.
5. Attach the rings to the tray
With the rings all strung together, it was time to add them to the pizza pan. I placed them over the pan and then slid them down until they were all around the edge.
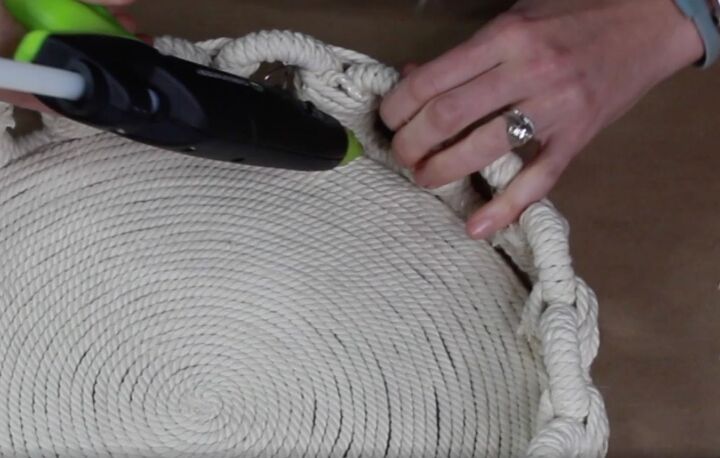
To hold the rings in place, I used a drop of hot glue at the base of each ring and then I pressed them up against the frame of the tray.
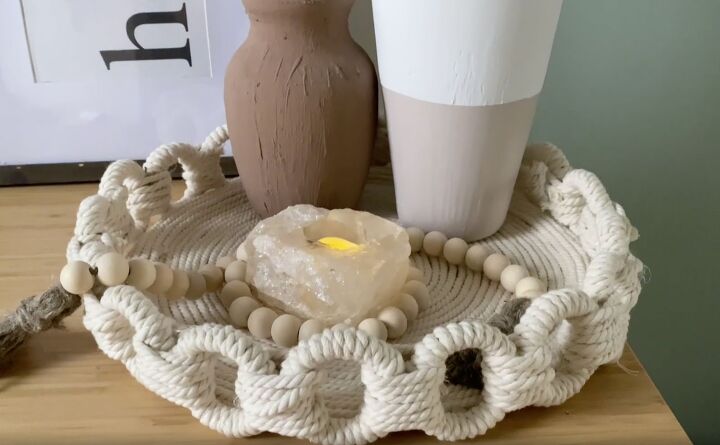
DIY boho tray
There you have it. The tray is complete. I really love how it turned out. I think it actually exceeded my expectations. I think it looks really great in my blogging home office. So what do you think of my DIY rope tray?
Resources for this project:
See all materials


Comments
Join the conversation
-
I really like it! The photos don’t do it justice. I clicked on the link and watched the video and it’s really nice! I’m inspired to make it for my guest bathroom.
-
I got my pan at dollar tree so it is only a 13 inch. Is 50 ft. of rope enough?


Frequently asked questions
Have a question about this project?