


Decorating Wooden Easter Eggs
Here is a fun way to create unique handcrafted Easter eggs that will last for years.
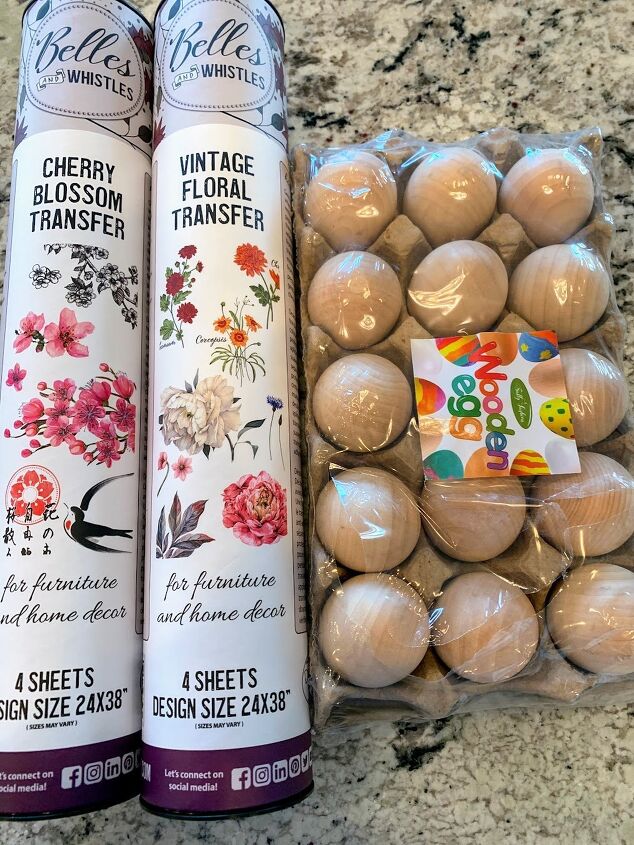
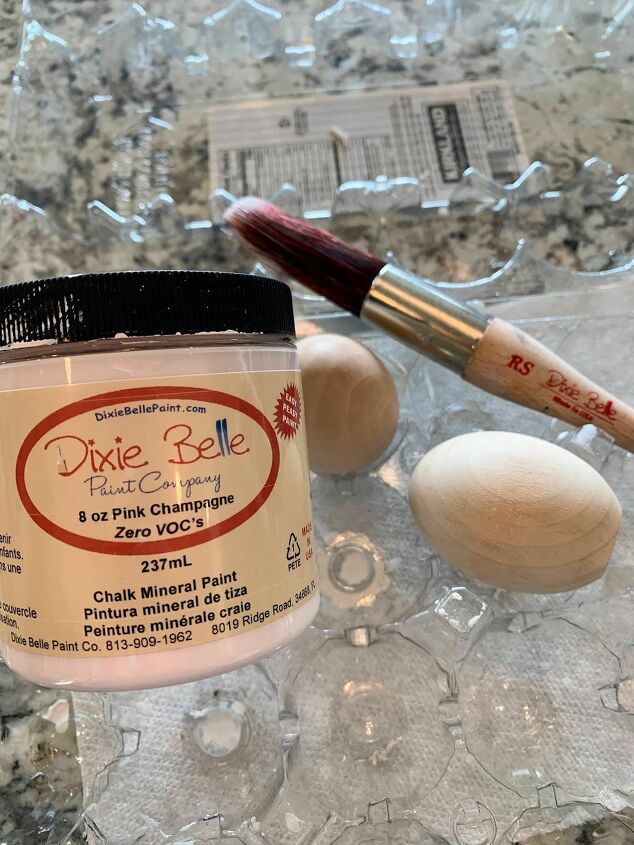
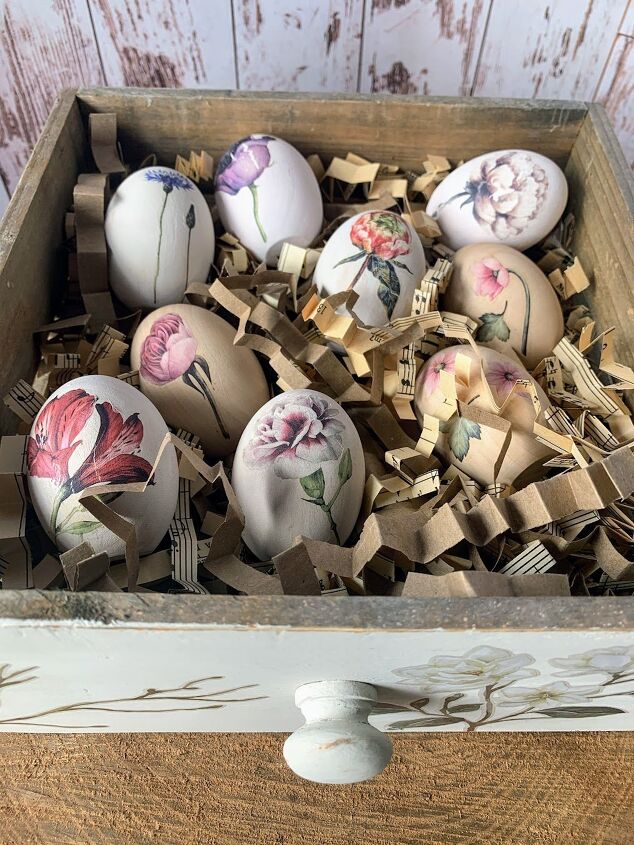
I bought THIS package of flat bottom wooden Easter eggs on Amazon and then used paint and transfers to make them look like vintage hand-painted wooden eggs.
It was so easy!
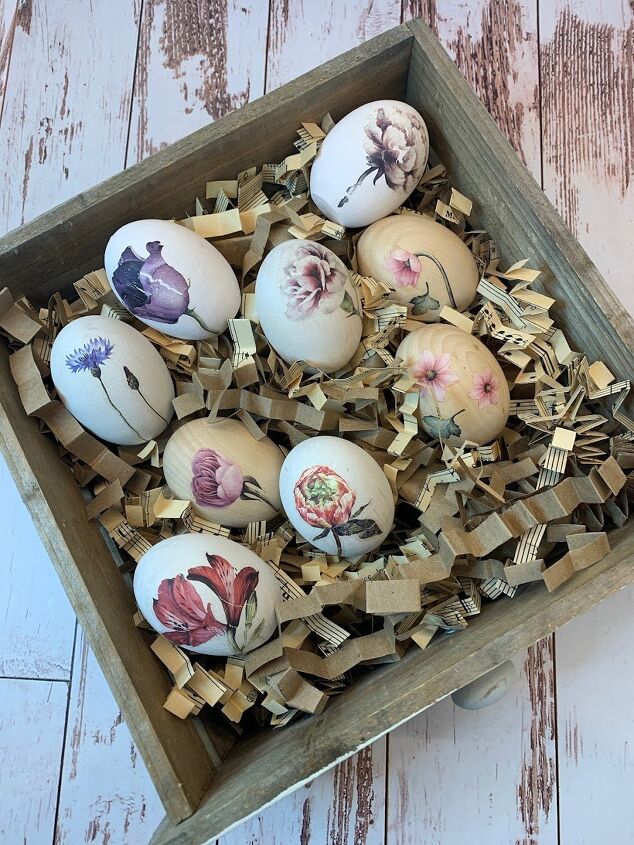
In no time, I had a basket full of one-of-a-kind Easter egg designs that I can use year after year.
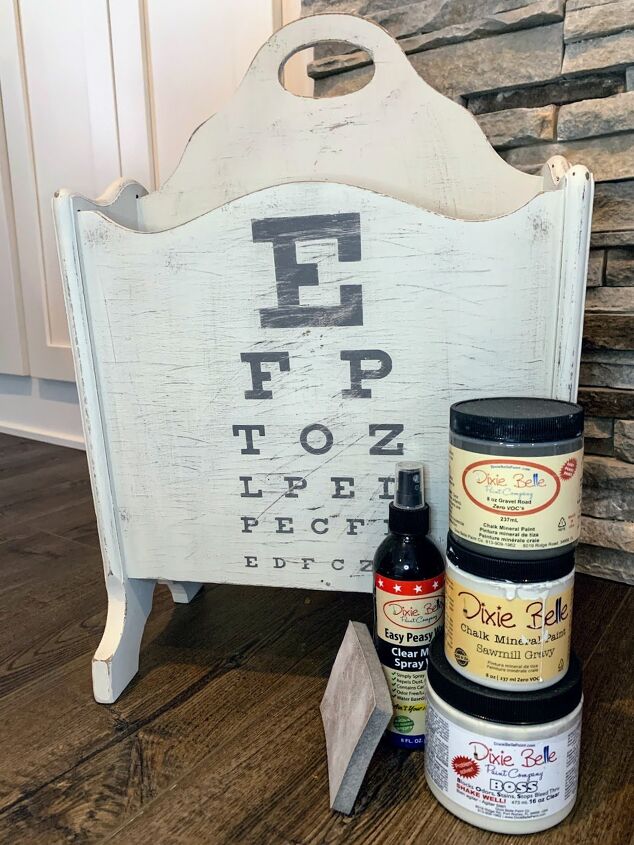
I am partnering with the Dixie Belle Paint Company for this post. Paint and supplies were generously provided to me by Dixie Belle, but all ideas and creations are my own.
Decorating Wooden Easter Eggs
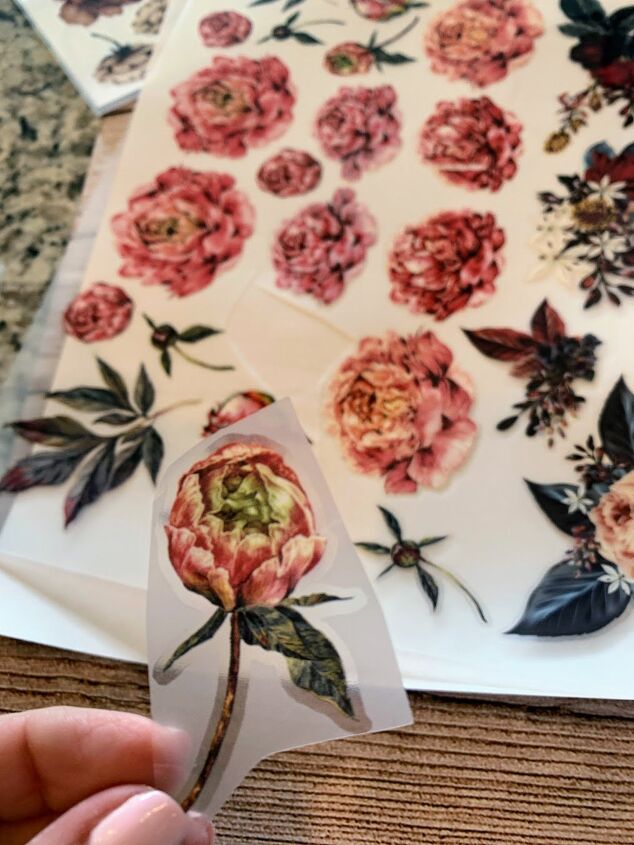
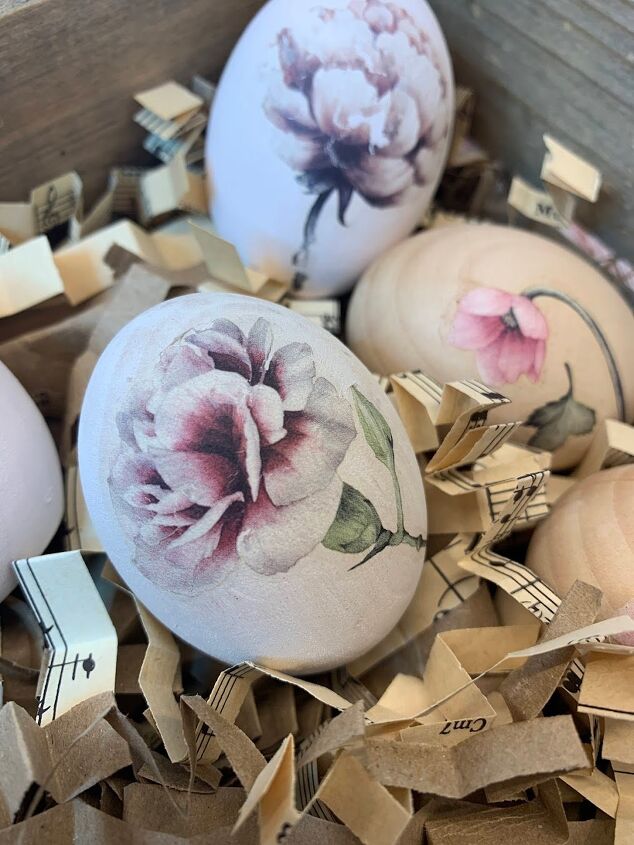
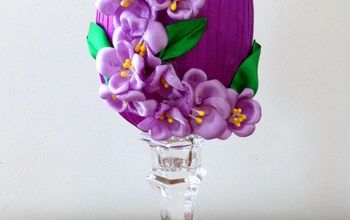
I used two beautiful floral transfers from Dixie Belle– Vintage Floral and Magnolia Garden.
These transfers are so easy to use but will make your wooden eggs look like they are artistically hand-painted.

Hand Painted Wooden Eggs
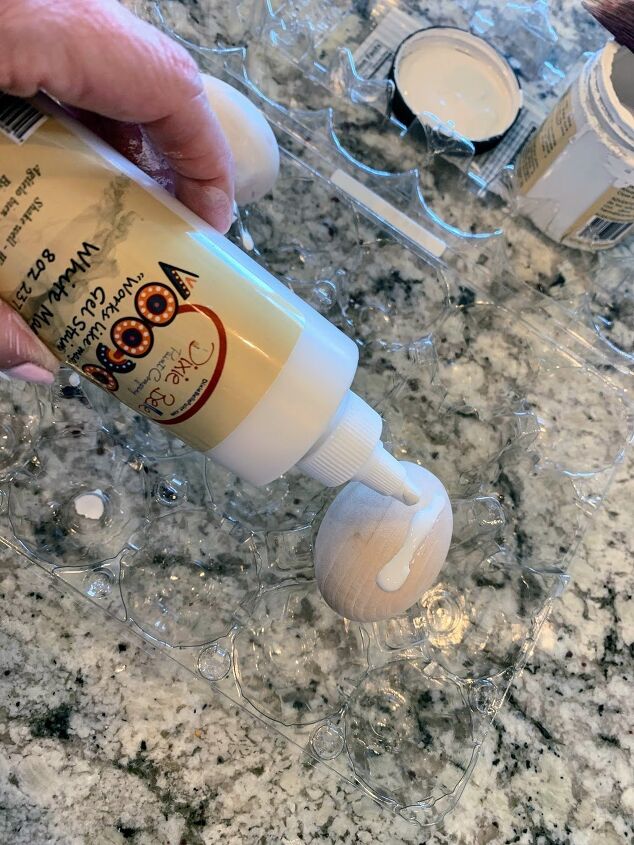
I used Dixie Belle’s Voodoo Gel Stain in White Magic on some of my eggs, and Dixie Belle Chalk Mineral Paint in Fluff and Pink Champagne for some.
The Voodoo Gel Stain gave a slightly more transparent whitewash to my eggs than the paint, but both the paint and the stain worked well, so you use whichever you prefer.
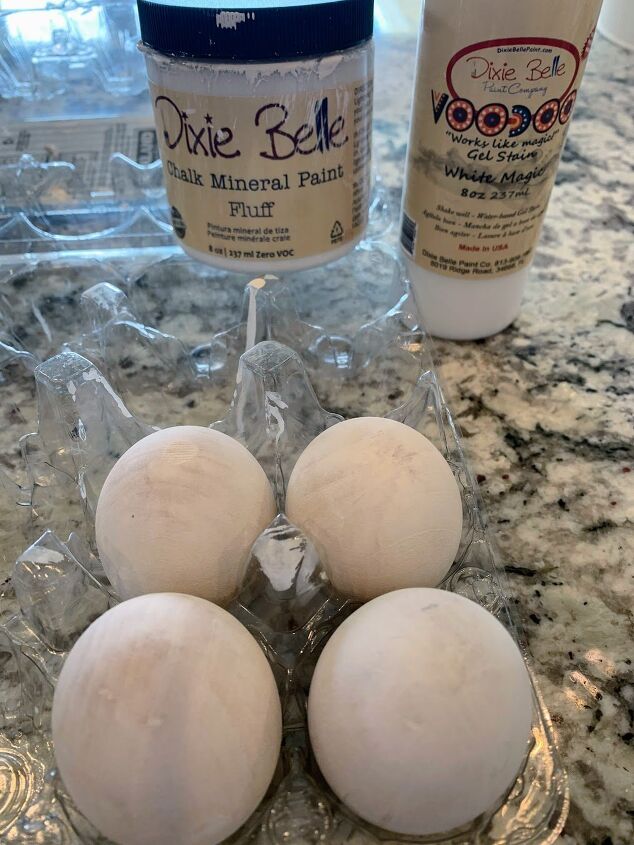
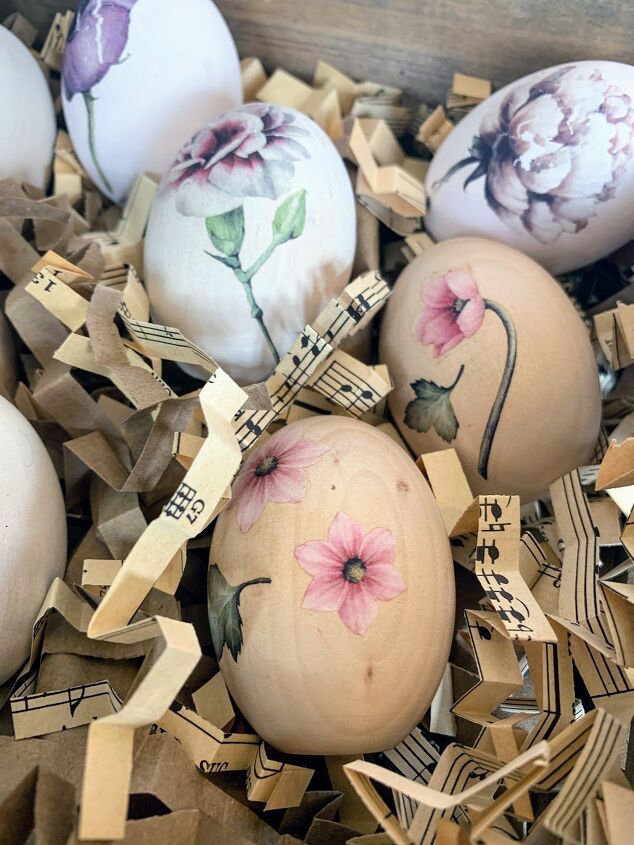
I loved the wood grain that was visible on the eggs, so I even chose to leave a few of my eggs in their natural state and just applied the transfers directly to the eggs.
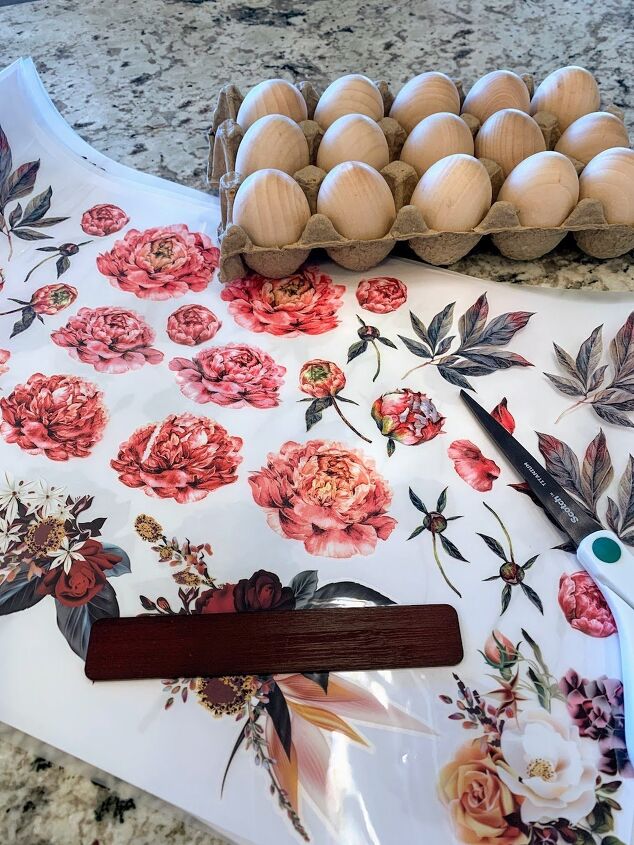
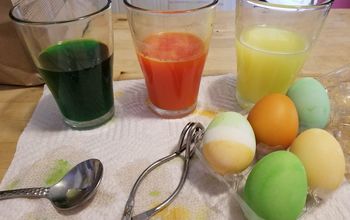
Floral Transfers
The floral transfers are so easy to use but give such a beautiful effect.

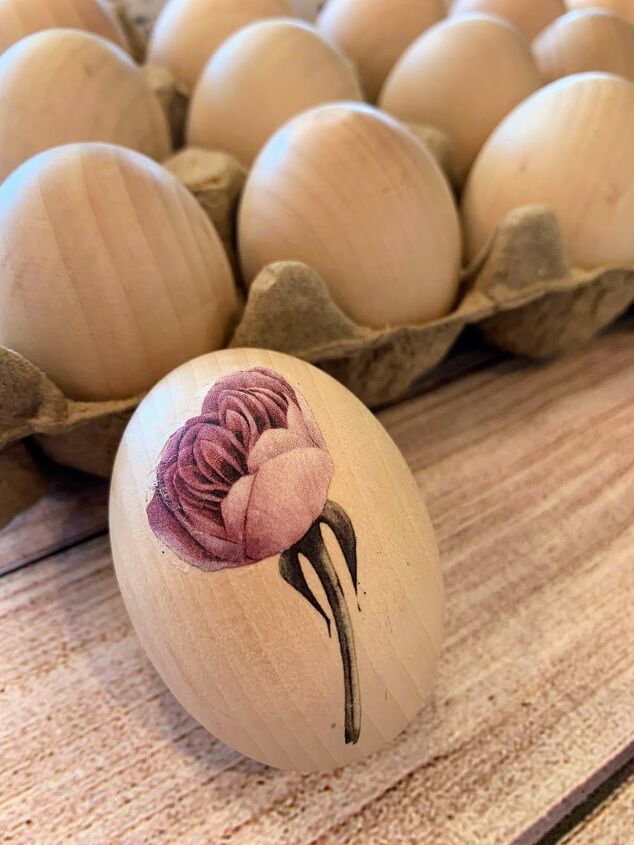
Just cut out the flowers that you want to use, position them where you want on the egg, and rub firmly with the provided stick.
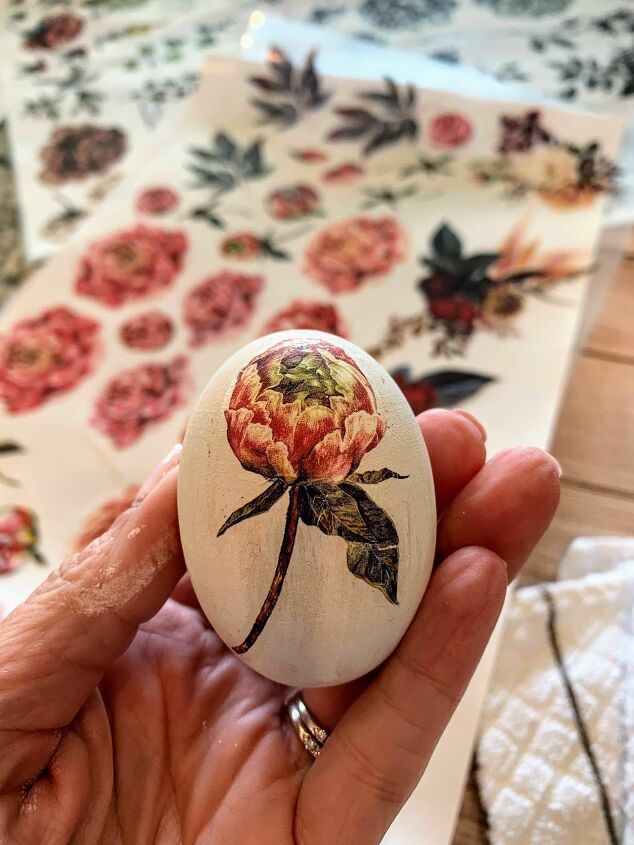
Gently lift off the clear release sheet to check that it has adhered completely.
Ta-Da!
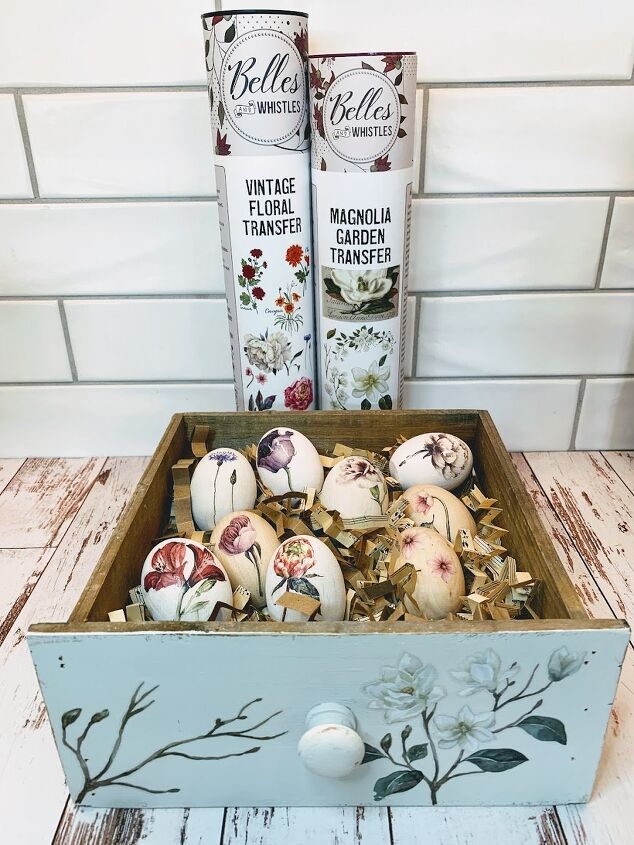
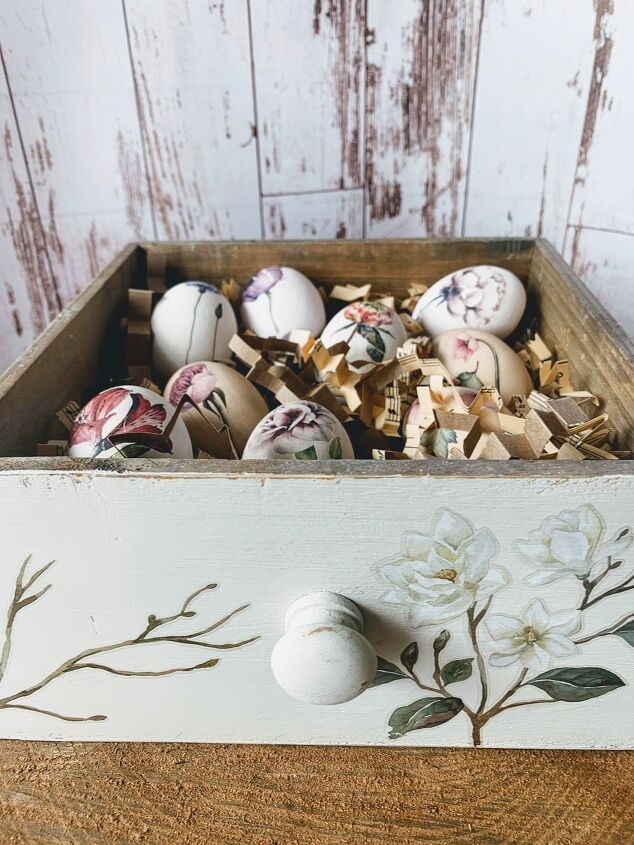
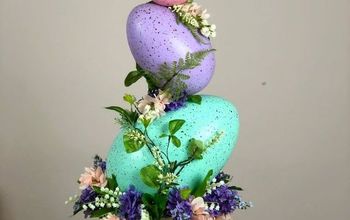
Displaying your Painted Wood Easter Eggs
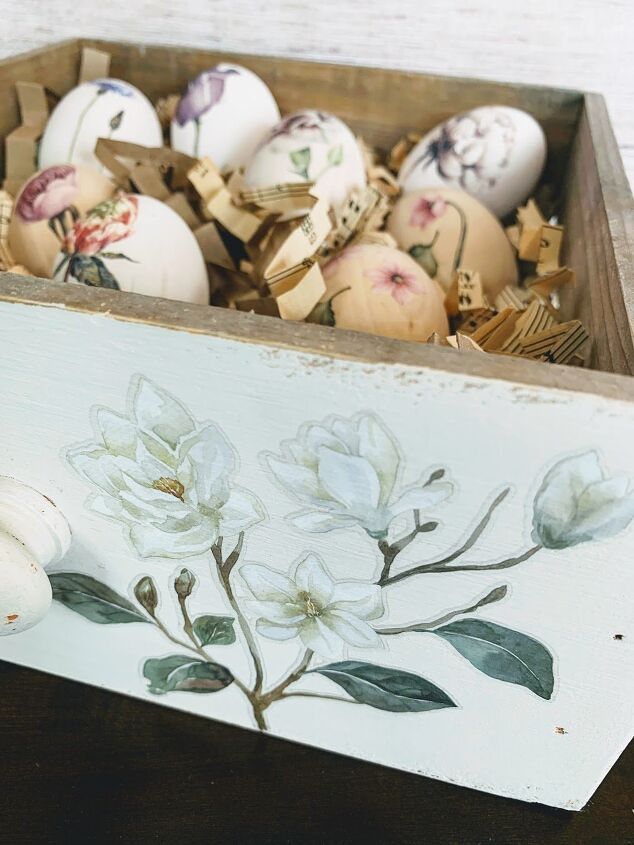
I used some of the larger designs from the Magnolia transfer to decorate an old wooden drawer.
Originally, I was going to use the drawer as a planter (and still might later) but decided it would be a fun way to display my wooden egg decorations.
I gave it a quick coat of Dixie Belle’s Drop Cloth chalk paint, and let it dry overnight.

These videos show how easy it is to apply the transfers.
DIY Crinkled Paper Easter Grass
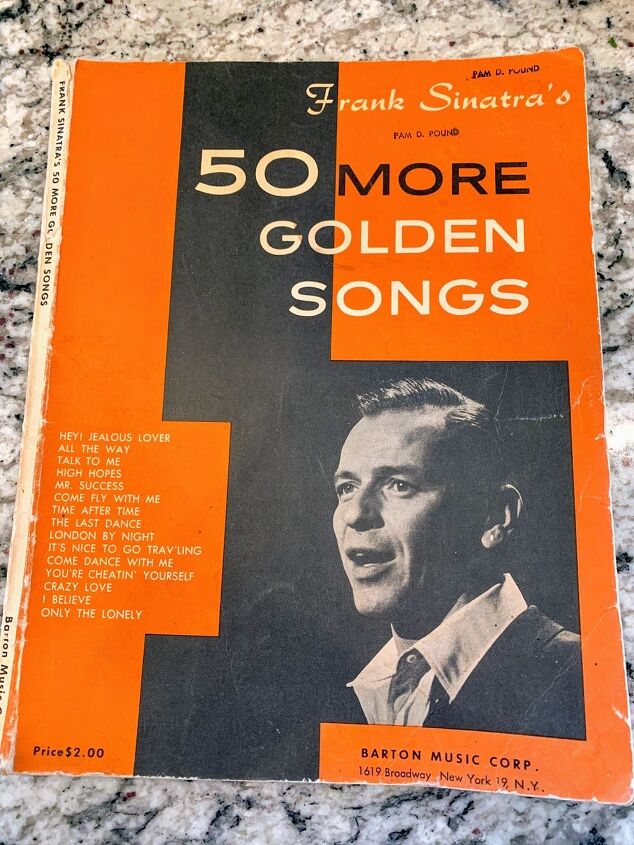
Next, I made my own DIY crinkled Easter grass using some vintage sheets of music from an old songbook that I picked up at an antique store for less than 5 bucks.
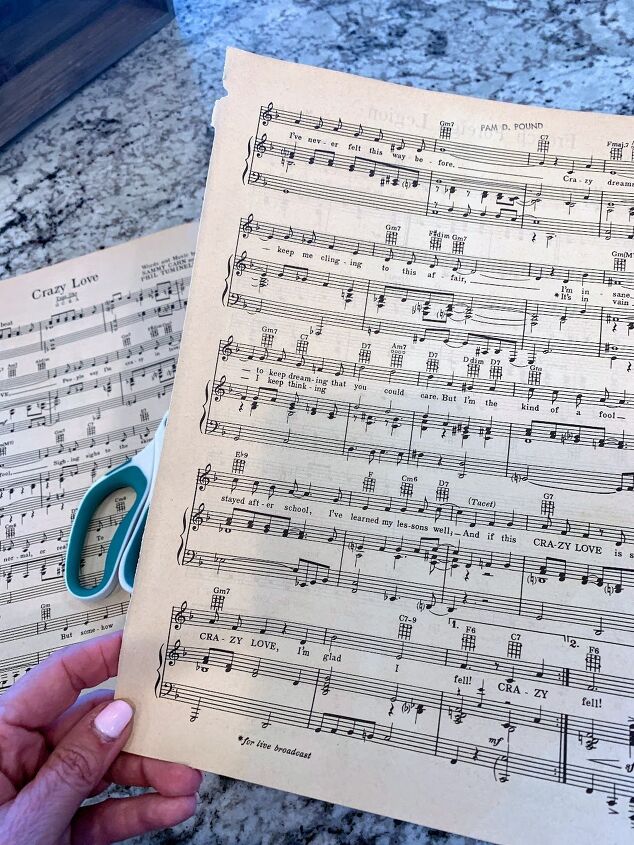
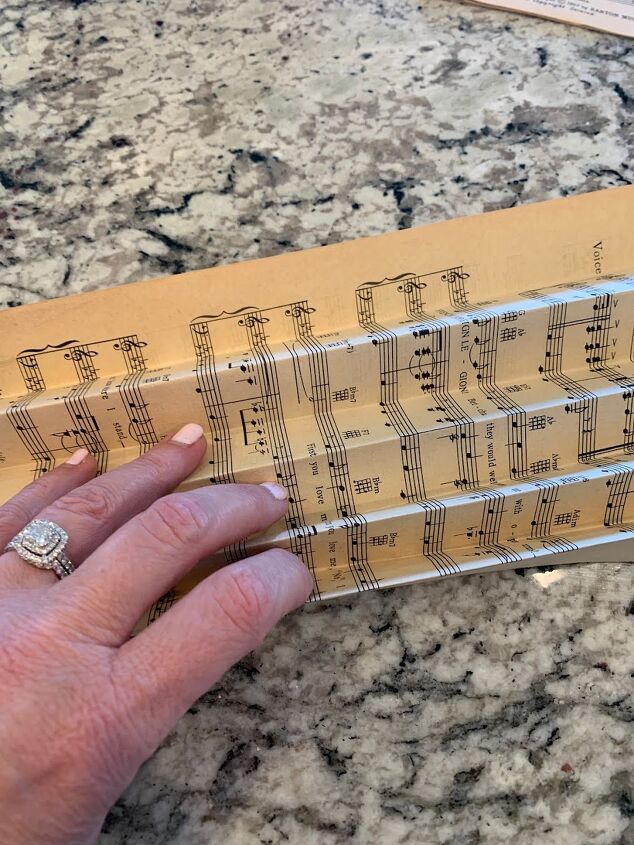
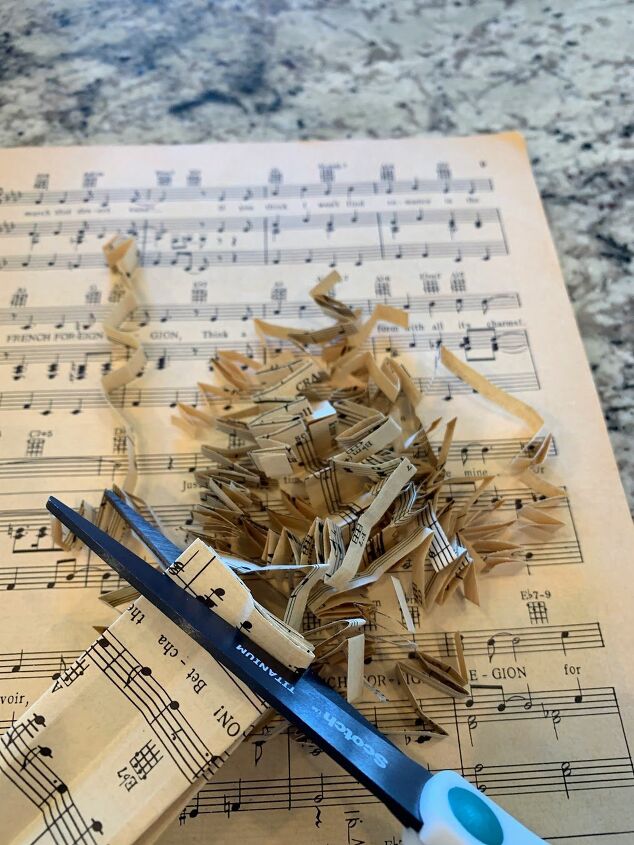
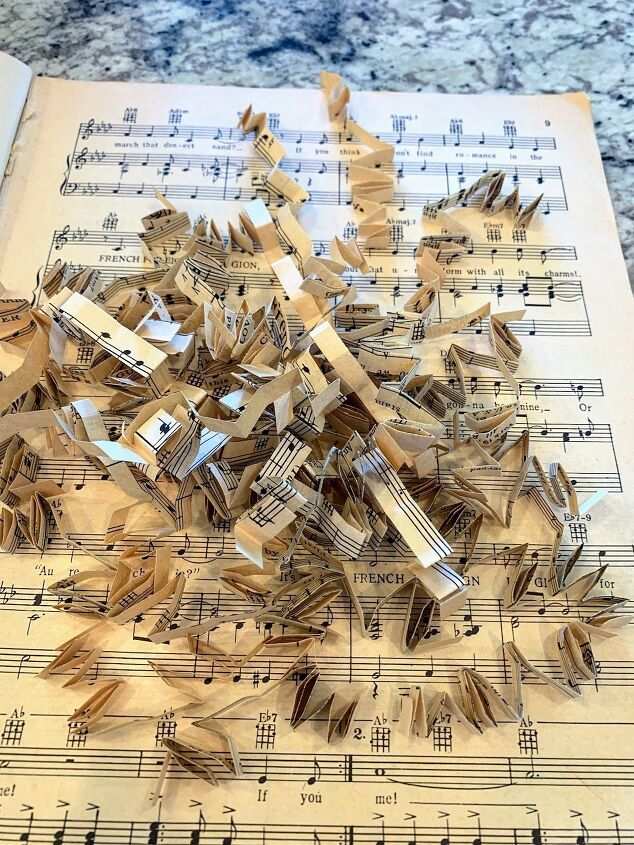
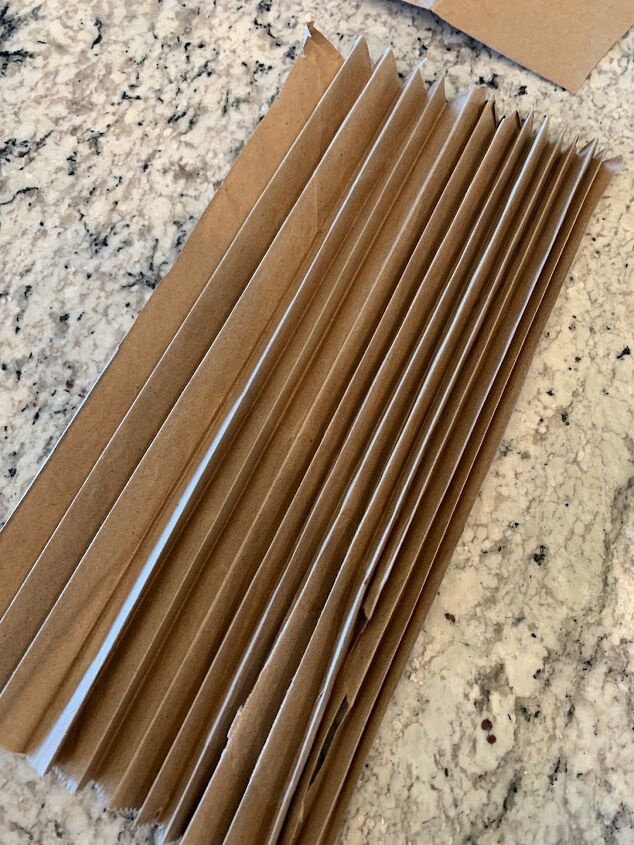
I used two pages from the music book, and then made some more crinkled grass pieces to mix in with it using a brown paper grocery bag.
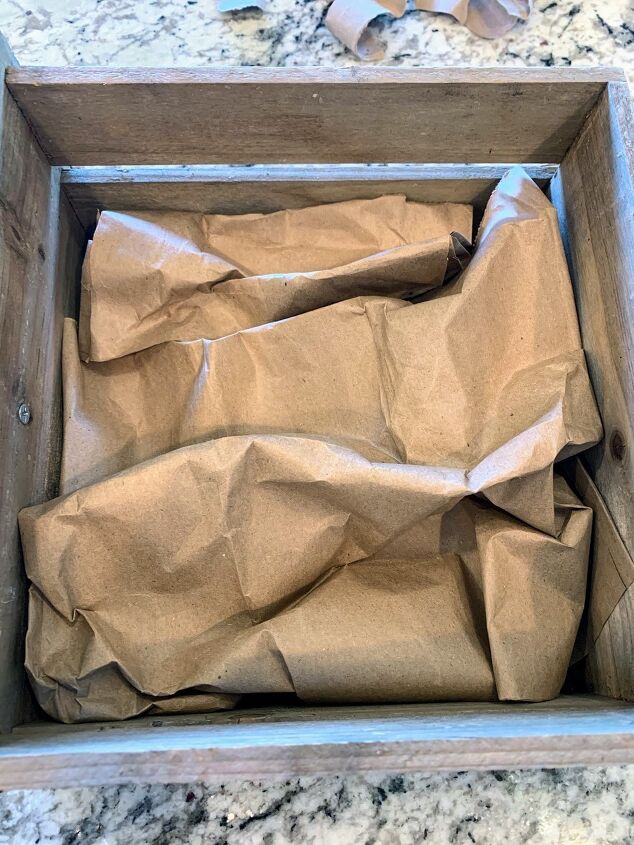
I also added some crumpled brown paper to the bottom of the drawer to support the eggs and keep them from falling to the bottom.
I love how easy it was to make something that looks like it’s been around for a very long time. Vintage-inspired projects are my favorite.
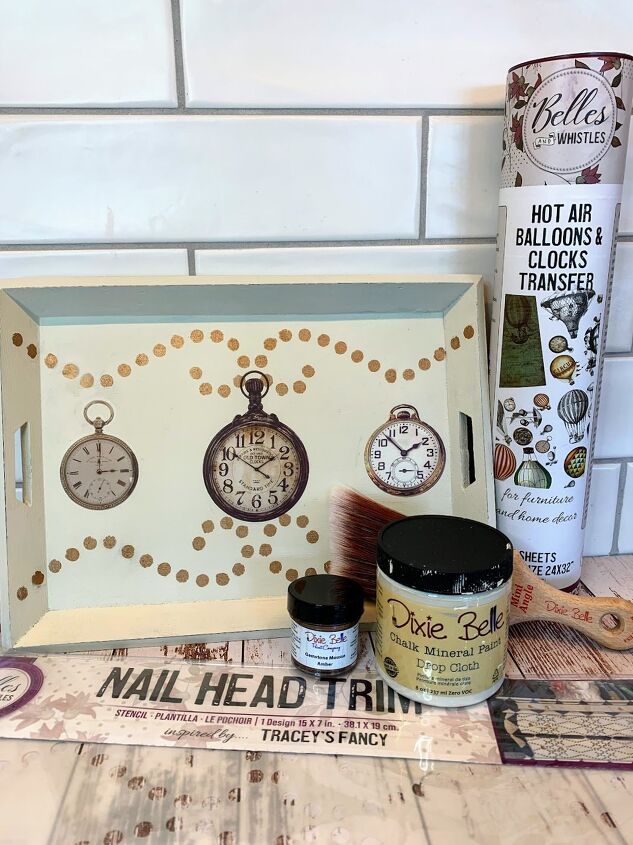
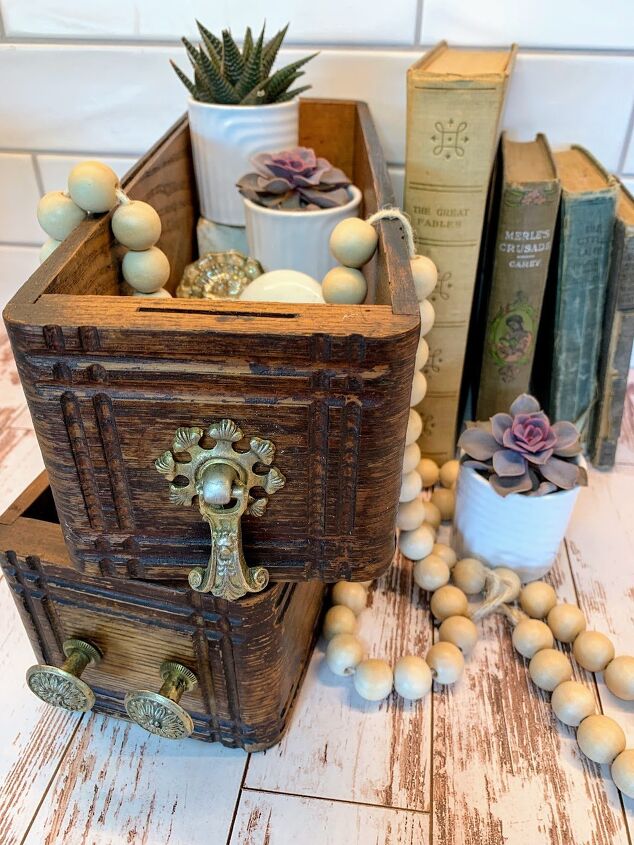
Check out more of my Dixie Belle Paint projects:


Let’s stay in touch! You can , and follow on social media, so you won’t miss a thing!
Facebook —– Instagram —– Pinterest
This post contains affiliate links for your convenience. Thank you for reading and supporting my blog.
Shop Dixie Belle Supplies for this Project:
- Magnolia Transfer
- Vintage Floral Transfer
- Dixie Belle Chalk Mineral Paint– Drop Cloth, Fluff, Pink Champagne
- Dixie Belle Voodo Gel Stain — White Magic
- Dixie Belle Brush– Small Round


Frequently asked questions
Have a question about this project?