


Let’s Frame Things Up. What a Difference a Frame Makes.

by
Debbie
4 Materials
$50
2 Days
Medium
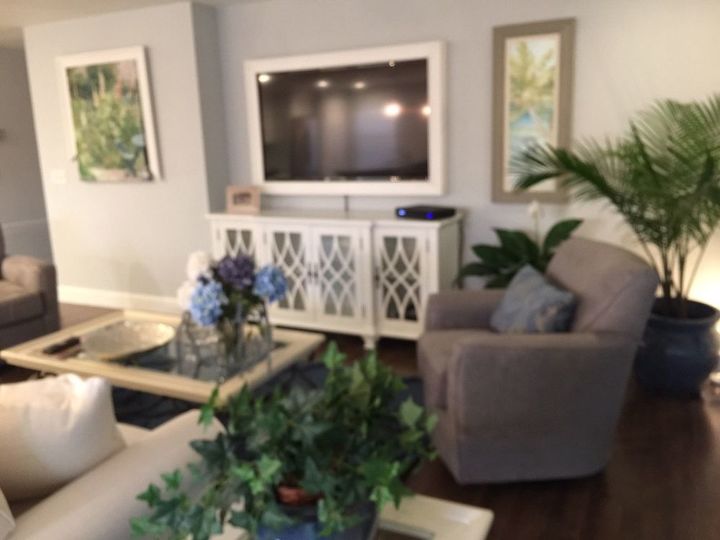
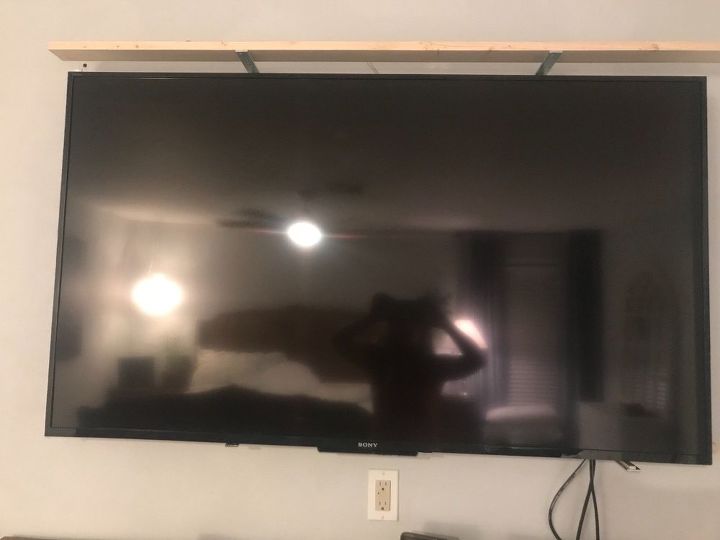
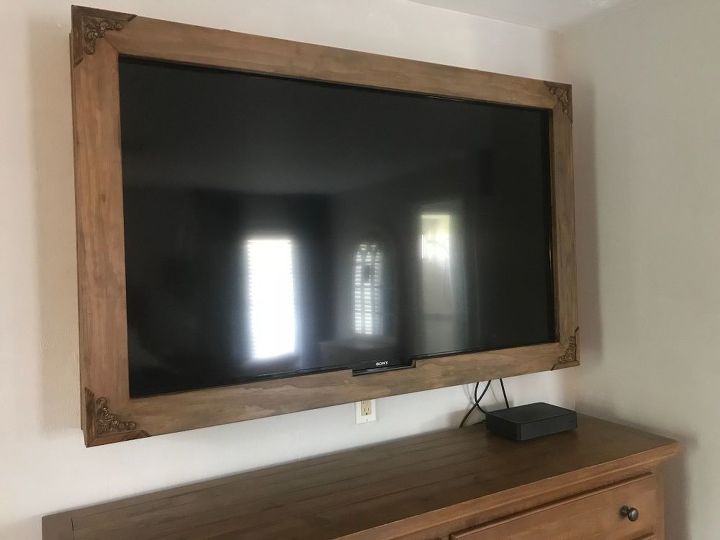
First I started by framing my Living Room TV. I prefer to hang my TV so they don’t take up space on the credenza and gives a little more upscale look.
All framed in.

Also has the added feature that it resembles an aquarium when playing a CD
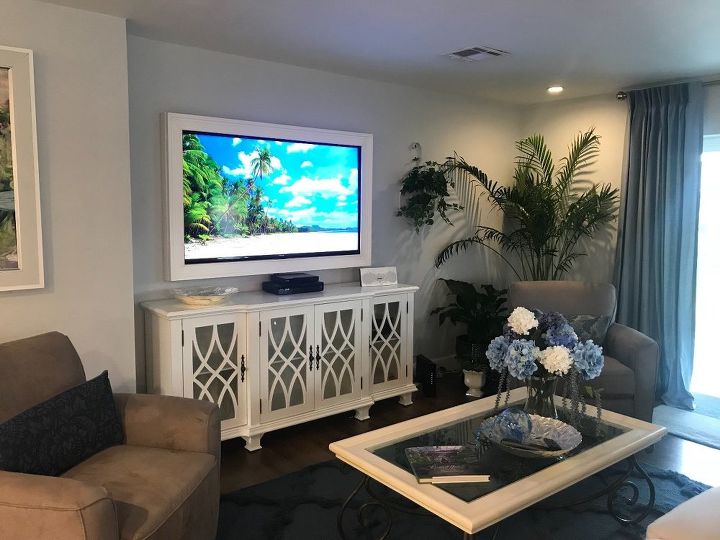
Or a tropical beach
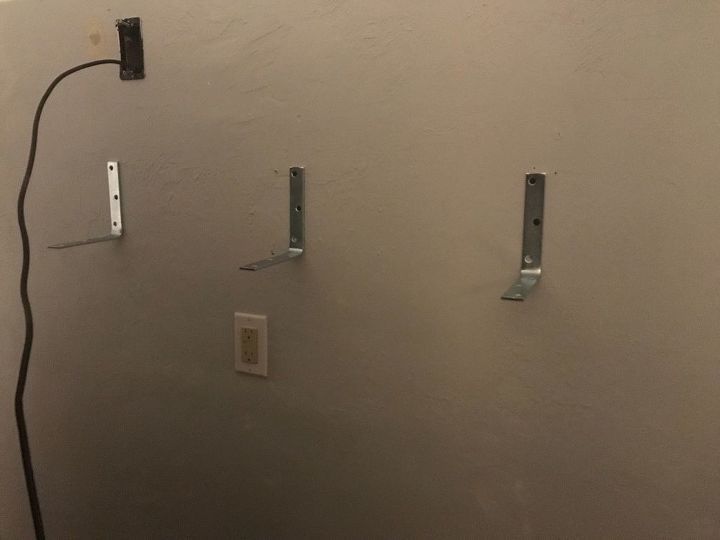
Every TV is different in size, where the speakers and sensors for the remote are located. So it would be impossible to give exact details. Please be careful not to cover any sensors. TVs these days are not that heavy. At the bottom I started with 6“ L Brackets and attached to the wall in the studs for added strength. This is what the TV will rest on.
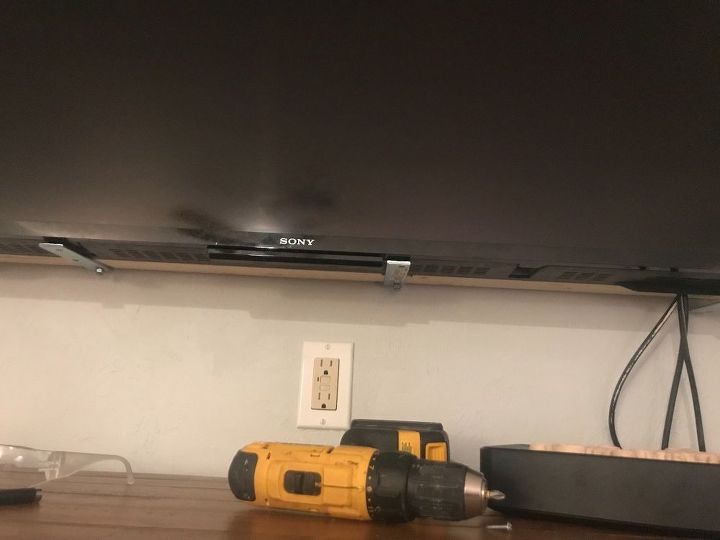
TV resting on brackets. I also placed a piece of wood behind the TV to make sure it couldn’t be pushed back too far into the wall.
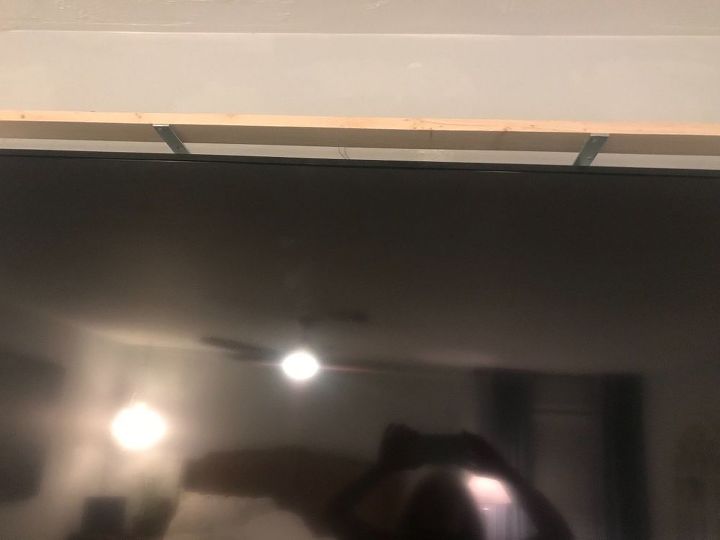
I then attached 6“ L brackets to the top. I placed a 1 x 3 to the brackets to length of my frame. Only used 1x3 instead of 1x 6 for more air flow.
On the back of every tv there are screws that just hold the molded panel to the back of the Tv. I loosen 3 screws at the top back of the TV, one at a time and wound some wire around the screw head and retightened the screw. That wire will be either wrapped around one of the brackets or a screw that you can install in a stud. I loosened 3 screws and had 3 wires that I secured to screws that went into a stud. Unfortunately it can’t be seen in this picture. Remember the TV is not that heavy it is already resting its weight on the L Brackets that are screwed into studs. The top wire only keeps it from falling forward.
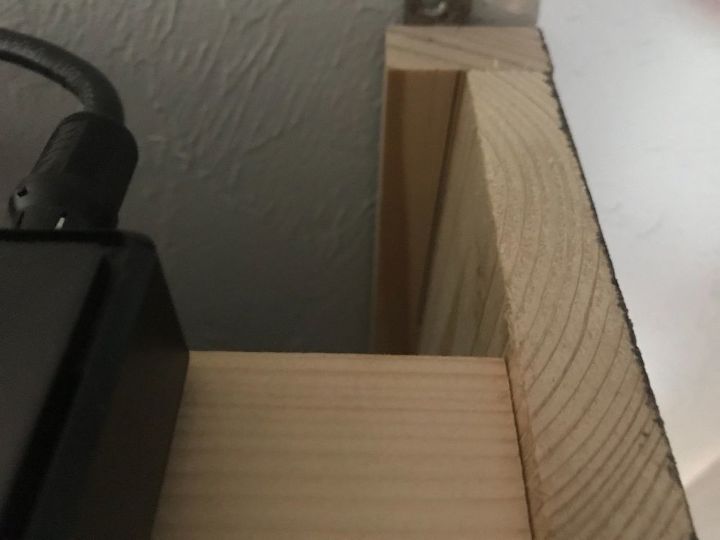
The sides of the frame were made from 1 x 6 “ pine with a 1 x 2“ piece added to the back of each side so it would be 6” plus a fraction to clear 6” brackets. These were attached to wall with brackets and also attached to 1x 3 going across the top.

The frame is made separately. Mitered, glued and nailed the four corners together to form the frame.
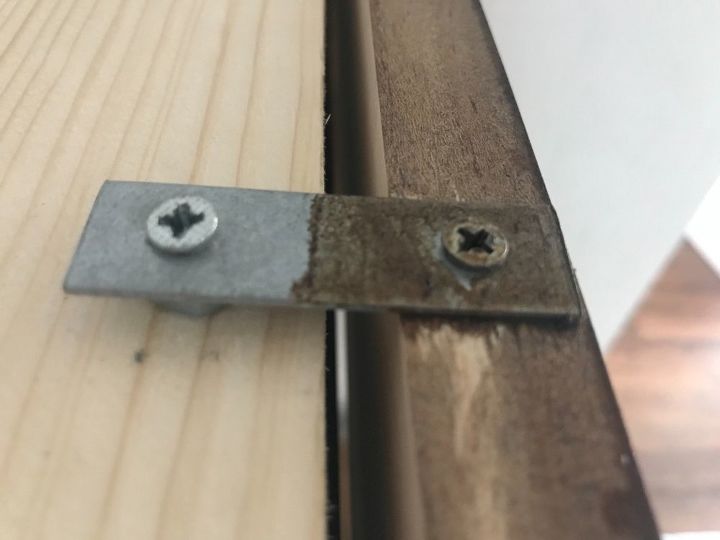
I used these small brackets to attach the top of the frame to the 1 x 3 going across the top. This a picture from the one in my bedroom that is brown but still done the same. Only used 2 brackets. And 2 at the bottom. From the bottom of the frame to bottom of the side of frame. To keep frame in place. Frame can easily be removed should back of Tv need to be accessed.
This is the one in my bedroom, made with 1 x4 “ pine instead of moulding. Please note that I had to carve out the lower middle of the frame with a jig saw because it would have blocked the sensor. Used small scrolled corner appliqués for added interest.
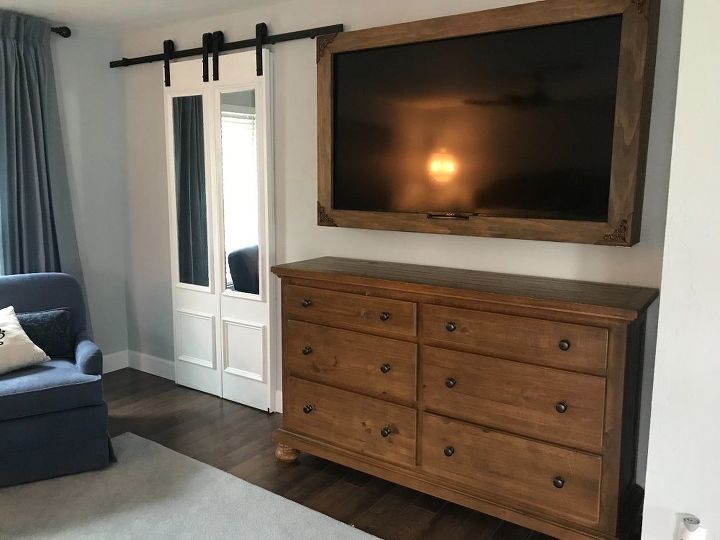
This is the finished product. Staining is not my strong suit but I think it comes pretty close.


Any price and availability information displayed on [relevant Amazon Site(s), as applicable] at the time of purchase will apply to the purchase of this product.
Hometalk may collect a small share of sales from the links on this page.More info
Comments
Join the conversation
2 of 68 comments
-
Fantastic another piece of furniture
-
it's still a big black blob in the middle of the wall. Now it's a framed big black blob. But it's a better looking big black blob. I'm still for armoires with doors.


Frequently asked questions
Have a question about this project?
Yes and yes I would like to do this:) but how do you pull the tv out if your tv is swivel mounted?
Fabulous. You lose the need for some sort of table or stand so this gets all the equipment out of the way. This is how I would do it now that I've seen this.
I don't have a flat screen yet, the flat screen I use is my computer. The question is, is there any sort of heat buildup that needs to be vented away from the TV?
Are the sides open to allow for sound and ventilation.