


Vintage Decoupage Mirror Frame

A little bit of distressing and decoupage reveals a mirror that looks antique.
Hometalk Recommends!
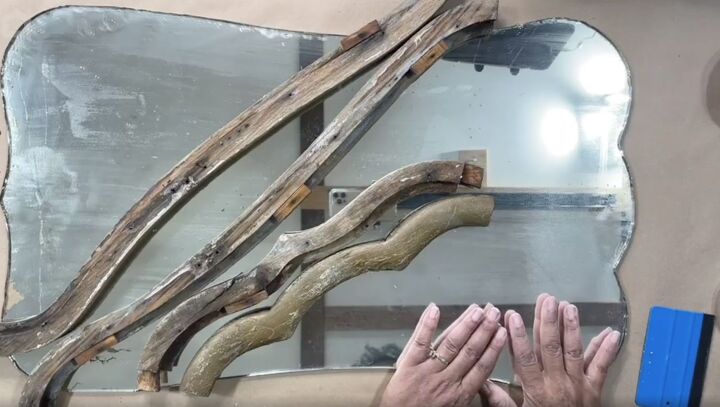
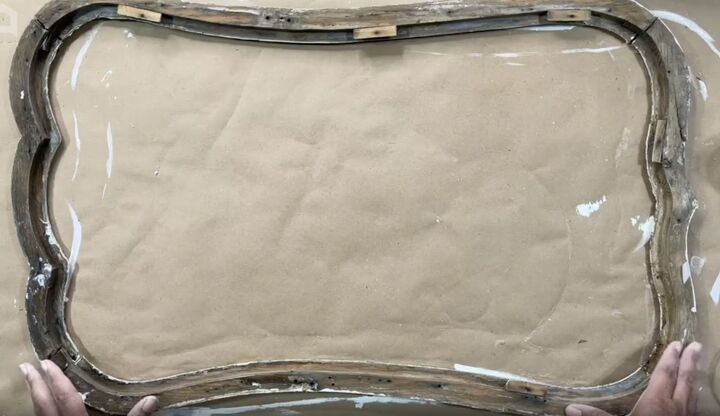
I scored this mirror at a yard sale, and it was so far gone that I got it for super cheap and I want to show you how to make a vintage decoupaged mirror frame with it. To start, I took it apart and separated all of the pieces.
There were places on the mirror where the paint was already starting to chip off so I kind of wanted to go in and exaggerate those places.

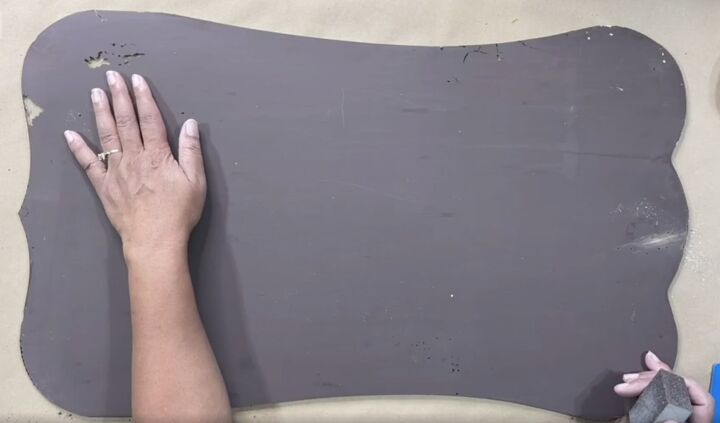
I took a 220 grit sanding paper and agitated those areas where the paint was already failing in hopes of revealing more of the glass on the back.
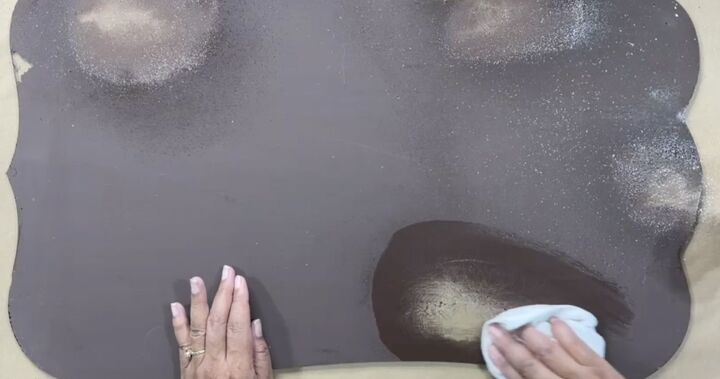
To clean up the back once I had sanded, I just sprayed it with a little water and used a cloth to wipe up all of the dust.
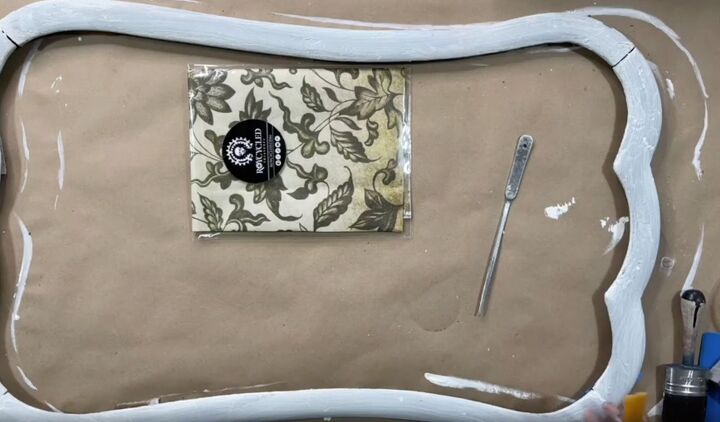
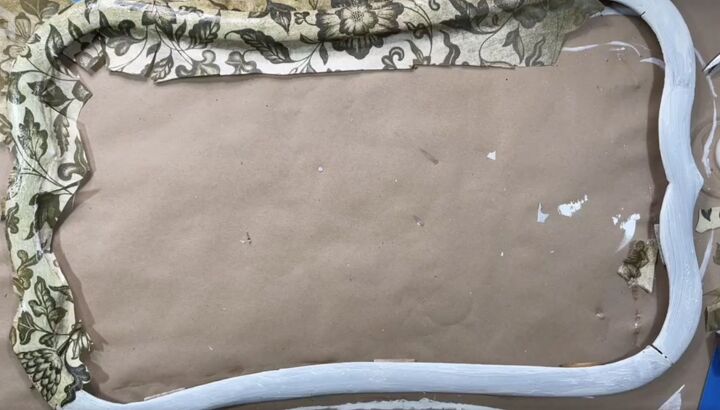
Once I had that done, I wanted to work on the frame. I started by priming it. I always like to start my decoupage with a bright surface, because I feel like it maximizes the artwork that's on the decoupage paper. I used Wise Owls, white primer for the frame and it will also make sure that I have good adhesion because our surface isn't perfect.
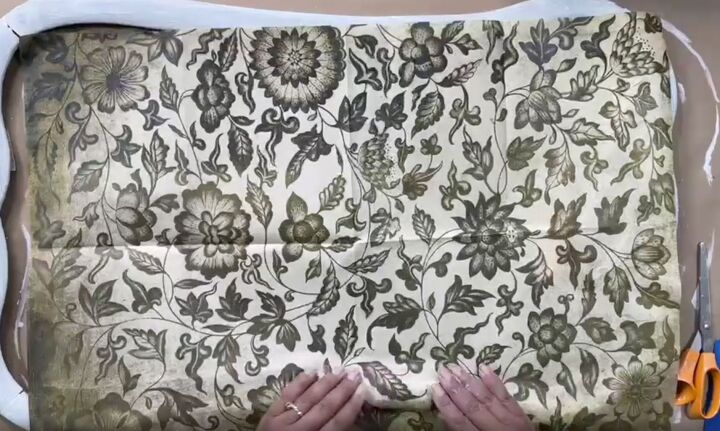
To decoupage the frame I used a Roycycled paper called Grungy Floral.
I made sure to cut my paper larger than the frame itself because it had to wrap around the sides as well.
To start attaching the paper, I put a layer of Wise Owls varnish in matte formula onto the frame and then began sticking the paper to it. I started in the center at the top, just to make sure that nothing shifts once we start decoupaging.
For the areas that the paper has to wrap around, I put some slits in it to relieve the tension from the paper so that it could lay flat along the edge.
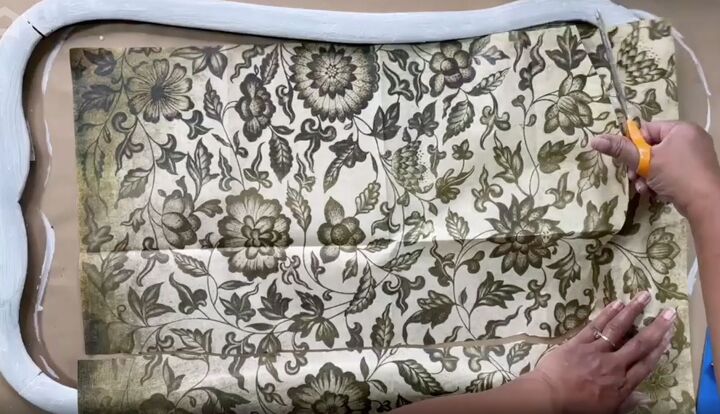
I didn't want to leave a straight edge piece anywhere so I cut the paper right around the flowers wherever the paper ended.
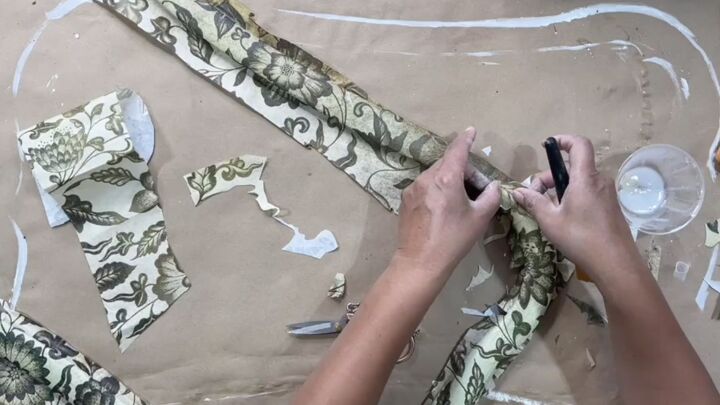
I did end up cutting one of my pieces a little short so I just out a little leaf to cover up the hole.
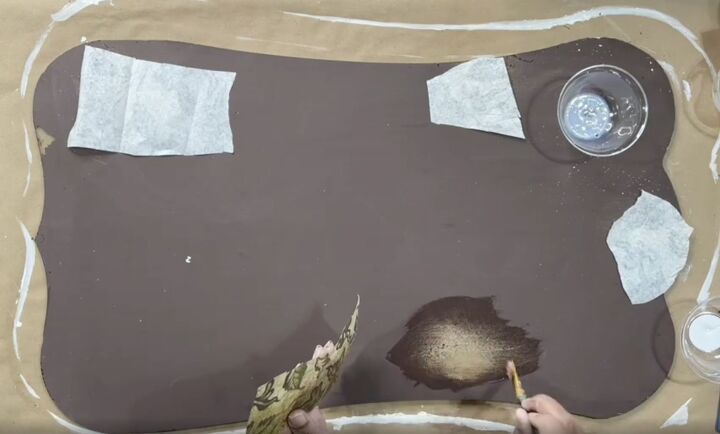
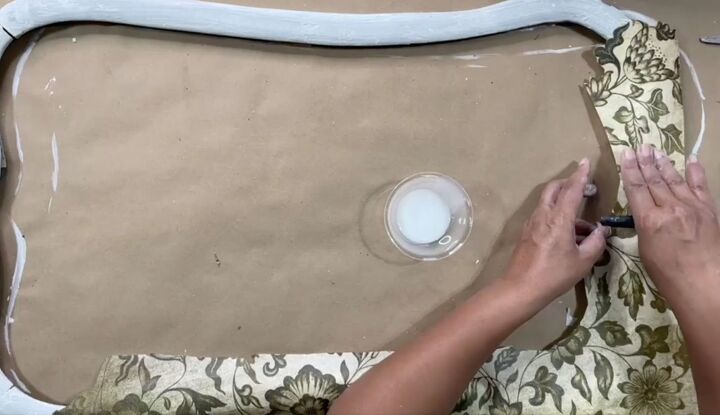
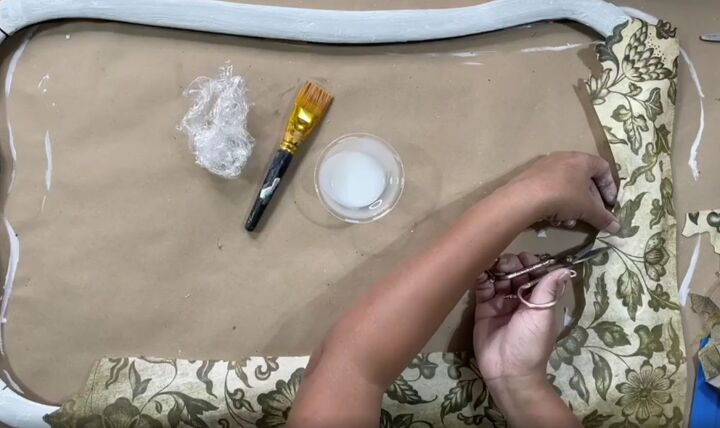
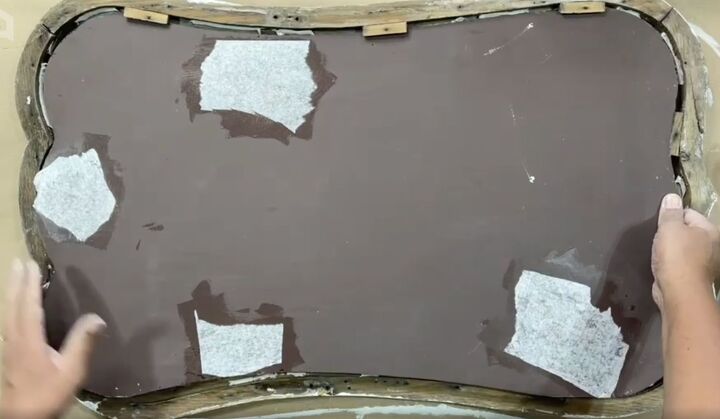
After the entire frame was covered, I set it aside to dry and got to work on the mirror. I used Wise Owl varnish again but this time in Satin. I put a nice coat of it over all of the areas where I sanded the paint off of the back,
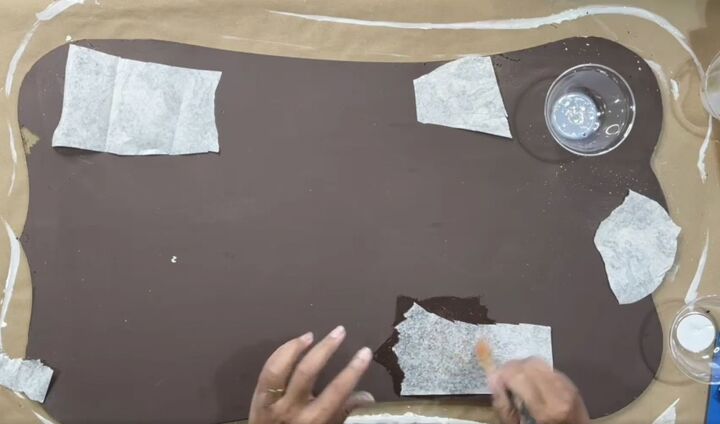
and then laid pieces of the decoupage paper down, facedown.
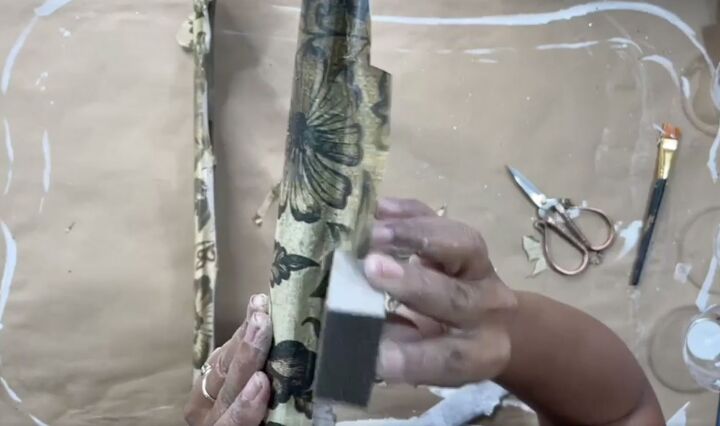
Once that was done, I finished up the frame. I used a 220 grit sanding block and ran it over all of the edges to remove the excess paper.
Because of the age of the frame, I wanted to make sure that it was nice and sturdy when it was hung on the wall. I added a bead of Liquid Nails on the inside of the frame before putting the mirror in.
With the Liquid Nails in place, I popped the mirror back into the frame. To make it extra sturdy I also put a thin piece of plywood over the back before hanging it.
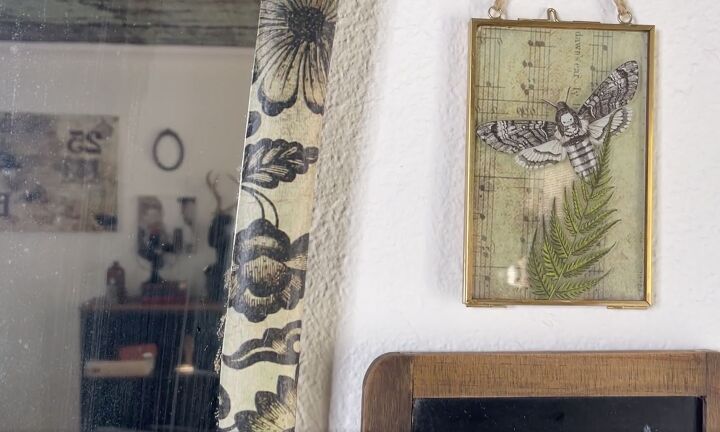
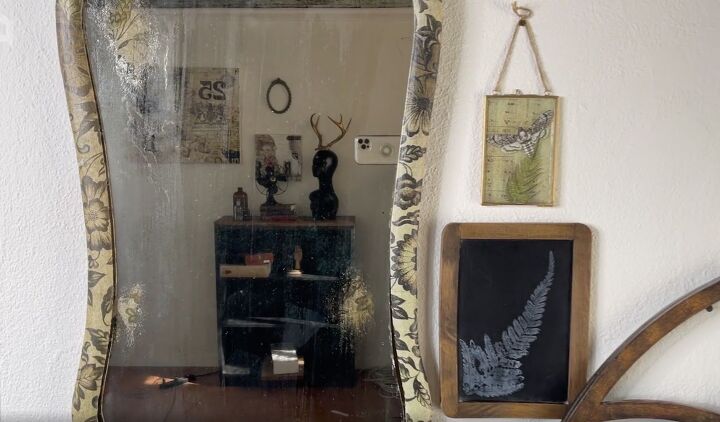
I hope you love the transformation of my vintage decoupaged mirror frame; it was a great way to jazz up an antique mirror.


Comments
Join the conversation
-
Great job! I wasn't sure what to expect, but it looks fantastic!


Frequently asked questions
Have a question about this project?
Do you know how to get the back off of a mirror and then restore the mirror back to being a good mirror. I have a mirrored shower door that is getting ugly from the mirror backing streeking it up like and old mirror. I need some suggestions.