


DIY No Sew Pillow Covers Using Napkins
Can one have too many pillows? The answer is and will always be NO! How can there be such a thing as too many pillows?? They are tiny little magical things that add color and texture and happiness to this world (and to your couch).
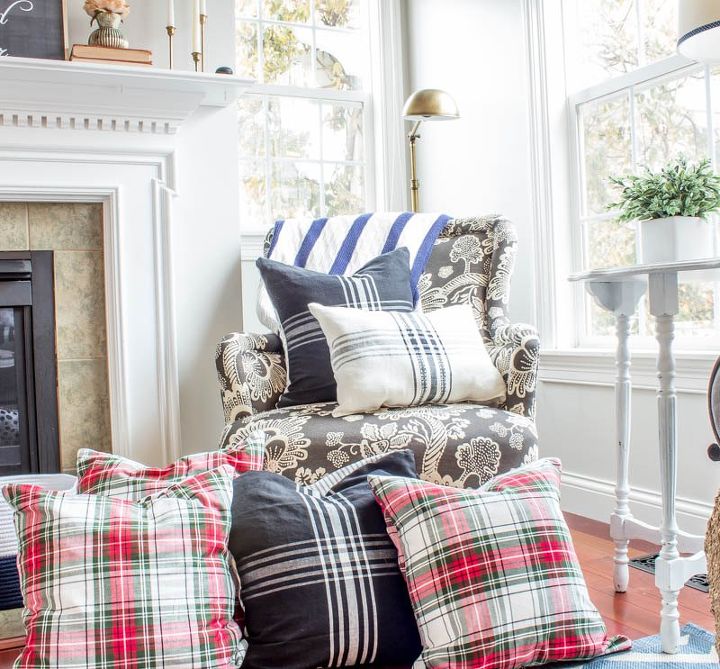
And now with the holidays approaching I NEED cute little plaid pillows in my life and on my couch. Right now is the best time to find THE cutest napkins too. Seriously, it's like I am in plaid heaven this time of year. In my crazy mind cloth napkins are nothing more than perfectly sized pieces of fabric already cut for me and ready to make into pillows.
It.is.so.easy. So so easy. Do not fear this. There is NO sewing involved unless you want to put yourself thru that torture. Actually, I will have to say, sewing itself is not awful-it's threading that dang machine that messes with me everytime and makes me never want to hear the word bobbin again. So instead I buy bulk quantities of fabric glue. It is so amazing. Whoever invented fabric glue is the most amazing person ever-next to Walt Disney.
This is how easy it is...only two items needed to make these no sew pillow covers (well three if you need pillow inserts:
- Napkins
- Fabric glue (or hem tape...another good friend of mine)
- Pillow insert
I purchased napkins from Amazon because they were a bundle of cuteness and then I felt that I was obligated to purchase some of Joanna's napkins from her new line at Target when it first came out. And don't forget your placemats, those make pretty dang cute pillows too. See my placemat pillow tutorial here. After this is all said and done, I think I made around 9 new pillows for my couch...err...I might have a problem.
I'm also a fabric hoarder so if I see a fabric I like (and if it's on sale especially) I buy it. I kind of figure I will use it eventually for something (more than likely a pillow). If you do not have random fabric shoved in a bin in your basement like I do-do not worry, you will just use two extra napkins.
For each napkin pillow you will use 3 napkins...one for the front and two for the back. We are making envelope enclosure pillows so you can take your inserts out whenever and reuse them for more pillows...yay!
Ready? And yes, I do most of my projects on my dining room floor. One day I'll have my craft room up and ready for me to use.
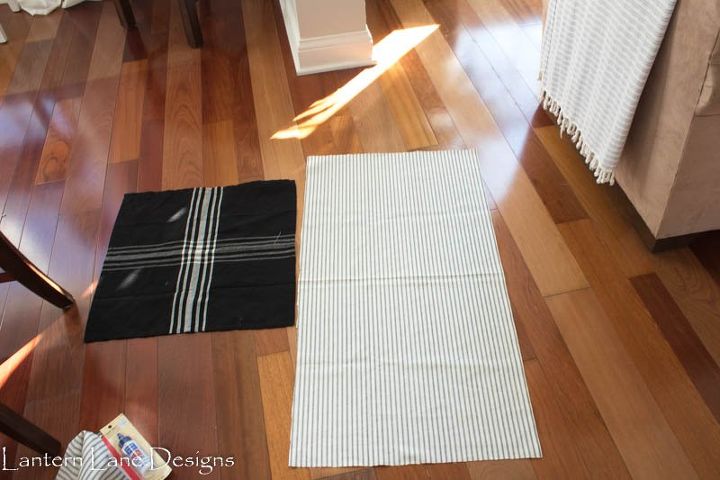
Step 1:
Take out 3 napkins (if you are feeling extra domesticated you can iron them or throw them in your dryer to get out some wrinkles...I did neither). If you have extra fabric on hand you want to use for the back of your pillow you will only need one napkin. Cut a section of your fabric that is 20" wide and about 36" long. Feel free to mix up the fabrics too like I did.
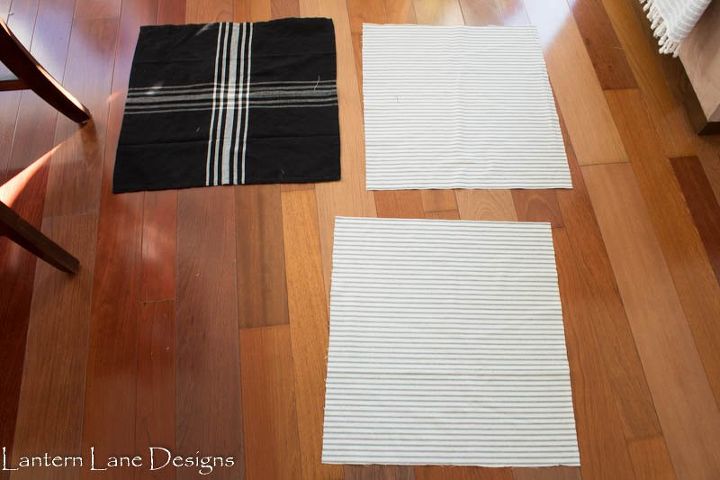
Step 2:
If you are going the fabric route (skip this step if you are using napkins as the back) cut your fabric in half. Now you will have three squares.
Step 3:
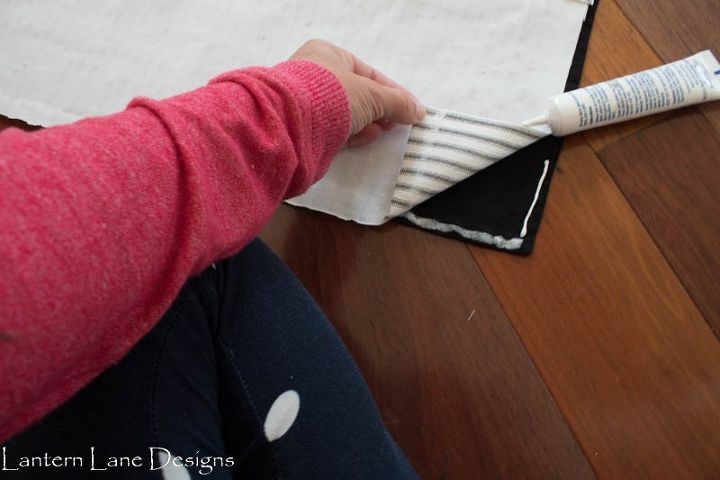
Take one napkin and lay it down face up...the back of your napkin where your tag is should be against your floor. Take one other napkin (or fabric square) and lay it over your first napkin face down. The two fronts should be facing each other. Fold your napkin you just placed down 3/4 of the way.
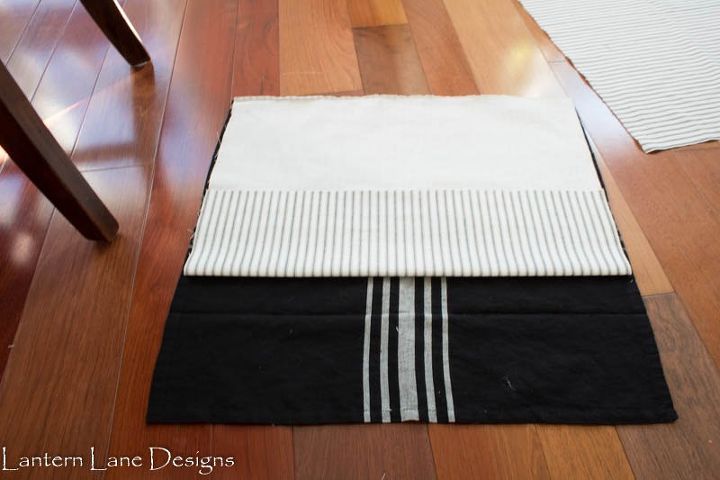
Now glue where you folded-both the sides and middle section. You are making one part of the envelope enclosure. Essentially you are "hemming" the backs of your pillow.
Step 4:
Repeat this step with your other piece of fabric/napkin. This is the other part of your envelope enclosure.
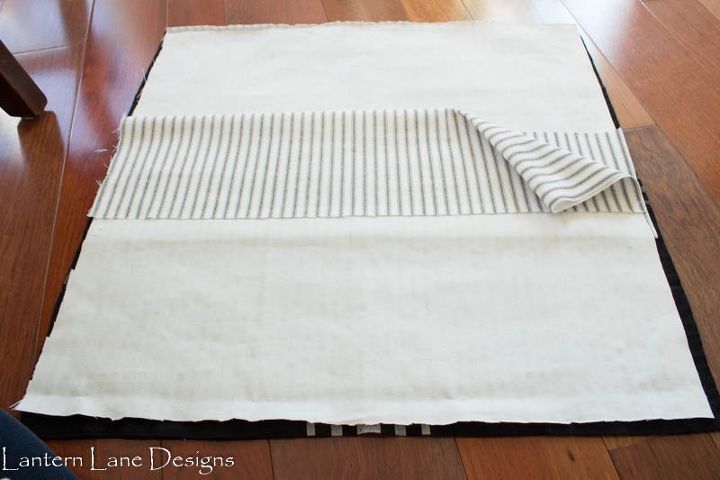
Step 5:
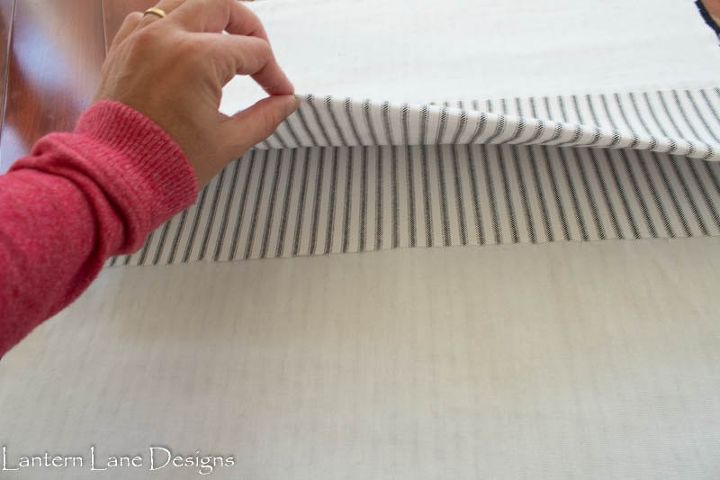
Line up all three of your pieces. One whole napkin face up and then the two backs you just hemmed face down on the napkin. All three pieces should be facing each other and the two folds on the backs that you just hemmed (glued) should be on top of each other. Both folds will be in the middle. Make sense?
Step 6:
Glue all 4 sides of your pillow together-fronts still facing each other. Glue ONLY the sides.
Step 7:
DO NOT GLUE your middle section where the envelope enclosure is. Leave that be. After a few hours your glue will dry and you can flip your pillow outside in from this middle section.
Step 8:
Add insert (obviously). You can find inserts everywhere, I used some leftover inserts that I had since I have a pillow addiction. I also bought a few new ones from Hobby Lobby. Amazon has some inserts as well. For these pillows you will want at least a 20x20. You can probably use a 22x22 as well. I wouldn't go any bigger that that. Just note what size your napkins are and find that size or one size bigger.
Now seriously, how easy was that?? Go tell your friends and neighbors because everyone should have cute plaid pillows on their couch. Head over to my blog to see more fun DIY projects and home decor and more about this project


Comments
Join the conversation
-
I have some fabric I wanted to use on our couch as an arm chair protector with a pocket for remotes power cords, books etc. This is just the idea I needed. Might need to make it a little wider/longer. Thank you for the great idea.
CAV
-
They all look great! Nice job :)


Frequently asked questions
Have a question about this project?