


Repurposing Vintage Embroidered Pillowcases - The Antiqued Journey
Repurposing Vintage Embroidered Pillowcases
Posted on
July 16, 2021
in DIY Projects
Vintage linens have a special place in my heart and in my home. Today you will learn a way of repurposing vintage embroidered pillowcases!
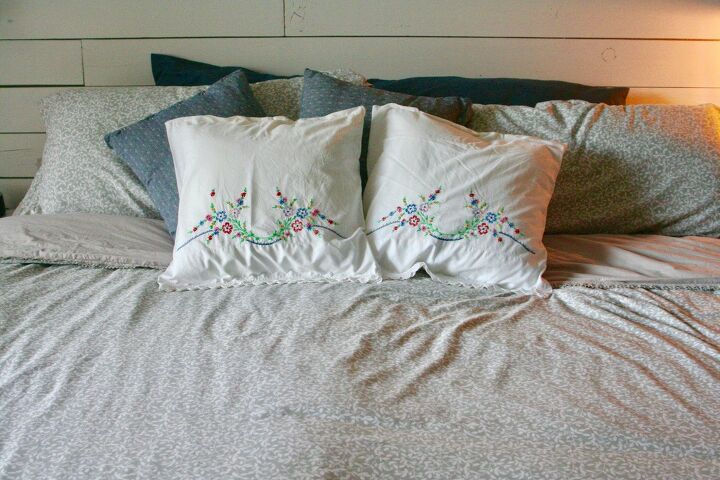
Vintage linens are not only so beautiful to have in your home but they can also be repurposed into many different home decor pieces. I found these vintage pillowcases at an estate sale and paid 50 cents for the pair. They were too small for the pillows on my bed so I’ve been holding onto them, trying to come up with a fun project. Today’s the day for that project! Follow along as I show you how to turn these vintage pillowcases into beautiful throw pillows without sewing. Let’s learn about repurposing vintage embroidered pillowcases!
This post contains affiliate links. That just means I make a small commission at no extra cost to you.
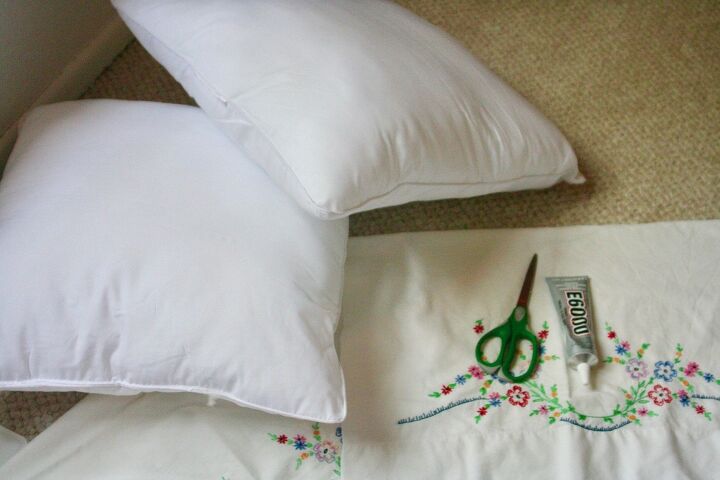
- 2 18×18 pillow inserts
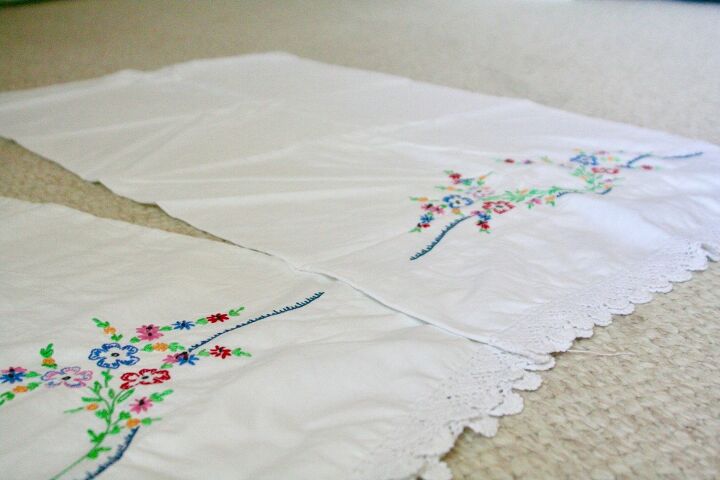
- 2 vintage king or queen size pillowcases
- scissors
- E6000 glue
- paper plate
- paper towels
- clothespins or paper clips
-
Insert the pillows.
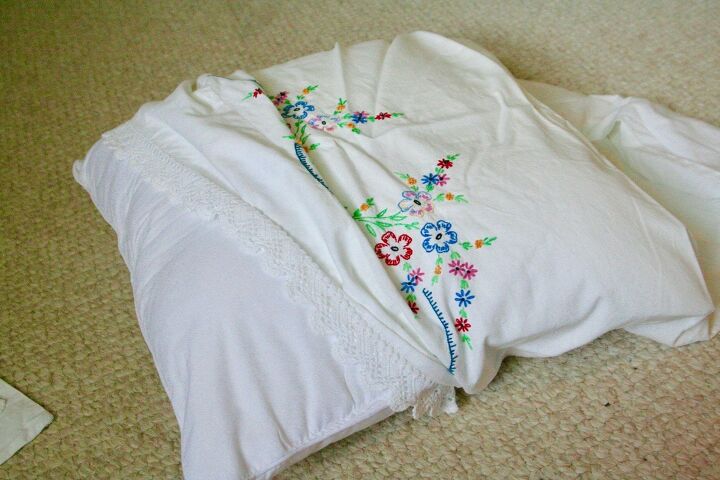
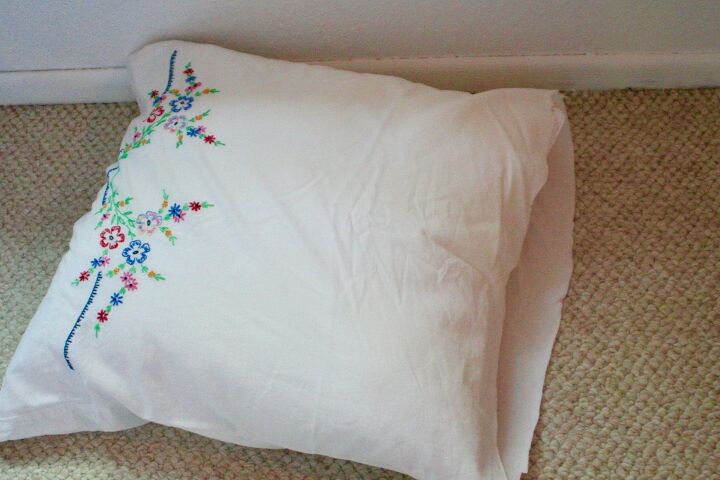
Lay the pillowcases flat on the floor and insert each 18×18 pillow. Push it about 1/4 of the way in.
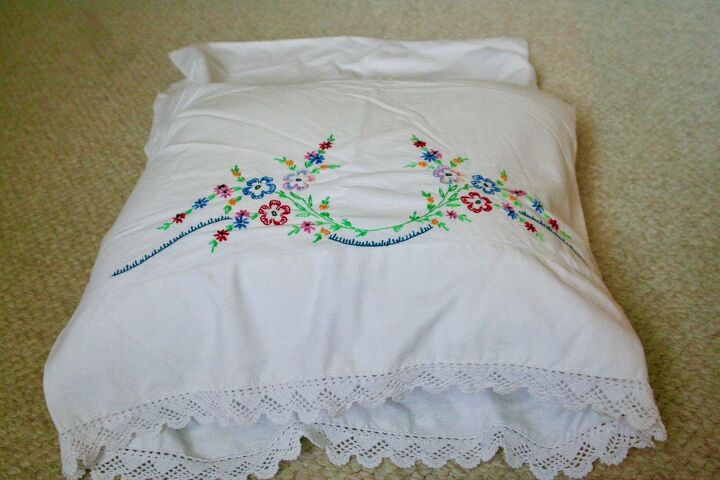
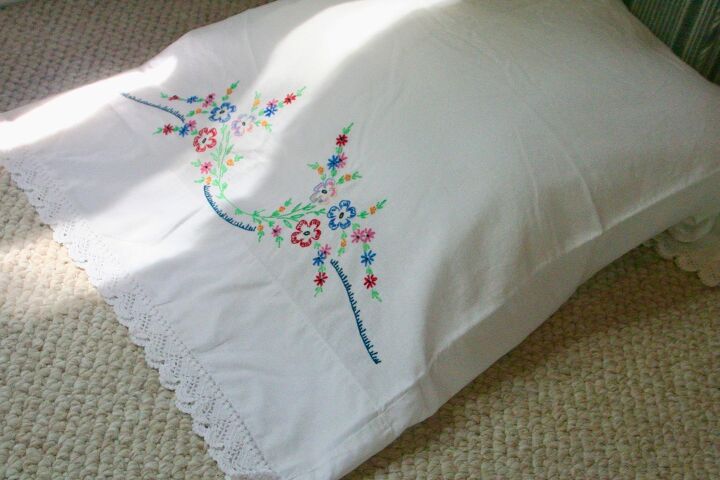
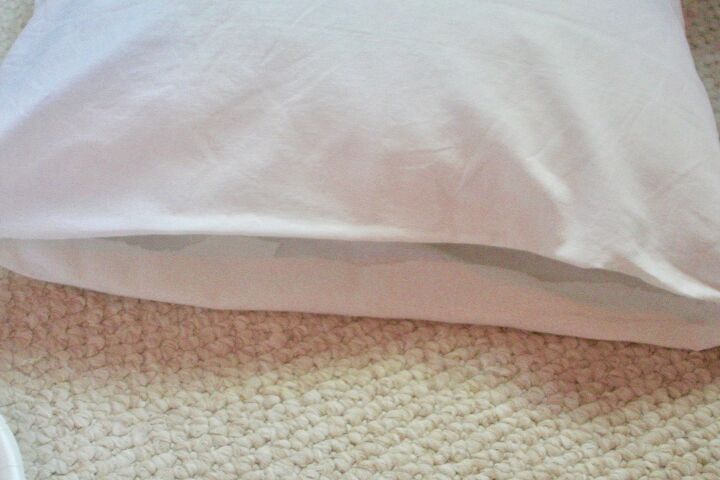
As you can see from the photo, my pillowcases have some pretty lace detailing on the open ends and wanted to showcase that. To do so, I lined up the scallops as best I could before gluing.
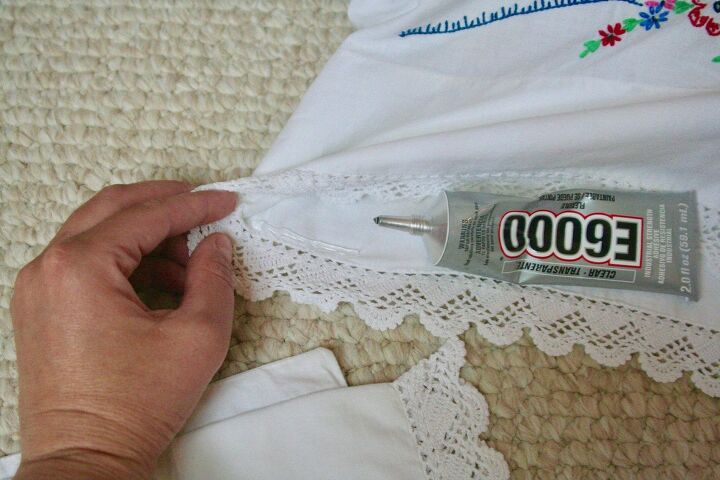
You might be wondering…glue? Really?! Yes, this no sew project called for heavy duty glue, like seam tape, only stronger. Tip: The E6000 glue has a strong odor so you may want to do this in a well ventilated area or open a window. Starting at one end of the seam, squeeze a little bead of glue at a time, making sure to press down firmly once applied. Tip: I used a paper towel to help press the glue firmly down as to not get so much glue on my fingers. Continue that process until you have each end of the pillowcases securely glued. You will need to pause the project for today because that glue will need to dry for 24 hours before continuing.
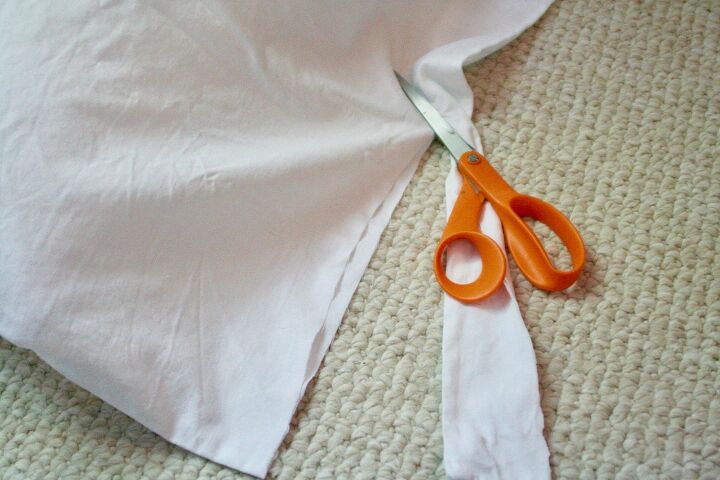
The next day, you will need to cut the other end of each of the pillowcases open using a fabric scissors. Before doing this, you will need to measure how much of the fabric you need to cut off. You will want the insert to fit snuggly once finished. As an example, the pillowcases I used were each 30 inches long. So, after fitting the pillow inside, I cut small strips of fabric off at a time until the length was roughly 13 inches.
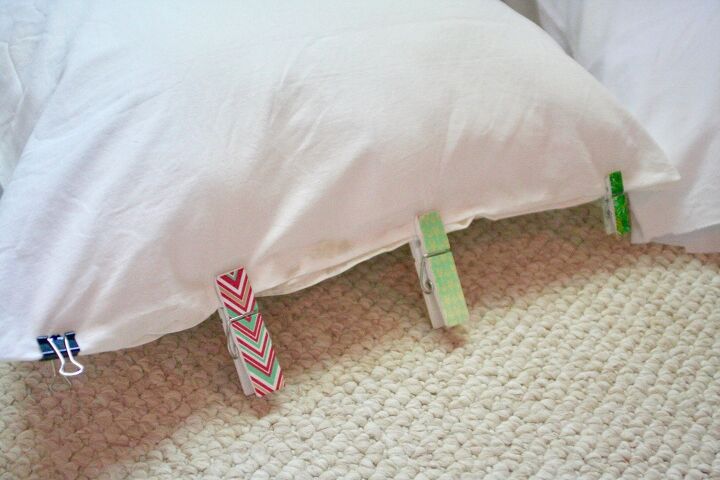
Once you have the pillow insert how you like it, you will want to fold the ends in to create a clean edge. You can secure the folded ends with a little E6000 glue. To do this, fold up the bottom side first and glue that. Next, flip the pillow over, fold that edge up, and glue. Then, to close the pillow, squeeze a little bead of glue right down the middle and press firmly down. Continue this process on both pillows until securely closed. Tip: To be sure the sides stay adhered together, I clipped clothespins and paper clips across each pillow during the drying process. Let the pillows dry for 24 hours.
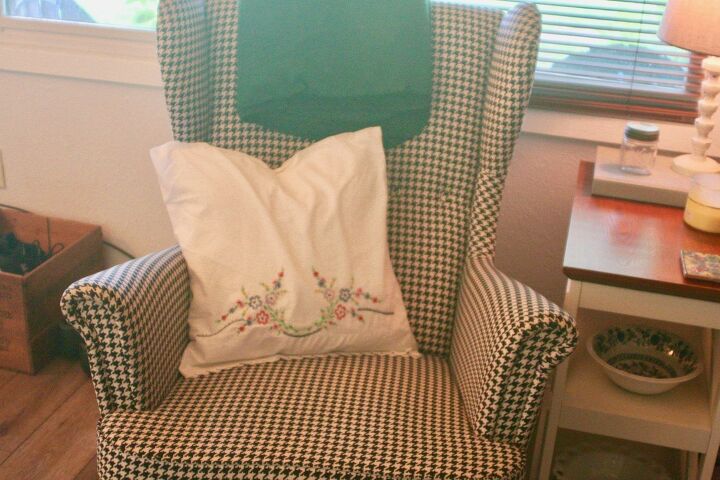
With a vintage vibe, these new pillows exude personality into your home. They usher in a calm and collected feeling that only comes with old pieces. It’s such a joy to be able to take an old piece, like vintage embroidered pillowcases, and give it new life! Without you, these linens wouldn’t get to live on. But now, they can continue to bring happiness and be a part of your journey.
Let me know in the comments below how this project turned out for you!
Find more DIY projects!

Comments
Join the conversation
-
Hmmm…may be a good use for several pillowcases I found cleaning out my father-in-law’s home.


Frequently asked questions
Have a question about this project?