


How to Remove Old Paint From Furniture

by | DIY
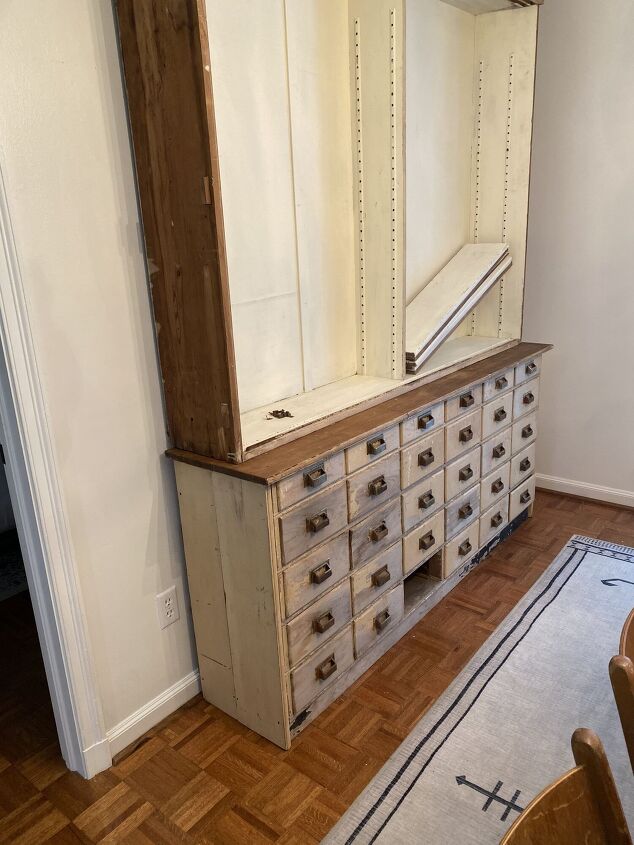
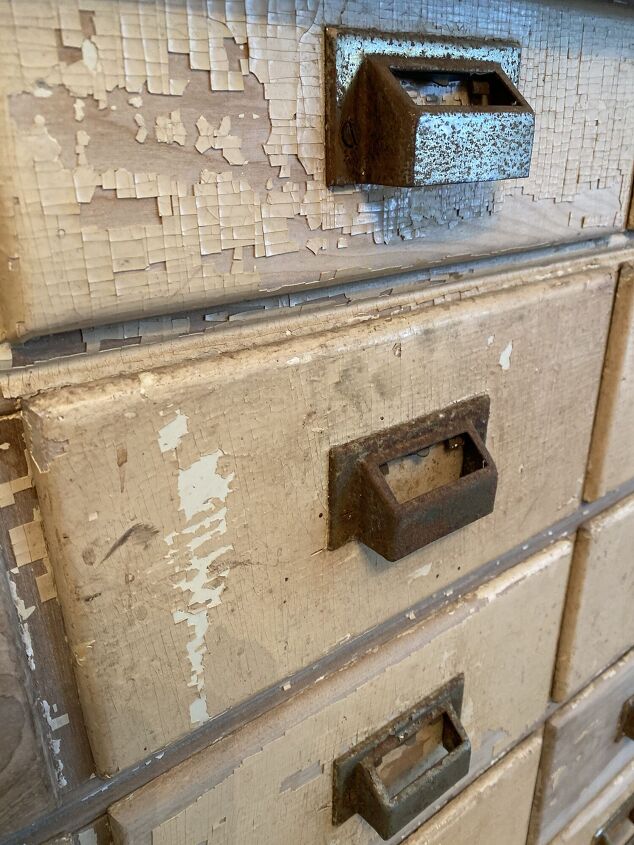
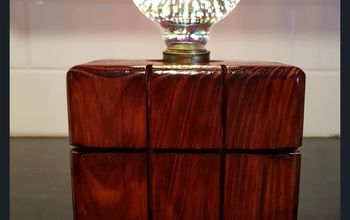
It all started with IG and a scroll-stopping picture from my good friends over at Baker & Co. Home. I instantly knew that this gorgeous apothecary was just the dining room piece I’d been waiting for over the past few years! My only hesitation was the old, tan paint but the piece was too good to not figure it out. A few phone calls and a fun day trip later, we were the proud owners of this stunning piece.
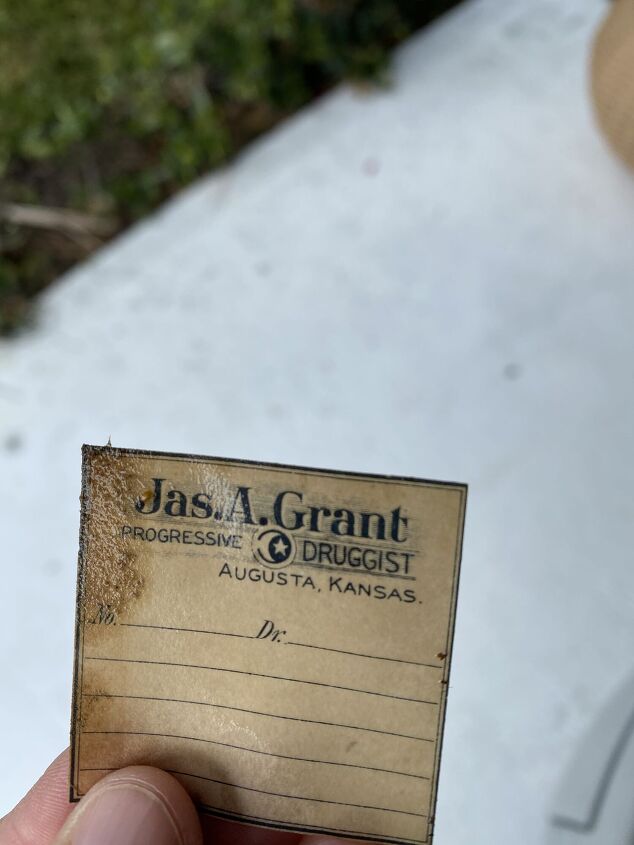
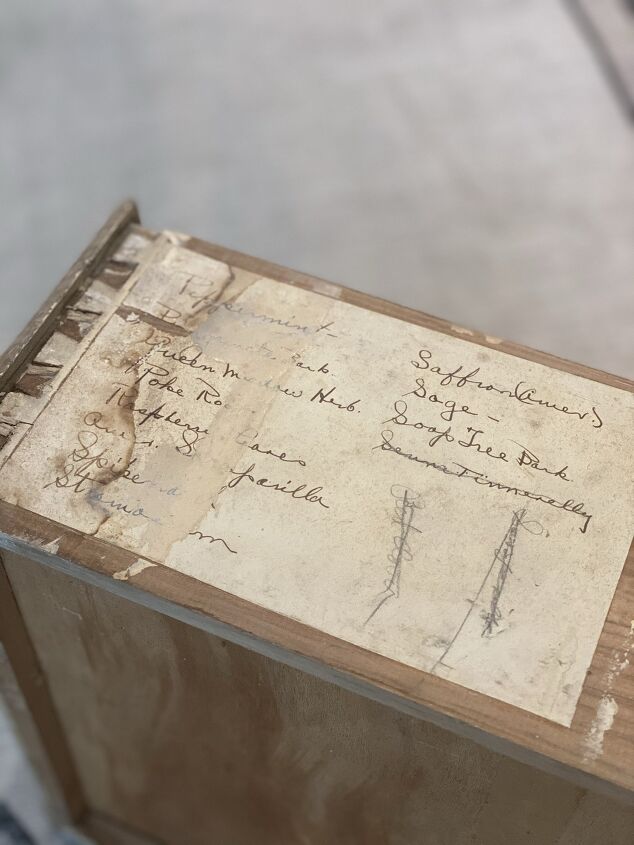
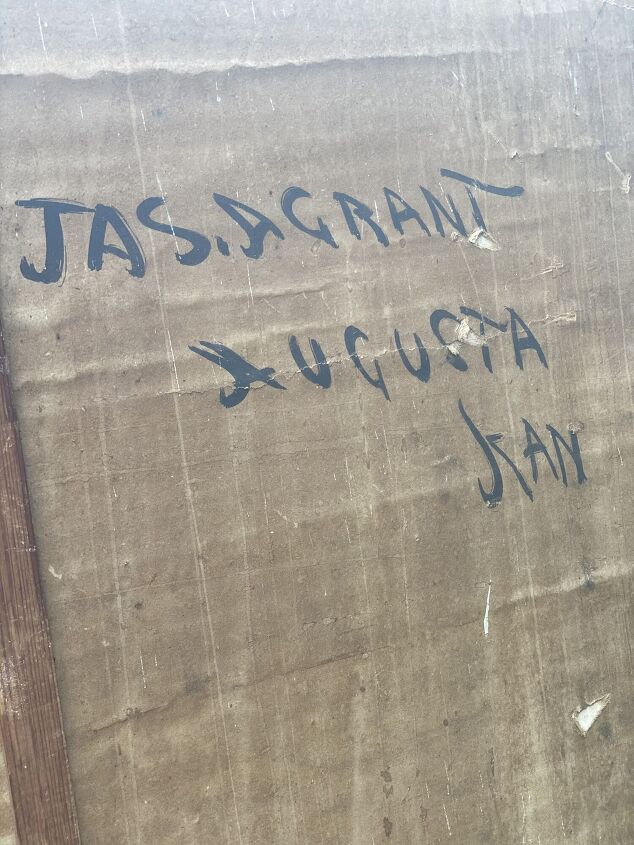
Growing up in my parents’ small town pharmacy in the Midwest has left me with a special affection for old apothecary and pharmacy goods. When we found out that this piece came from a little town in Kansas, only about two hours from where I grew up, we knew it was meant to be! Some google searches and a little digging leads us to believe that this cabinet was in the original pharmacy of Jas. A. Grant in Augusta, Kansas, in the early part of the 20th century. It is very likely that this apothecary is around 115 years old!
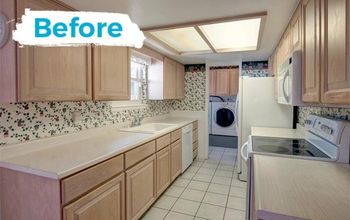
But even the amazing history couldn’t change the tan paint that looked even more dingy against the bright whites in our home. After a little research and a couple phone calls to friends who specialize in restoring old pieces, we got to work.
We knew there was a big risk that we would end up completely stripping all the paint, though we could see some flecks of what appeared to be bright white paint underneath. Many of the drawers already had exposed wood and loving good wood tones, I was completely fine with taking the risk. I could already tell that even if it was all wood, it would be a stunning piece, especially with the European farmhouse vibes of the lighter wood.
We are far from pros, but we couldn’t have been more thrilled with how this piece turned out. I love it even more than I thought I would! When dealing with vintage and antique pieces, there is always some risk of what will be uncovered, but this time, it paid off in spades!
Here’s how we did it:
How to Remove Old Paint Without Completely Stripping the Furniture
Materials:
- Oven cleaner (we used the Dollar Tree brand)
- Latex gloves to protect your skin
- Water
- Soft brush
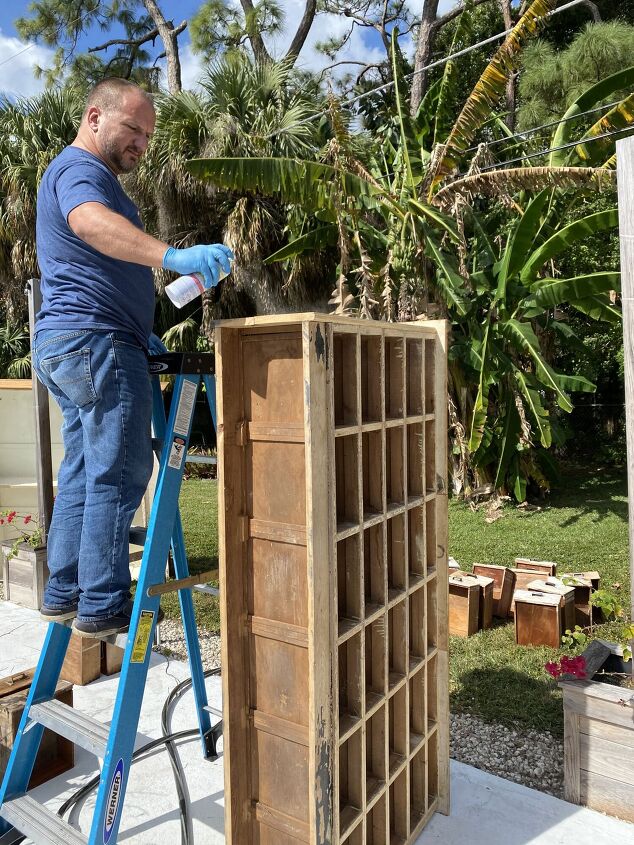
Step One:
Take the piece outside and spray with oven cleaner. Allow it to stand for about ten minutes.
We experimented with one drawer before tackling the entire project. If your piece doesn’t have drawers, consider using a side, corner, or back to get you started.
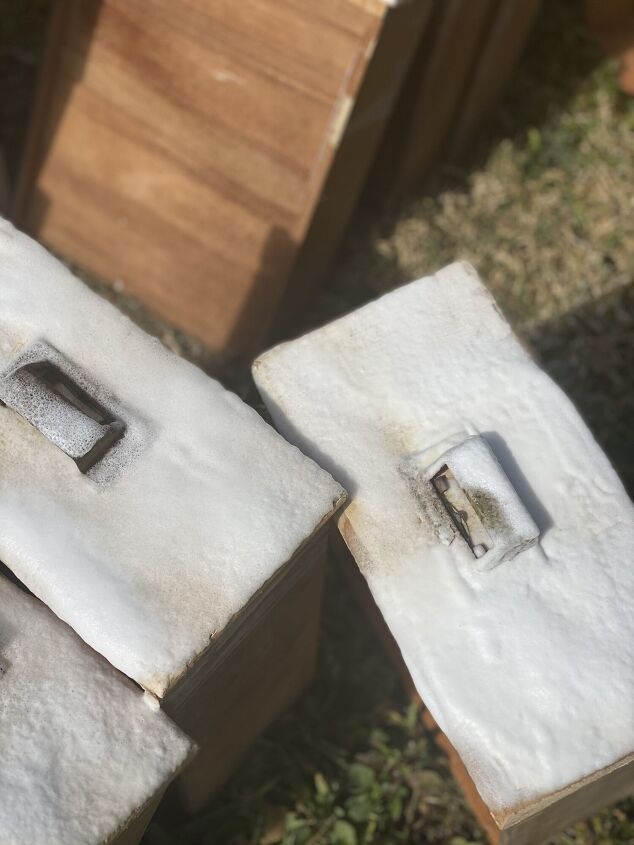
Step Two:
Using the water hose, we sprayed off the oven cleaner. The first time, we used the jet spray setting. This took off a significant more amount of paint. Going forward, we used the shower spray setting. Though it took us longer, it allowed us to save more of the original paint and didn’t strip it all the way down to the wood.
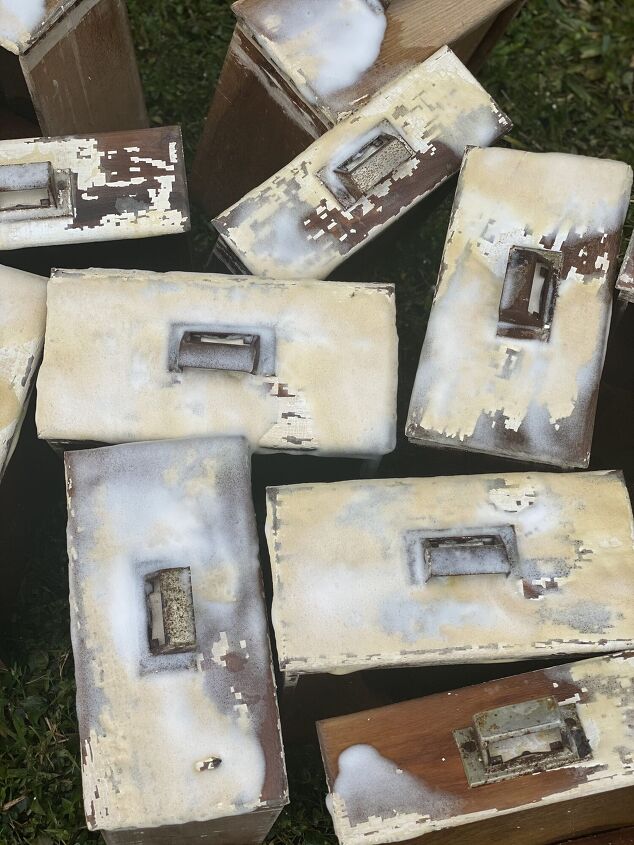
Step Three:
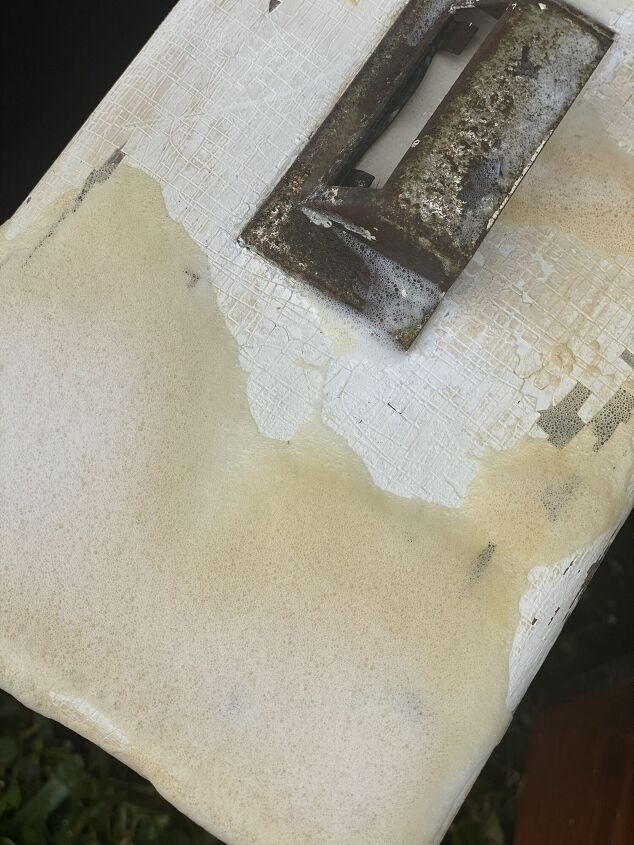
After the first time, we could see the paint crackling and obvious white paint underneath. We got started on the rest of the drawers and cabinet casing.
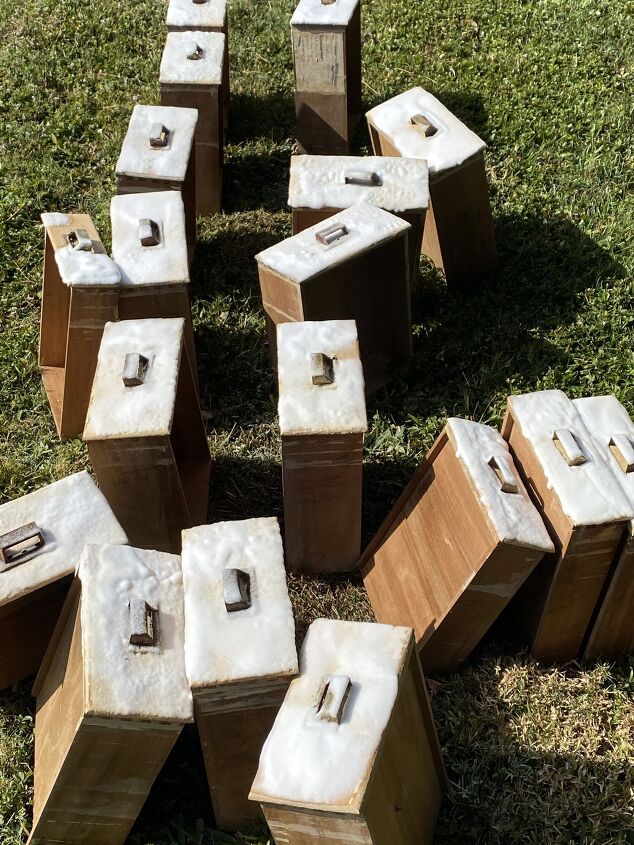
We repeated steps one and two about 4 times
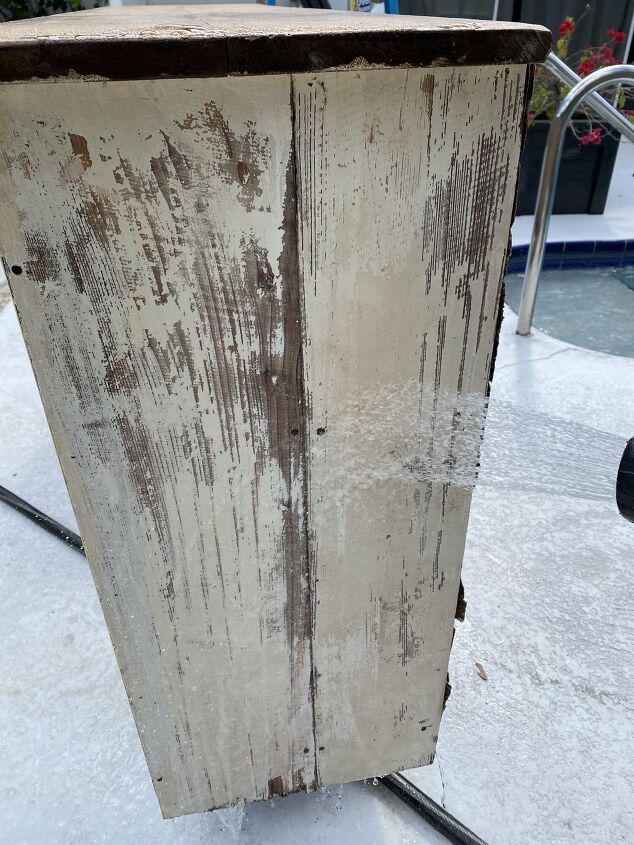
With each round of oven cleaner and spraying with water, we could see the layers of paint peel off to reveal a beautiful white paint underneath. The chipping of the paint as we went just added to the character and charm. If you like a really smooth, solid paint finish, you would need to take the piece down to the raw wood and paint. I love a good, chippy patina so this process worked well for us!
The oven cleaner and water are also working together to give your piece a sparkly clean smell and finish. If you’re doing this process on an old piece, it likely has a few layers of dirt to wash off as well!
Tips, Tricks, and Frequently Asked Questions:
- This project is perfect on a sunny, breezy day. The wood was able to dry quickly and thoroughly. You never want to leave water standing on the wood and the more quickly it can dry, the better.
- Be patient and go slowly. If you’re trying to remove a layer of paint at a time, remember that patience is essential. If you know you want to completely strip the paint, turn on that jet setting and go for it! Otherwise, take your time and work through the layers of paint!
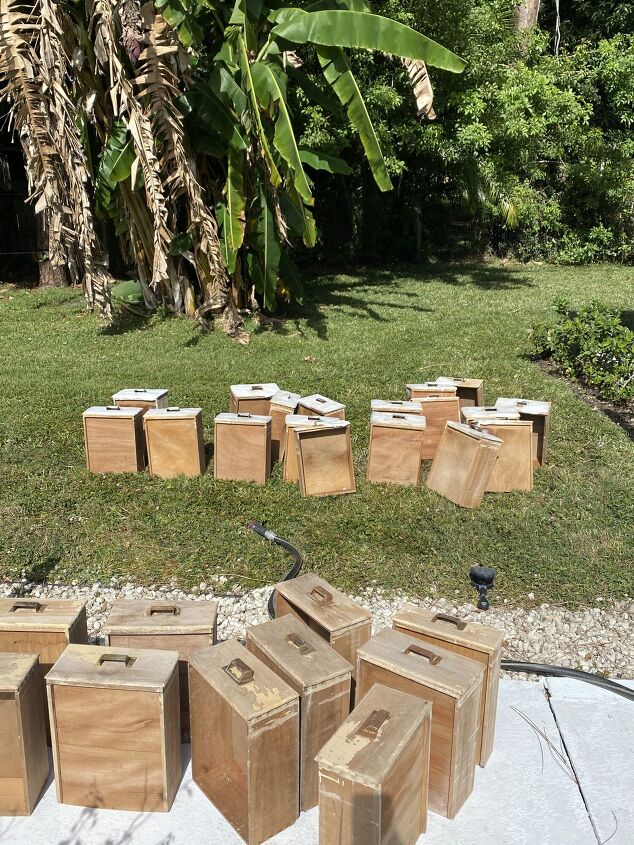
- As you watch the process, it would be concerning about all the water getting on the wood. By allowing our piece to dry in the sun and wind, we did not find any warping of the wood. We were careful to not let water stand in it.
- After it was dry and we moved it inside, we did add wax to the drawers to help them glide more smoothly, but we didn’t have any warping at all. The wax is great for old drawers and helps them not be quite as sticky!
- If you are concerned about lead in the old paint, a matte finish, polyurethane spray is helpful!
After trying this DIY, I have a lot more confidence to take risks in the old pieces I purchase. It is a great way to restore them without spending a massive amount of time or money. The hardest part was moving this big piece in and out of the house!
I hope this gives you confidence to try restoring a vintage piece! For tips on how I do my vintage hunting, or “junking”, head over and read this.
We are enjoying some vintage junking this weekend, so stay tuned in my Instagram stories to tag along with us!
Blessings,
Robyn


Comments
Join the conversation
-
Yes, who knew?!? And much cheaper too!
-
Please do not rinse oven cleaner into the ground. You can wipe it off and then rinse.
You are killing animals doing this!!


Frequently asked questions
Have a question about this project?
Where is the final product? I still have no idea what you were going for here.
OK... now I'm jealous!!! I'm looking for an apothecary piece now!
Excellent work!!!!
Please, Would this work on old varnish?