


Budget DIY: How to Make a Buffalo Check Pumpkin - Thistlewood Farm

I don’t know about y’all?
But I am all about a little buffalo check this year.
I was going to buy buffalo check pumpkins, but then I had a brilliant thought?
Why buy MORE fall stuff? When I could just make my own.
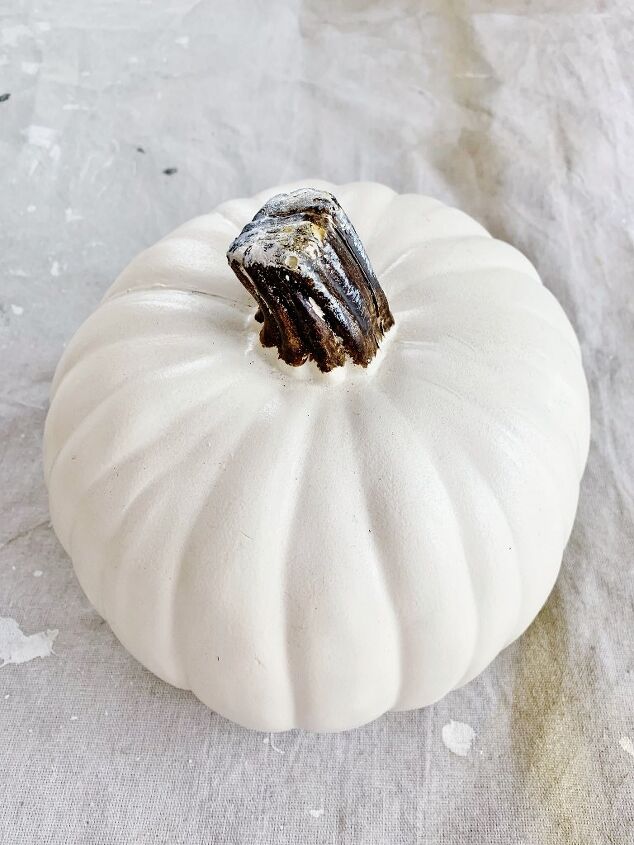
If you have white pumpkins like this in the bins in your attic? Get them down and get them out and buffalo check them.
Here’s my best tutorial on how to make a buffalo check pumpkin.
Supplies:
white pumpkin
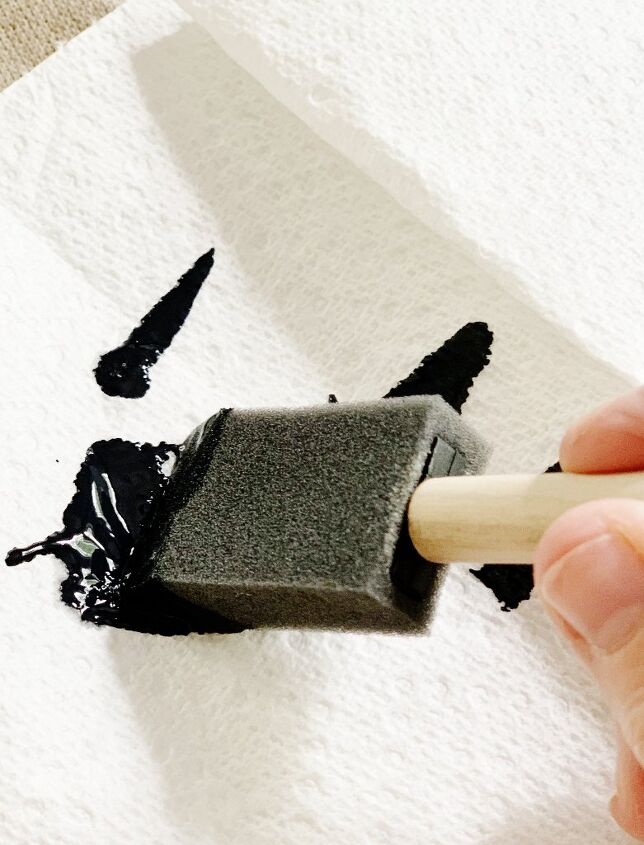
skinny (about 3″) wide foam brush
black paint
a mind that doesn’t overthink
Step 1: Toss away perfection
Let me start from the outset.
You do NOT want to overthink this project. If you are a perfectionist? Those stripes will leave you bananas. It’s almost impossible to get them perfect.
Please girl.
Leave that PERFECTIONISM at the door.
The beautiful thing about this project? The stripes are so graphic and the pumpkins are SO CUTE that a little stripe that’s not perfect is not a big deal.
Just like the base molding that needs dusting on your house tour….
…if you don’t point it out no one will ever notice.
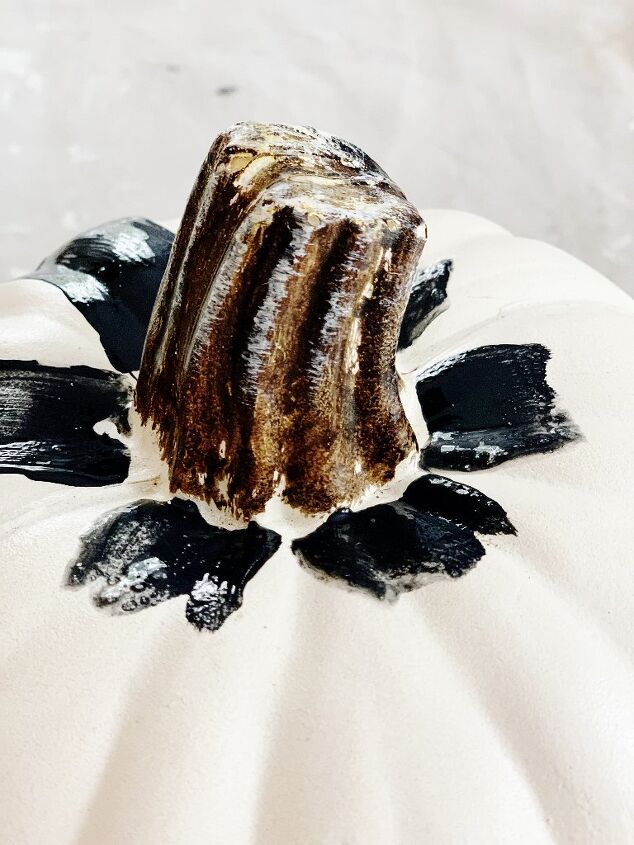
Step 2: Mark off your stripes
Start at the stem and place hash marks around the top of the stem where your lines will be. Six hashmarks is the perfect number. We are going to go back and add additional stripes between the original stripes for a total of 12 stripes.
There’s an important thing to note here about the paint.
You can use regular craft paint.
But as for me and my porch?
We are leaving these pumpkins outside. So I used acrylic house paint. Sherwin-Williams Tricorn Black to be exact. I had it left over from another project and I knew it would hold up better for outside pumpkins.
It worked really well—but the drying time is a LOT longer so make sure to take that into account if you use any other paint than basic craft paint.
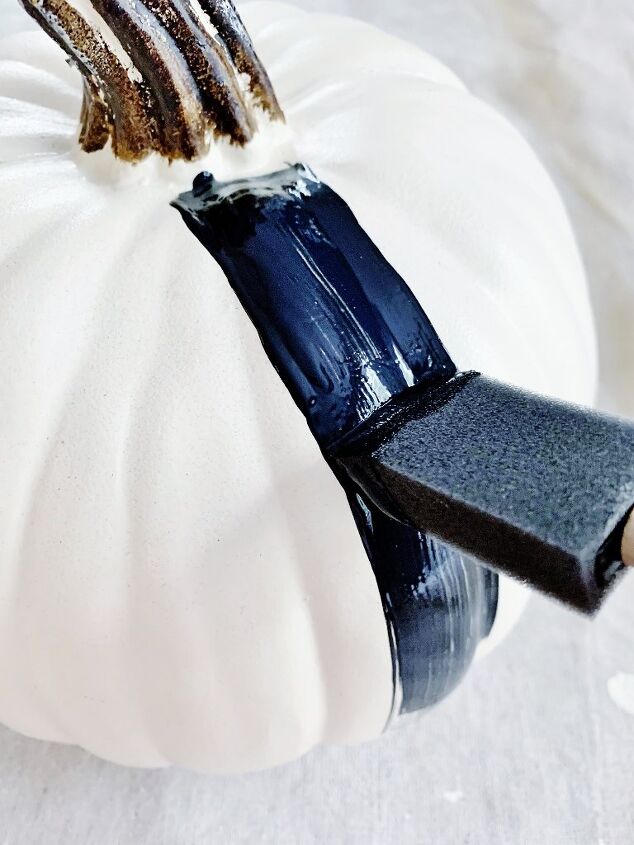
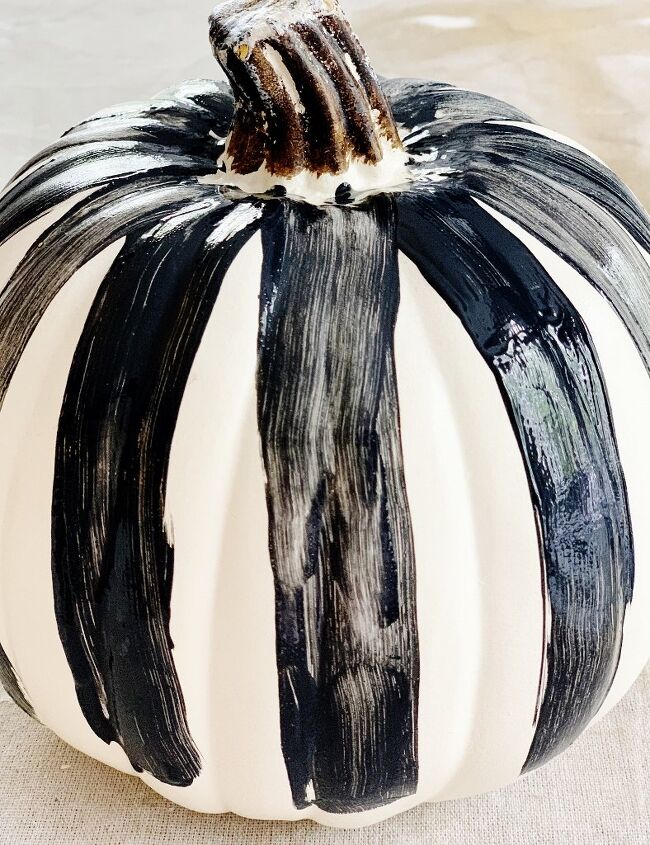
Step 3: paint your stripes
This is the first stripe I painted (before I had the brilliant idea to create hashmarks at the top).
Simply start at the top and pull the foam brush about 3/4 of the way down the side of the pumpkin.
Repeat this step for each of the hashmarks at the top of the pumpkin.
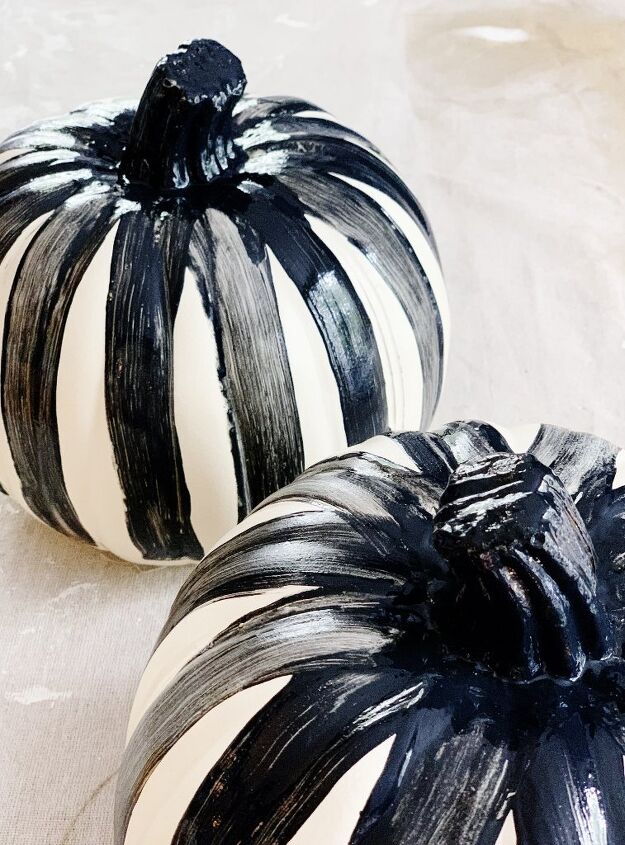
Step 4: Paint a stripe between your stripes
After you paint all of the original six stripes, go back and add an additional stripe between each of the six stripes.
That means you will have a total of 12 vertical stripes.
Paint them 3/4 of the way down the pumpkin and let them dry.
See how imperfect the stripes are.
Remind yourself that THAT’S OKAY. 🙂
Step 5: Paint the stem and the bottom
Go to the top of the pumpkin and paint the stem.
Let the top stripes and the stem dry.
Then?
Flip it over and continue the stripes to the bottom.
Let dry.
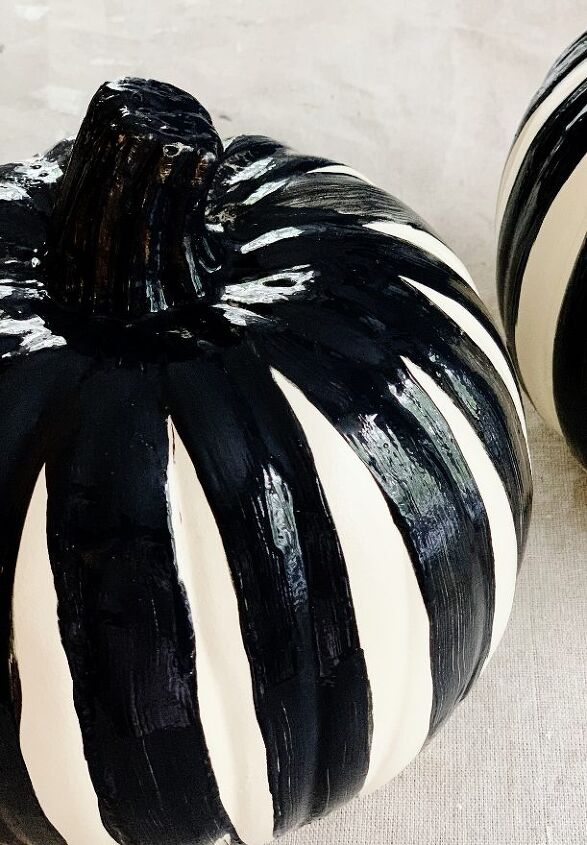
Step 6: Paint a second coat
After the first coat dries, go back and add a second coat on the stem and the vertical stripes.
Again.
Your stripes will not be perfect.
Let that perfection go.
You and your stripes are amazing.
Let the vertical stripes dry.
Step 8: Add horizontal stripes
All that’s left is to connect the vertical stripes with two horizontal stripes.
Add two coats of paint, letting the stripes dry between each coat.
And then?
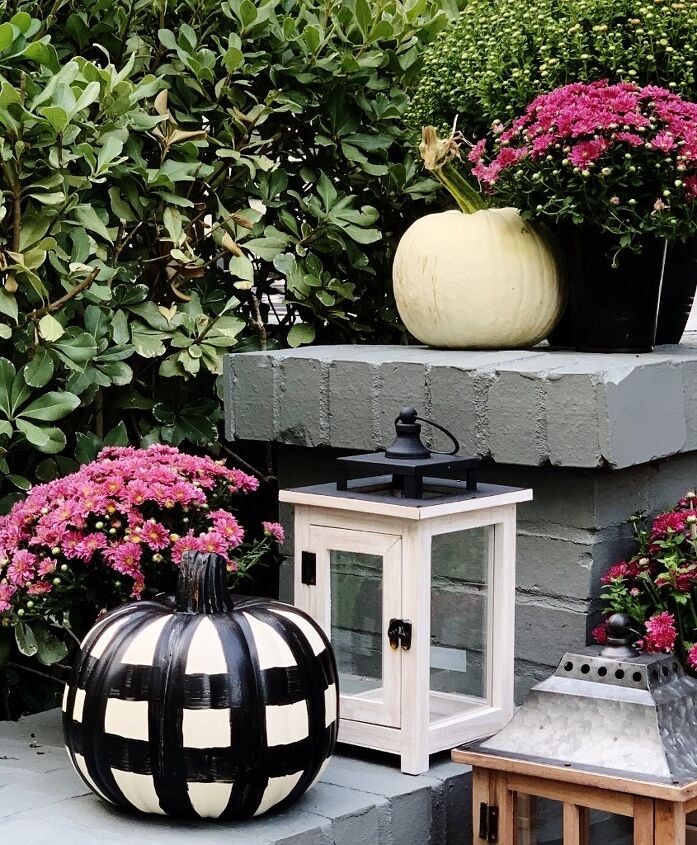
Your buffalo check pumpkins are ready for primetime.
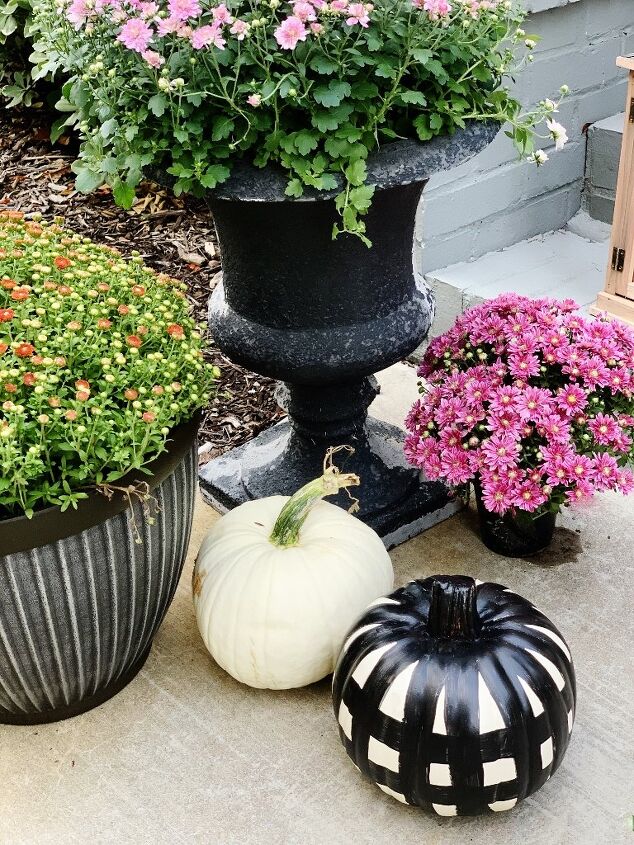
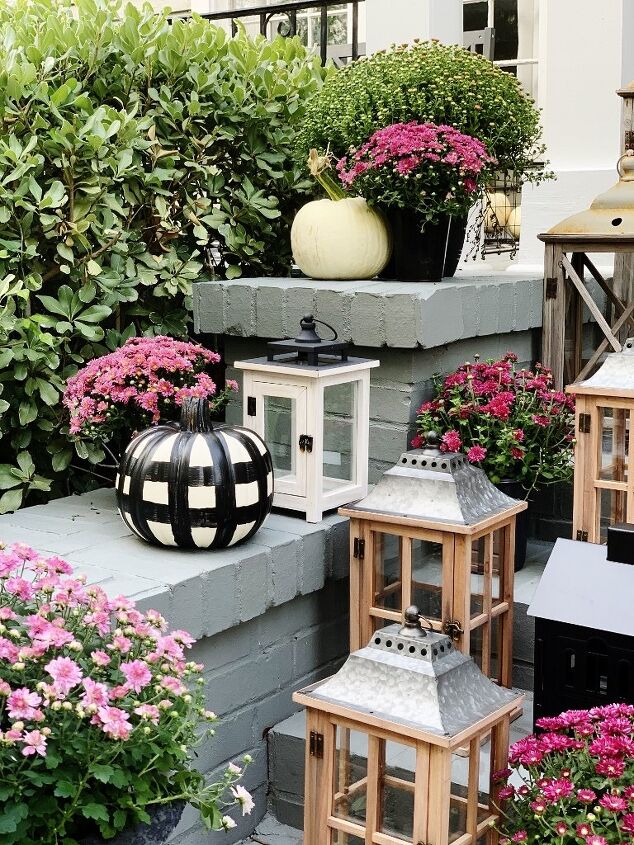
I painted two pumpkins and added them to the front porch.
You don’t need many.
Because as much as I love it?
A little buffalo check goes a long way.
And the best part?
This DIY craft was FREE. I already had the pumpkins and I already had the paint.
Here’s to buffalo check.
Here’s to fall porches.
And here’s to CELEBRATING imperfection everywhere. 🙂
If you liked these pumpkin projects?


Comments
Join the conversation
-
Very cute, thank you.
-
Honestly, first painted pumpkin project in really like. I have buffalo plaid rug, cushions and rug weights (tucked under chairs) and wreath accented with black and white on front porch (homey “room” to enjoy fall evenings. Oh and soft yellow lights) This would make lovely addition to the decor. Many neighbors walk up hill for lovely neighborly visits. Thanks


Frequently asked questions
Have a question about this project?