


Stunning Pumpkin Floral Arrangement That’s Breaking the Internet
This post is made in partnership with Evercare. All opinions are my own.
Have you seen the pumpkin floral arrangement that’s breaking the internet? Essentially it’s a flower arrangement inside a pumpkin. Easy right? Yes, yes it is. But it’s also stunningly beautiful! So let’s make one today, with our own little twist. For this internet-breaking pumpkin floral arrangement, you need just a few items.
Items needed:
- Foam pumpkin. I purchased a smaller one along with the pumpkin I was using for the bouquet to style it with.
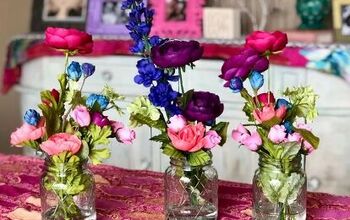
- Faux floral in your choice of colors. I love to keep things a little non-traditional sometimes so I went with burgundy, cream, and white.
- Knif for cutting
- Wire clippers for trimming floral
- Sparkles (optional, but not so optional in my opinion.) 😉
- Glue
Once you have those items, you’re ready to do this thing!
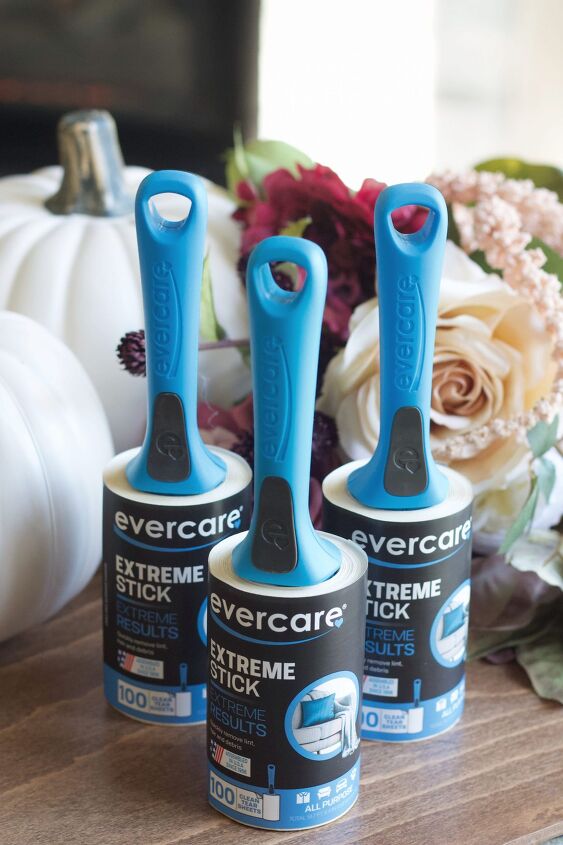
Evercare's Extreme Stick rollers are the perfect tool to add to your crafting area. They make cleanup a breeze!
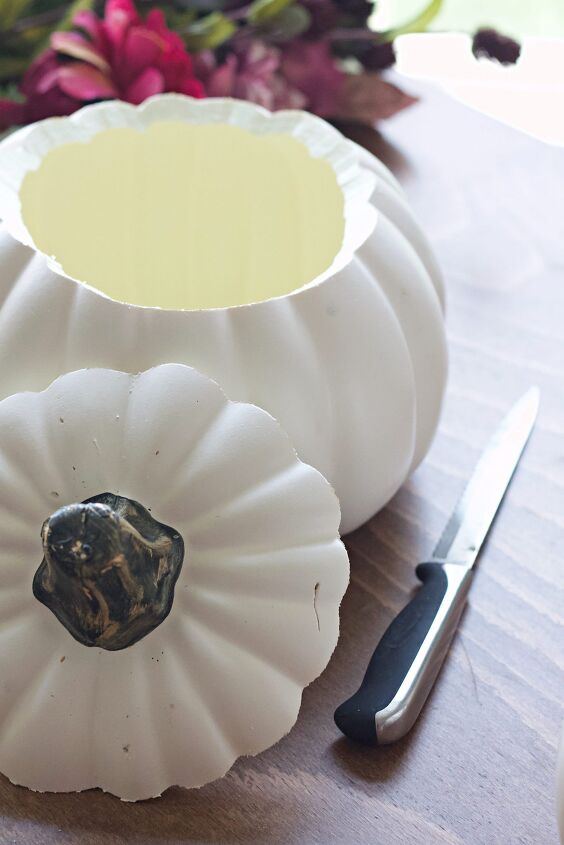
Step 1: Cut Your Pumpkin
To begin this project, carefully cut out the top of your pumpkin as you would when carving a regular pumpkin. The foam cuts easily. If you have a lot of floral to fill with, you may want to cut it a little wider like mine. Keep it narrower if you have less faux floral to place in it.
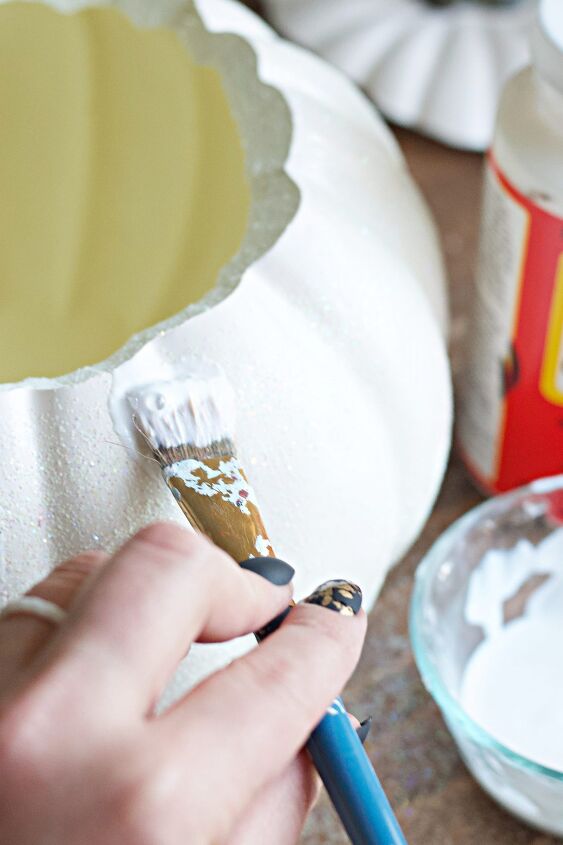
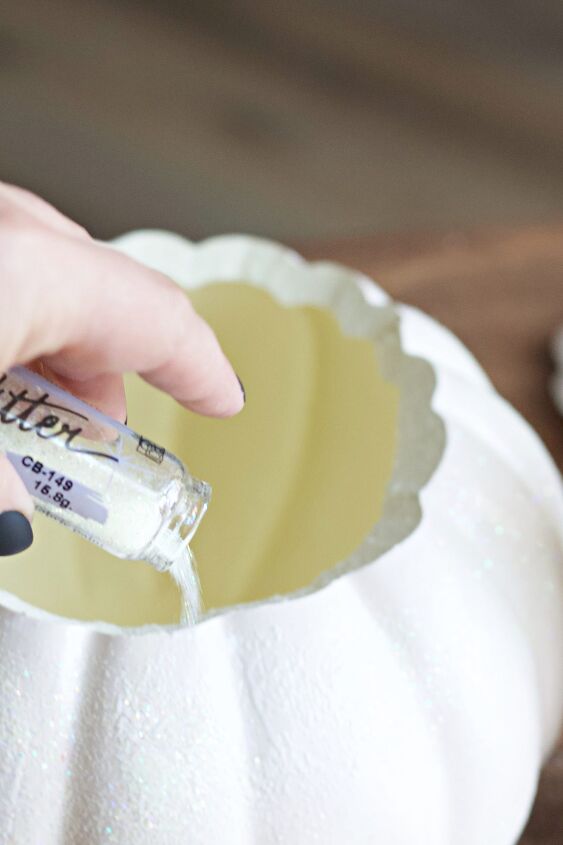
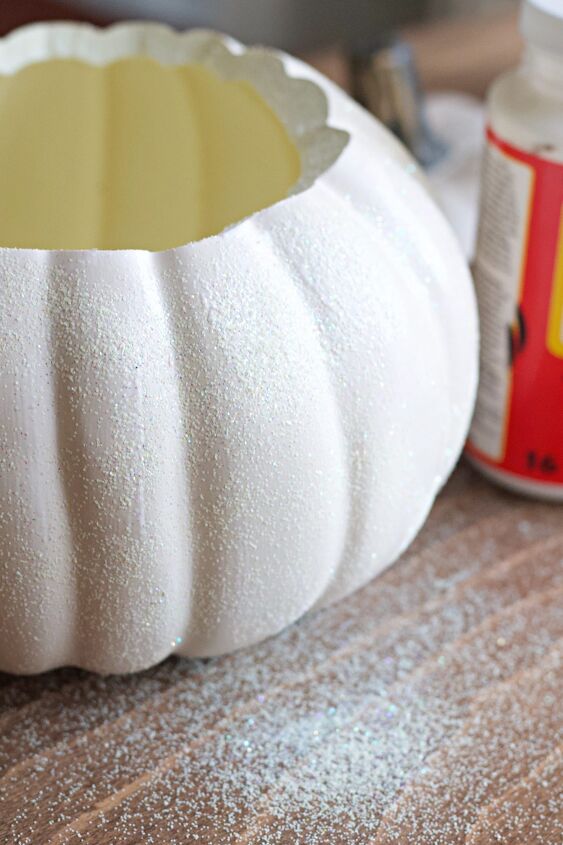
Step 2: Glitter your pumpkin
Although this step is considered optional . . . is it really? I mean, who doesn’t love glitter?
Just joking, I know a few, but I think it’s slightly sad because glitter just makes everything a little better. If you’re on team glitter with me, go ahead and make this pumpkin sparkle!
I used an old paintbrush to brush on Mod Podge, and then carefully sprinkled a very fine white glitter over the entire pumpkin. Wait for it to dry and then proceed to the next step.
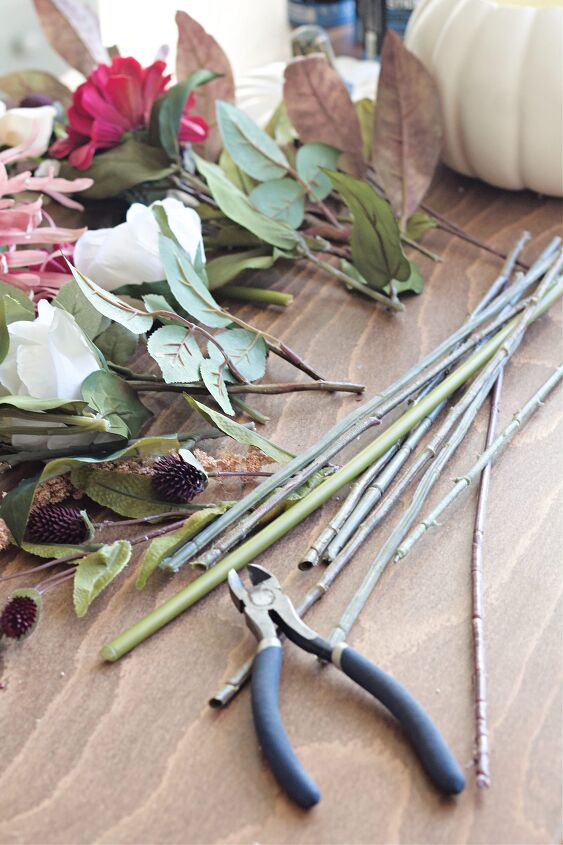
Step 3: Trim your floral
While you’re waiting for your pumpkin to dry, go ahead and trim up your floral stems. Leave them a tad longer than you think you may need, and trim accordingly once you’re in the thick of arranging. We do this to make it easier to work with during the arranging process.
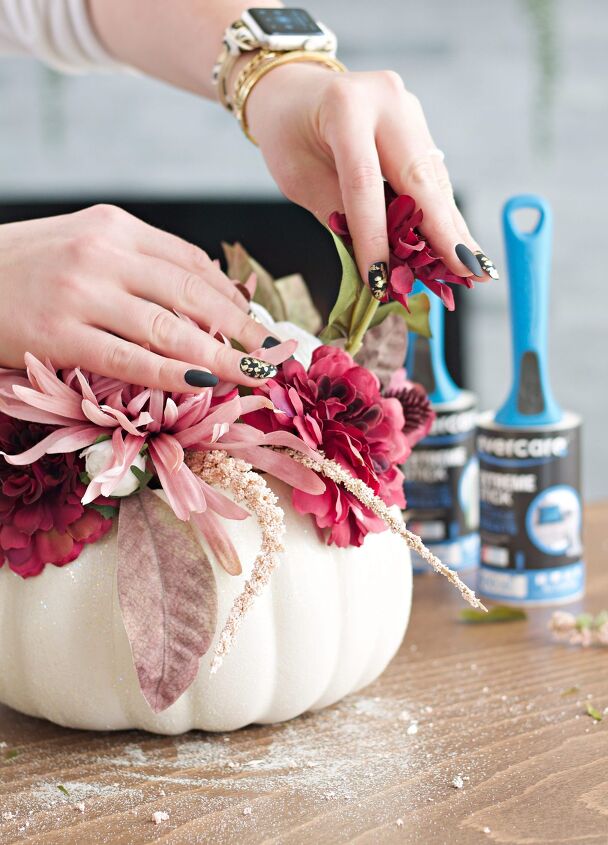
Step 4: Arrange your bouquet
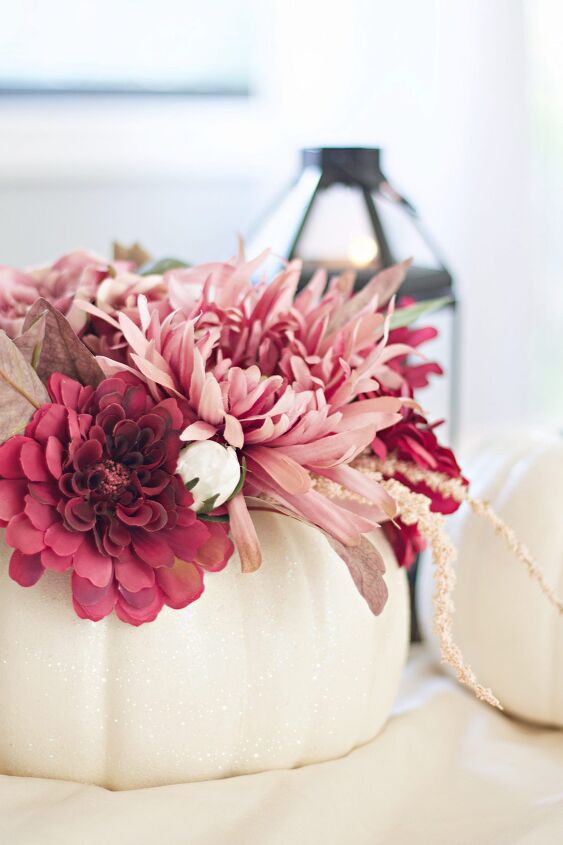
Once the pumpkin is dry, go ahead and start the fun part, adding in the flowers! I start with my big statement flower first, which was a blush pink mum, and worked out from there. If you want, feel free to use floral foam to hold the flowers in place. I found my centerpiece was so full I didn’t need one, and I like the freedom of easily moving my flowers around as I fancy.
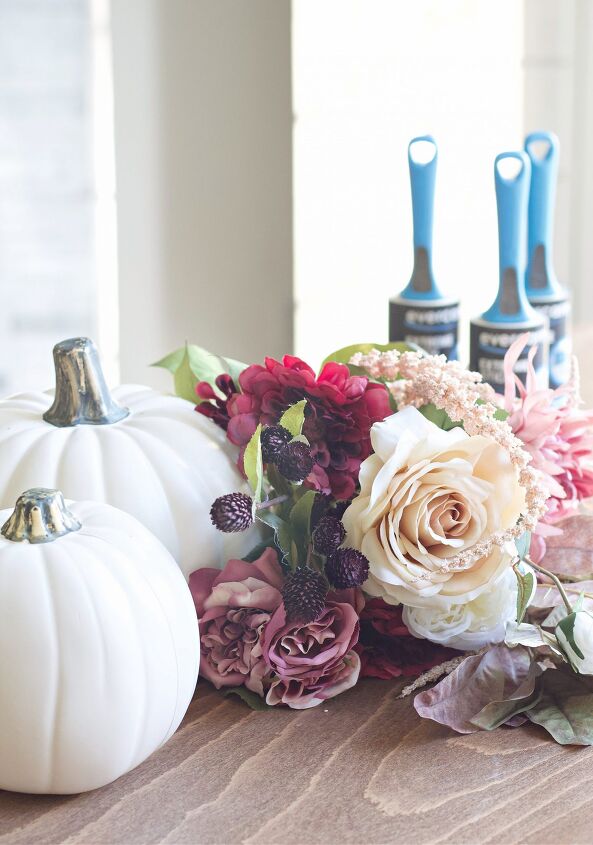
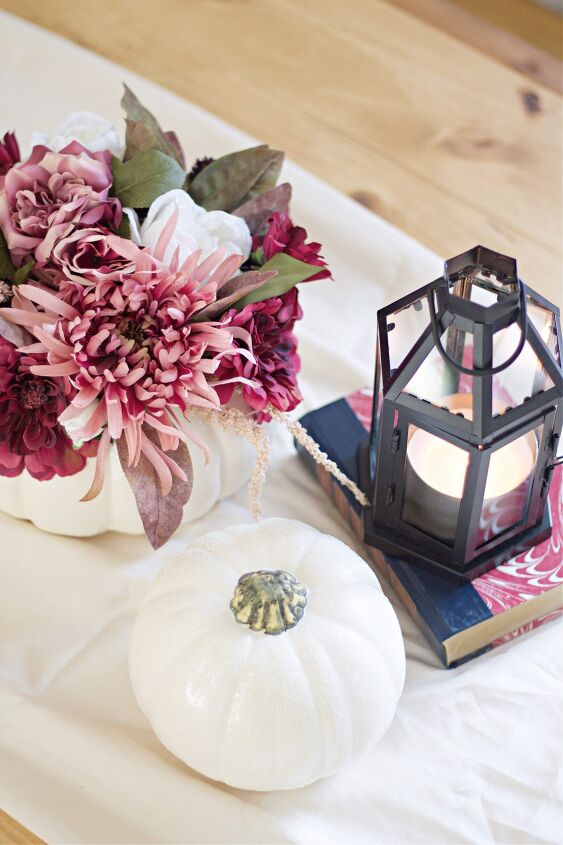
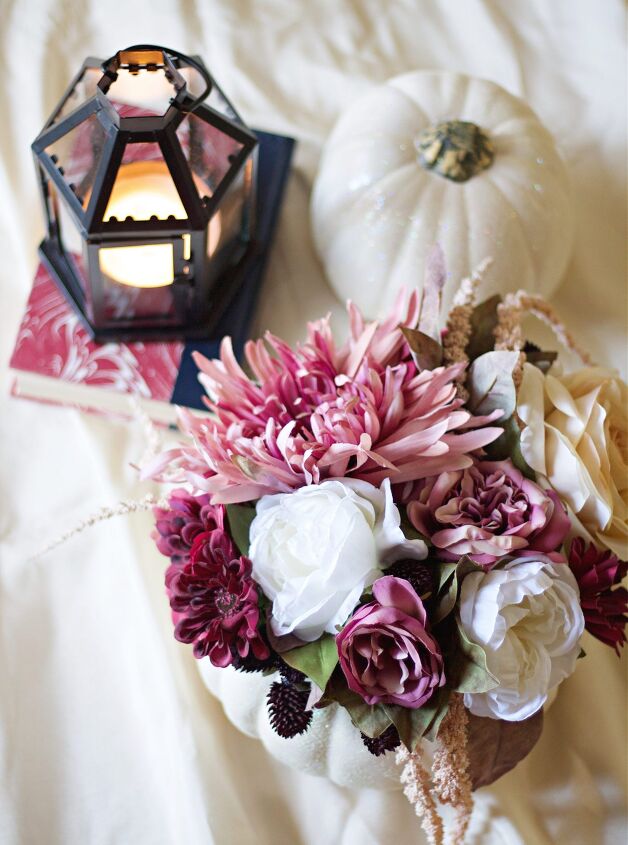
Once you’re finished, place it on display! Mine went on a cream satin runner that was dropped over our dining room table. I paired it with a smaller white foam pumpkin I also glitterfied, and a cute lantern on top of a book to give it a bit of dimension.
I love the color combination so much! And to clean up? Grab the bigger stems and leaves and discard, and to deal with the pesky glitter left behind, go ahead and take your Evercare roller and roll it all away.
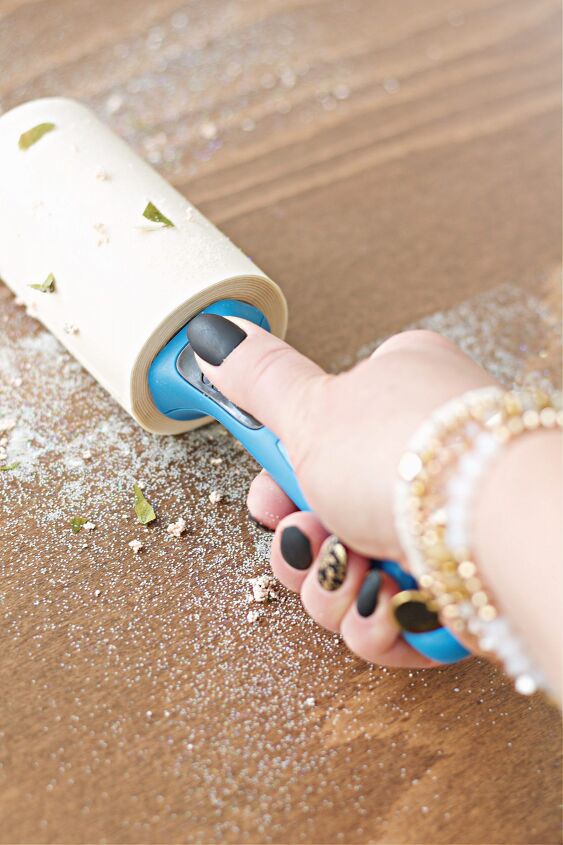
I’m no stranger to Evercare rollers. We have a St. Bernard and three cats.
In my years of having these all around my home, I’ve found so many other great uses for them. And one of those is cleaning up glitter and other small craft leftovers like paper pieces and such. No one wants to throw a glittered cleaning rag into the laundry and remove it to find everything you washed it with now sparkles.
I also use them to dust the fabric headboard of our master bed. So much better than lugging a huge vacuum onto my bed. Roll it across and bam, it’s dust-free. Try it, you can thank me later!
And just like that, you have a stunningly beautiful, internet-breaking, pumpkin floral arrangement. We’re part of the cool kid’s group now.
If you make one, tag Evercare and me and share your pumpkin fun with us! Happy creating friends!
Resources for this project:
See all materials


Comments
Join the conversation
-
I use a folding cutting board or newspaper to work on so I don't need the roller to pick up glitter. I just pour it right back into its container.
Beautiful project.
-
Beautiful, thank you!


Frequently asked questions
Have a question about this project?