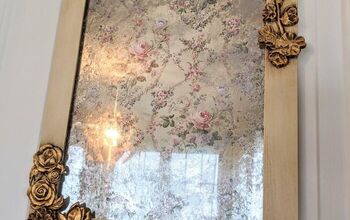
Anthropologie Inspired Vintage Dissolved Mirror

6 Materials
Jos and I have recently fallen in love with the gorgeous Dissolved lace mirrors over at Anthropologie. However we did not love the price tag. Here's the $2000 version..
So, we did what any self respecting DIY'er would do, we went to the thrift store. Below we will walk you through how to make your own Vintage Dissolved Mirror Iron Orchid Style! Remember, you don't have to sacrifice sophisticated design when you DIY, it's simply the best of both worlds; creativity AND design.
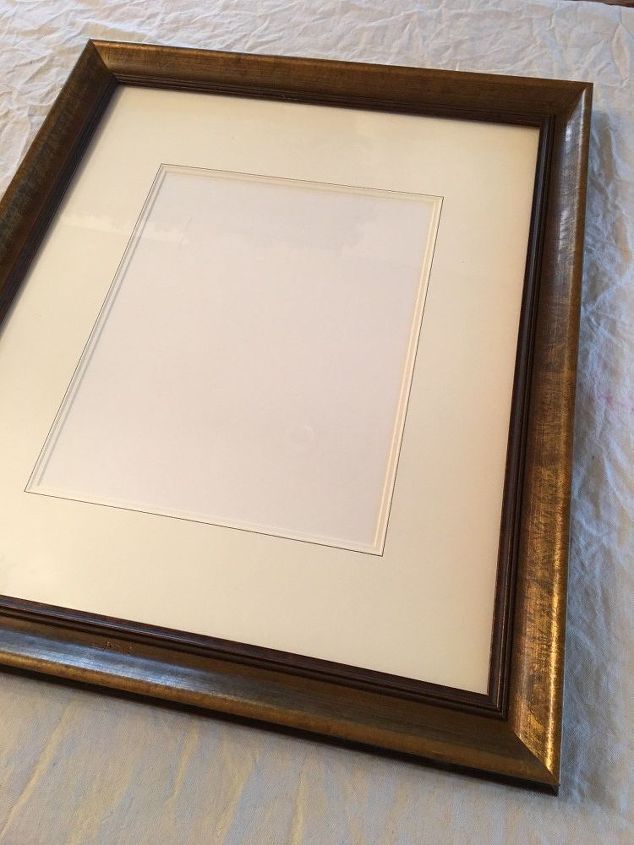
Step 1. Start with a frame that includes the glass ( this will become your mirror). Remove the glass and clean well.
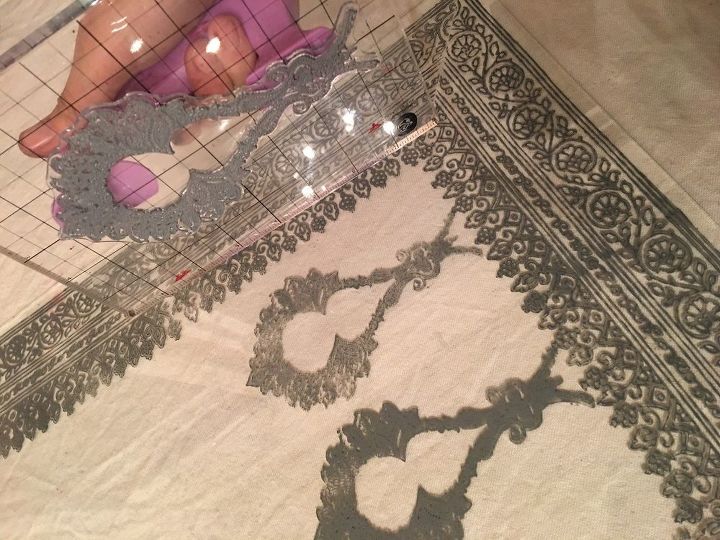
Step 2. Cut triangles of the same size and shape to create a mask that helps to make clean mitered corners.
Step 3. We used the Iron Orchid Designs Decor stamps to create our design because they're specifically scaled for decor. You won't find a stamp that works quite as well for decor, though you can use any stamp for this project. Choose a border style design and mount the stamp on a stamp block. We used our Decor stamp block because it matches the scale of our stamps and has an easy to use ergonomic handle.
Step 4. Pour your chalk style paint onto a flat surface such as an acrylic sheet and then load up a roller.
Step 5. apply the paint to your border stamp and then stamp your glass.
Your glass will look something like this
Step 6. after the two sides are dry, flip your mask and do the other two sides.
Step 7. One thing we love about how we designed our stamp sets is that each set has a myriad of combination possibilities! We chose this large paisley to compliment the border design.
Step 8. Once the whole stamped design is dry, spritz it all with a solution of 50/50 water and white vinegar allowing spatters to occur. ( this adds to the vintage texture) , apply one thin coat of the "Looking Glass" spray by Krylon. little blisters will occur where the vinegar water splattered. lightly dab those. Repeat those two steps one more time before moving to step 9.
Step 9. Use the rough side of a sponge to very lightly scuff the surface.
Step 10. Spray over the entire design with matte black spray paint. We used Krylon, but any matte black spray paint will do.
We hope you enjoyed our tutorial, be sure to tune in for a live demonstration on the Hometalk Facebook page on 1/4/17 at 1pm EST!
Resources for this project:
See all materials
Any price and availability information displayed on [relevant Amazon Site(s), as applicable] at the time of purchase will apply to the purchase of this product.
Hometalk may collect a small share of sales from the links on this page.More info
Iron Orchid Designs
Want more details about this and other DIY projects? Check out my blog post!
Go
Frequently asked questions
Have a question about this project?
3 of 13 questions
  • Laz25461882 Laz25461882 on Feb 20, 2019

    Do you make these custom to buy (if I wanted to have a similar dissolved lace mirror but didn't have time to make it myself?)?

  • Lindsay Lindsay on Dec 06, 2019

    I left a comment that is more of a question. I don't often get answers from the authors on Hometalk. Is there another way I can try to reach them about this project?

  • Leslie Leslie on Jul 01, 2020

    Regarding Step 8, do you let the vinegar and water solution dry first before you apply the Looking Glass spray?

Comments
Join the conversation
2 of 49 comments
  • Necee Marie Necee Marie on Nov 02, 2018

    Beautiful 😊😊

  • Lindsay Lindsay on Dec 05, 2019

    I can not seem to get a nice impression the entire length of my glass. I am following the directions and tips to a T, but my impressions will not line up properly or they leave a very distinct space. For some reason this always happens to me with these stamps. I always have excellent results with the large rubber stamps, but never with the IOD's. I really want to make this as it would o beautifully with my decor and typically these types of DIYs are a breeze for me. I don't have the stamp mount but was using another long narrow piece of glass that was working pretty well. Anything that anyone can suggest to help me would be much appreciated. As I said, I am following the directions and tips and the stamps are just not cooperating. This has been a few projects now where I had this issue. No problem with molds, transfers or even stamps of another brand.

Next