


Chippy Thrifted Frames

I found several solid wooden frames while I was out thrifting recently and couldn’t wait to get to work on them to turn them into white chippy pieces!
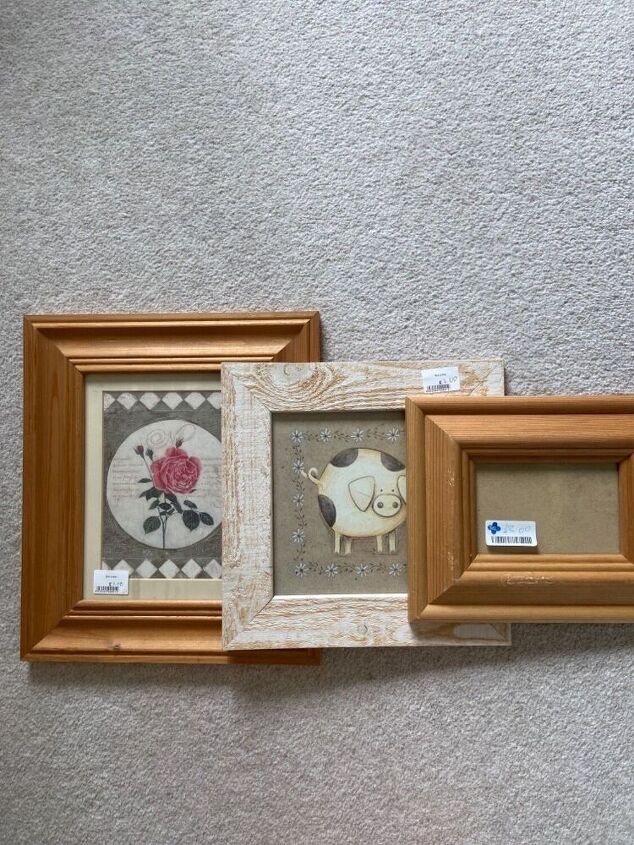
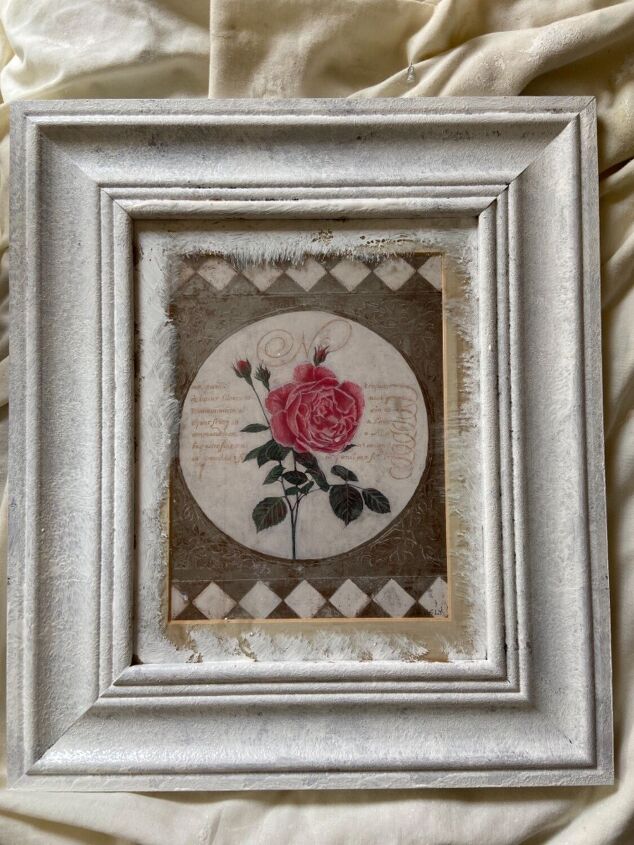
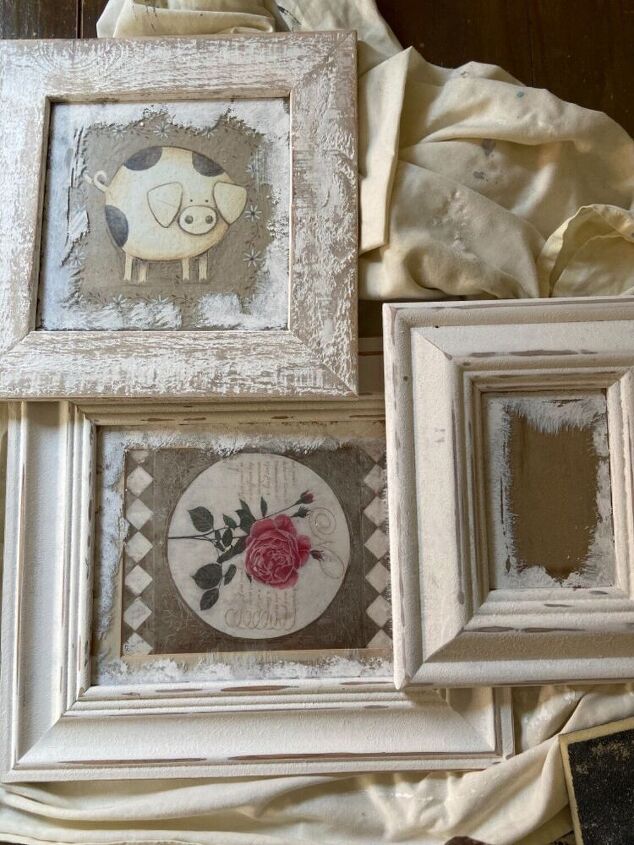
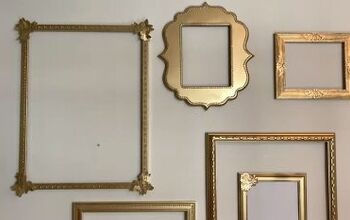
Here is the before of the three frames. The wood was yellow in tone and so to achieve the look I wanted I darkened the wood first of all.
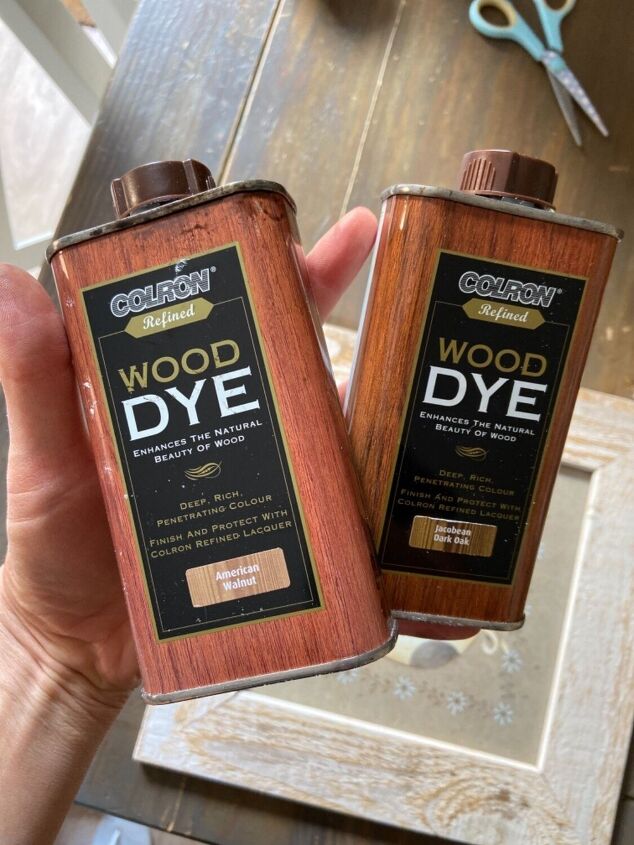
To do this I used a combination of wood stain in American walnut and dark oak.
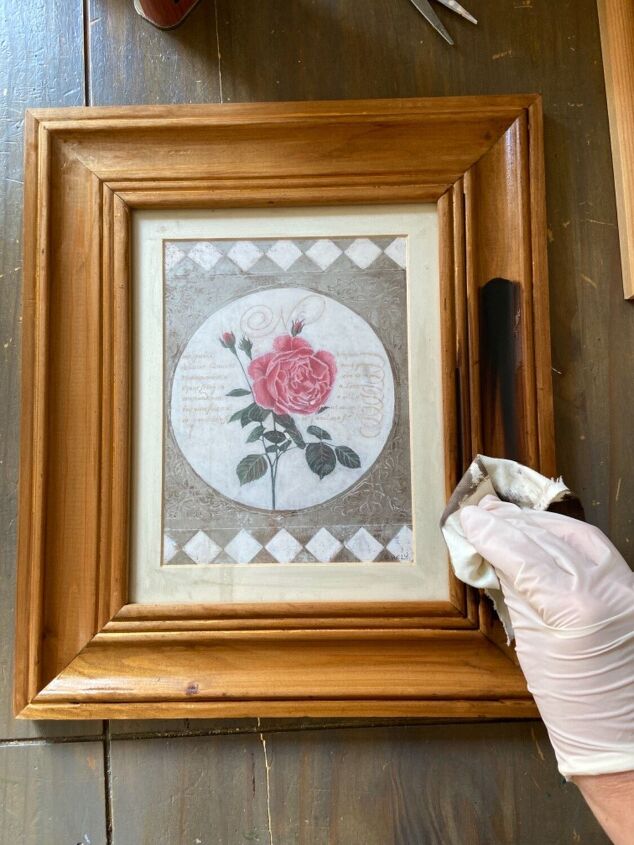
I applied this liberally using a lint free cloth.
For the white frame which had a rough wooden surface I used a dark wax and applied this with a sponge.
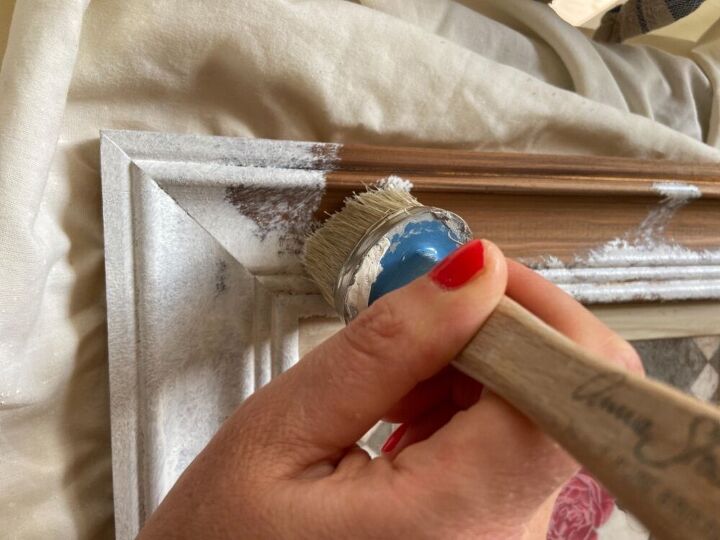
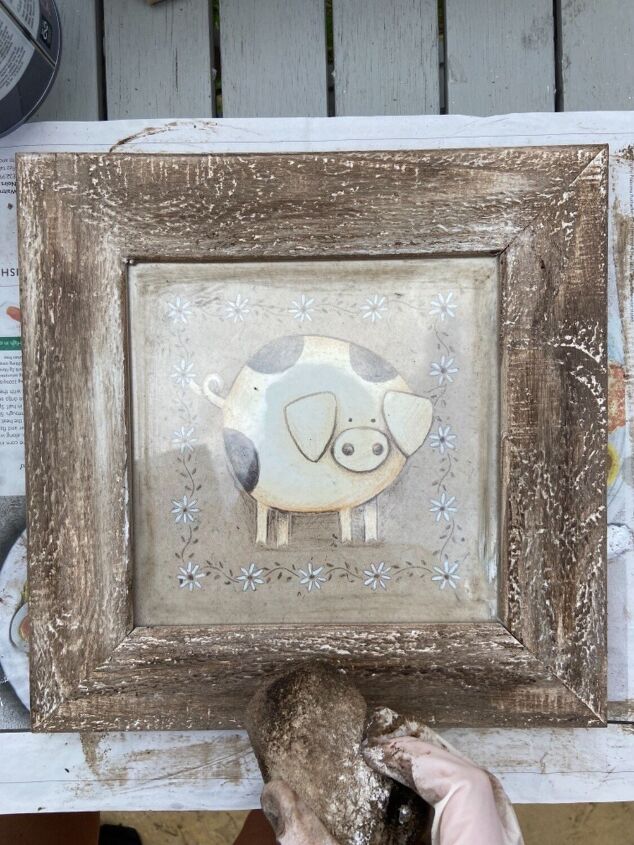
Once the base colours were dry I applied a white chalk paint. In order for the frames to look older and more antique looking, I applied the paint by dabbing it on with a brush rather than using brushstrokes.
I applied a second coat once the first was dry using the same dabbing technique.
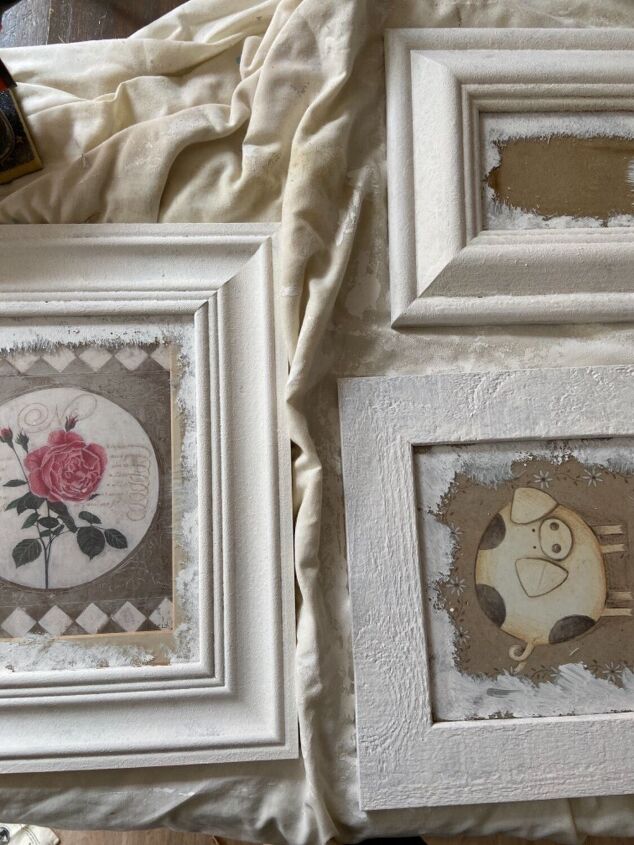
Once the frames had two coats and were dry it was time to distress.
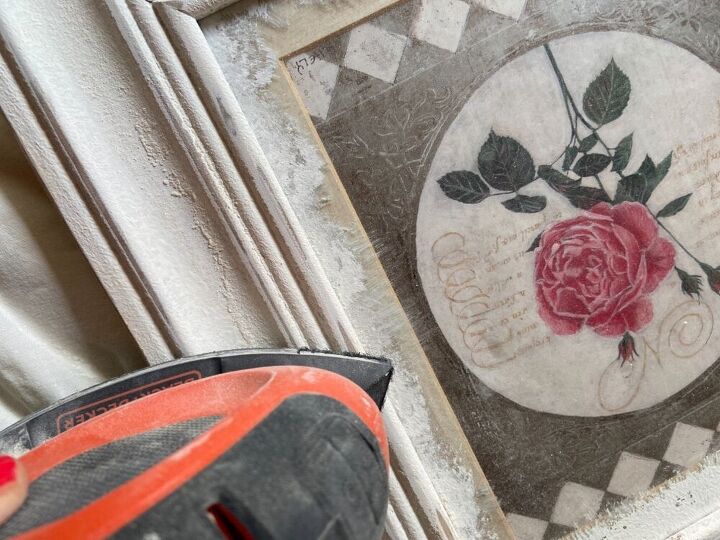
To start with I took my detail sander and roughly distressed the edges. I also used a sanding pad in some areas too.
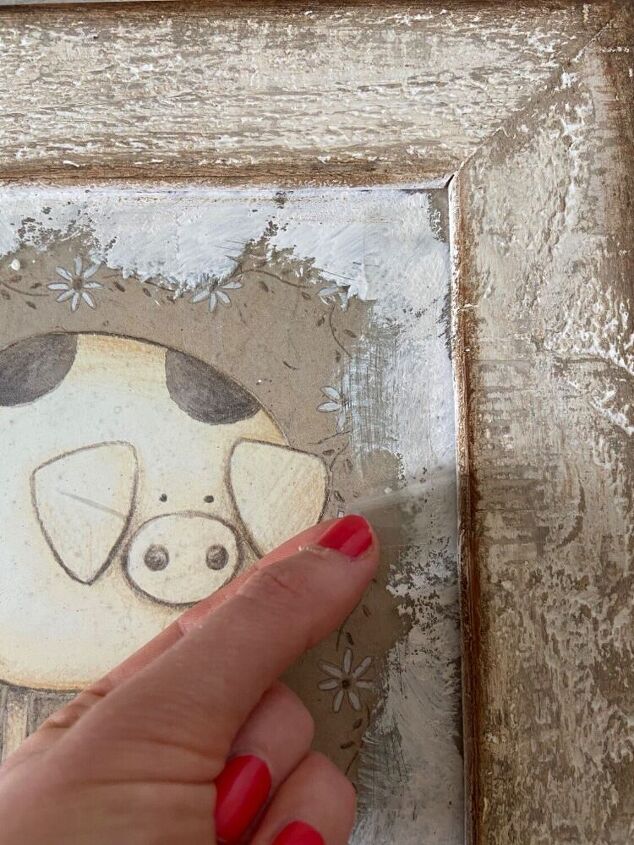
Once I had finished distressing I wanted the wood coming through underneath to stand out a little more. So I took some dark wax and added it carefully with the edge of a sponge to the chippy areas. I then blended this with some wire wool to take off any wax that had been applied to the paint. This just made the distressed detail stand out a little more.
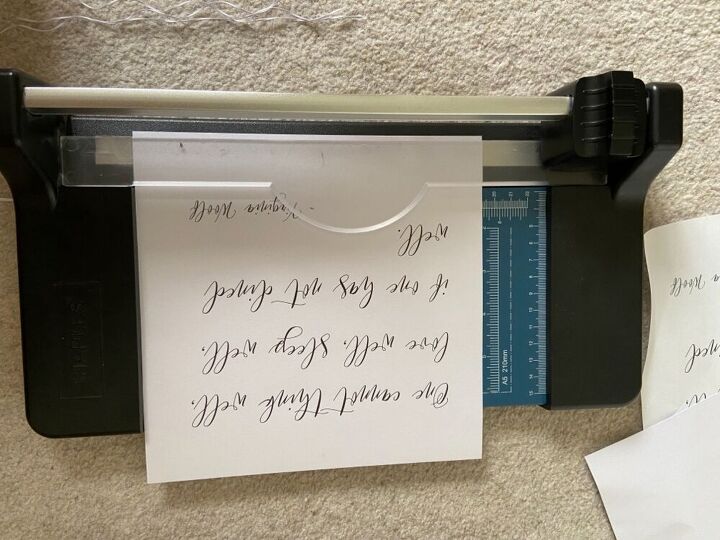
I created my chosen quotes in the fonts that I wanted to use on Microsoft word and printed these out on white card.

I trimmed these down to size using a paper cutter to fit into the frames.
I stuck these straight onto the glass using double sided tape. I applied this to the corners and the edges to ensure that the card was stuck flat in the frame. I did it this way because I didn’t want the card behind the glass and also some of the backs of the frames were hard to remove.
I trimmed the card a little at a time to ensure a close fit.
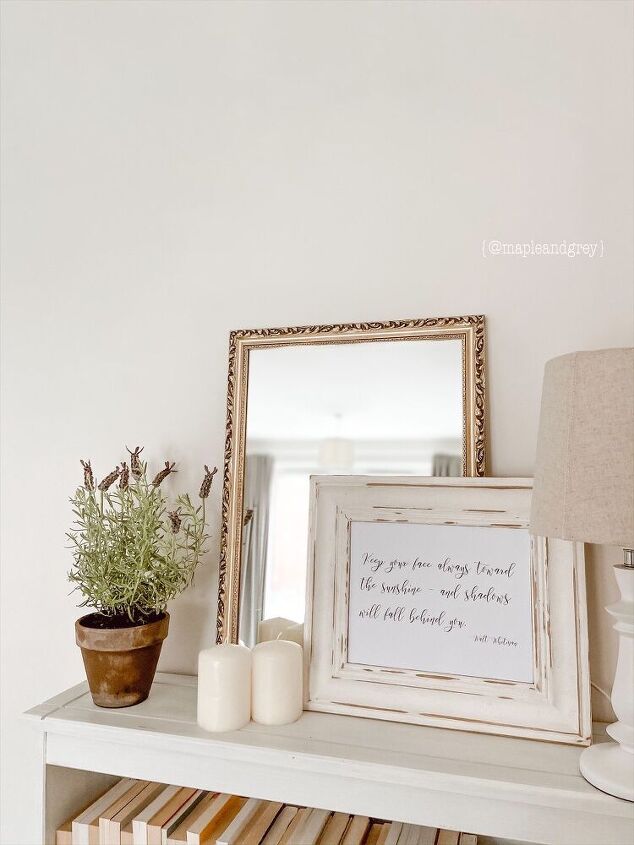
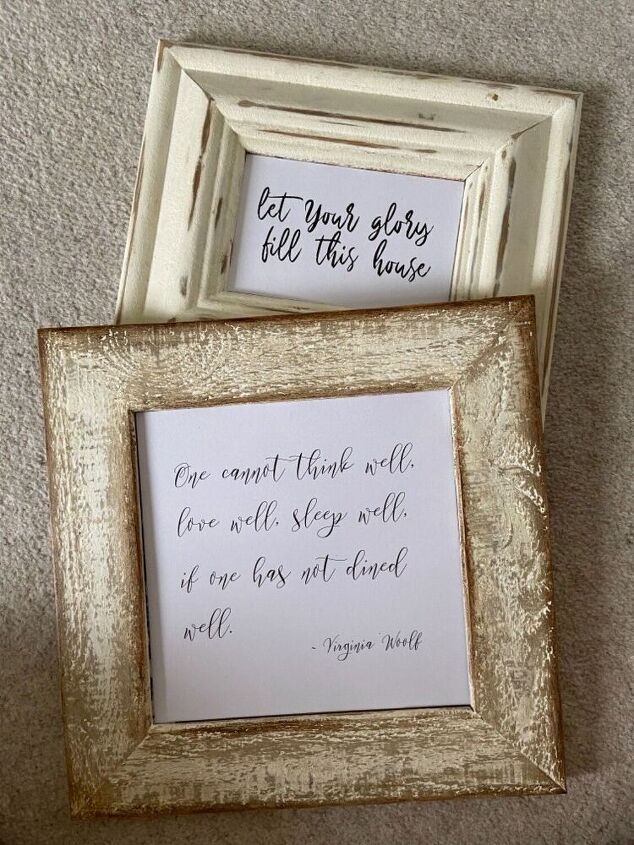
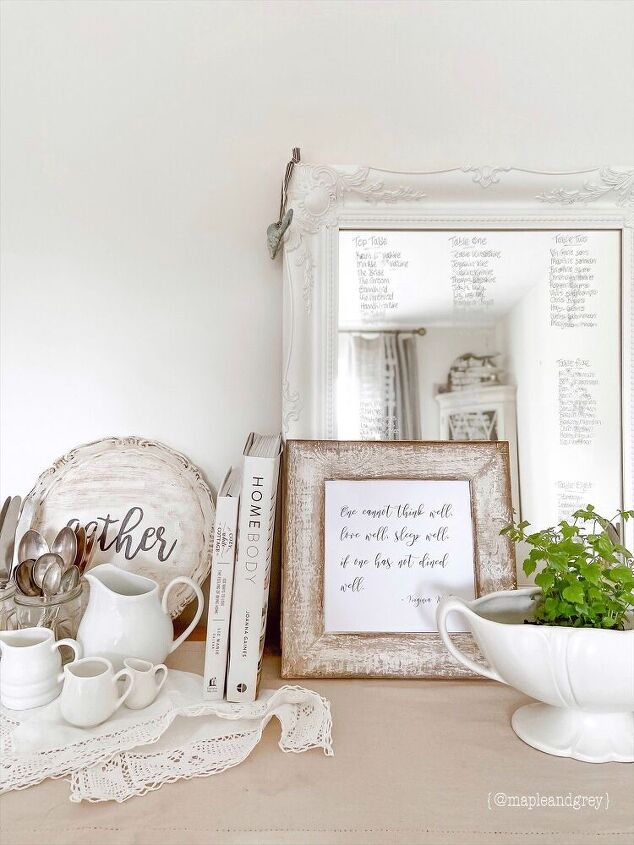
The finished look! I styled these by adding them to the decor around the house.
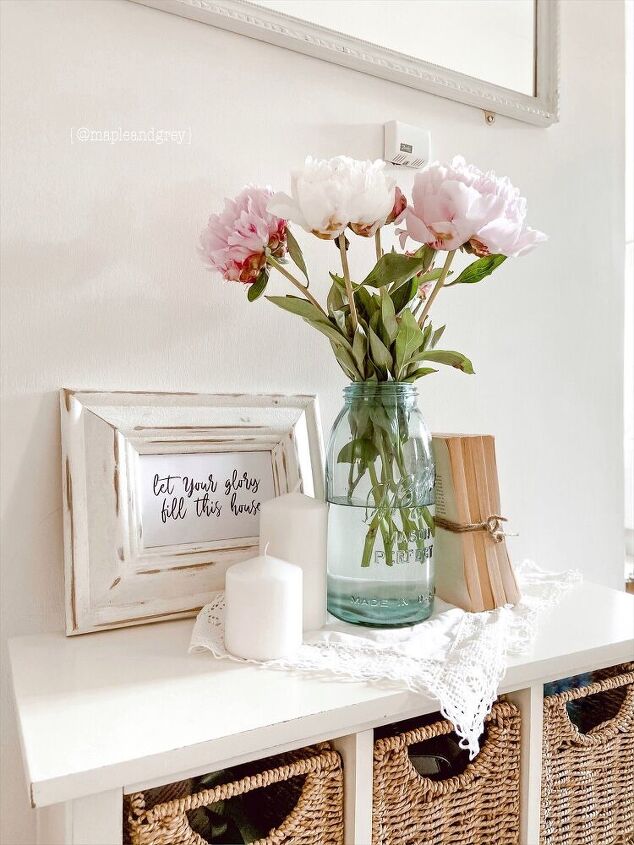
I’m so happy with how they turned out. This was such a quick, easy and cheap DIY and adds so much character to a space.
I will definitely be hunting for similar frames to this on future thrifting trips!
I hope this post inspired you;
to see more of this and other projects follow along on Instagram!
~ Rachel ♡
Resources for this project:
See all materials


Comments
Join the conversation
-
I, too would like to know what font you used!! Nice!
-
Great inspiration


Frequently asked questions
Have a question about this project?
You can paint over a waxed surface?