


How to Make a DIY Beer Caddy & Flight Paddles (Template & Tutorial)

My husband loves getting beer flights when we go out to restaurants, so he decided he'd like to see if he could make a DIY beer caddy and flight paddles as gifts.
This project was all his doing. He created the templates, then bought, cut, stained, and assembled the wood. He said it was probably a mid-level skill project. Here's how to make a DIY beer caddy with matching DIY beer flight paddles:
1. Measure the wood
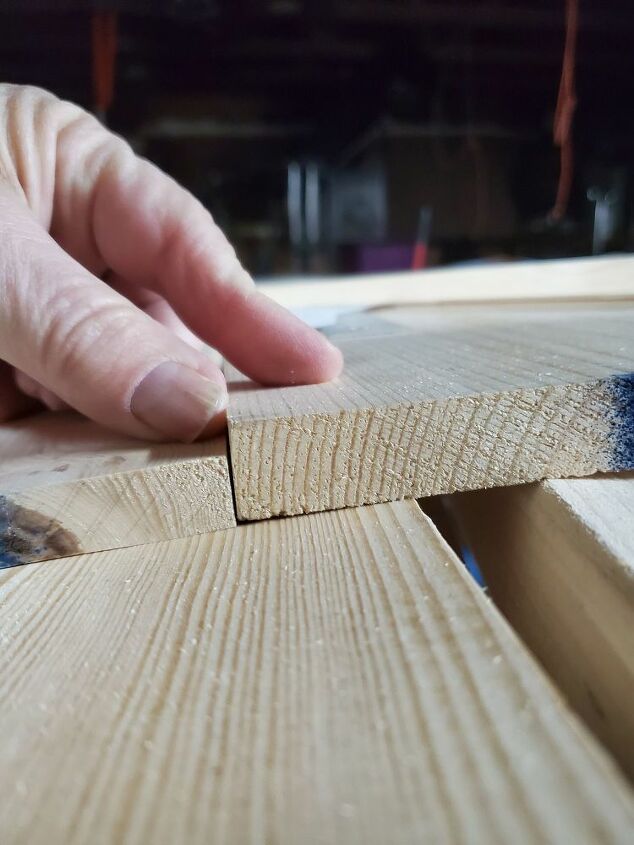
He used two pieces of pine wood. One 1x6x6 and one 1x8x6 wood but the thickness comes as ¾" so he planed the wood down to ½". This photo shows the difference before and after planing.
2. Trace the templates
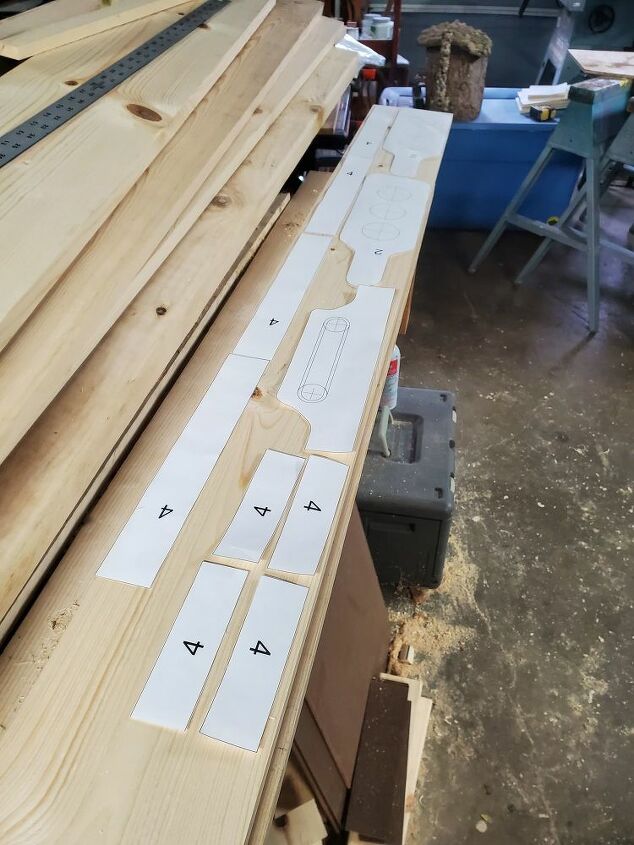
Similar to using a pattern for making an outfit, you'll lay the template pieces out on the wood to see where they fit best. The next step would be to trace them with a pencil onto the wood so you can cut the rough shapes out with a miter saw and a table saw.
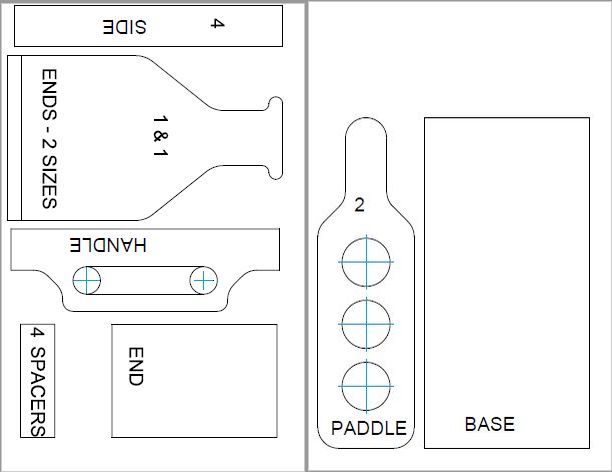
You can make your own templates or get the patterns he created:
Note: The two PDF sheets include all the pattern pieces needed to make a caddy. Each needs to be printed on 11x17 paper to be the right size for your caddy. Staples is one of the places that can print in this size.
3. Cut the pieces
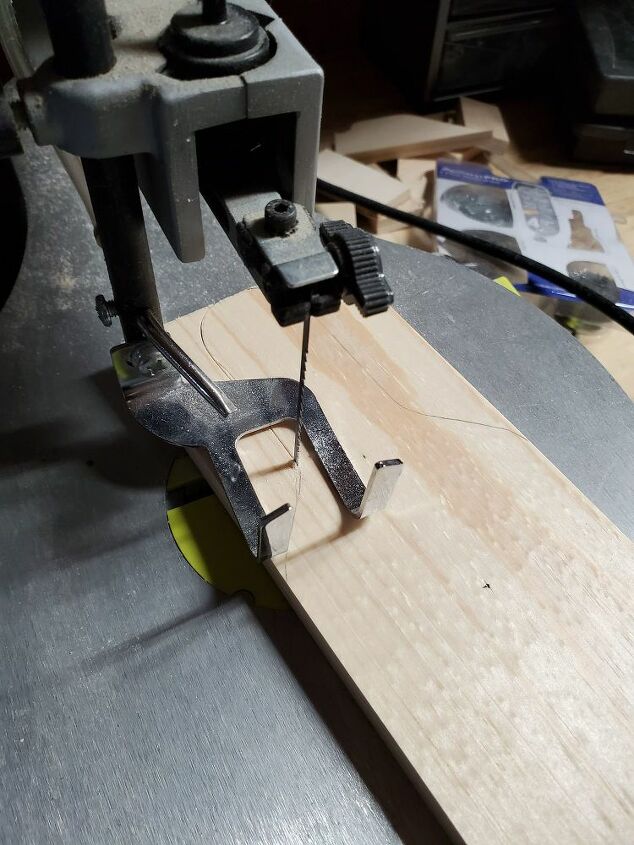
You can see the pencil lines here from tracing the patterns.
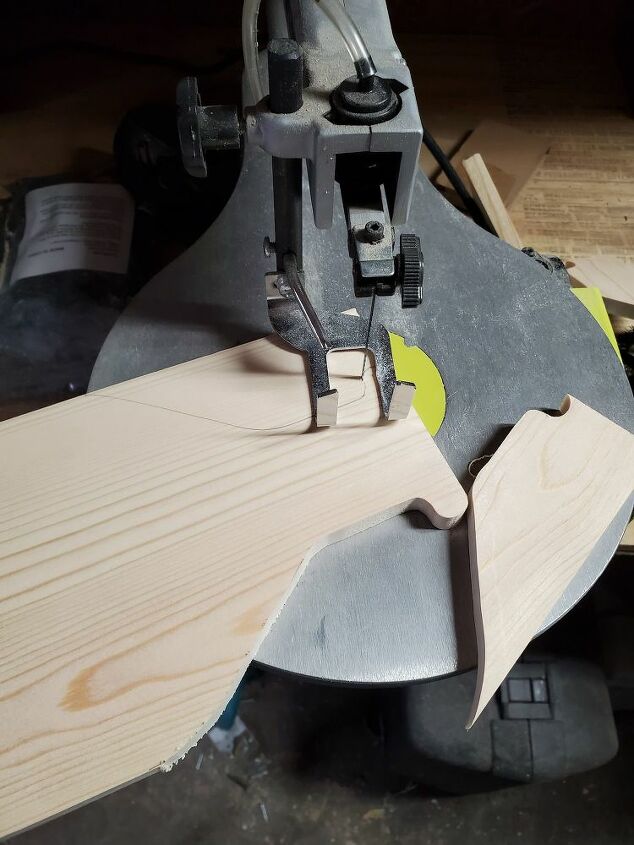
The Ryobi Scroll Saw cuts the pieces of wood into the right shapes.
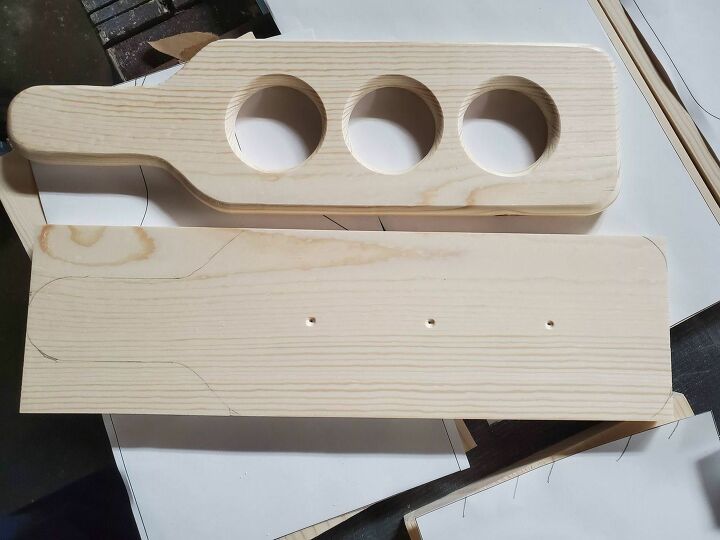
How to cut the holes for the flight paddles
Above you can see the bottom paddle has small holes- this is from using a center punch based on the pattern spacing. This helps you get the circles cut as seen in the top paddle.
You use 1¾" Forstner Bits to cut the circles for the flight paddles. A ¼" Router Bit was used to smooth the paddle edges for a finished look. That is both the top and bottom edges of the board and including the center paddle circles.
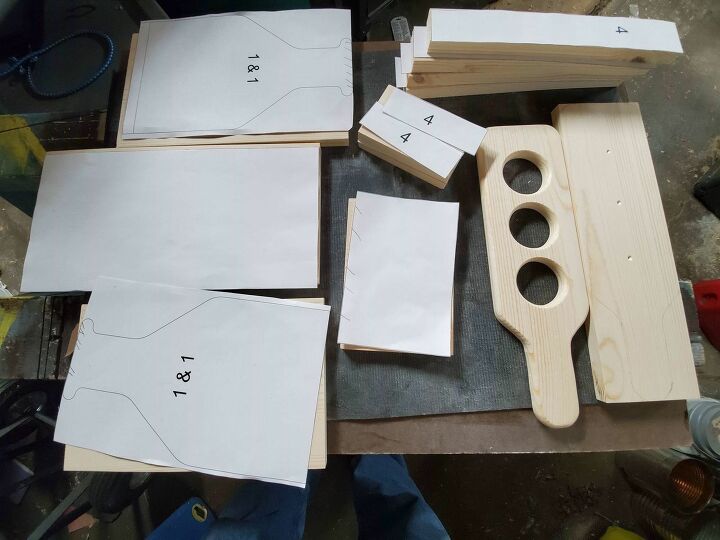
This shows the template pieces on the left which created the cut wood on the right before staining or assembling.

4. Fit the pieces together
Make sure everything fits together before staining and nailing. So far so good!

5. Sand, stain & assemble
Once the parts have been sanded to smooth any rough edges the wood was wiped down and stained. He actually made two caddies: one was a darker stain and the other a lighter stain.
You can glue and nail but it's possible to just nail it. Here, you can see he glued and clamped this one before nailing it with a brad nailer.
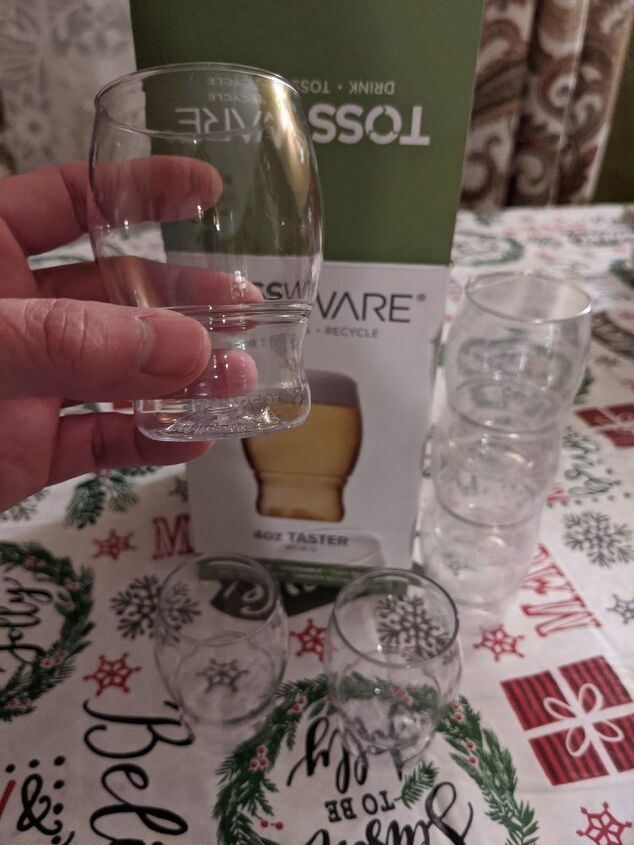
6. Add the accessories
I found these cool little 4 oz glasses perfect for flight paddles on Amazon. They stack easily to put into the caddy and are shatterproof plastic. They are "disposable" but actually wash up nicely for repeated use.
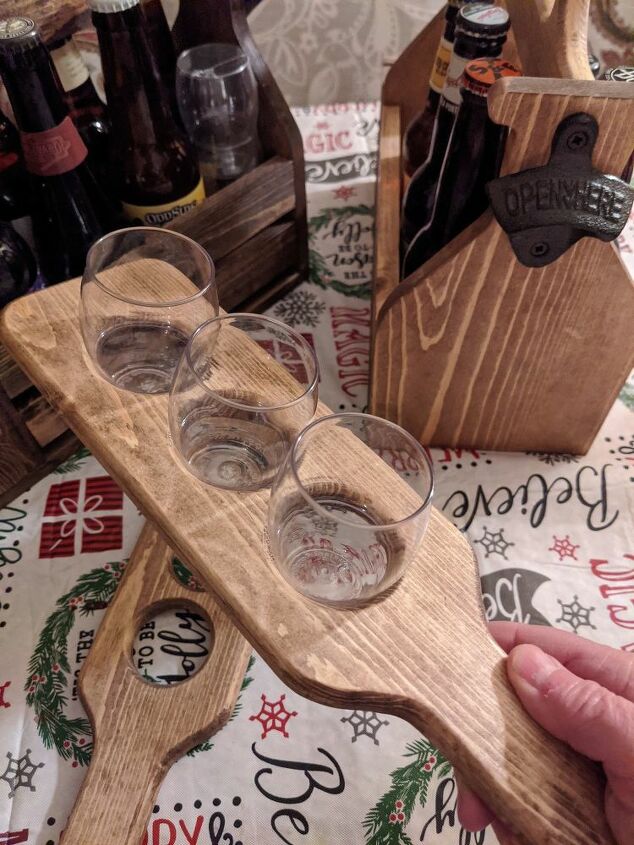
Each caddy will require 6 of these glasses because each caddy has two paddles.
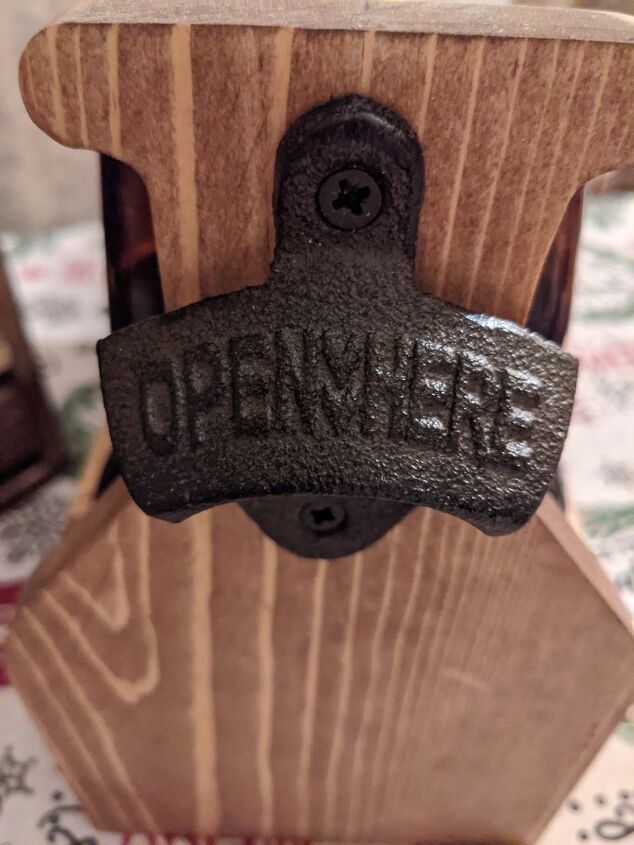
One side of the caddy will need one of these cast iron bottle openers.
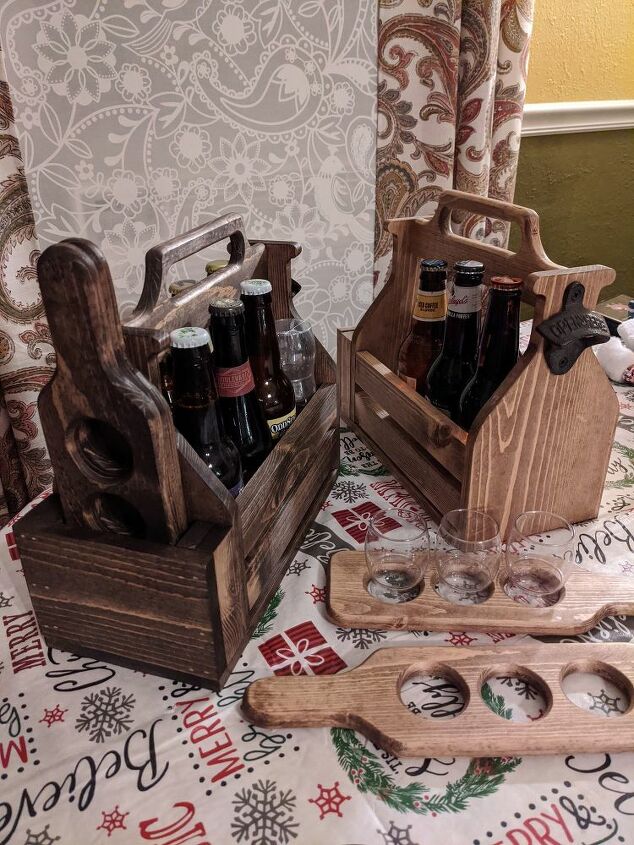
Here you can see the two caddies he made. Each has a bottle opener at one end, two paddles at the other end, and 6 bottles and 6 stacked glasses in the center of each caddy.
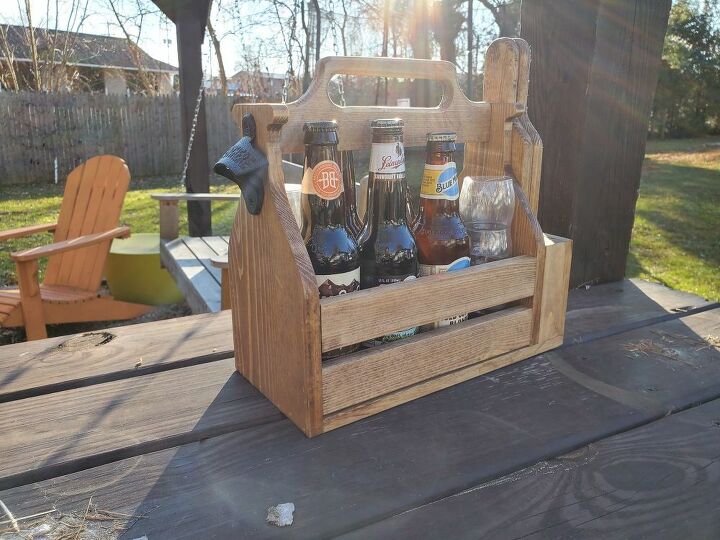
DIY beer caddy with flight paddles
So whether you make one for yourself or as a gift, these DIY beer caddies and flight paddles are really great looking! Each one has about $3 in wood, $3 for a bottle opener, and $4 for 6 glasses.
Let us know what you think of this project in the comments below.
Resources for this project:
See all materials


Comments
Join the conversation
-
Now they are so cool. Great job.

-
What a great “guy” gift! Good job!


Frequently asked questions
Have a question about this project?
Are the patterns for this project still available. The link above didn’t work and I just get an error page