


DIY Handmade Cardstock Box for Note Cards

by
Troom Troom
How to make handmade cardstock box. In this scrapbooking tutorial we’ll craft a unique cardstock box for note cards. We hope that our DIY card box will help you to keep information all right!
{
"id": "3837519",
"alt": "",
"title": "",
"video_link": "https://www.youtube.com/embed/UflVRVegQ-4",
"youtube_video_id": "UflVRVegQ-4"
}
{
"width": 634,
"height": 357,
"showRelated": true
}
Check out the video above to learn how to make your own!
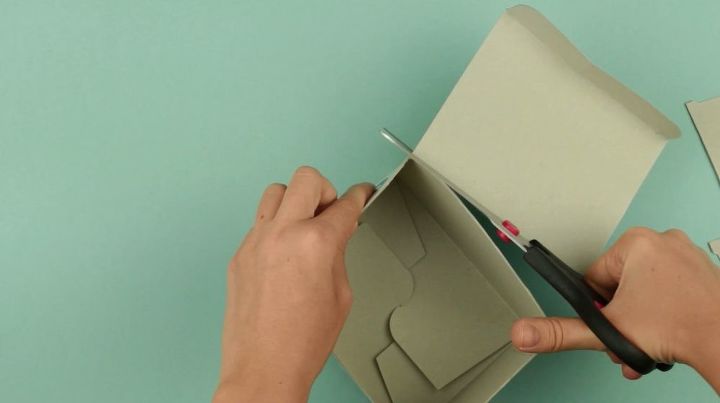
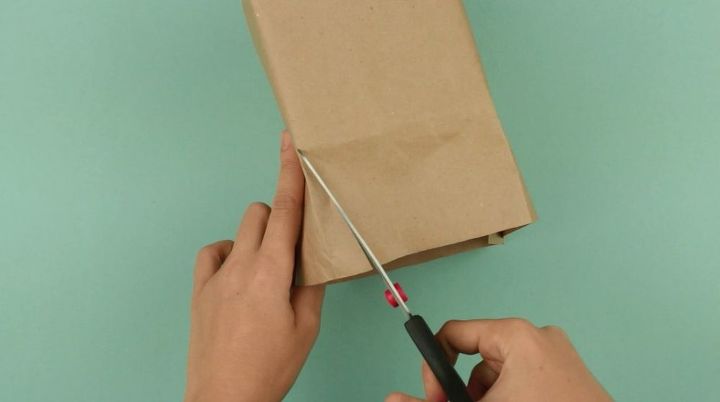
Take a small cardboard box. Cut out the top and unnecessary side parts using scissors. We’ve got the bottom and the walls. We may need the cut cardstock, the lid especially.
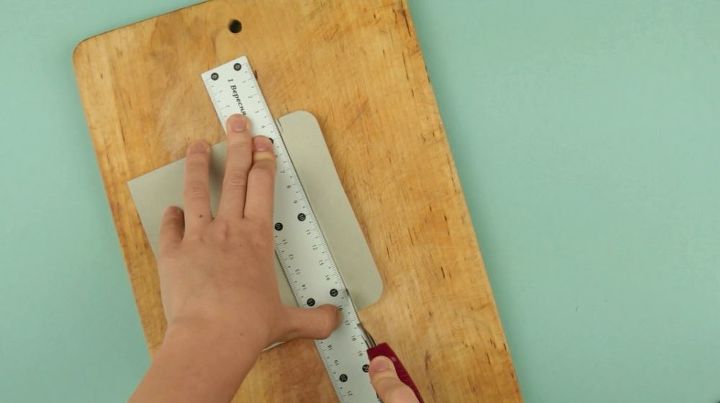
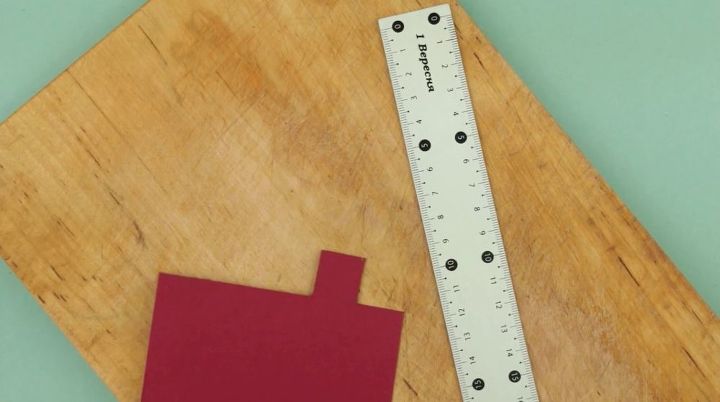
Place a box lid onto a wooden kitchen cutting board. Cut out the excess using a ruler and a craft knife. Scissors will also work well. Now we can put it into the box easily.
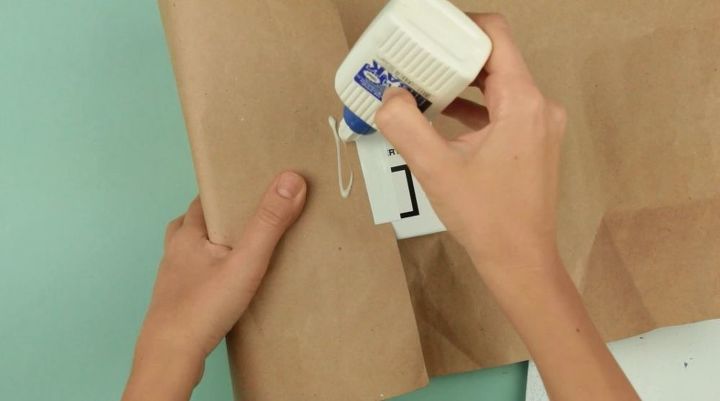
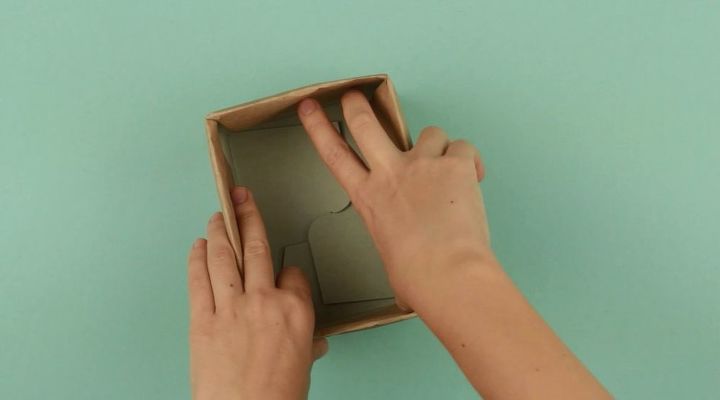
Wrap the box over with kraft paper.
Fix one side with a tape, add white glue and cover with another side.
Leave a bit of paper at the edges to cover the whole surface.
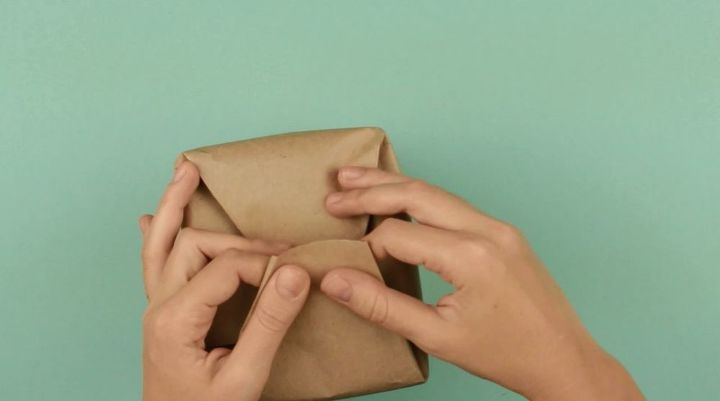
Crease the corners and fold the paper carefully.
Now fix with glue, turn the box over and press down the bottom. You may put something onto the bottom for several seconds. Be careful to glue all the sides.
Now take another side. Crease the corners again, make a sidelong cut and fold carefully the paper inside. Do the same to other sides cutting out the excess paper corners.
Now put some glue on the kraft paper and glue to the inner sides of the box.
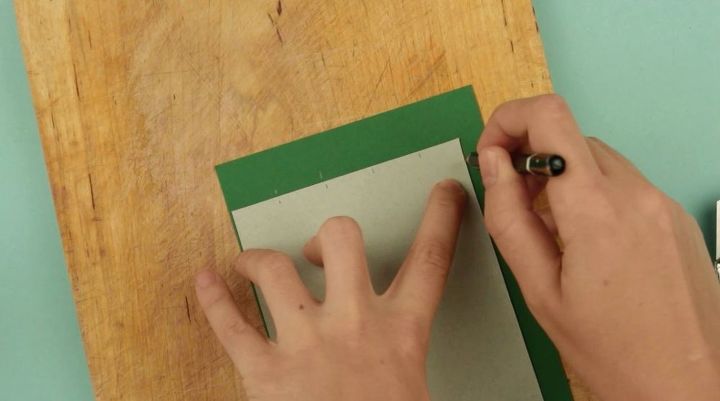
Use a stencil to make cards. Take thick cardstock of any color. We again need a wooden kitchen board and a ruler. Measure the lid width, mark every inch with a pencil. Shift an inch from the edge, place a stencil. The cards will be overtopping the edge.
Put the ruler and cut the cardstock in half.
Now measure the card width. We’ve determined the height already. Cut out cards of the right size using a craft knife.
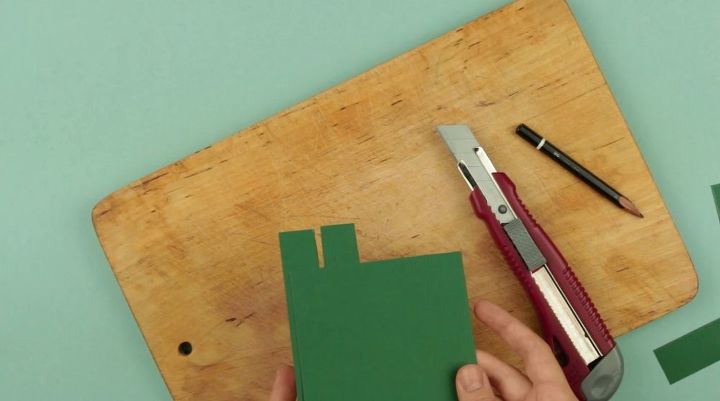
Make indexes on the cards. Make each index of an inch at an inch size.
Take another card. Move and inch from the edge. Cut out the next index.
Use the same way to make other indexes.
You may take paper of another color and proceed the same way.
Let’s return to the box. Erase pencil traces. Place the stencil on the bottom.
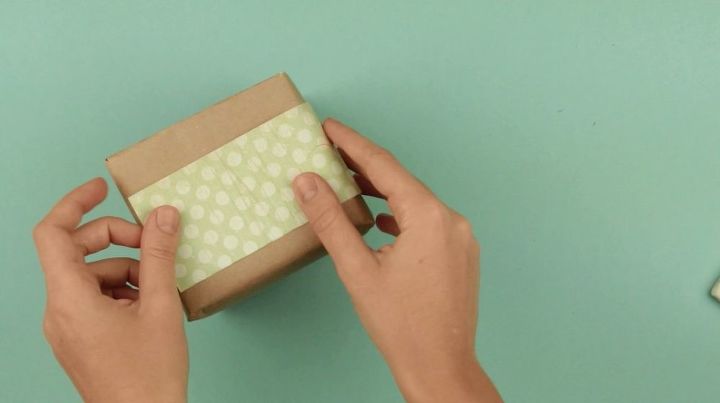
Decorate the box with color paper. Fix with white glue.
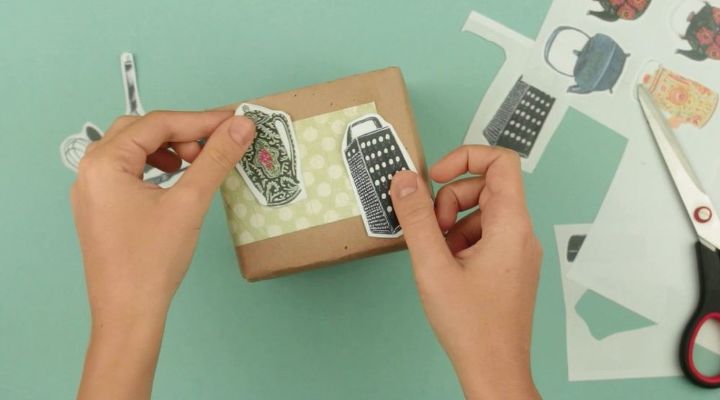
We’ve got a paper sheet with printed pictures to decorate the box. Cut out with scissors. You may either draw something or choose ready pictures on any theme.
First choose a place for each picture. Fix with white glue.
Cut out a couple of pictures more. Glue them to the box.
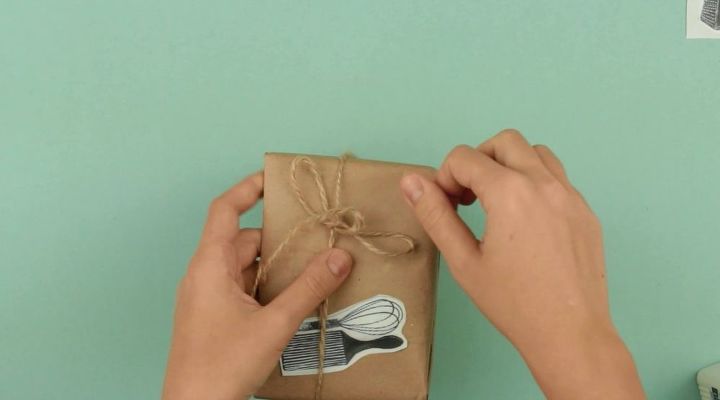
Take a small piece of twine. Wind the box. Tie a bow. Cut out the excess.
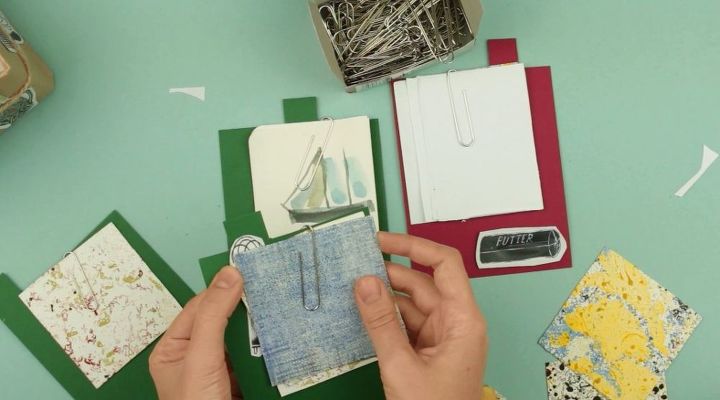
Now decorate the cards. Use cut out pictures and patterned paper to make the cards bright.
Add glue to the pictures and press over with your fingers.
Fix necessary notes to the cards using paper clips. For example, take a drawing from the notepad. If the sheet is two big you may fold it several times.
Continue decorating the cards.
Be careful to place the cards in correct order. The indexes should not overlap.
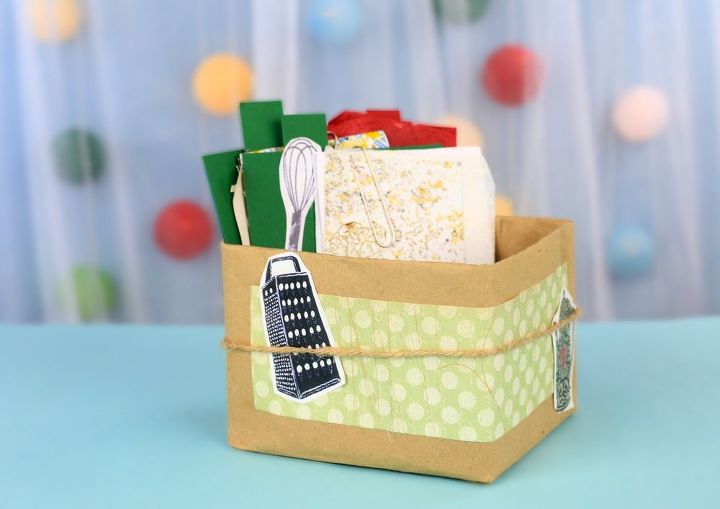
Put the cards into the box. Our handmade box for note cards is ready.
If you're like this project, check out our youtube channel OR our super cool website
Thanks so much for reading/watching!


Frequently asked questions
Have a question about this project?