


Fluted Wood Plant Pot: Upcycled DIY Project

Upcycle an old canister to turn into a fluted wooden plant pot! All you need are some wooden dowels and a hot glue gun to make this easy DIY home decor project. It’s the perfect addition to add to your shelf!
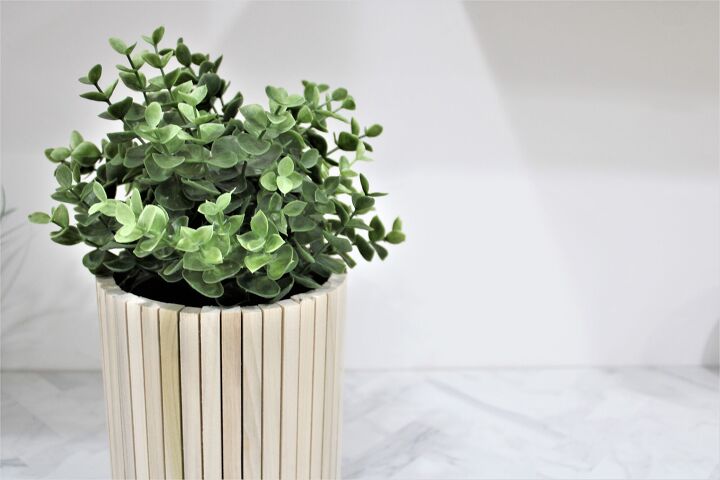
Here’s a quick and easy way to make something cute to hold your plants (Fake OR real!), along with a way to reuse and recycle old canisters that you may have at your house. I know I’m excited to put this fluted planter on display in my new built-ins in my basement, and it really can add a nice touch to your space for not a lot of money!
Supplies:
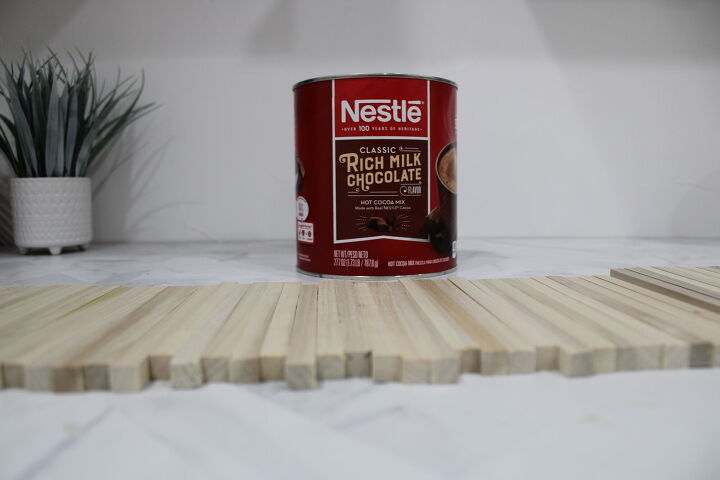
An Old Can/Canister - I used a canister we had from Hot Chocolate Powder, but a lot of things could work - a can from a can of corn, a coffee canister, baby formula container, etc. This also could work with an old glass vase or bowl as well!
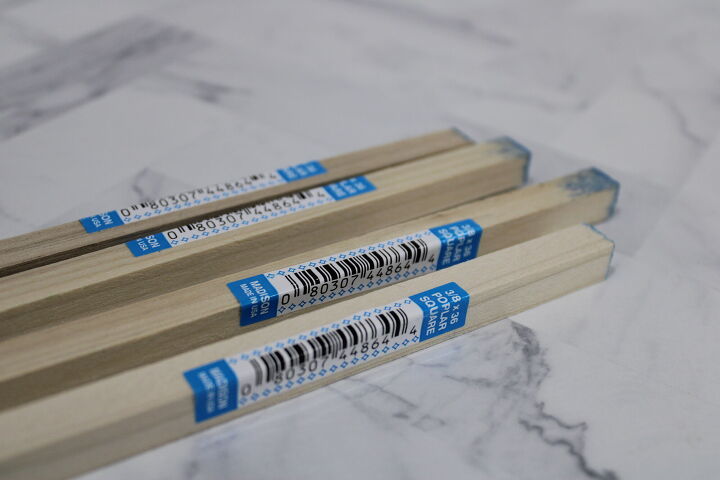
Wood Dowels - These can be any wood dowel size and shape you would like. I got ⅜” square wood poplar dowels for this project, but you could get round dowels, thicker or thinner dowels, etc.
Hot Glue - Make sure to have a hot glue gun handy!
Something to cut your dowels with - This could be a miter saw, circular saw, hand saw - whatever you need to get the job done!
Alright - here we go, this is quick and easy!
Measure, Cut & Sand
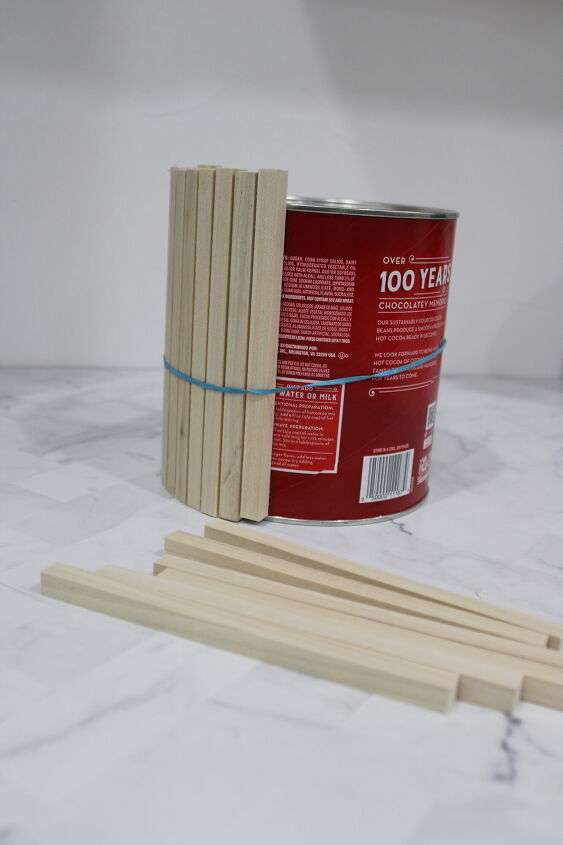
To get the best bang for my buck, I bought the 36” dowels from Menards and cut them to size. You can also find dowels that are 12”, or 8” (or really any length), but I just wanted to make sure I could cut the dowels to the exact size I needed and not waste a lot. These 36” dowels were perfect. I bought about 8 of them to start, and then realized I needed a few more, so all in for my project, I needed about 12 of them.
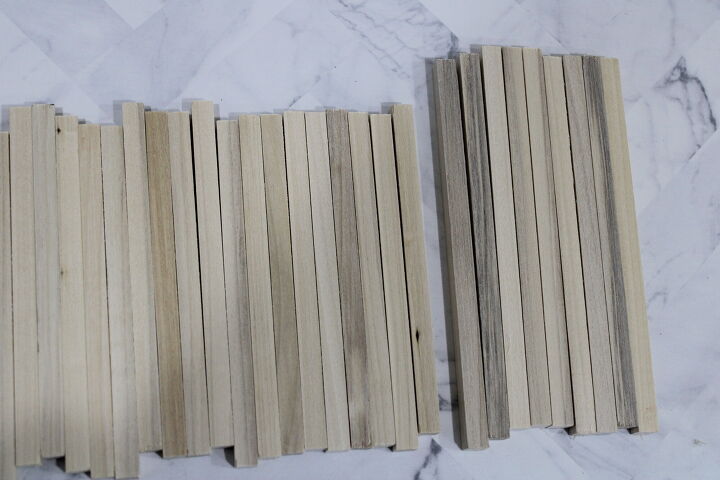
To determine the length of the dowels, I knew I needed 2 different lengths - I needed 9 dowels that would serve as the legs (3 dowels per leg), and then a shorter length dowel just to cover the canister. I took the dowels, put one up against the canister, added a small amount of length to ensure I could cover the top and the bottom edges of the canister and drew a line, and used that as the length of my shorter dowels - no measuring needed. I then added about 1.5 inches to that length, and used that as my leg length. We cut the 9 leg dowels first, and then cut the rest of the dowels using my original length. If you have splinters on the ends like I did, run some sand paper over it quickly to get rid of those splintered edges.
**I should have cut multiple dowels at the same time to get a consistent length, or made a stop block for easy cutting, but we just were doing this in between taking care of the kiddos, so it was just easier to whip it out quickly and we weren’t thinking.
Dry Fit Your Dowels
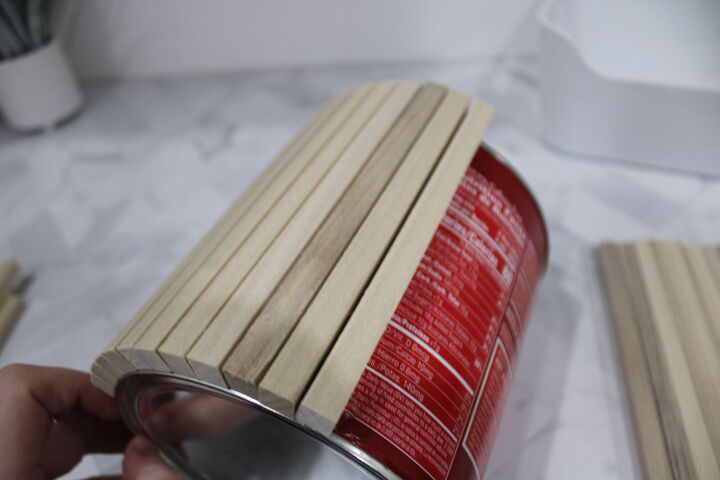
Next, I wanted to dry fit the dowels around the canister so I knew how many I needed in between each leg section so it was even and that it didn’t end up lopsided. My first go at it, I just tried to stand the dowels up against the canister and they kept falling over. To keep that from happening, I got a rubber band, wrapped it around the canister and placed the dowels in between so they would stay in place. I learned that to evenly go around the canister, I needed two sections of 11 dowels and one section of 12 dowels between my three leg sections.
Start Gluing!
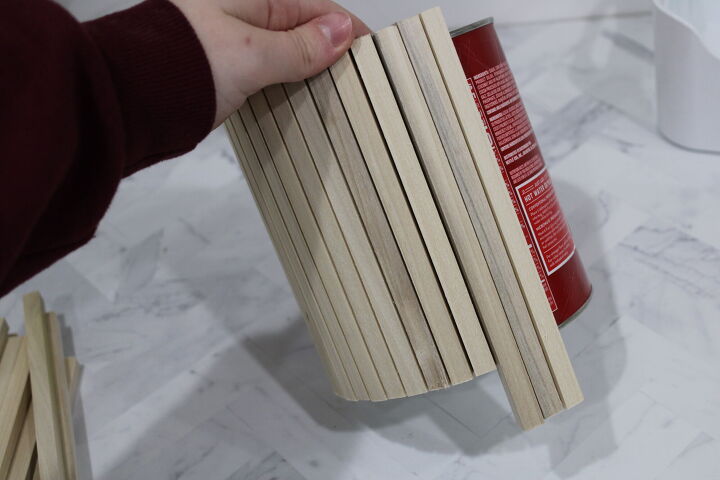
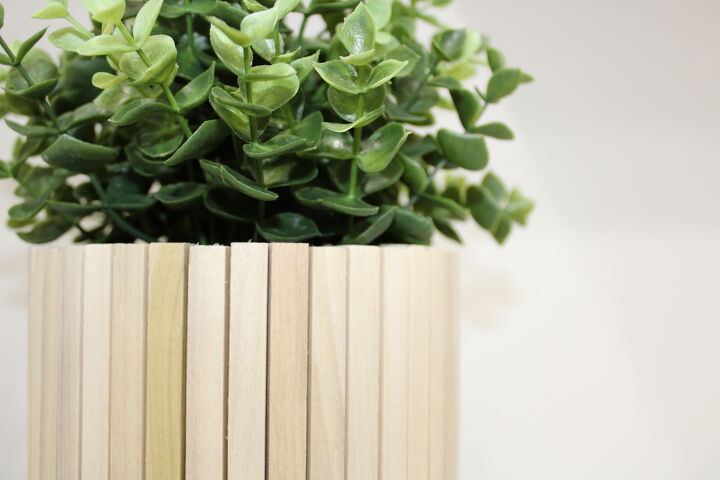
Like I said, our dowels were not exact lengths for each cut, so I knew they would be a bit choppy, and I wanted at least one clean line on the canister. Since the top of the plant pot would likely blend in to the plant I would put in it, I decided to have the bottom be a clean line and would use that as my straight edge to line every dowel up.
I started with a short piece of dowel first, and used a straight vertical line that was on the Hot Chocolate canister label itself to ensure a straight line. If you get the first one crooked, the rest of your dowels will start to also go crooked and you won’t be able to achieve the fluted look. I put a dab of hot glue towards the top of the canister and at the bottom, lined the dowel up with the line on the label AND with the bottom of the canister and pressed it down, held for a few seconds, and it was good to go. Repeat this step with every dowel!
Tips for Gluing:
I started with my first section of 11 short dowels, then placed my leg section of three. After that, I put another section of 11, and placed another leg section. At this point, I put my last section of legs on the other side of the first dowel I placed, then just had to fill in between the two sections of legs, not worrying if my legs were going to fit at all.
I did end up having to sand down one dowel at the end - even though it fit with my dry fit, the hot glue took up a little more space than anticipated, but we got it to work!
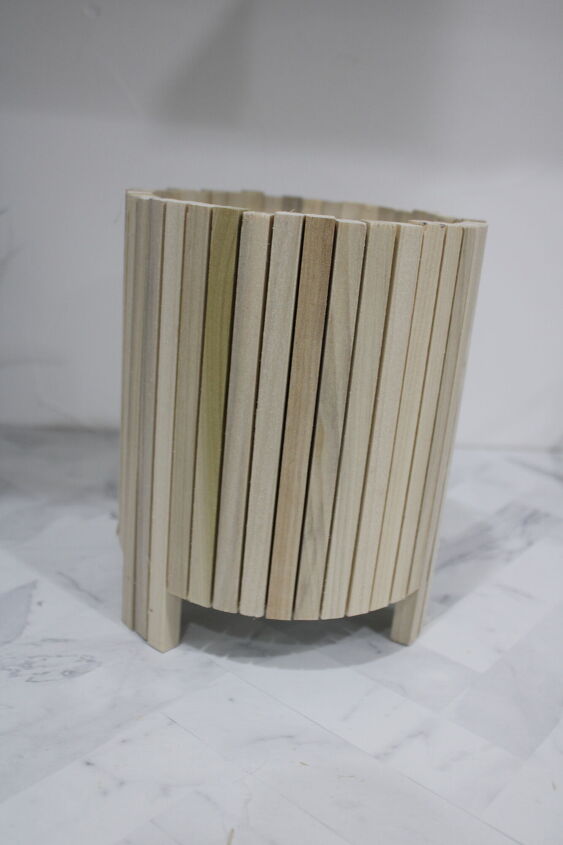
Finish It
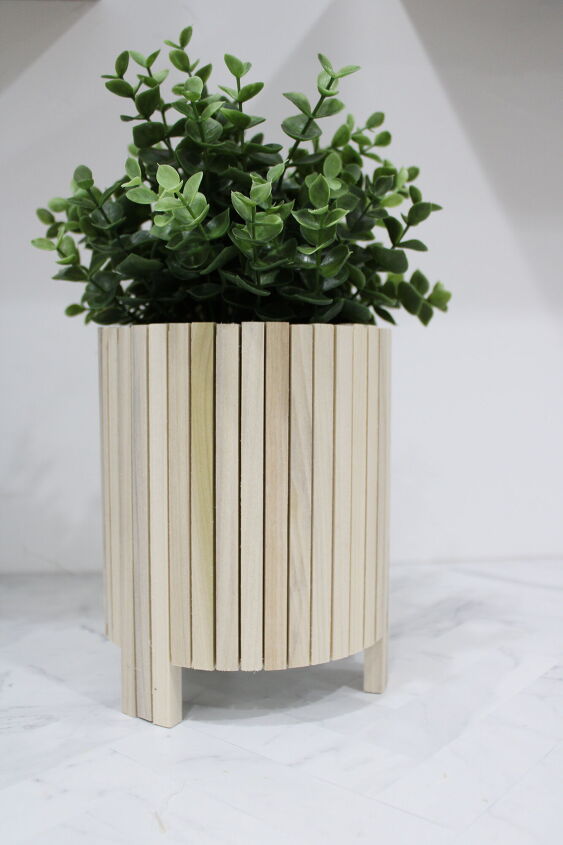
I decided to leave it all natural for now, but you could stain or paint this to match whatever look you are going for. It’s a super fun, easy project to do and you get to reuse materials you would have otherwise thrown out!


Comments
Join the conversation
-
So clever! You would never know it was made from an old tin!
-
I love the way you left some of the wood pieces longer to make "feet" for the container. Very smart!


Frequently asked questions
Have a question about this project?