


Hanging Shelf Herb Garden

If a herb garden could ever look chique but be cheap at the same time, this is how you do it.
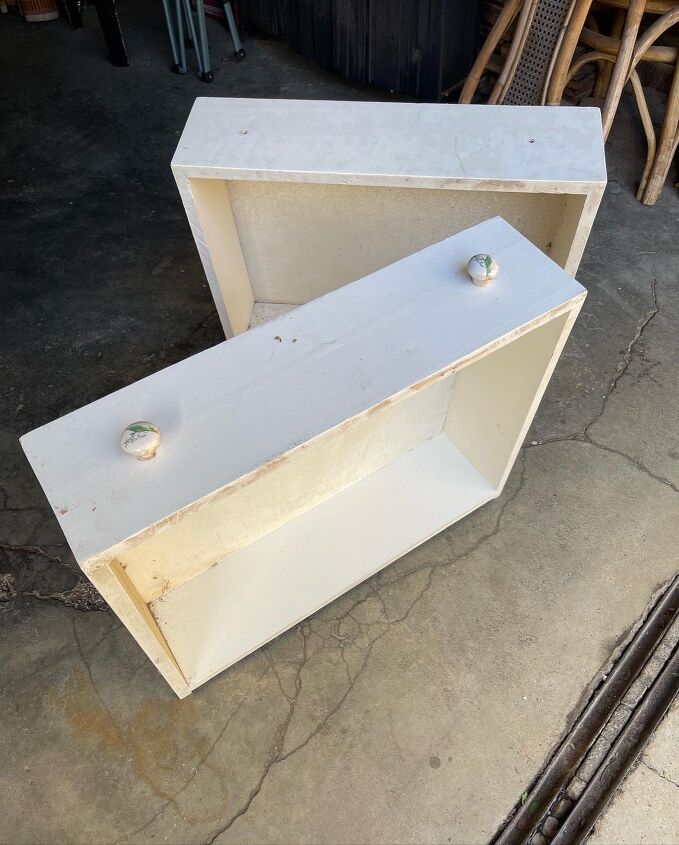
Yet more drawers! If you have a read my posts you would know that I have been trying to whittle down the pile of drawers in my garage for quite some time. I have been meaning to make a herb garden for 3 years, so the time had come to use another two. Not all drawers are created equal though and you have to consider whether the wood will stand up to the elements. Or if you want your herb garden to be outside at all, making the issue of the wood a moot point.
You may also know that I don’t really do woodwork but I do have ‘some guys down the road’ that have the necessary tools to cut a couple of holes for me. I drew out the position of the holes and in theory, where I planned the cord to be (except I only decided to add it later, limiting my design options). Plan yours from the outset.
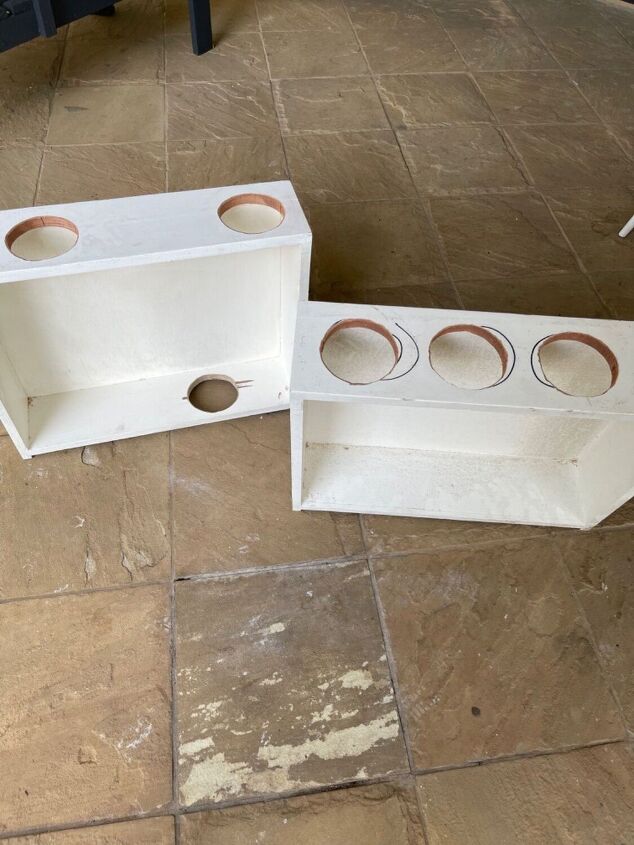
The holes for the pots must be big enough to fit a series of pots and be sufficiently spaced so that the pots do not crowd each other. Take the tapered size into account. I decided to keep the drawer bases intact even though they will probably perish sooner.
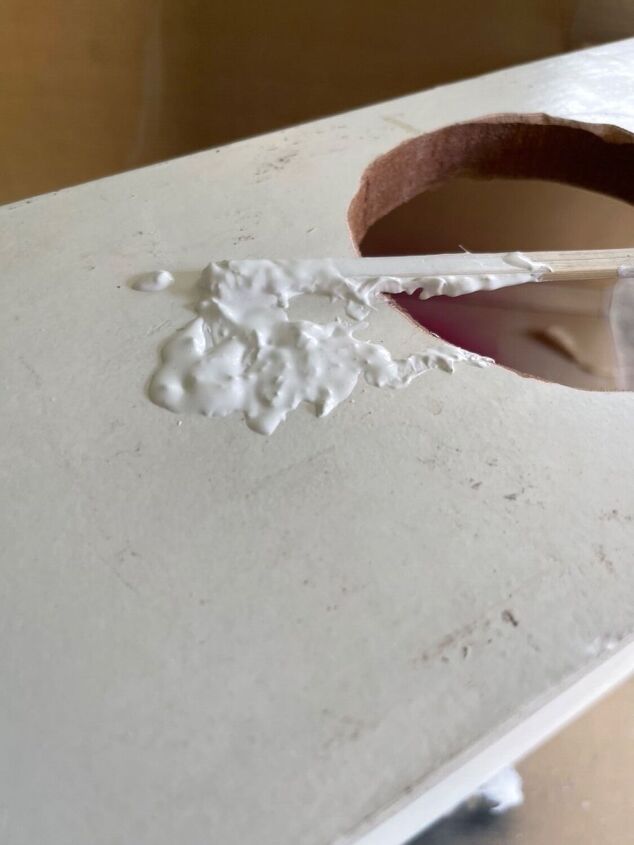
Back home, I took off the handles and applied wood putty to the holes. Whilst still wet, I scraped off a lot more putty than is pictured above, otherwise it dries and you have to work a lot harder at sanding the superfluous putty off.
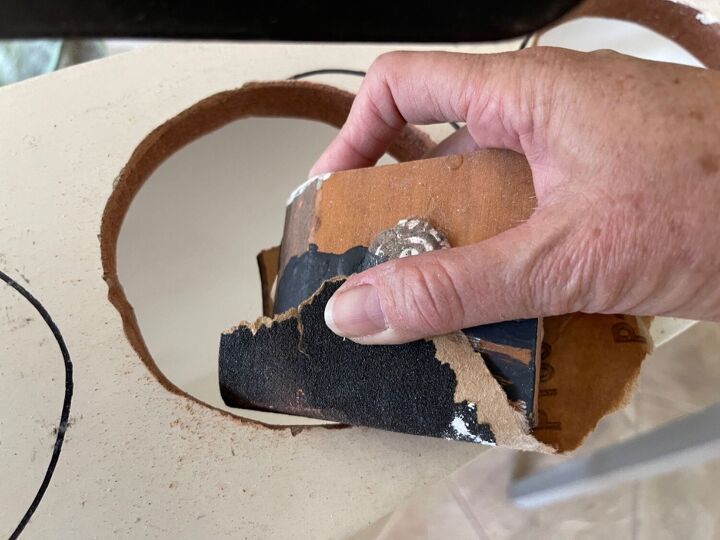
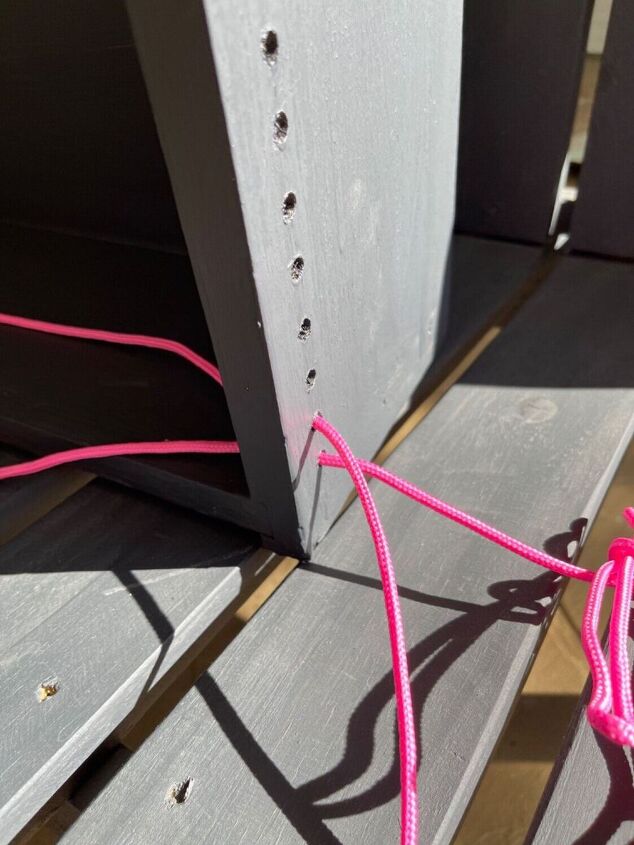
Also sand down the edges of the holes and wipe everything down with a damp cloth to get rid of any dust. This is also the point where you should be drilling the cord holes. See below.
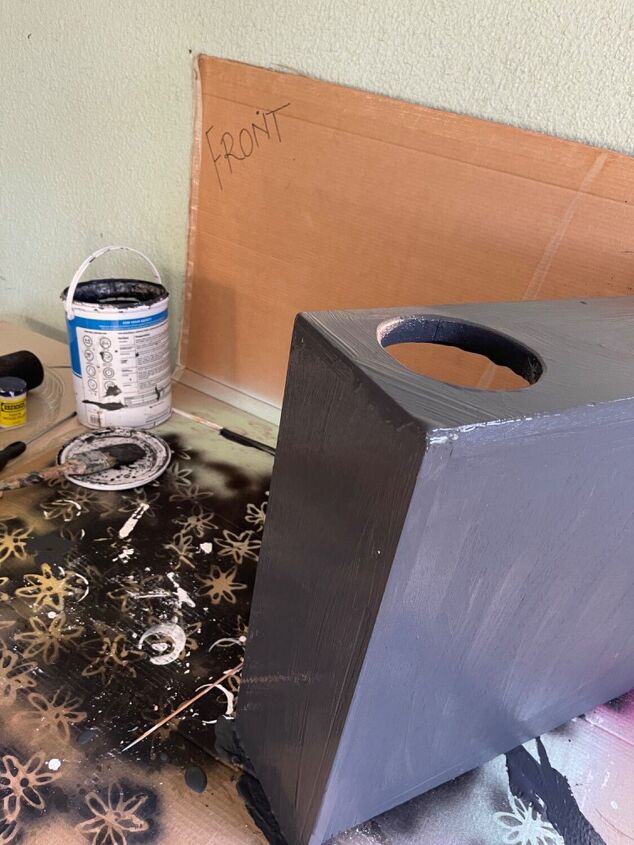
Some people are addicted to white paint. Call me an Emo but I have a thing for charcoal grey roof paint. I use it for literally everything because it is elegant and makes green plants (and in this case my chosen colour cord) pop. It also goes on very easily, even over old enamel paint and can obviously be used outside.
In my typical ‘make it up as you go along
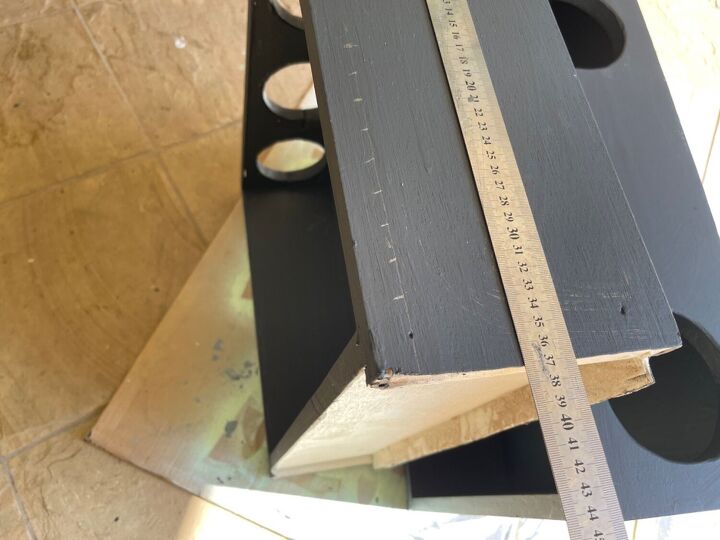
style’, I decided to add some cord to the drawers after I had painted them. With a ruler, measure a row of holes, well away from the edge, starting in the open area and not over the drawer sides. This sounds obvious but sometimes one gets lost during the process.
The number, position and size of the holes will vary depending on your design and cord thickness. Just remember to add the same number on the opposite side of the drawer too.
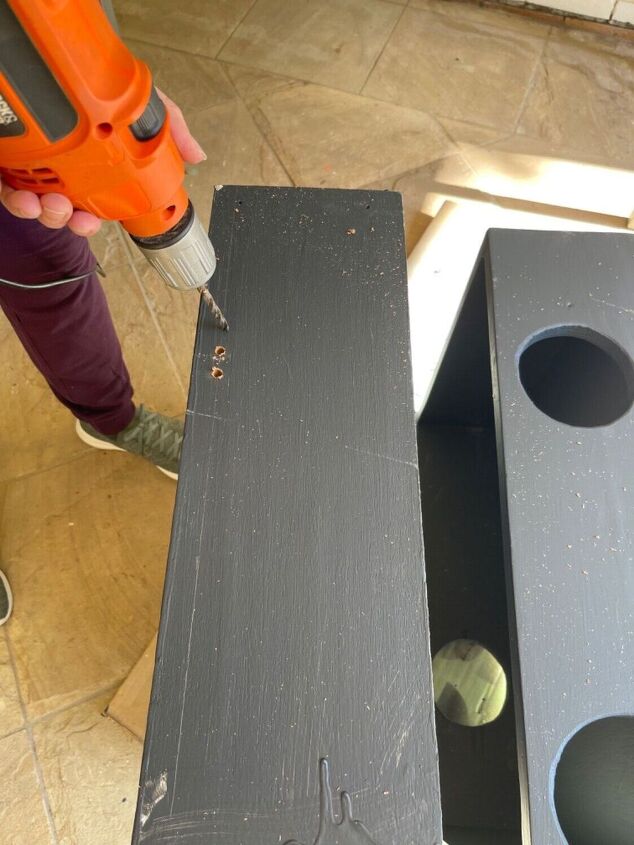
Taking the size of your cord into consideration, drill the holes a bit wider than necessary because painting over them will narrow them. Touch up with paint and push a skewer through to make sure they aren’t clogged.
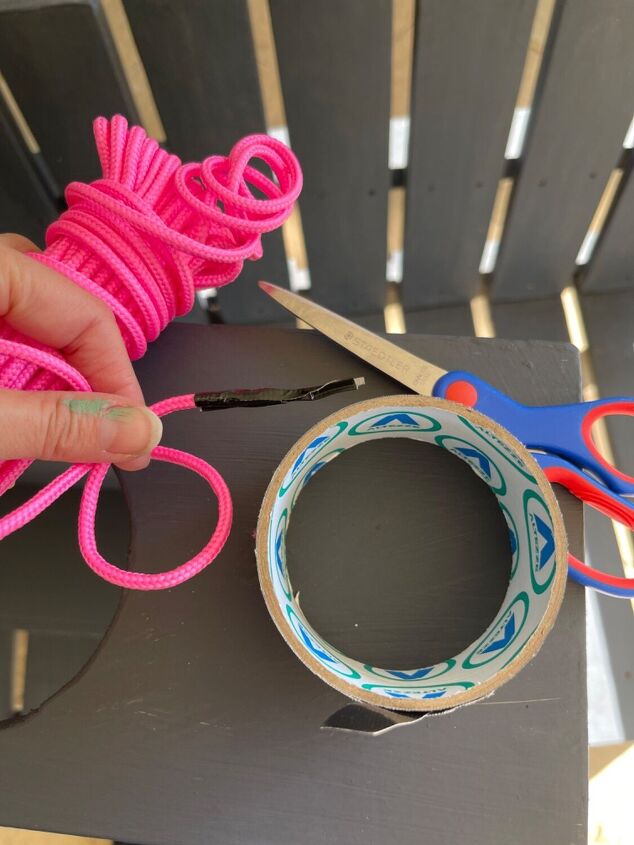
I had this funky pink paracord that I really wanted to use. The cord would be fine for indoor use but for this application, nylon would last longer.
I measured roughly how many lengths of cord I would need for my design and cut a generous piece off. Using tape to reinforce the two ends as pictured above makes it much easier to thread and prevents fraying.
The most logical way to thread is to make a knot on one end on the outside of the drawer and then to thread with the other end. Keep the tension correct from the outset otherwise there is going to be a lot of to-ing and fro-ing, particularly with a criss-crossing design like mine. If you are not careful, the threading becomes like completing a maze in which you get lost, pulling this way and that, never coming to the end in which each section is perfectly tensioned.
I wondered if one couldn’t start somewhere in the middle of the design and cord like when lacing shoes. But these days there are so many ways to lace shoes… These were my ruminations whilst I was pulling away at the cord.

Because my design was random, the outside edges overlapped and didn’t make a tidy pattern. If you were making a regular zig-zag design, your edges wouldn’t look like this.
With all the holes threaded, check that the tension is even throughout and then end off with another knot. Then trim the ends and get rid of the tape if there is still some.
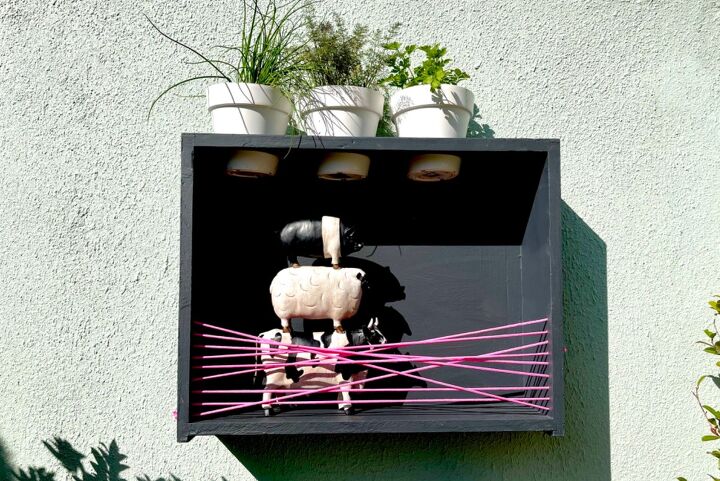
Hang the shelves with rawl bolts and add the herb pots and other decor items. This one of mine is actually a shelf that protects things from falling out. I used cheap white plastic pots.


Note the copious use of charcoal coloured roof paint.
The cost below excludes pot plants.
Resources for this project:
See all materials


Comments
Join the conversation
-
Love eye candy, especially in the back yard.
-
I think they’re amazing. I’ve been saving old drawers for several years. This may just be the perfect use for them! Thank you.


Frequently asked questions
Have a question about this project?
Wouldn't the roof paint draw excess heat and dry the plants out quickly? I am not trying to be critical.... just curious and asking an HONEST question. Darker colors tend to draw more heat and I would think this would dehydrate the plants so much quicker.... I think I would go for a cooler, lighter color. But that is just my thinking out loud...