


How to Build a Desk Lamp From Recycled Materials

I’ll let you into a little secret: you can use almost any materials you like to make a lamp, including recycled ones.
I found this DIY project really fun because I was using materials that I found lying around the house. In fact, I didn’t even know what some of the pieces were from because I’d never seen them before. But, this really doesn’t matter because my wife loves the finished lamp and it looks amazing displayed on a desk in our home. Here’s exactly how I made it.
Step 1: Gather Your Materials
Gathering your materials is an important first step. By getting everything ready in advance, you’ll always have everything you need to hand. This way, you don’t have to spend any time searching for those pesky missing pieces that can delay the whole project.
For this project, you’ll need:
- An iron base (or anything strong that will make a recycled base)
- Wooden dowel
- A brush suitable for cleaning iron
- Sandpaper
- A spray gun
- A pillar drill or drill press
- Anti-rust spray
- A vice
- An oscillating saw
- A bolt
- Wires
- An LED light strip
- A power cable
- A switch
- Tweezers
- Pliers
- A soldering iron
- Wood glue
- Paint
- Putty
- A glue gun
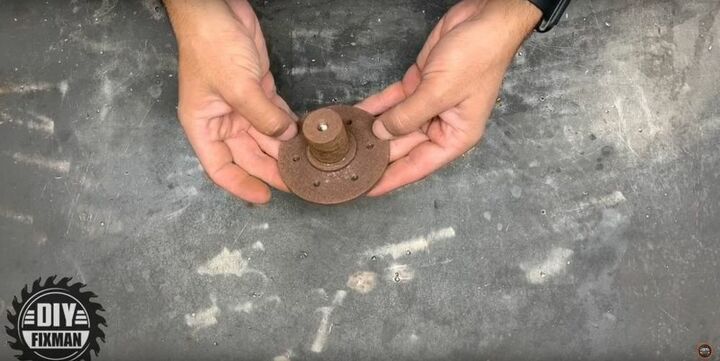
For my project, I used a wooden dowel and an iron base that I found in the garage, but remember that you can use anything you like for your project, so let your imagination run wild.
Step 2: Clean Your Materials If Needed

Because I used recycled materials for my project, I needed to give them a good clean before I started to use them. The iron base I found was covered in rust, so I first sanded it with a brush and some sanding sheets. This gave the piece a really nice metallic shine and made it look new again.
Once I’d removed all of the rust, I then used a spray gun to get rid of any leftover particles and ensured that no debris remained. If you don’t have a spray gun, you can use a damp towel for this, but using a spray gun is quicker.
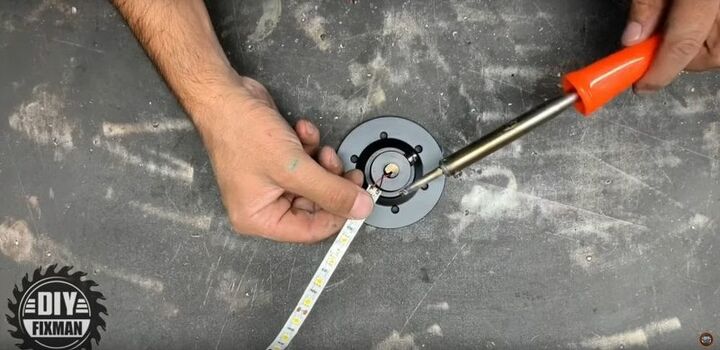
Step 3: Drill a Hole for the Wires
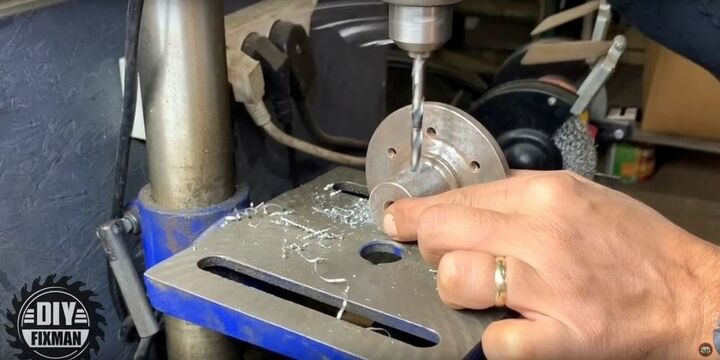
Next, I needed to drill a hole in the base so I could fit the wires through. For this part, I was drilling into iron, so I needed a strong and powerful drill to complete the task. By using a drill press, I was able to mount the base and lower the drill into the iron, so I had more control over the process.
For this step, remember to drill slowly. You don’t want to create too much heat while you’re drilling and you want to keep control. After all, you only need to drill halfway through the metal, so it’s still a quick process.
As soon as I had drilled the hole, I then checked to make sure that the switch would fit in place. Once I’d worked out that the hole was the perfect size, I then sprayed the base with anti-rust spray. After working so hard to remove the rust, the last thing that I wanted was for it to reappear over time and ruin the overall look of my lamp.
Step 4: Wire the Lamp
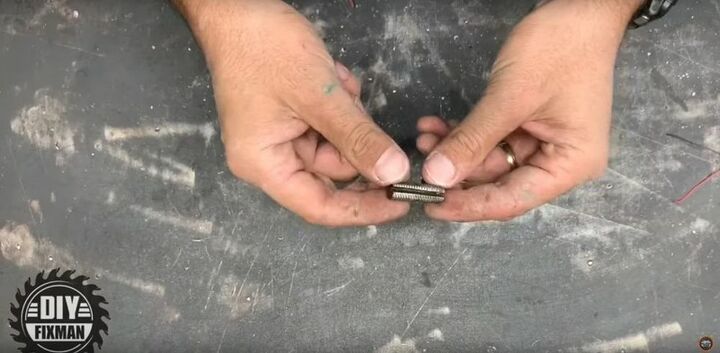
While I waited for the spray to dry (this is a very quick process), I placed a bolt in a vice and used an oscillating saw to cut it. First, I created a cut down the middle of the bolt and then I halved its length. Finally, I sawed off the end. The final result looked like this:
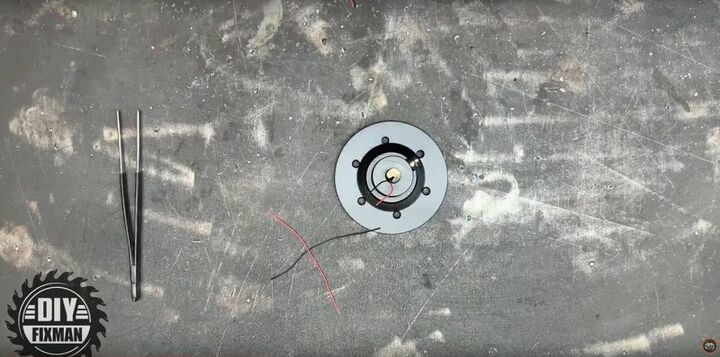
Then, it was time to wire the lamp. I placed the wires through the hole that I had drilled and then pulled them up through the pre-existing hole at the top. Just a word of warning: this is a little bit fiddly. But, you can twist the wires together to help push them through the hole. To help get them out at the top, I also used a pair of tweezers.
Once I was happy with the wires, I added my sawn bolt into the hole at the top to help keep everything in place. With mine, I managed to screw it in on the pre-existing thread. Finally, I pushed in the switch at the bottom and made sure everything was secure before snipping the wires at the correct length.
Remember, once your wires are at the right length, remove the casings at the end.
Step 5: Attach LED Light Strip
Once the wires had been prepared, I used a soldering iron to connect the wires to the LED strip. The heat of the soldering iron will work quickly, so be careful. Work on one wire at a time and attach them individually to make sure that they’re properly connected. As soon as they are, make sure you turn your soldering iron off.
Step 6: Create a Groove in a Wooden Dowel
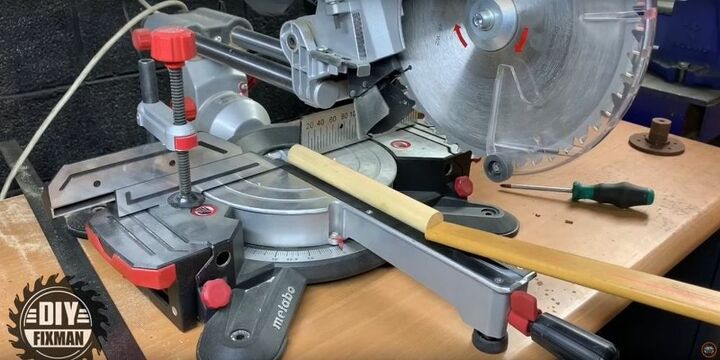
Next, I created the stand by cutting a groove in a wooden dowel using a circular saw. Precision is key here, so I used a saw with a guide light that allowed me to see exactly where I was cutting. I also used a separate piece of wood as a guide, as this allowed me to keep the dowel stable while I was cutting.
Remember, you’re only making a groove in the wood, so cut slowly and make sure that you’re not cutting too deep. To start, I only made a shallow cut in my dowel and then I made it slightly deeper and wider with each cut until it looked like this:
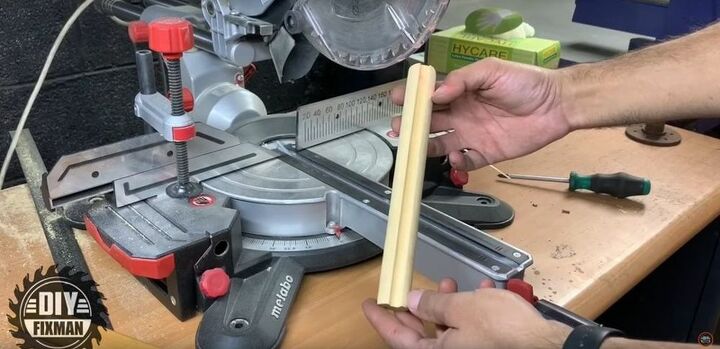
When I was happy with the groove, I simply cut the base of the dowel to size. Then, I cut a small ring from a separate dowel to create a base without the groove. You can attach this really simply using some wood glue.
Step 7: Paint
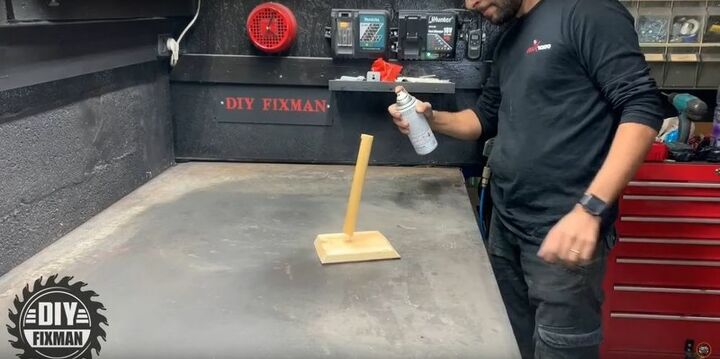
After I’d finished cutting the dowel to size, I decided to paint it. If you like a rustic or scandi look in your home, then you don’t need to do this step. But, the color of the dowel didn’t match the décor in my home and I knew my wife would prefer a painted version. So, I just used some spray paint to create a slightly darker finish.
Plus, if you use spray paint, the dowel will dry really quickly, so it doesn’t delay the process at all.
Step 8: Assemble
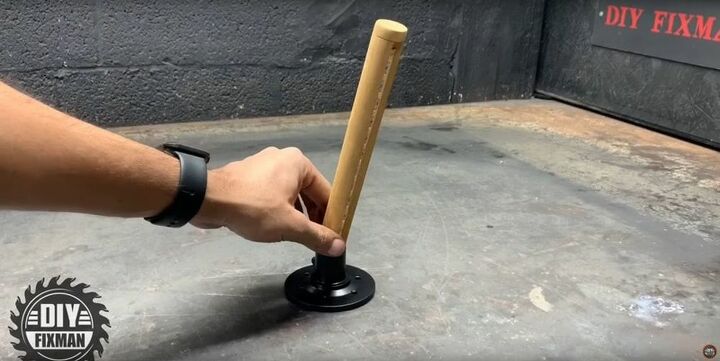
The last step is to assemble the lamp. I first added some putty to the base of my dowel and then I maneuvered it into position. Just a little bit of warning for you, this may take some trial and error.
Once I was happy with the position of the dowel, I removed the excess putty. Then I removed the backing from the LED strips and ran them up the groove in the dowel, making sure they adhered to the back. You can do this by gently pressing on each LED light on the strip.
Then, I stood the lamp upright and glued the switch into position using a glue gun. Finally, I added my plug and connected the lamp to the mains power. Providing you’ve connected the wires properly, you should then be able to press the switch and watch as the lights flick on.
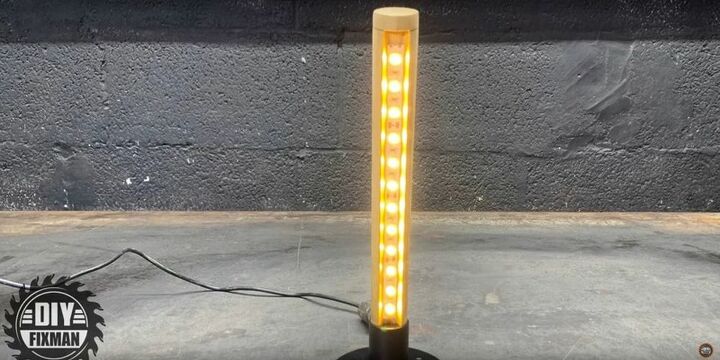
If you follow these steps carefully, you’ll create a great-looking lamp from recycled products that may not even cost you a cent. If you’re planning on making your own desk lamp using these steps, let me know in the comments. I’d love to see your finished projects.
⚠️ Follow me and stay tuned ⚠️Instagram 👉🏼 https://www.instagram.com/DIYFixMan YouTube 👉🏼 https://www.youtube.com/c/DIYFixMan Facebook 👉🏼 https://www.facebook.com/DIYFixMan
Pinterest 👉🏼 https://www.pinterest.com/DIYFixMan
TikTok 👉🏼 https://www.tiktok.com/@DIYFixMan
📺 Watch all my Videos 📺⭐ http://bit.ly/2kHCZq0 ⭐


Frequently asked questions
Have a question about this project?