


How To Upcycle Dollar Store Glassware

With 2 simple treatments ordinary glassware can be transformed into a vintage favorite.... 

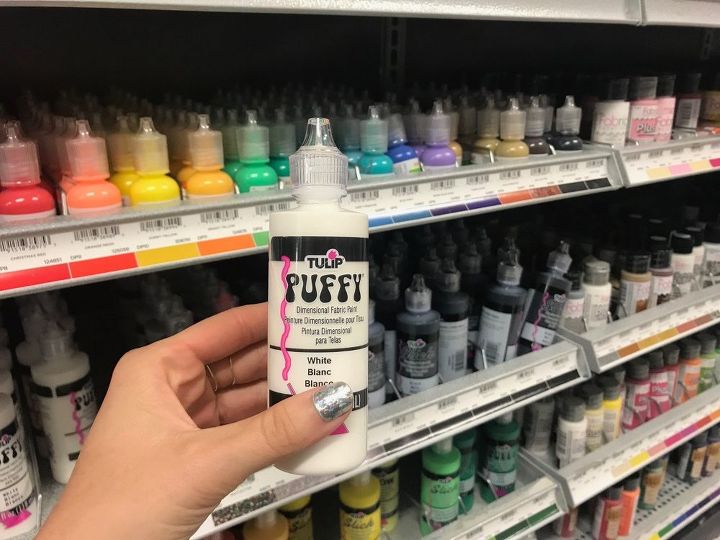
Method 1: Puffy Paint
Step 1: Add dots
Grab some white puffy fabric paint and begin painting on rows of dots.
I tried this on a variety of surfaces from candle sticks, vases, to terracotta pots - the possibilities are endless!
You can be as precise or as sporadic as you want to be while painting the dots - depending on your desired result. For the more precise method I added dots in a staggered line - diamond pattern. For a more sporadic application I added the dots in a polka dotted pattern.
The good thing about this paint is if you make a mistake it wipes right off with a paper towel.
Step 2: Let dry.
After the dots are painted on, let them dry. The bottle said to let dry for 4 hours, but I let mine sit for 24 hours just to be sure. I wanted to try multiple finishing methods so I wanted to make sure my dots didn't smear.
Step 3: Add a finish
Traditional
For the traditional hobnail look - add a layer of white glossy spray paint. You can also add a glossy finishing spray for an even glassier look.
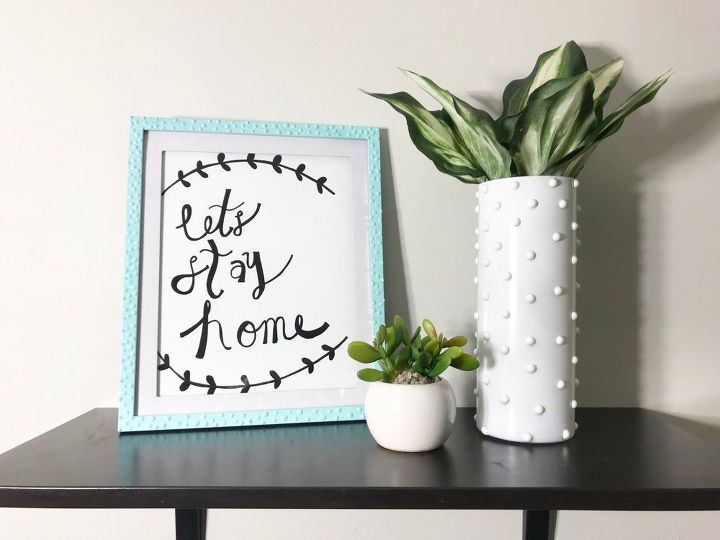
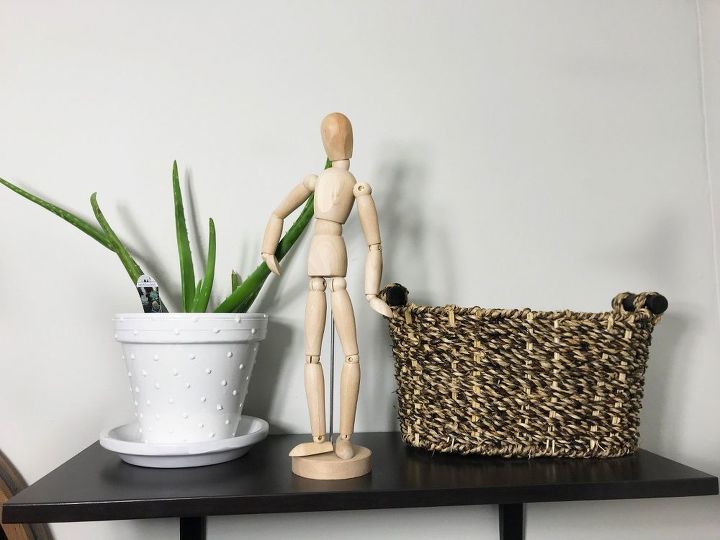
You can paint planters, candle holders, frames - the possibilities are endless!
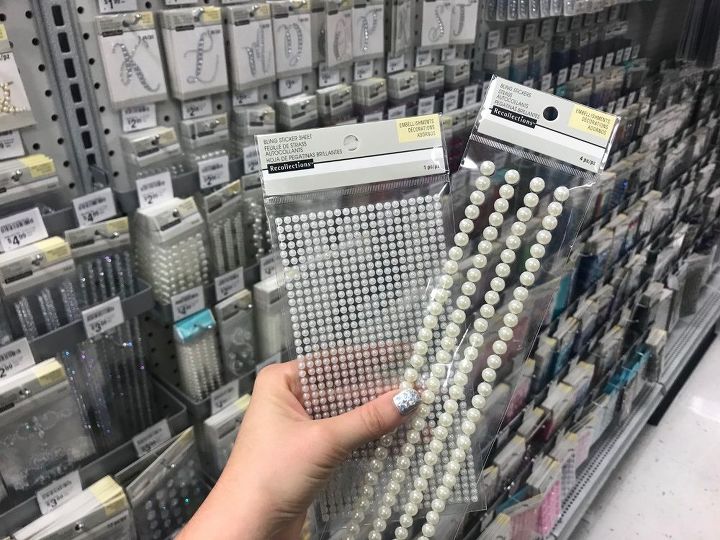
Method 2: Pearl Stickers
For method number 2
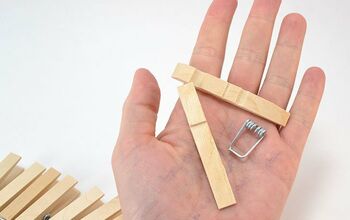
For this method you can purchase pearl stickers at Michael's - you can also purchase these at the dollar store.
Step 1: Remove stickers & add dots
Begin pulling apart the stickers - they can stick together so it's easier to pull them apart before you begin placing them. Next, begin adding the hobnail pattern - I went for a more staggered line placement creating a diamond shape pattern, but you can be as precise or scattered as you want to be. The good thing about these stickers is you can move them around if you decide you want them placed in a different spot - but they do stick onto the glass very well - especially after adding the finish.
Step 2: Add a finish
For the traditional hobnail look - add a layer of white glossy spray paint. You can also add a glossy finishing spray for an even glassier look.
Add some real or faux leaves to create a one of a kind vase!
Finish Idea 2
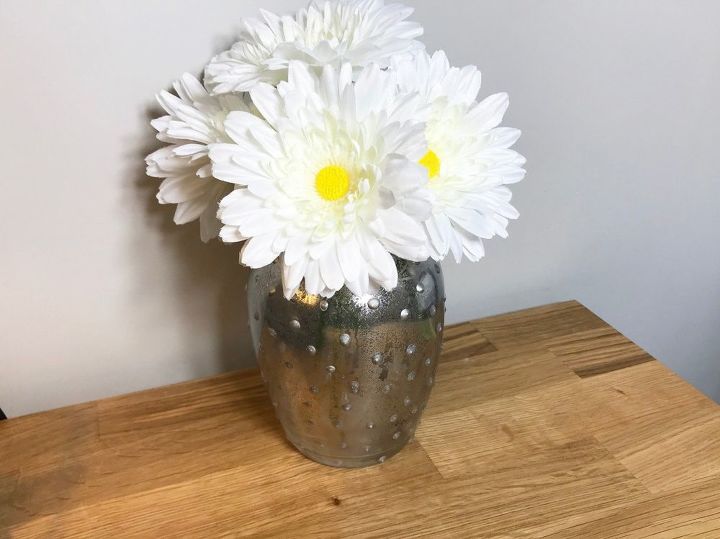
Mercury Glass
For an antique mercury glass look create a mixture of:
Mix 1/2 water & 1/2 vinegar in a spray bottle & grab some Krylon looking glass spray paint. Spray on the spray paint & spray on the mixture - blotting with a paper towel. Repeat as many times as desired to get the look you want. I found that I liked the look of the pearl stickers with the mercury glass because the white dots showed through as much as the puffy painted vase.
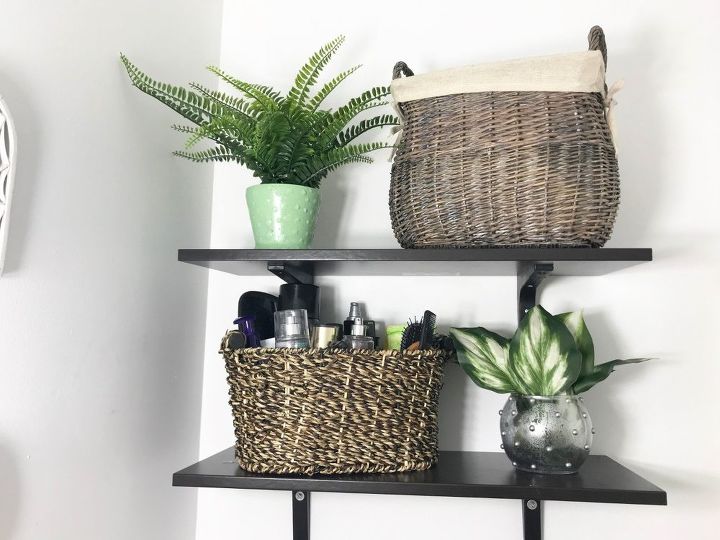
Add an antique touch to your kitchen table or to your bathroom shelf with a faux plant!
Finish Idea 3
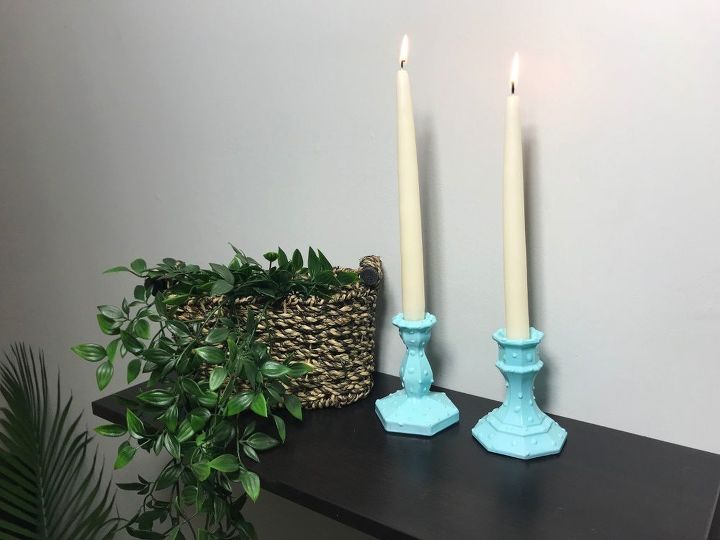
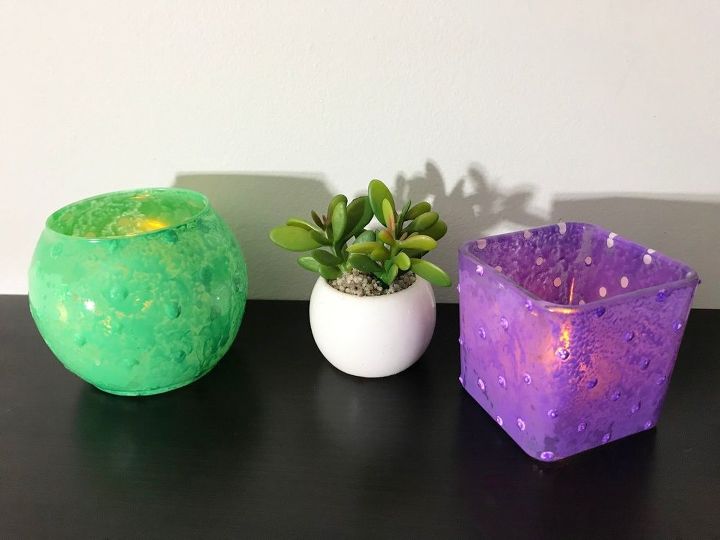
Add some color!
Spray on a spray paint color of your choosing & then add the glossy finishing spray.
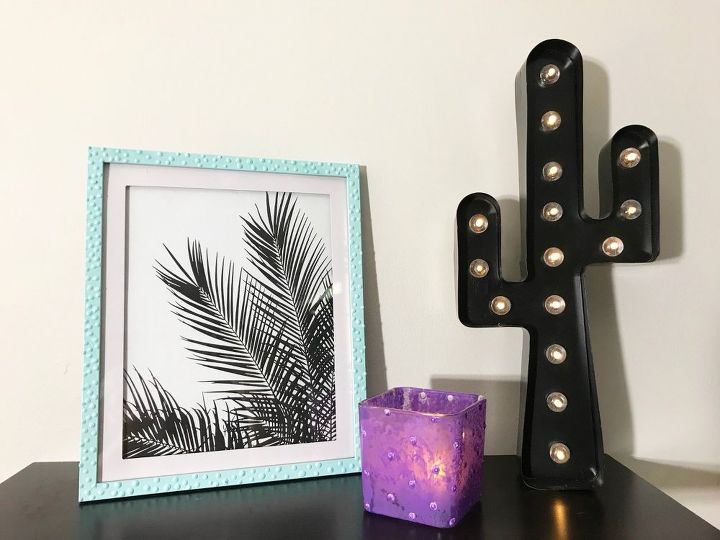
Add a print or calligraphy to a hobnail frame, add a pop of blue to your living room with some candle sticks, or add a pop of green to your bathroom shelf.
Finish Idea 4
Tinted
Mix unicorn spit with water & began application - I dabbed the mixture with a small sponge to add a more opaque textured look. Then, I finished it off by spraying the glossy finish spray on top.
Add some LED tea lights & you have a whimsical lantern!
Idea 5
Don't like the look of dots? Add another pattern.
Finish it off with some spray paint & then add the glossy finishing spray.
I hope this inspires you to try a painting technique on your old glassware today!
Resources for this project:
See all materials


Comments
Join the conversation
-
I'm very inspired to try the mercury glass project.
Thank you
-
Don't know which picture goes with which finish, except for #4. I can figure out the sponged one. That is the only one I'm not crazy about. Which picture goes with Finish #1, etc, etc,
thanks


Frequently asked questions
Have a question about this project?
what is unicorn spit?
Can you do this on silver plated vases?
Where do you find the glossy spay paint?