


How to Make a DIY Tic-tac-toe Game Board
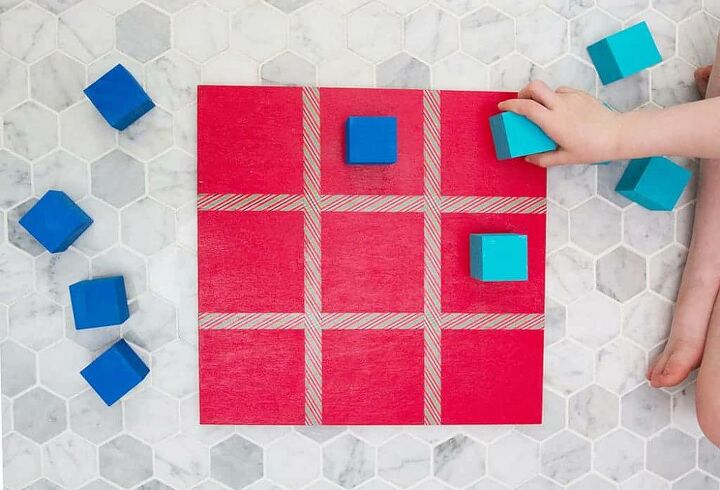
My daughter and I created a DIY tic-tac-toe board for an early Father’s Day gift. It was super easy and a fun project to do together.
Vivi and her daddy, Ted love playing together, so I thought a handmade game board would be a thoughtful gift that would get plenty of use over the years.
Want to make one for yourself? I’ll walk you though the easy steps.
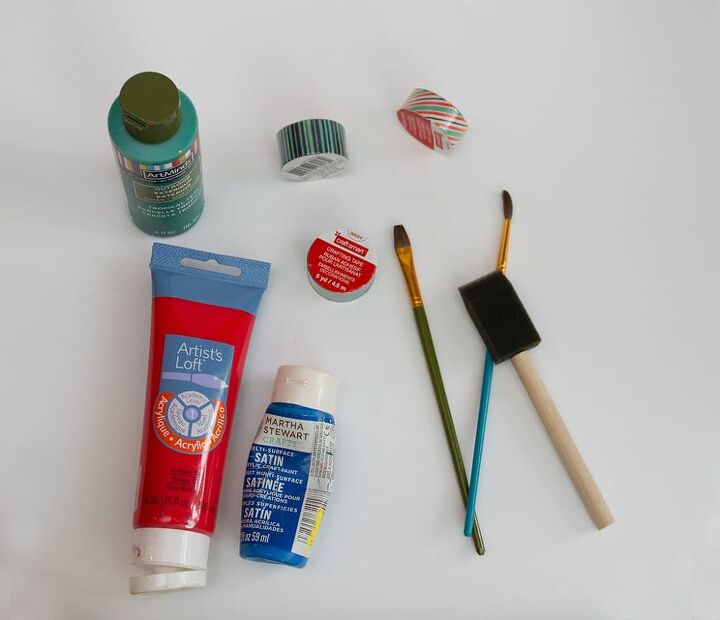
Gather your supplies—nearly all came from my favorite craft store, Michaels and are linked below.
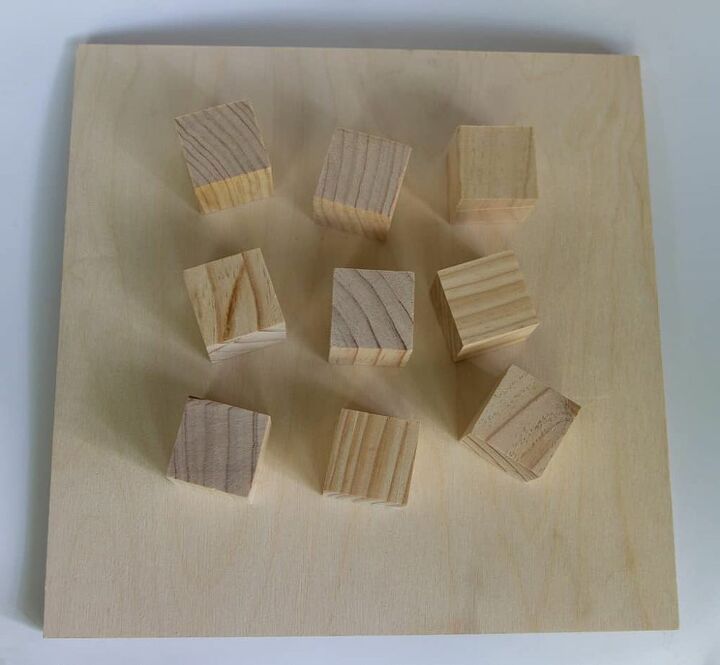
- 12″ Pre-made plywood square board
- 10 1.5″ pre-made wood square blocks (similar linked, more options in store)
- Acrylic paints (at least 3 different colors)
- Paint brushes
- Washi tape
- Mod Podge (not shown, optional)
- Scissors (not shown)
- Felt sheet same cut to size (not shown)
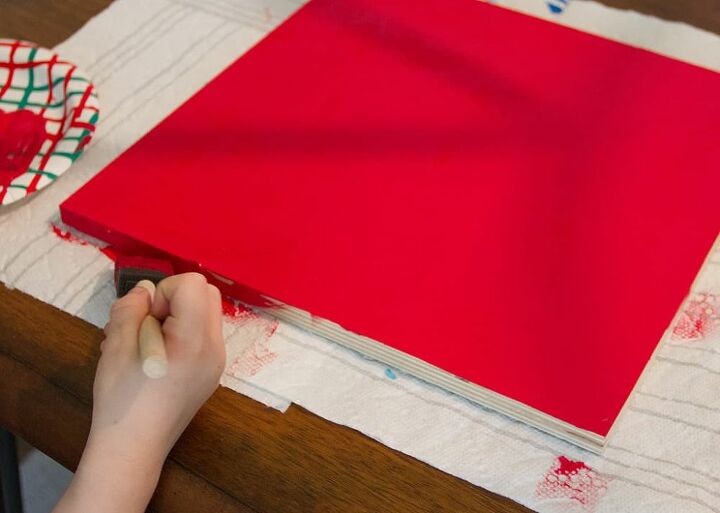
Remove the packaging from the board and square blocks and paint one to two coats of paint on the game board. We chose red, which is Ted’s favorite color.
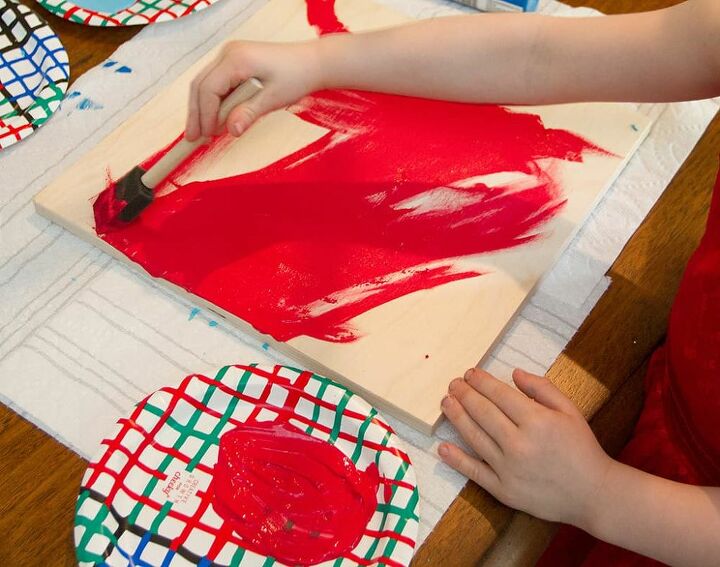
Don’t forget to paint the sides for a finished look. Set aside to dry and continue onto the block painting stage.
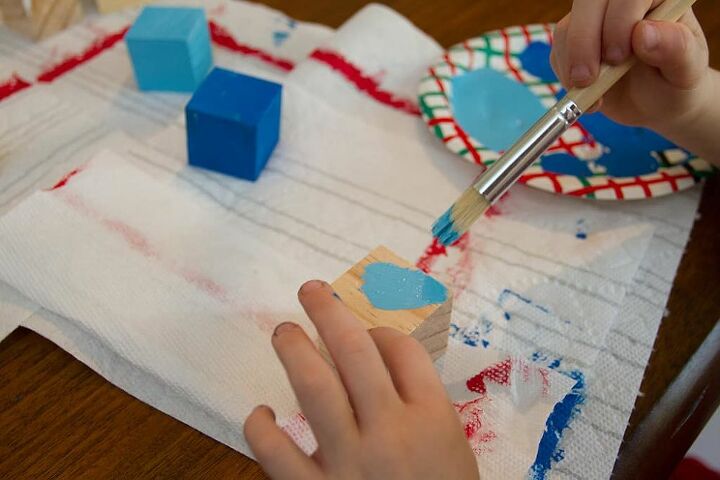
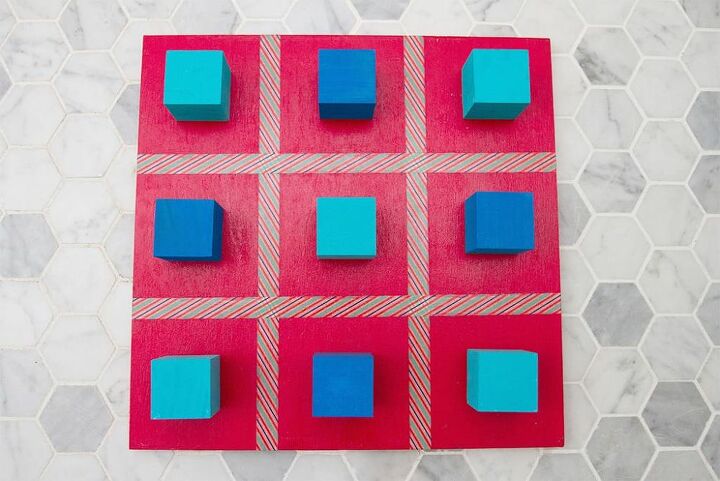
Pick two paint colors for the blocks, and divide into two sets of five—we chose two shades of blue. Paint all blocks with one to two coats of paint, and set aside to dry.
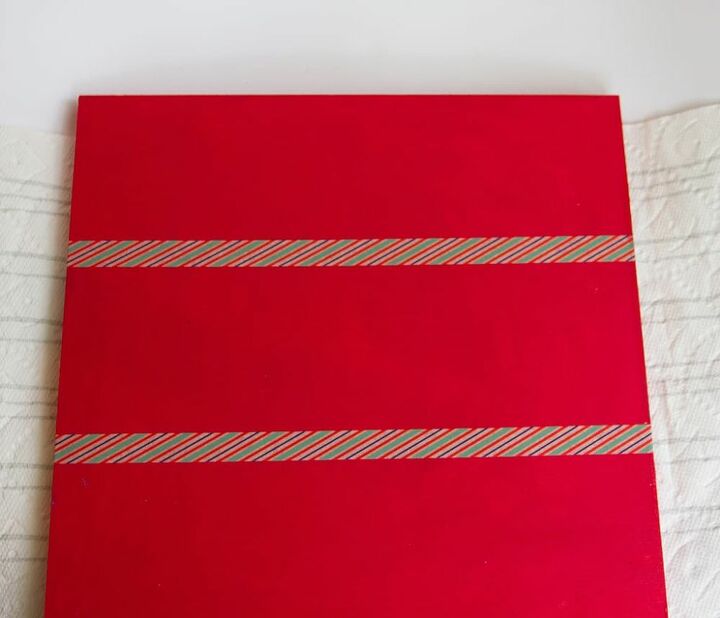
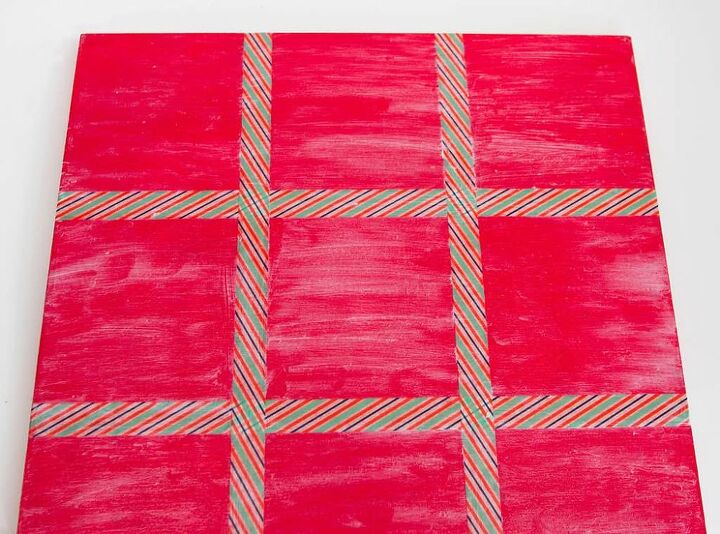
Once the game board is dry, it’s time to tape up your game board. Take your washi tape and section off the board into 9 sections starting with the horizontal sections.
You’ll want to take the washi tape to the backside of the board so a flush and clean look.
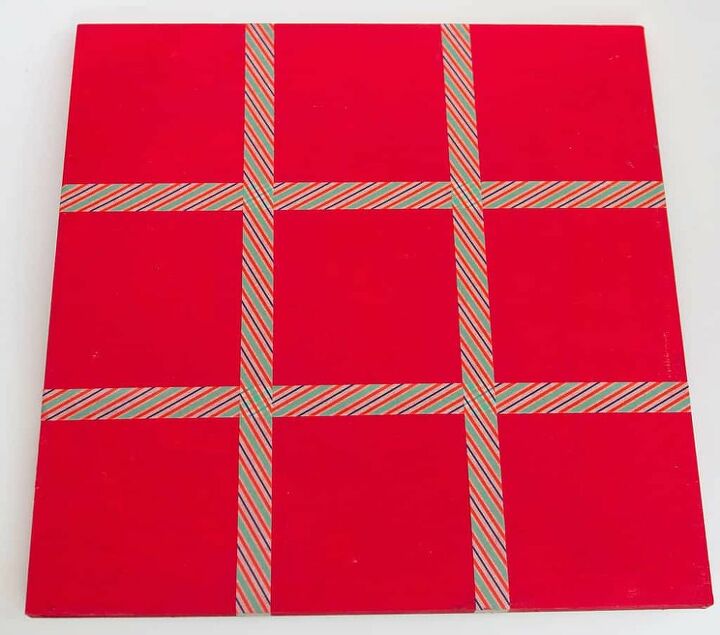
Repeat the same steps vertically. You can use a ruler and mark up the board in perfectly measured sections or you can just eyeball it like I prefer to do, ha!
Once the tape is securely placed you’ll want to coat the board in Mod Podge to give it a sheen and to make sure that the washi tape stays in place.
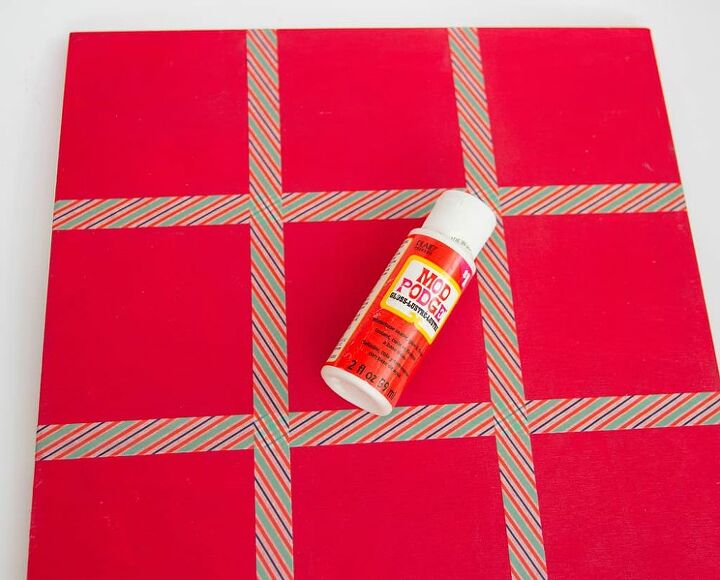
I like to pour the Mod Podge and then brush it after.
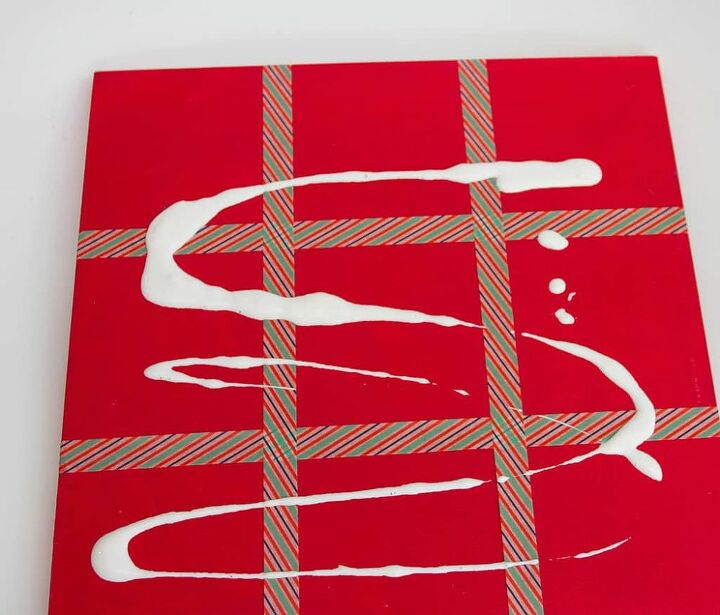
Brush on a decently even coat of Mod Podge. It will dry clear, so don’t worry if it is not perfect looking when wet.
Let it dry and move onto the last finishing step (not shown). Take your felt and hot glue or velcro your felt backer to the board to finish it off.
Resources for this project:
See all materials


Comments
Join the conversation
-
Put magnets on it and it would work for a car game
-
Great idea my kids loved it


Frequently asked questions
Have a question about this project?
When do you use the felt sheet?