


Image Transfer

by
Virginia B
5 Materials
$10
2 Hours
Easy
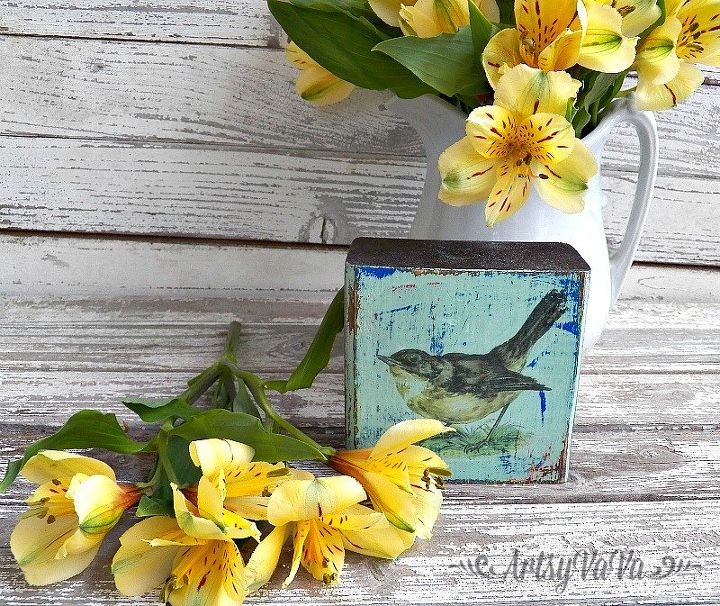
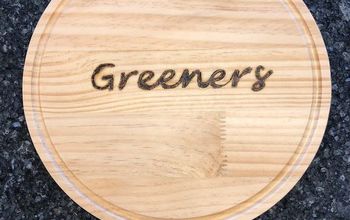
Transform a simple block of wood into a sweet piece of art with this simple image transfer technique using Dixie Belle Clear Coat.
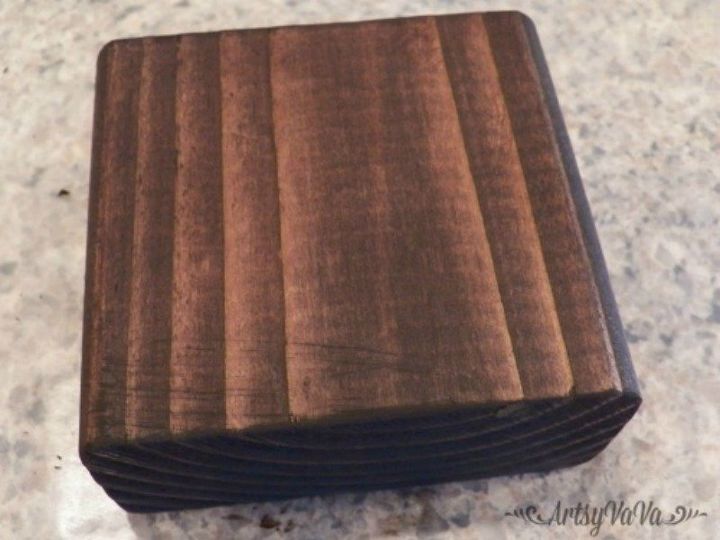
Start by cutting a piece of wood to the size you want, then sand any rough edges. The wood used for this project was a 2 x 4 cut to be a square. Stain the wood and allow to dry.
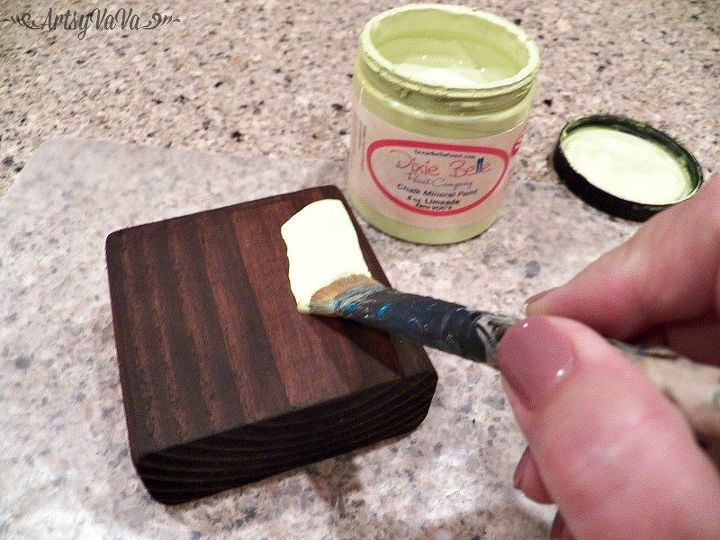
Paint the side of the block where the image will go in the color of your choice. Keep in mind that this will not be the main color of the block.
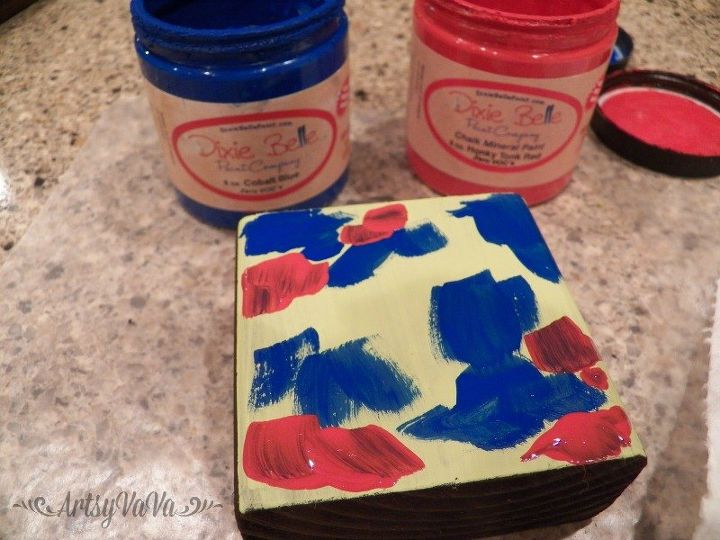
To add texture and an aged look, randomly add 2 more colors of paint to the block. Let dry.
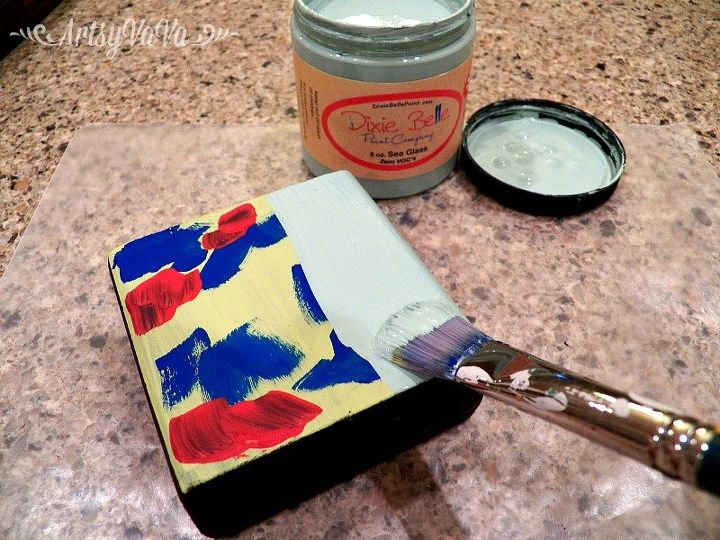
Paint over the colors already added to the block with a fourth color. Let dry.
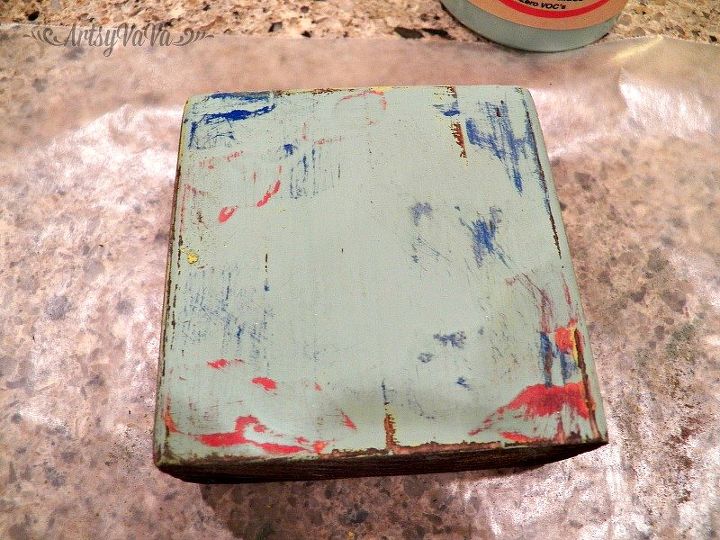
Sand the block to expose the other colors.
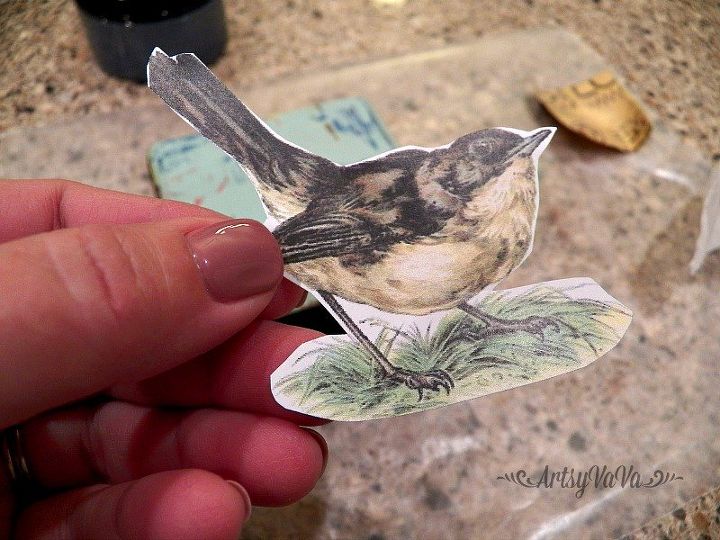
Print an image. Cut around the image. You will need to use a laser printer for this project. If using an ink jet printer, the colors in the image will bleed. If you have an ink jet printer, print out the image then take it to an office supply store and make copies.
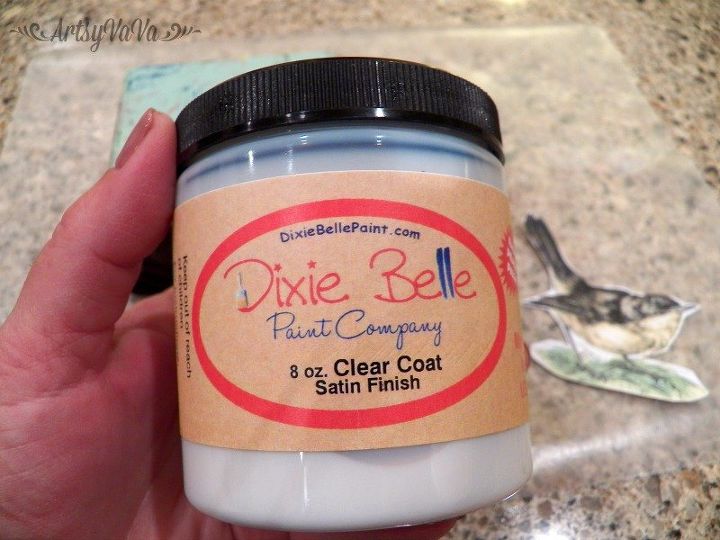
Coat the ink side of the image with Dixie Belle Paint Company Clear Coat.
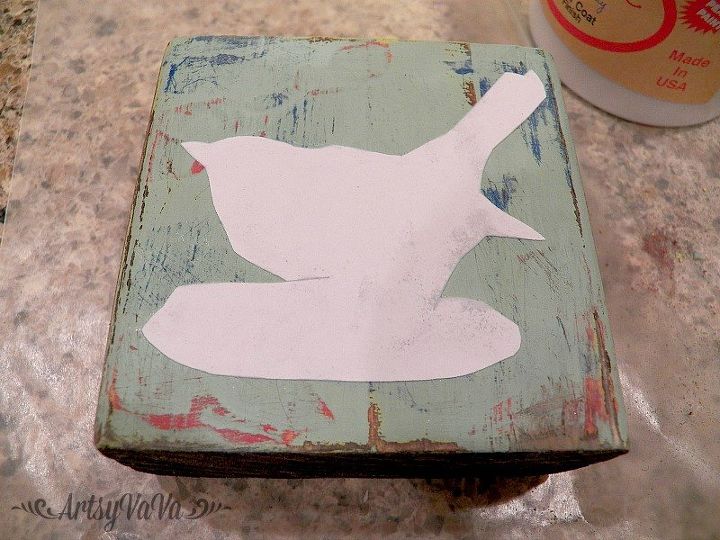
Place the image ink and clear coat side down. Allow to dry completely. It is best to step away for a couple of hours.
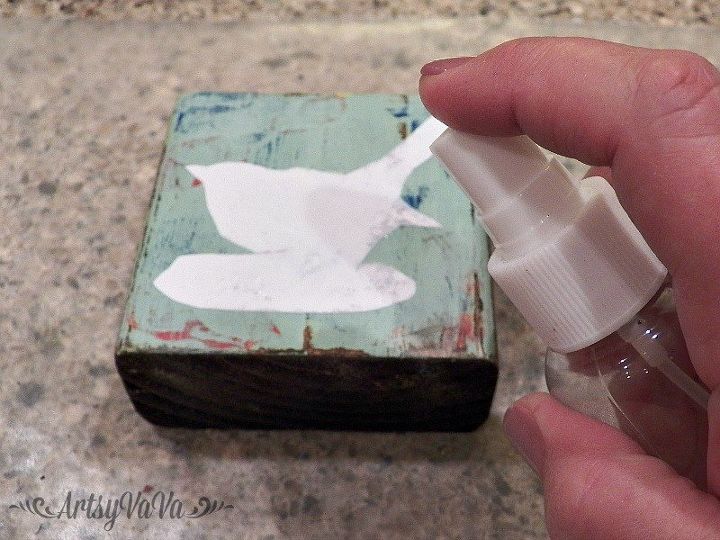
Spray the image with water to saturate the paper.
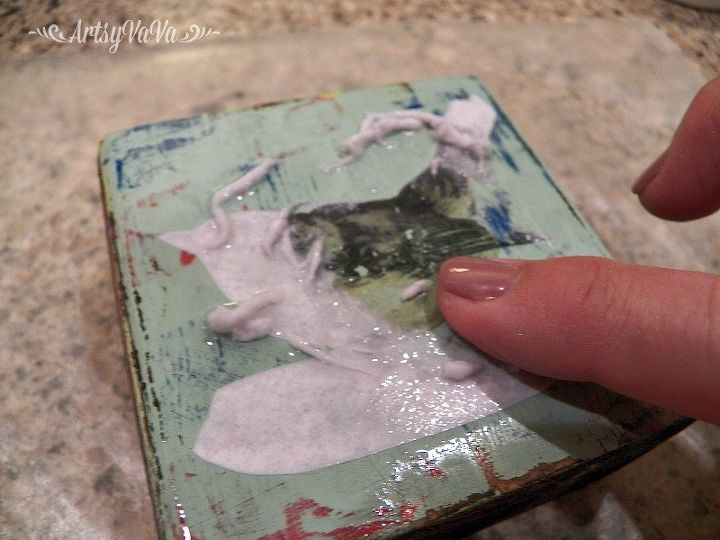
Gently start rubbing away the paper. If the image looks milky when dry, spray with more water and continue to rub away the paper.
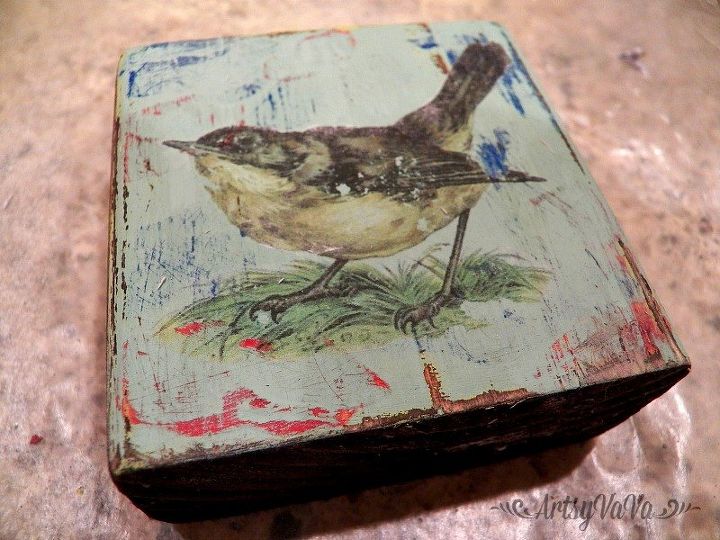
If some of the image rubs off, it just adds to the aged charm of your art piece.
Want more details about this and other DIY projects? Check out my blog post!
Comments
Join the conversation
1 comment
-
Gorgeous!!! I'm learning how to transfer family photos on to wood. I didn't learn before starting that you must use a laser printer. I love the aged effect. Looks fantastic.


Frequently asked questions
Have a question about this project?
Will a decal work???? I'm sure not but asking.