


My Secret for Making Sure Cut Hydrangeas Last
If you love hydrangeas like I do, then you need to know my secret to making sure your cut hydrangeas last. It happens to be the same secret to perk them back up after they wilt.
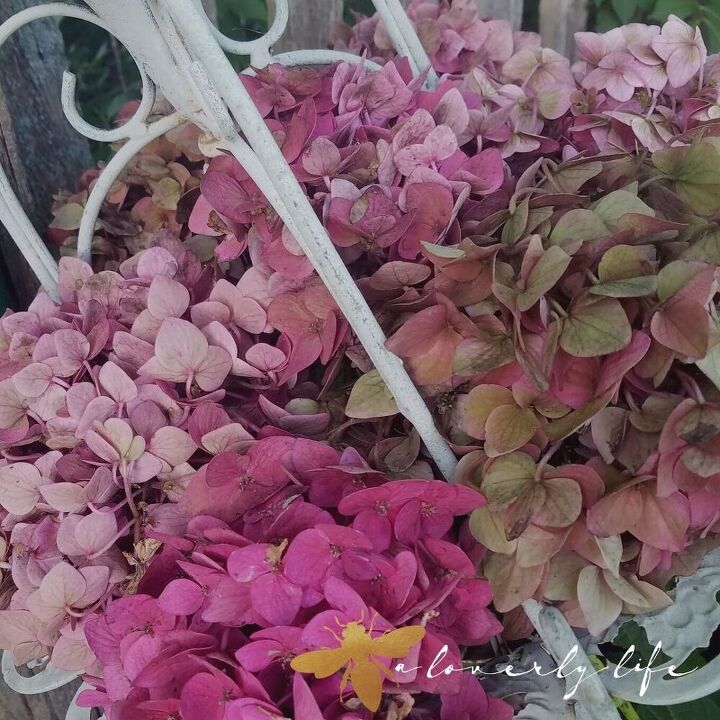
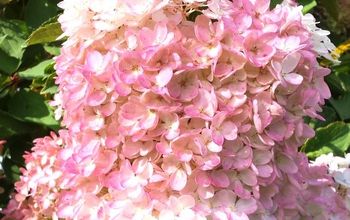
My love for hydrangeas know no bounds.
I do so love hydrangeas.
I love them in the garden.
I love to cut them and bring them inside in big giant bunches and have them adorn my home.
Each stem is a bouquet of petite little blossoms gracing us with their beauty.
You know what isn’t pretty? A sad wilted hydrangea mophead.
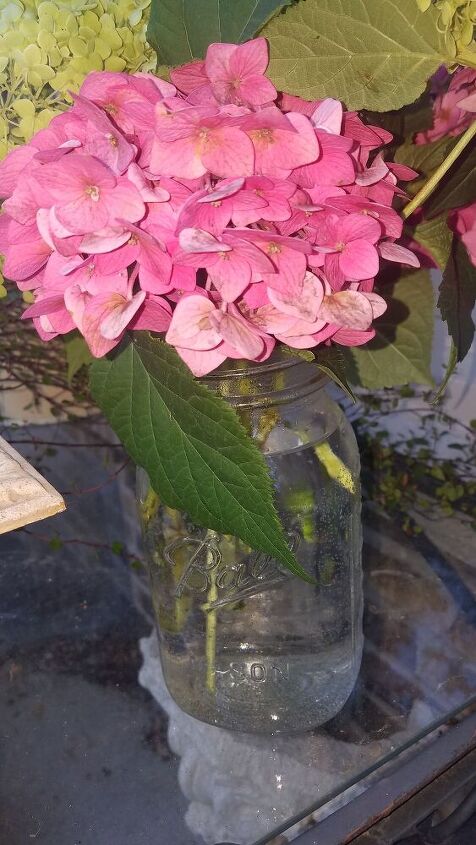
What if I told you the secret to preventing the flowers was as simple as this jar full of water?
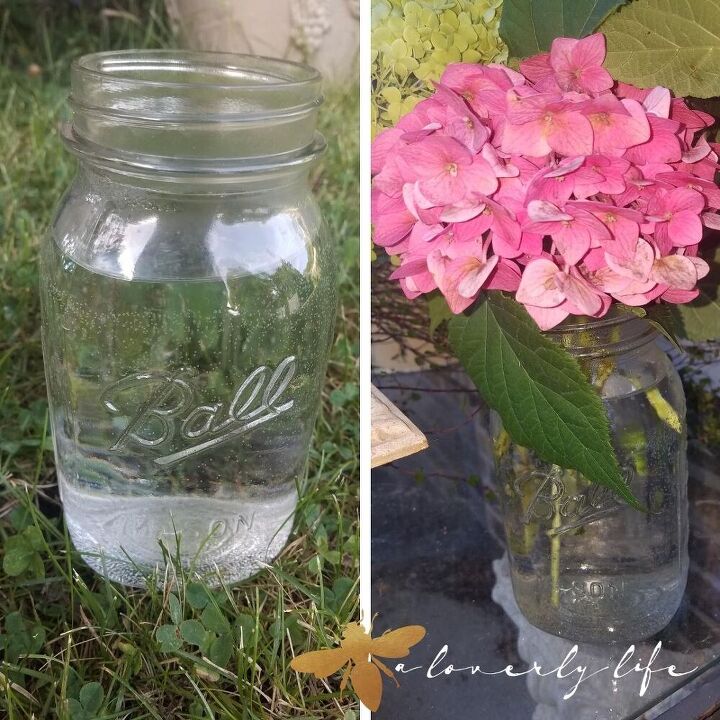
Is the water special?
Nope.
Did I add something to the water?
Nope!
So how does it help keep the hydrangeas perky?
One tiny little change, which is very important difference.
The water in the ball jar is HOT, almost boiling water.
WHAT? Boil the water?
Yes, boil the water.
Let me explain. As soon as you cut the hydrangea it forms a film sealing off the cut. The hydrangea stem kinda panics, “HEY our water source is gone!” Sealing the stem is the plants was of protecting itself, to seal in as much water as it can. Unfortunately, this prevents water from traveling up the stem.
How do you stop the stem from sealing up? Well, loverly THAT is the secret.
Are you ready?
Make sure the water is warm!
Before you go outside to gather hydrangeas from your garden, pop a ball jar filled with water in the microwave and heat it for about 90 seconds.
While the water is heating up, gather your sharp shears and prep the container that you want to arrange your cut hydrangeas in.
Add room temperature water to the final container for your floral arrangement and about a teaspoons of hydrogen peroxide. Hydrogen Peroxide helps keep bacteria from forming.
Then put on your shoes, or just walk outside in your socks, like I did.
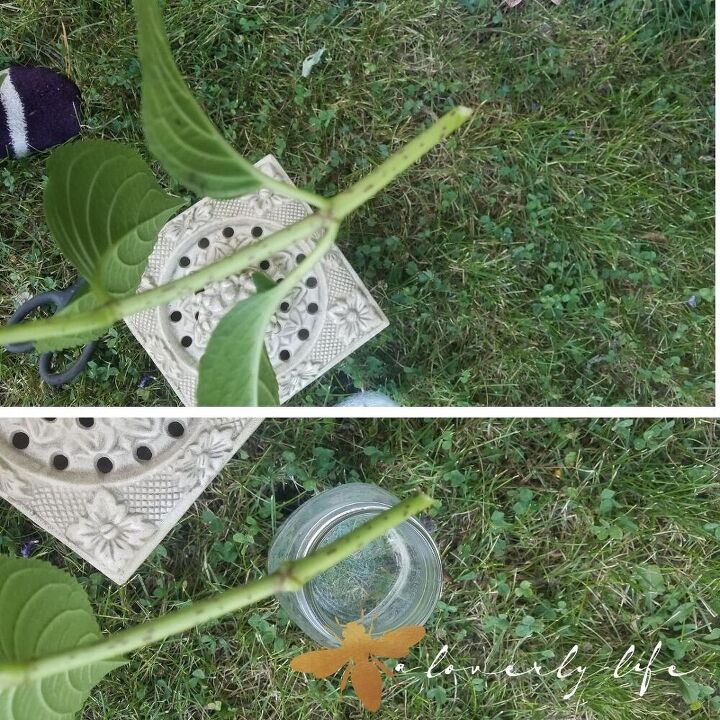
Cut your hydrangea stem at an angle, and remove the leaves.
The leaves are thirsty and will draw water away from your blooms.
Then pop the cut end into the hot water.
Keep them in the hot water until you have cut enough stems for your bouquet.
Did you know that secret was so easy to make sure your cut hydrangeas last?
Can you ever have enough hydrangeas stems? Nope.
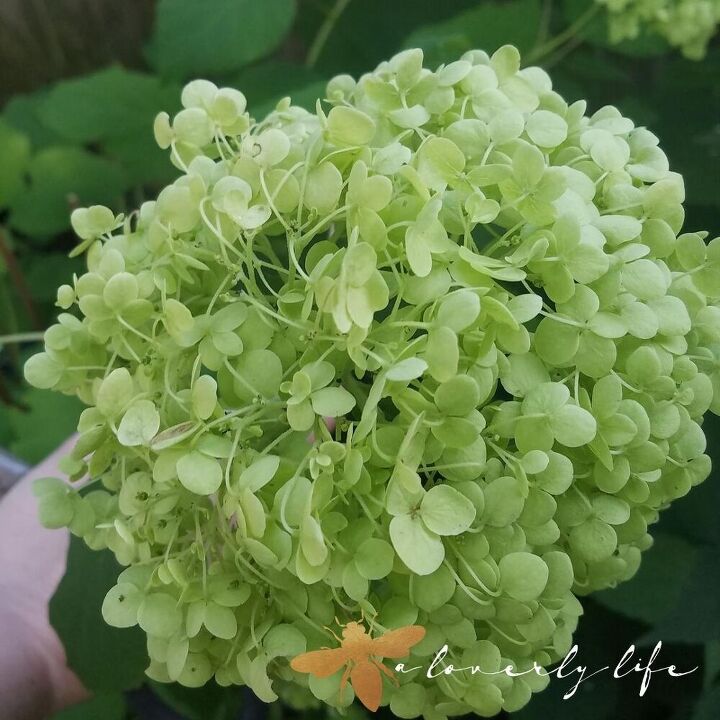
After you cut a stem, gently peel back the leaves on the plant, too.
See those little buds? Those will become new branches with new blooms.
Cut one stem, 2 grow back in its place.
Never be afraid to cut your flowers, it encourages growth.
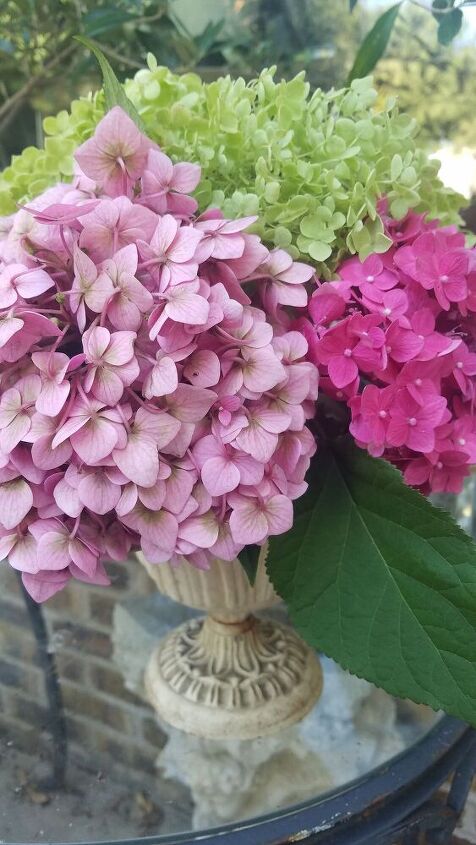
Back to my floral arrangement.
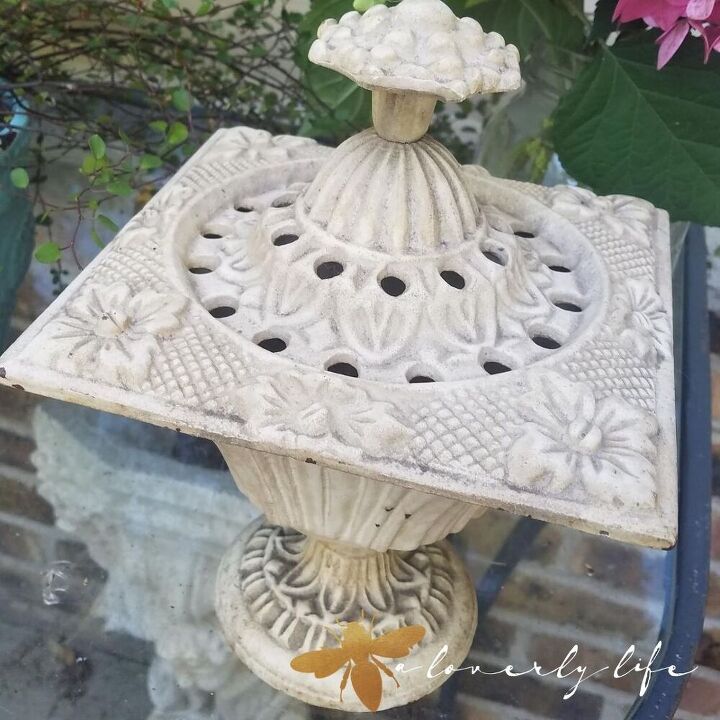
I have this cast iron floral frog that I love to use with my flowers.
The top comes off to to fill it with water.
See all those holes in the lid?
Pop a stem in each one and it keeps them upright.
Floral arranging made easy.
Especially for my hydrangeas.
The ones that won’t wilt, because I know the secret to making them last.
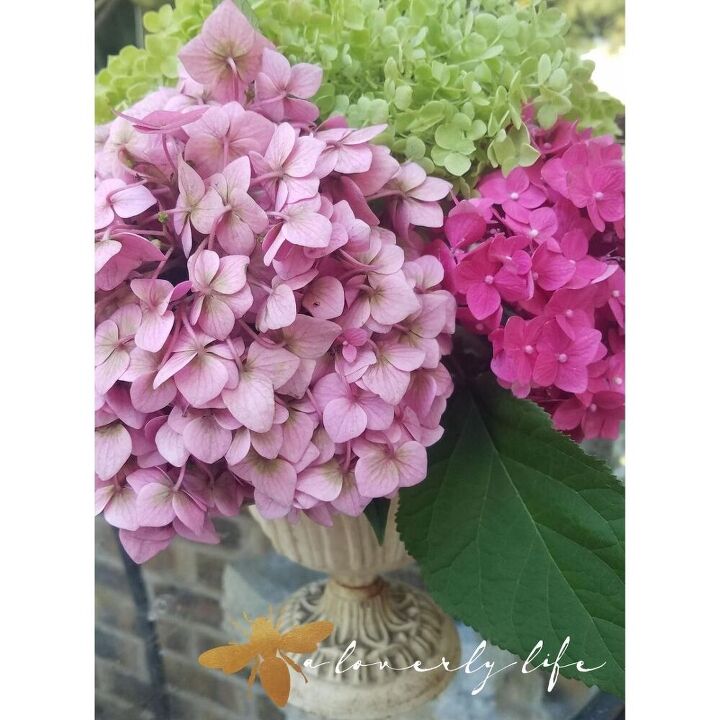
The hydrangea leaves are beautiful, so I always cut a couple stems of leaves only. That way the leaves don’t compete with the blooms.
Change the water every couple days to keep them fresh.
If they start to wilt again?
Give them a bath, of sorts.
Fill a jar with hot water, cut about an inch off the bottoms and pop them in for about 30 minutes. Then change your water in the arrangement container and pop them back in.
They will perk back up in no time.
Hydrangeas LOVE water. They love waste so much, it is in their name. Refill the water often, to keep them happy and perky.
I had some older stems that I cut and set in an empty cast iron hanging basket to finish drying out. Then I can take them inside to enjoy thru the winter.
Hydrangeas are so loverly.
Now you are in on the big secret to keep your cut hydrangeas from wilting and make them last.
Let me know if you have any other ways to keep hydrangeas from your cutting garden happy
I hope you enjoyed this quick tip on how to make sure your hydrangeas last.
For more gardening tips and DIY's, visit me at A Loverly Life
And follow A Loverly Life on Social Media
Instagram/aloverlylife

Comments
Join the conversation
-
Thanks for sharing.
-
Actually I have also found that when you are putting flowers in a vase make sure the stems are long enough so you can cut the ends off every few days. That helps them soak up water a bit more and lengthen the time you can keep them in your vase.


Frequently asked questions
Have a question about this project?
Is this method used only for hydrangeas?
I have tried to grow them. lol mine end up just as a stick. if they get and leaves at all . if you can please tell me what I am doing wrong