


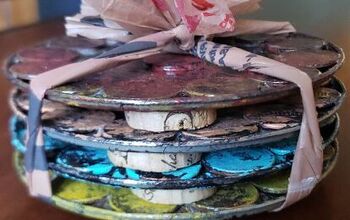
Resin Souvenir Coasters

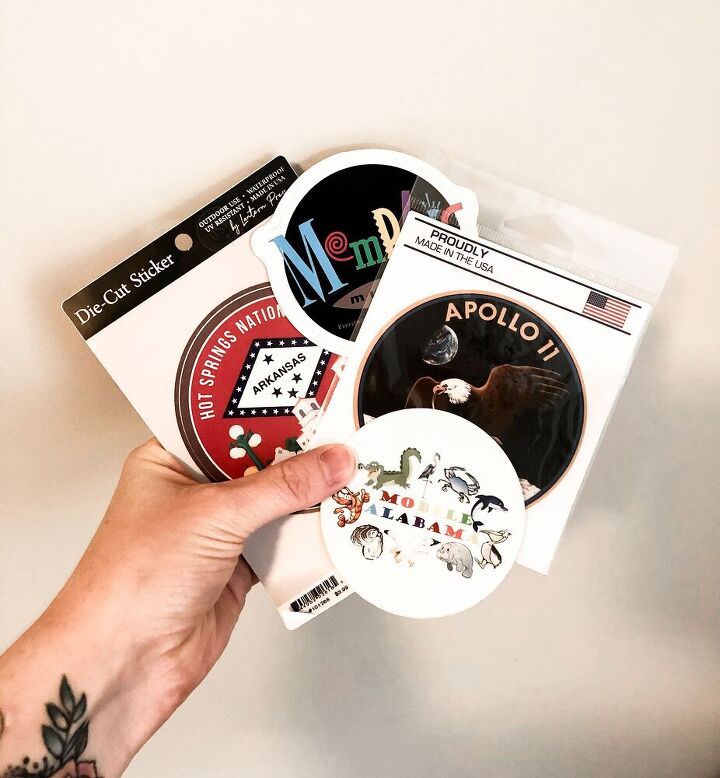
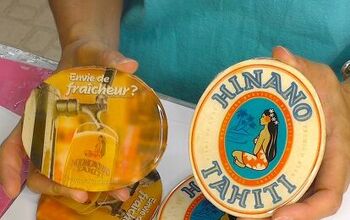
Hello! I hope you are all well and looking for a new project to get stuck into. Today I’ll be showing you a different way to utilize those cute souvenir stickers you might have tucked away in a memory box or sitting on a shelf somewhere.
As usual, my project is resin based so hopefully you’re all stocked up and ready to go by now, but if not, have no fear, I’ll list everything I’ve used in today’s project below. I’ll also link an online resin store where I get my resin from. They do free delivery and if you use my code below, you can get an extra 10% off any order with them!
Souvenir stickers idea!
 Check out my YouTube video for this project!
Please also like and subscribe to my channel for all my crafty content 
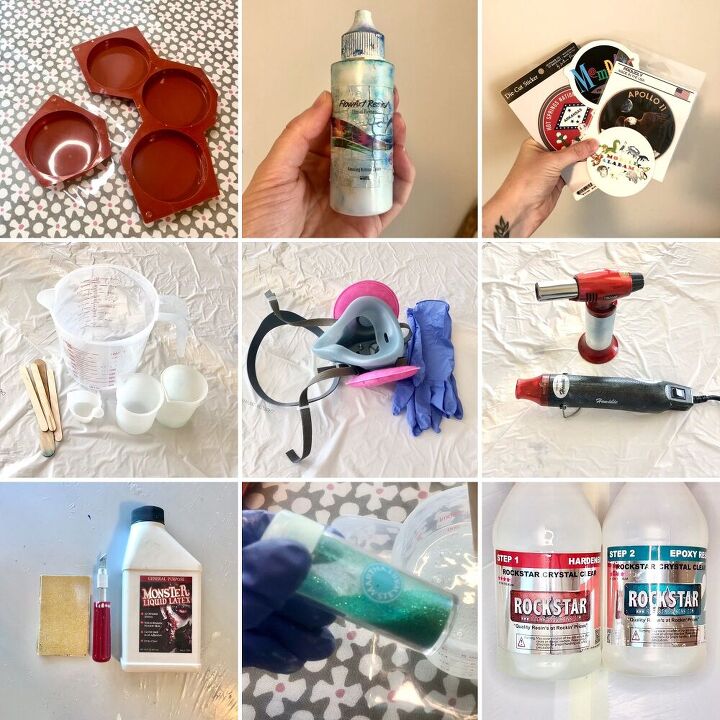
WHAT YOU’LL NEED
- Resin - I have used Rockstar Resin’s 4 Star 1:1 Thin Coat resin. For 10% off any order with these guys, use my code HANNAH at checkout! They also do free delivery!
- Silicone coaster molds
- White liquid pigment
- Glitter (optional)
- Souvenir stickers
- Measuring jugs and mixing sticks
- Blow torch
- Heat gun
- Liquid latex
- A ventilator or good ventilation
- Gloves
- Sand paper
Please make sure you do your research and follow all the safety advice with regards to using resin! 
STEP 1 - MAKE YOUR BASE
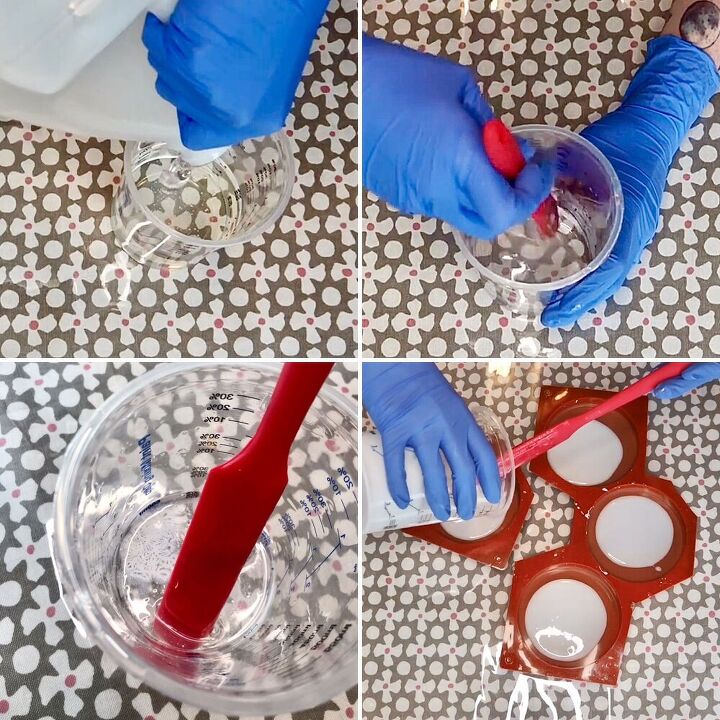
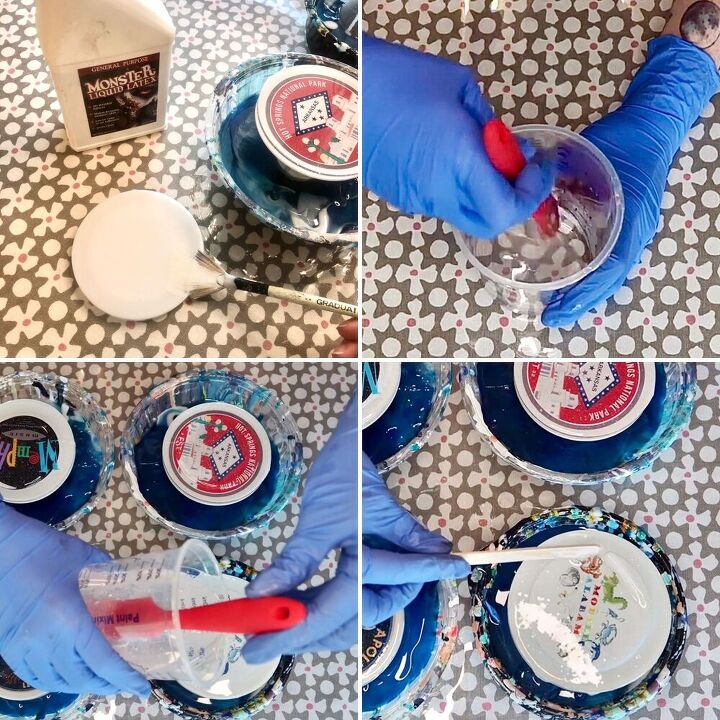
First, mix together 50mls of resin into 50mls of hardener in a plastic measuring jug. Always add the hardener first and then the resin, this will make for easier mixing and a more complete combination. This ratio is also based on my using a 1:1 resin formula so just be sure to tweak the numbers if your resin requires a different mix. You will need 100mls of fully mixed resin either way.
Once you’ve been mixing for at least 5 minutes, add in the white liquid pigment and mix again until fully combined. I am using white because the edges of my stickers are also white. You can actually use whatever colour you like.Divide the resin equally between your 4 coaster molds.
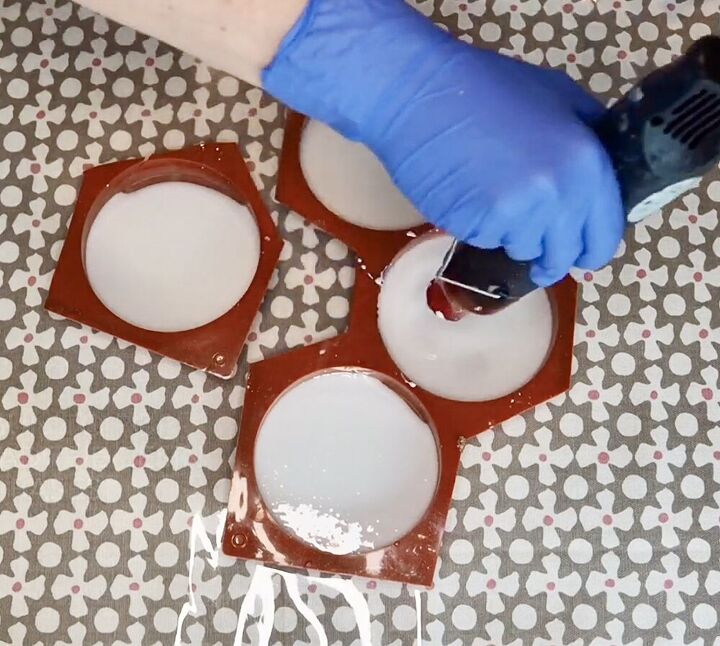
Now with your heat gun, pop all the little bubbles that may have formed during the mixing process. Applying heat to your resin will make it runnier for a short period of time, so this is a good opportunity to tilt your molds from side to side in order for the resin to fully cover the bases of your molds.
Once you’re happy that your resin is bubble-free, set it aside to cure. The resin I have used typically cures after 12 hours.
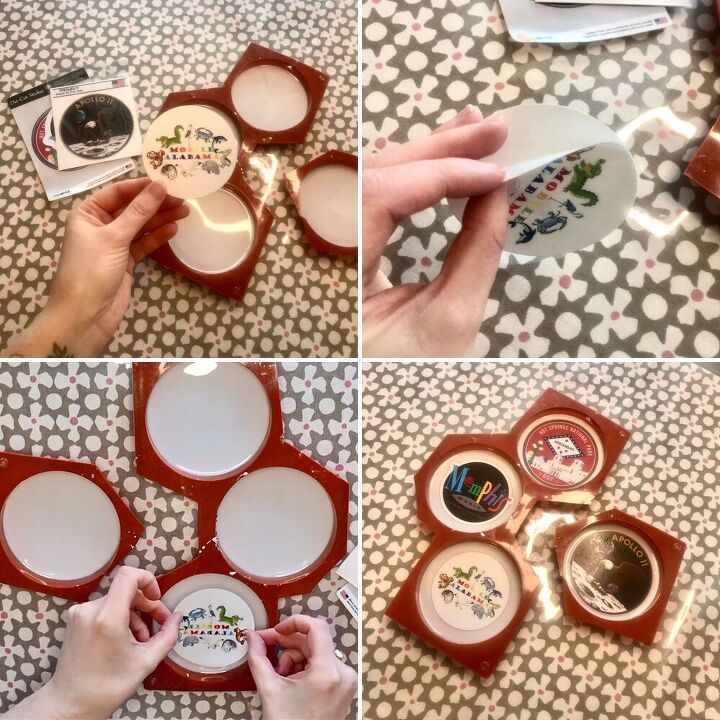
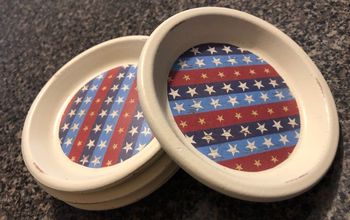
STEP 2 - APPLY YOUR STICKERS
Once your resin has fully cured, it’s time to add your stickers. Leave the coaster bases in their silicone molds as this will continue to keep a nice airtight barrier between the bases and your next layer of resin.
Peel off your stickers one by one and place them in the centers of each of your white bases and smooth out any little air bubbles. If you have a stubborn air bubble that wont budge, carefully pop it using a pin.

STEP 3 - SECOND LAYER
In the same way as you did before, mix some more resin for your 2nd layer.
This time we want a fully combined mix of 200mls, so add 100mls of resin to 100mls of hardener.
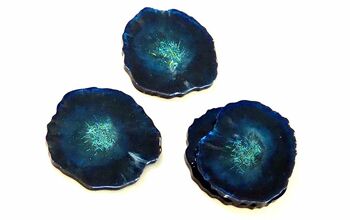
Once you have been mixing the 2 parts together for at least 5 mins, add a small amount of glitter and mix again. This is an optional step depending on how you want your coasters to look but I really like the added glitter in mine as it’s a cute way to add a common feature to the set. If you don’t want the sparkle, just skip this part.
With your fully combined mixture, divide it equally between the 4 coaster molds. This layer will be thicker than the first layer which is intentional and a simple way to add a bit of expense to the look.
Now pop any little bubbles using your heat gun and blow torch. Use the heat from your blow torch in a sweeping manner, never hold the flame in once spot over your resin or it will burn and go all weird and gloopy.When all the bubbles are gone, allow the mixture to cure once again.
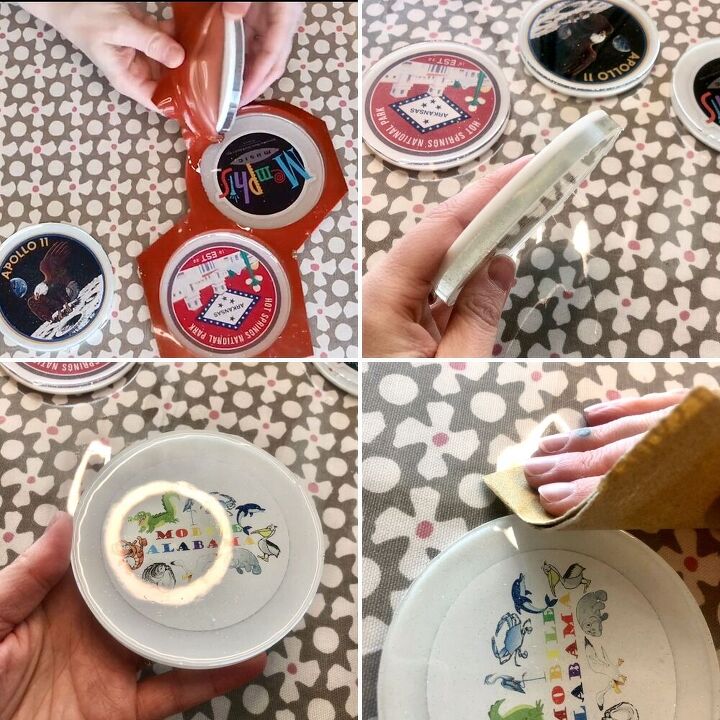
STEP 4 - PREP THE EDGES
Finally it’s time to demold, my favorite step in any resin project by far! It’s just so deliciously satisfying.
You’ll notice at this stage that there may be a rough/sharp feel to the lip of your coasters, this is normal. You will need to gently sand off these rough edges using sanding paper. Don’t worry about leveling off the top surface which should be slightly concave, we will rectify this in the next step. All you need to do here is remove that sharp edge.
STEP 5 - TOP COAT
You might think there are a lot of steps to this project, but I feel each one is necessary to achieving a really beautiful, professional finish to your coasters. Plus, you’re using no more resin than if you made a typical set of coasters in one sitting. I promise it’s worth it!
Using your liquid latex and any brush or sponge applicator, apply a thin layer to the underside of each coaster around the edges. This will form a protective barrier between your coasters as they are now and the resin that may drip down over the edges from your top coat. If you skip this layer, you may get cured drips of resin that will require lots of sanding to get rid of.
Mix one last batch of resin in exactly the same as you did in STEP 1, same process, same amount, 50mls of resin into 50mls of hardener.
Once the resin is fully mixed, keep it clear, don’t add any colours or glitters this time and now pour equal amounts onto the tops of your coasters for a lovely domed, clean finish. I stood my coasters up off my work surface on some diy resin drip catchers. Whatever you use, just make sure there is a gap between your coaster’s edge and your work surface for any drips to fall cleanly from and make sure you have something covering your work surface to protect it from the resin drips like a plastic sheet.
Use your heat gun and blow torch to pop your last lot of bubbles before leaving to cure one last time.
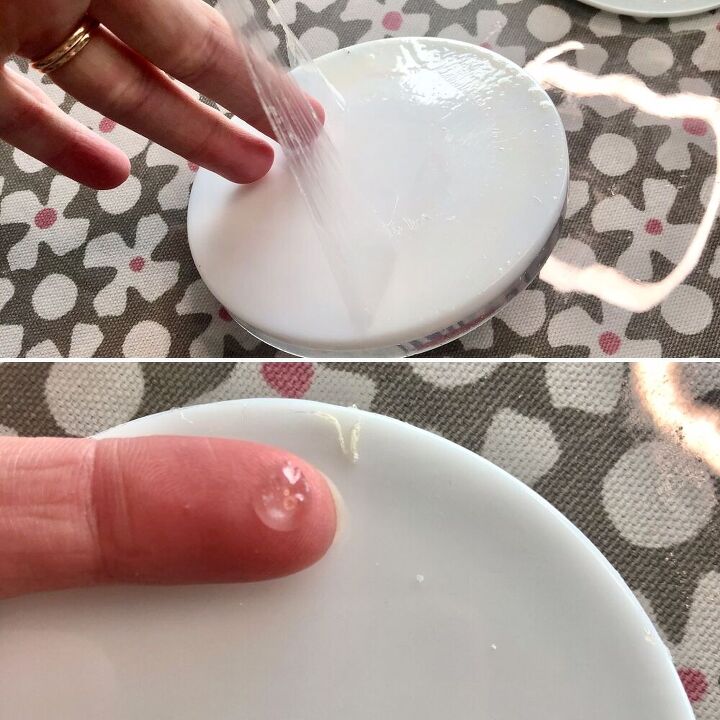
STEP 6 - FINISHING TOUCHES
Once your top coat has cured, peel off the latex from the under sides and pick off any of those little resin drips that tried to join the party. They should come off with ease.
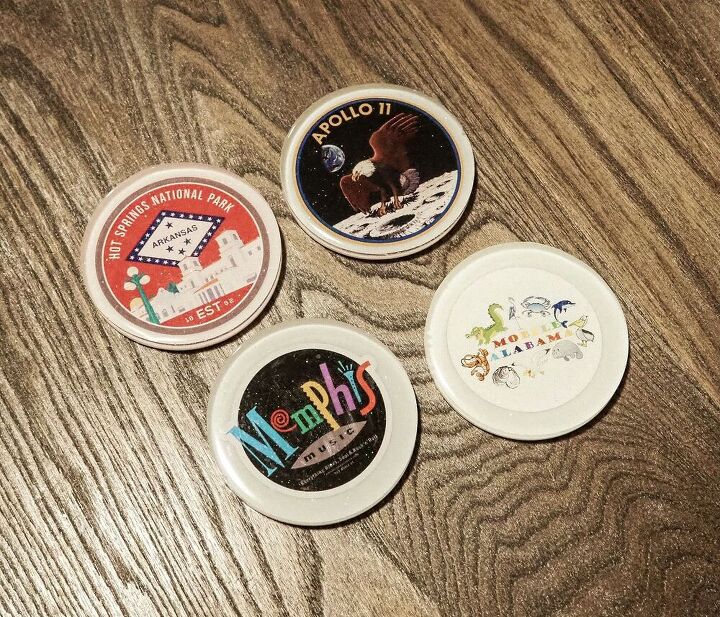
Turn them around and you’re done. A practical use for your keep sakes
I hope you enjoyed this project and as ever, please drop any questions or comments you have below and I’d be more than happy to get back to you.
Please do check out my YouTube channel (link above) and I also have my Etsy Store where I sell most of the handmade pieces that I make.
Happy crafting!


Frequently asked questions
Have a question about this project?
Very pretty, but do they absorb water or would water just pool on top of the resin?