


Transform Plain Glass Vases Into Gorgeous Sea Glass

Using only a couple of items you most likely already have around your home you can give plain clear glass the lovely look of sea glass. This DIY is super quick and easy.
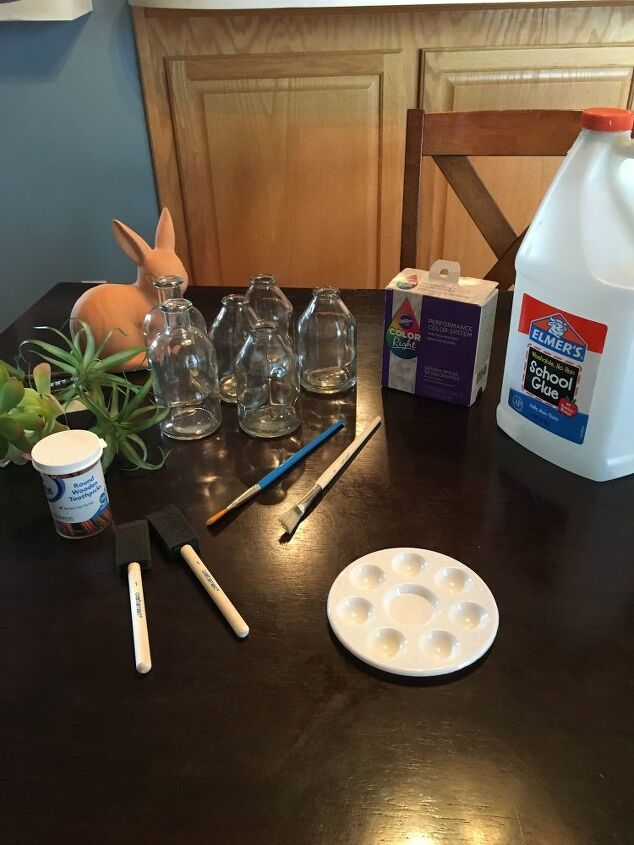
Begin with clear vases like these I purchased at the Target Dollar spot. The vases you use need to be clear glass, but they do not have to be smooth like those I use. Intricate cut glass is also beautiful when used with this technique.
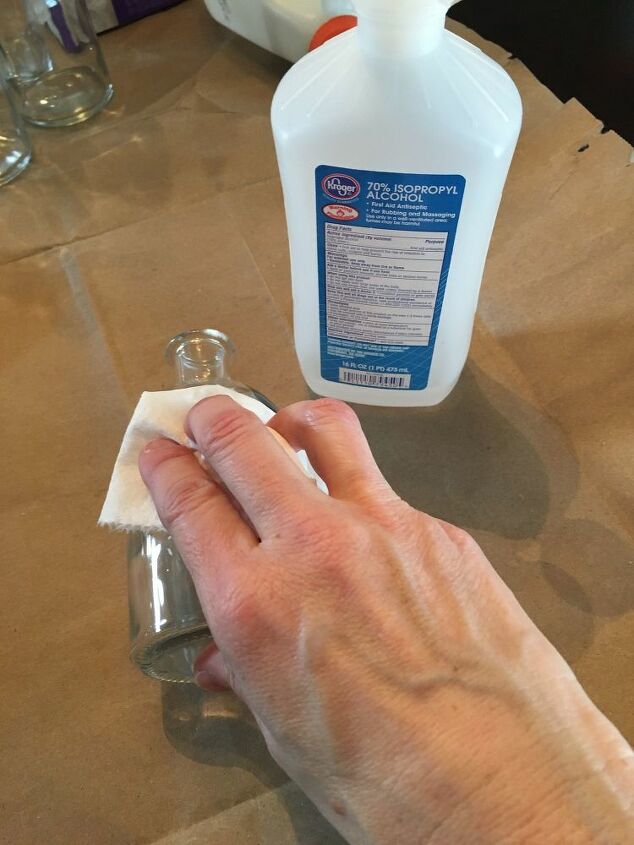
The first thing you will want to do is make sure the surface of the glass is clean. I used rubbing alcohol to remove any dirt and oil from the surface.
Next you will need enough glue to cover the entire surface. It actually takes less than you think and the small amount pictured above was more than enough to cover two of my vases. I used Elemer's School glue which I "borrowed" from my daughter's slime ingredients stash.
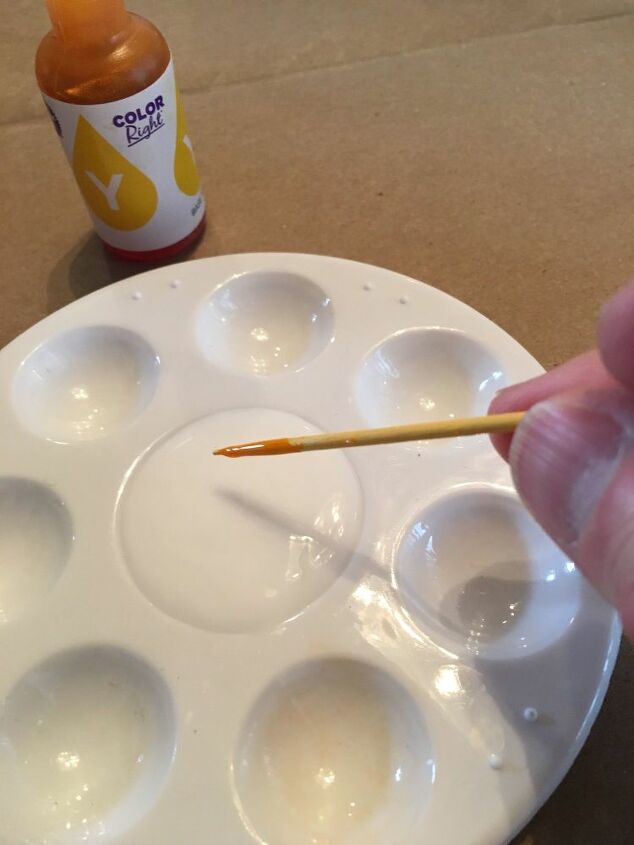
Use a toothpick to add a tiny bit of food coloring to the glue. You want to use a toothpick to make sure you only add a little color. To achieve the sea glass effect the color needs to be light and transparent.
Stir the food coloring/glue mixture until the color is smooth.
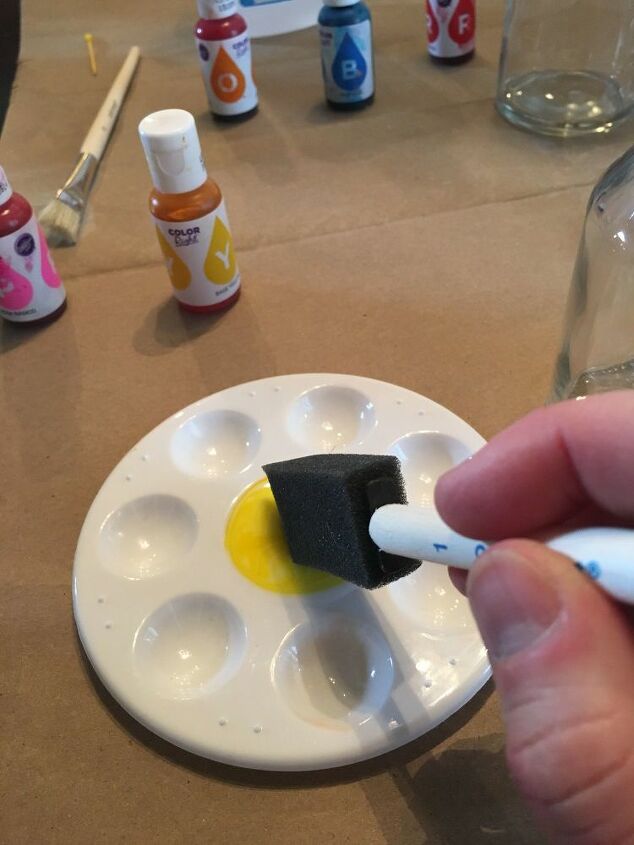
I used a sponge paint brush to apply the food coloring/glue mixture to my vases. As I said, the small amount pictured above was enough for two vases. After I finished with the yellow vase, I added some blue color to the mixture and used that to paint the green vase.
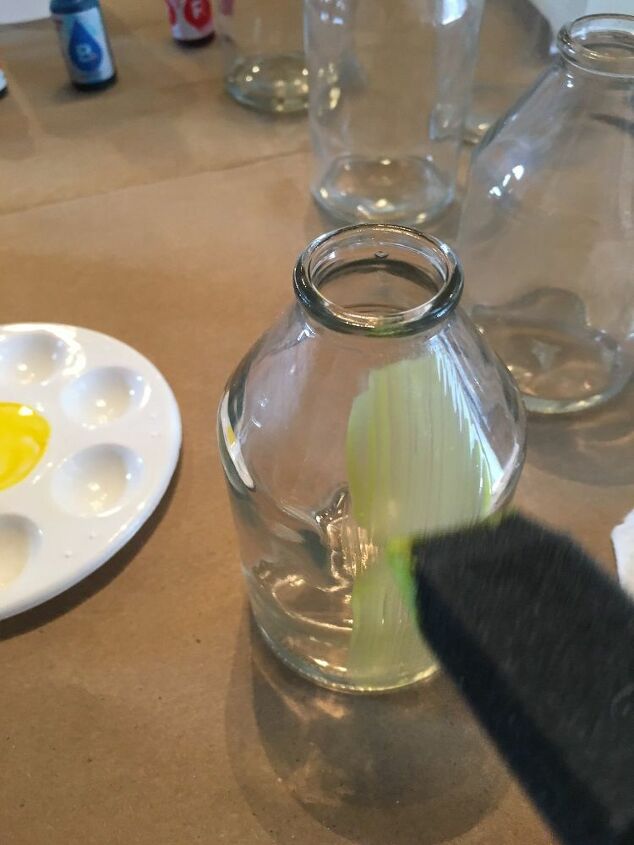
Only a very light coat is needed. If the mixture is applied too thickly it will not dry evenly and will not appear as transparent as sea glass when dry.
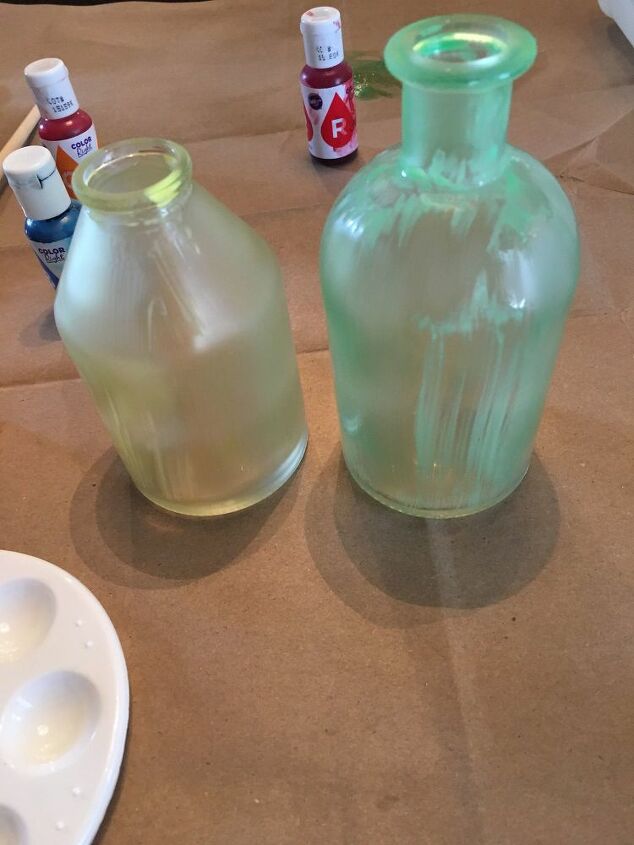
Brush lines will be visible as the mixture dries and while it is drying you may think that you did something wrong. I was a little worried when I saw just how streaked these were as they dried.
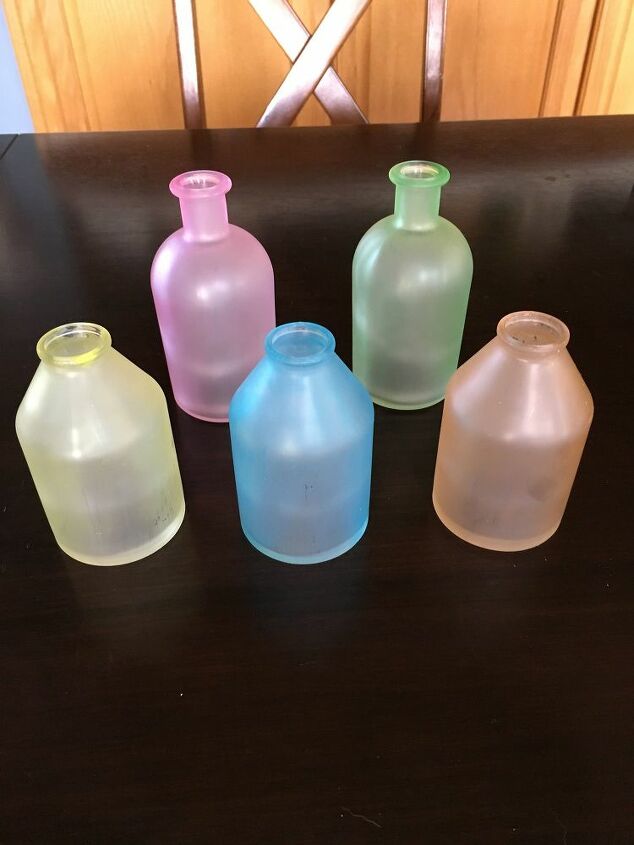
However, when they were completely dry the brush lines vanished and the surface appears smooth.
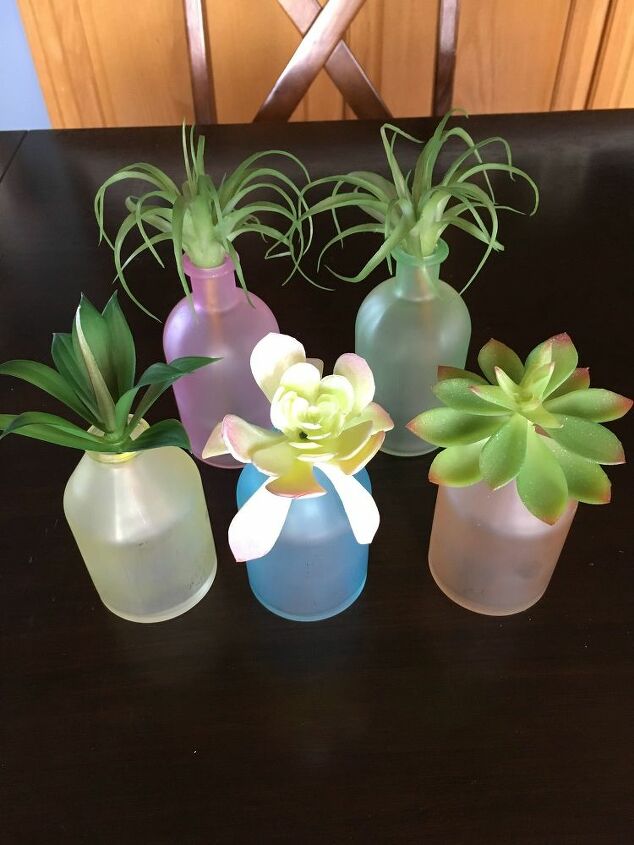
I added a succulent stem to each vase and now these are ready to add to my Easter décor!
Note: Glass treated with this method is not waterproof. Water will make the glue sticky again and will allow the color to wash off.
Resources for this project:
See all materials


Comments
Join the conversation
-
SUPER CUTE~ I Really Like Them! And they came out GR8 simply by using TWO ITEMS~Well 3 if you include the toothpick~ most people have in their house already (particularly non~ Crafters), should That I~Gotta~Create Bug suddenly strike.
Thanks for sharing this Cute & Easy Idea!
Happy🐇Easter🐥!
🐈
-
Are these the ones you have to bake? I saw another DIY Sea Glass project where you coat the inside with Mod Podge and food coloring and then baked it.


Frequently asked questions
Have a question about this project?
Would UV spray be good enough to seal the glass with. I've been using it on all my fairy garden items, 3 coats to keep them from fading?
I would like to use this technique on the square vases that are popular today. Question: Is there any material that I can code over the glue to make it more waterproof. I would use the glue coloring on the outside so I can put water on the inside However I do not want the glue and colors to stain or spoil the table cloths especially while the party is going on. Please advise thank
About how many dips of food coloring from the toothpick did you use? I used two and the glue was colored, but when I painted it on I didn't see any color like I do in the pictures in your tutorial.