


Wood Bead Garland With a Little Something Extra!

I love the look of wood bead garland. A smaller shorter size is perfect to add to your already displayed home decor. This bead garland comes with an extra special little message.
Let’s get started…
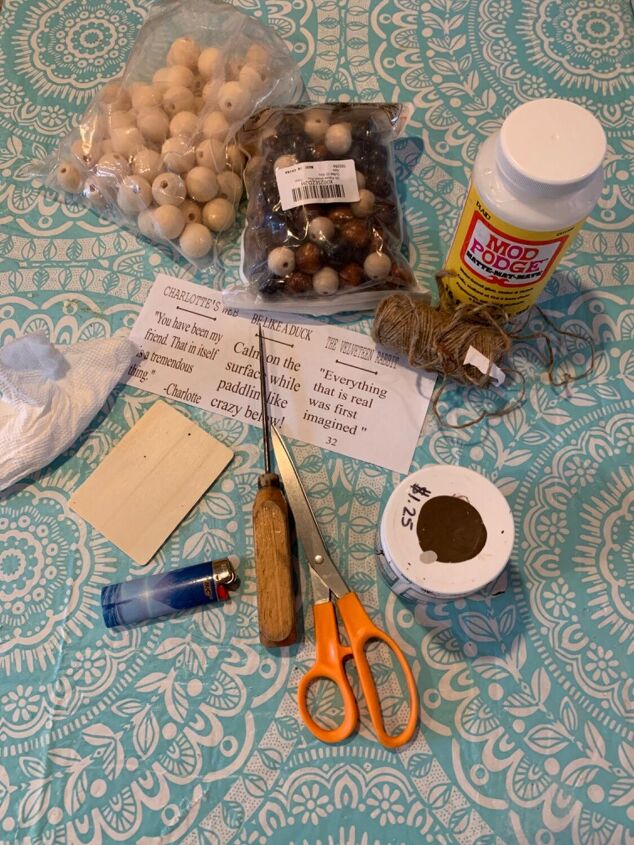
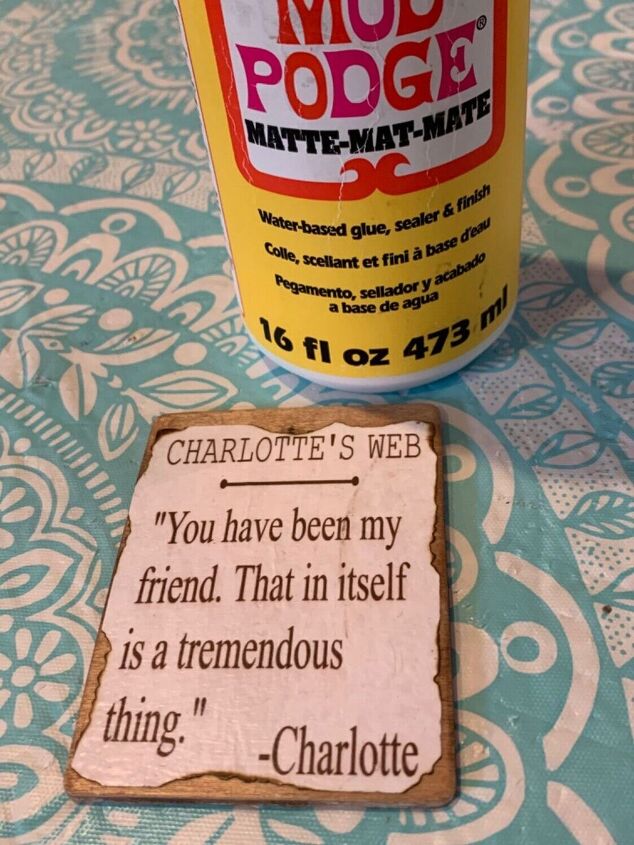
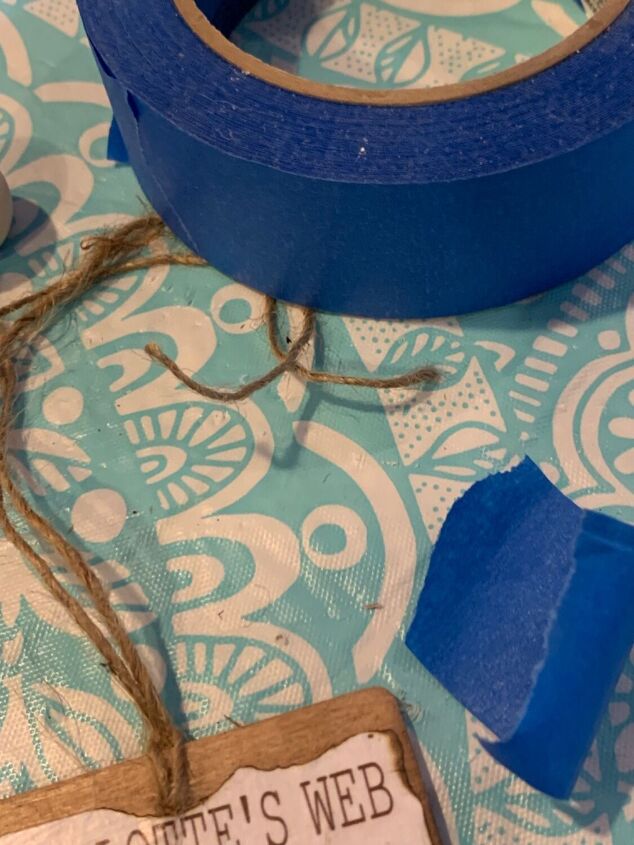
Natural colored beads, brown beads, size 20mm and 24mm works nicely. But you could use any size you like and any color. You’re going to also want to pay particular attention to the size hole. I prefer nothing too big. Then you need mod podge, brown paint, scissors, wood tag, quotes printed on white paper, a lighter, and twine.
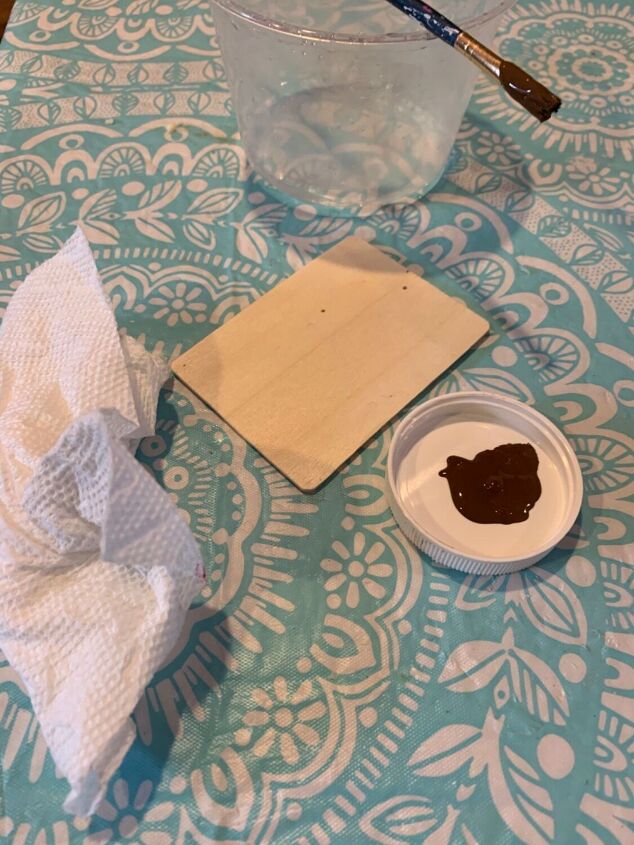
I wanted to have an antique looking finish on the wood tag. I took brown paint and added a few drops of water. After brushing it on with a paintbrush I realized it’s so much easier to apply the color to the wood tag using a paper towel.
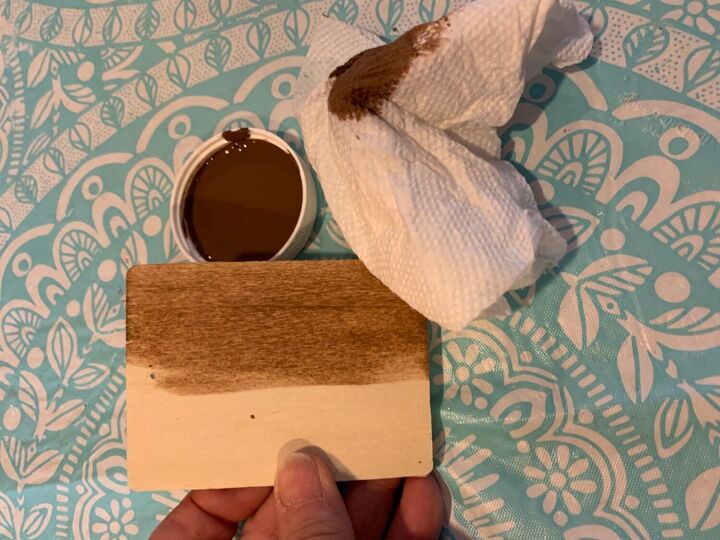
Easy peezy lemon squeezy!
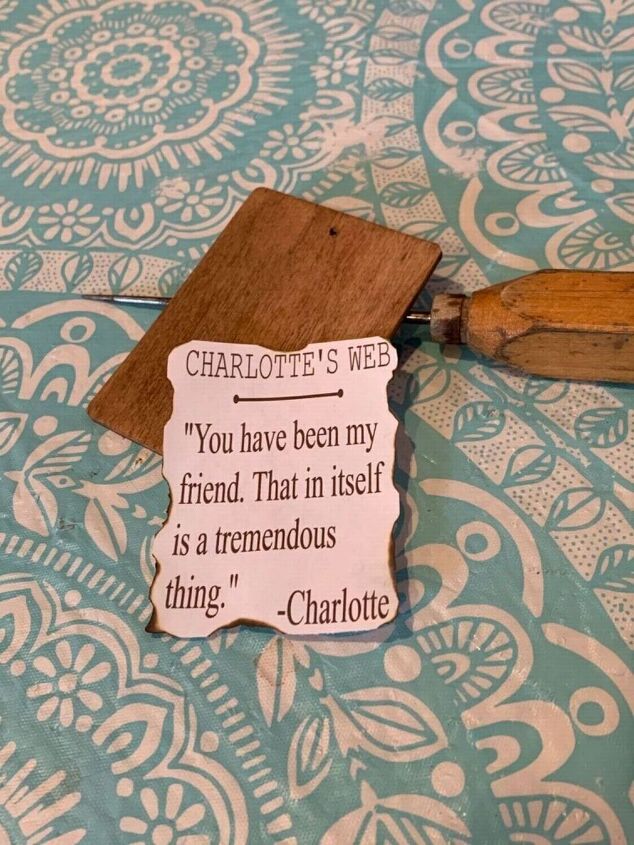
The quotes are from children’s books. This one is from Charlotte’s Web. I designed it on the computer and printed it out. I cut it to size and then I used the lighter to very carefully burn the edges. The ice pic is used to enlarge the hole in the wood tag just a little bit.
I attached the quote to the wood tag using mod podge. I am learning that less is best. First brush the mod podge on the entire wood tag lightly and immediately add the quote. You can use crumpled up plastic wrap to smooth it out. Once it is completely dry you can add a second coat of mod podge… Again very lightly.
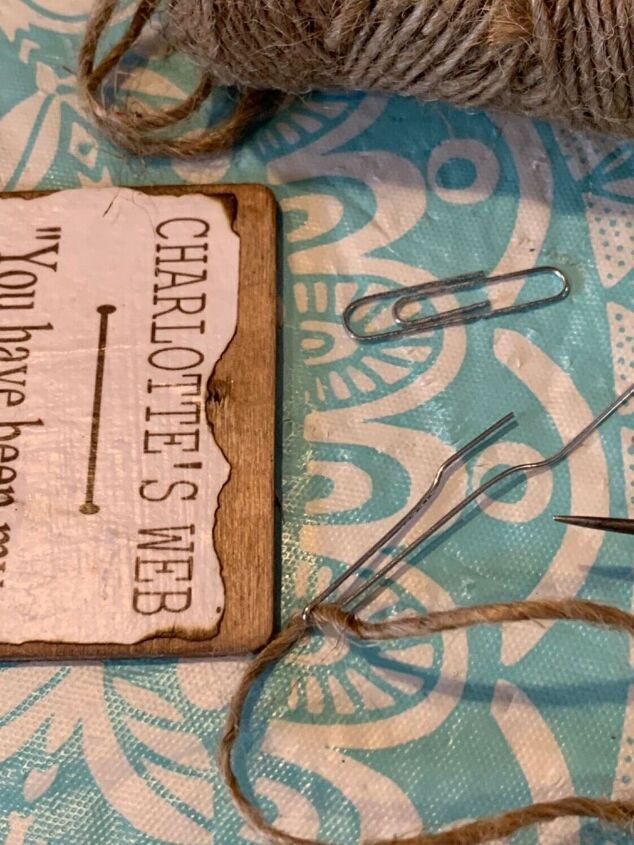
I use a paper clip to guide the twine through the tiny little hole. I’ll unbend a paper clip and then bend it back into the U shape pictured. Wrap the twine in the clip then push the clip with the twine through the hole.
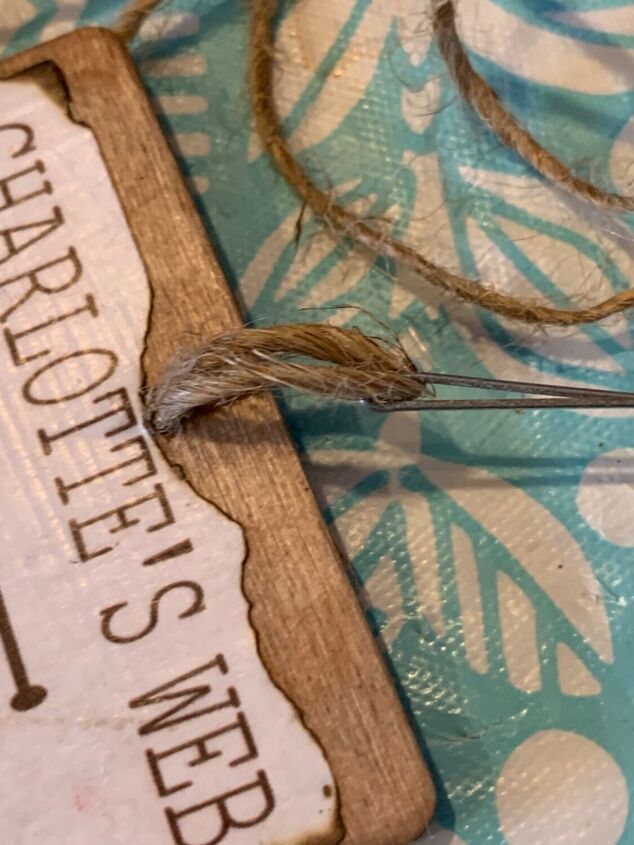
I double up the length of twine that I think I need and then pull it through the loop to secure it on the wood tag. Then it’s ready to add the beads.
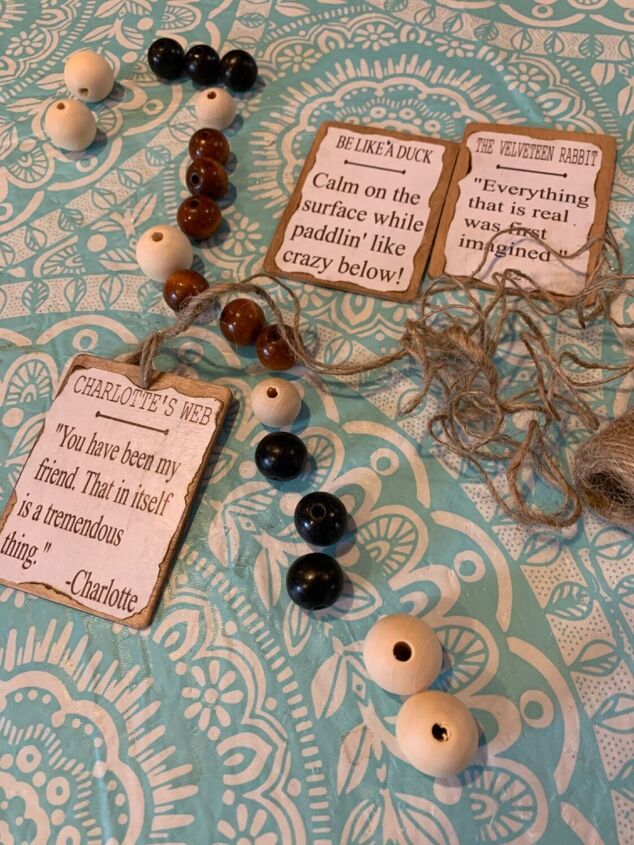
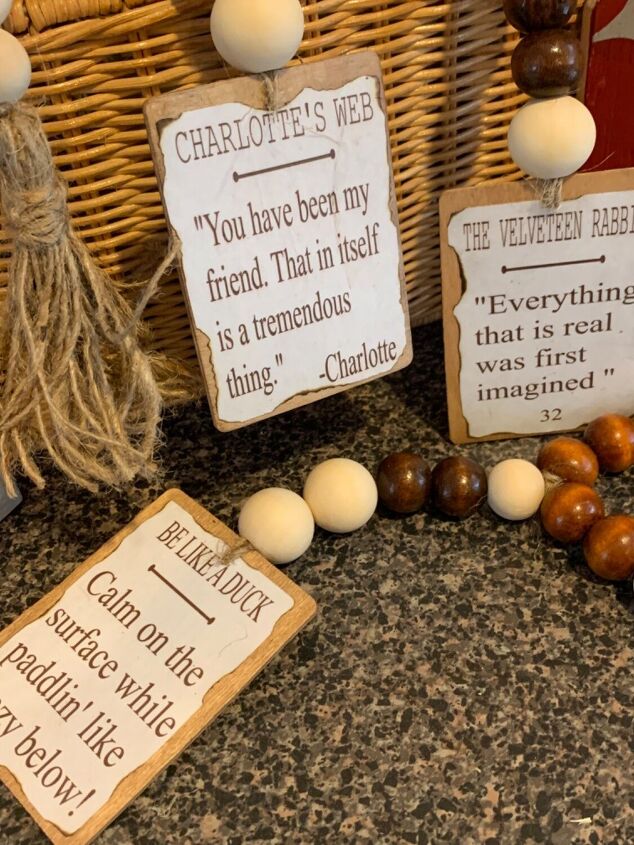
I line up the beads in the order that I think they will look nice. This is personal preference. You can see some of the other quotes I used as well.
I used a little piece of painters tape to secure the loose ends of the twine and get it ready to thread through the beads.
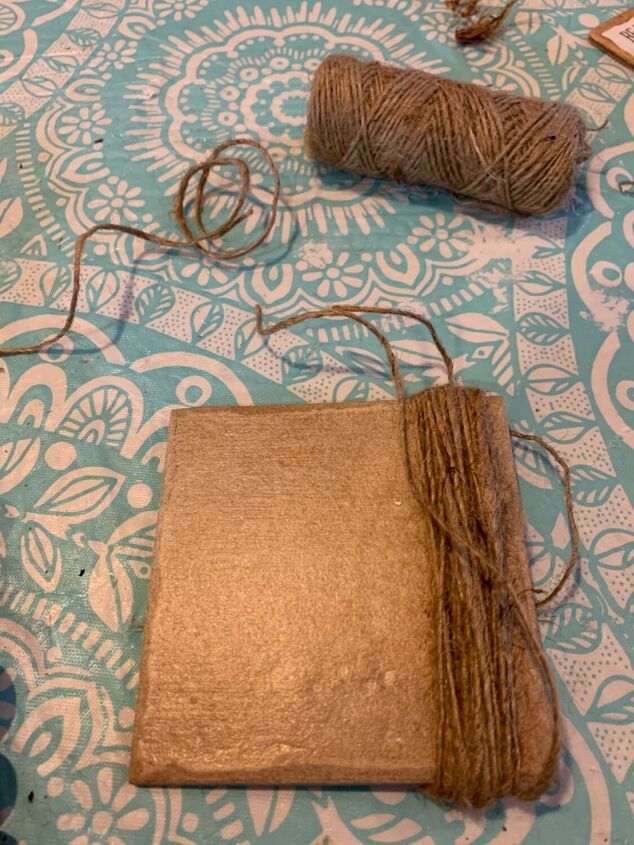
Here you can see I used a 4 x 4 ceramic tile to help me make the tassel. I wrapped the twine around several times until I got the thickness I wanted.
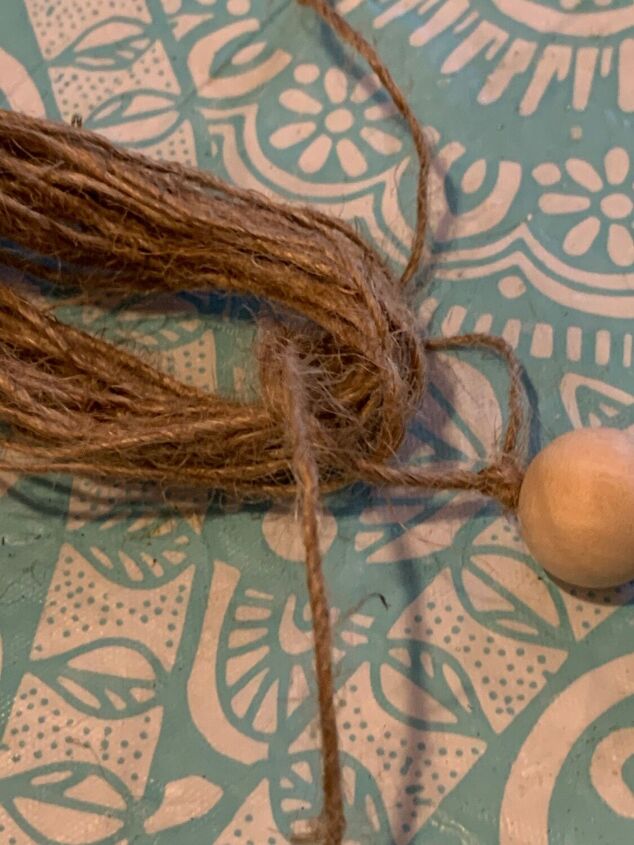
I pull the partially completed tassel off the piece of tile and tied the twine from the end of the beads. . Then I used another piece of twine and wrapped it around and around.
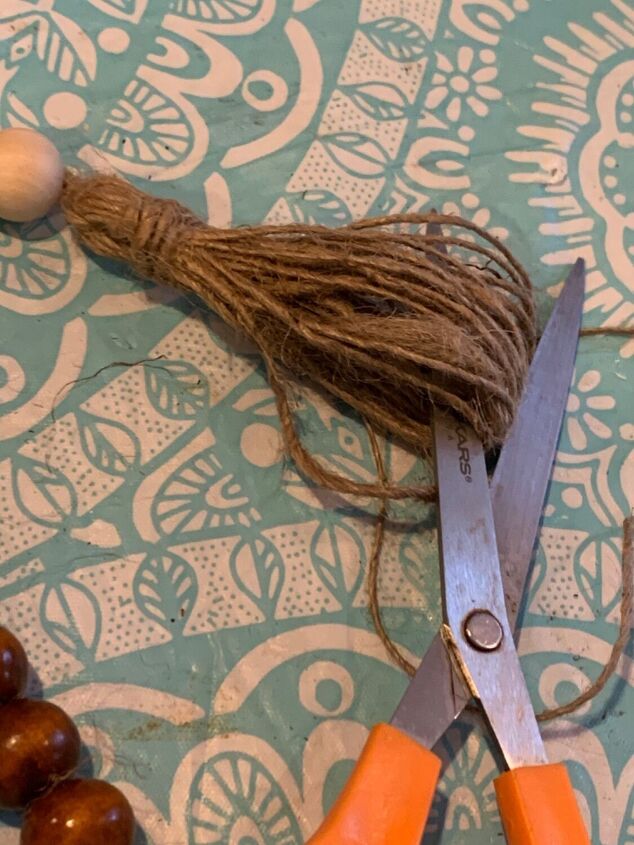
I cut the end with the scissors. Trim it nice and straight if needed.
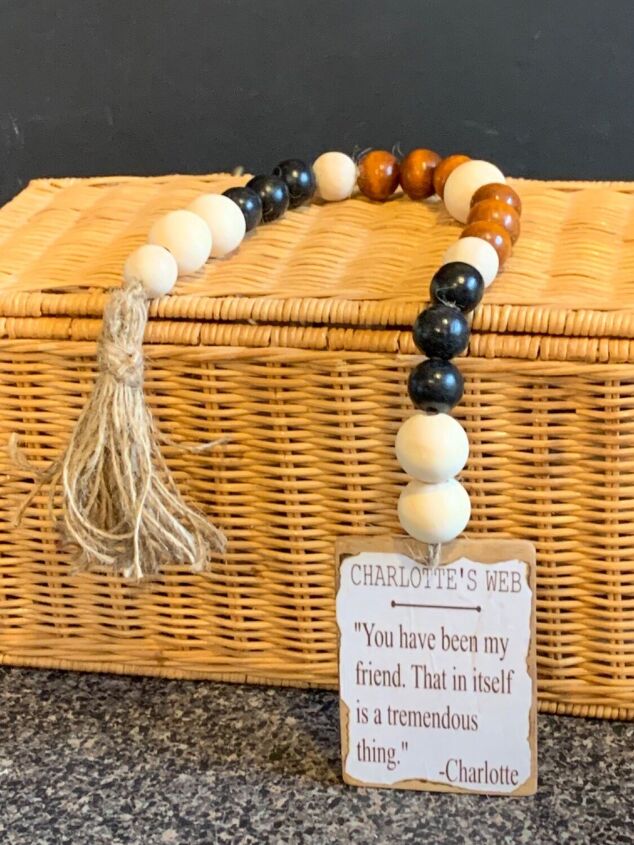
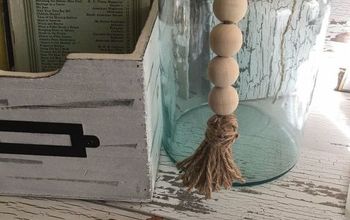
I really like how this turned out.
How nice to add a few of these to your farmhouse decor! As you can see I looped the beads around on the other two.
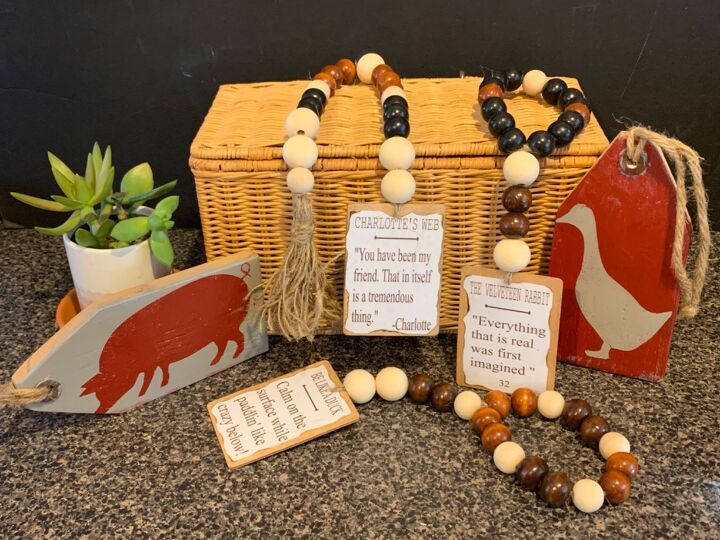
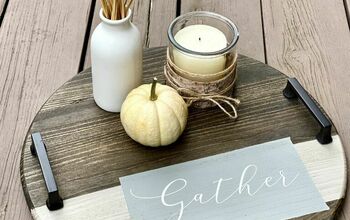
And here they are displayed with a few farmhouse wood tags that I made. I hope you enjoyed this tutorial. Be sure to let me know if you have any questions.
Bye for now!


Frequently asked questions
Have a question about this project?