


Woodsy Stained Art on Old Hinged Barnwood

I was commissioned to do a piece that was totally out of my norm! And was fearing the outcome EVERY~STEP~OF~THE~WAY!
My customer has a camp in the mountainous area of Northwestern PA known as Benezette. This area is particularly known for its abundant Elk and admirers come from all over to enjoy the Elk roaming free for photo ops and just to enjoy their majestic beauty.
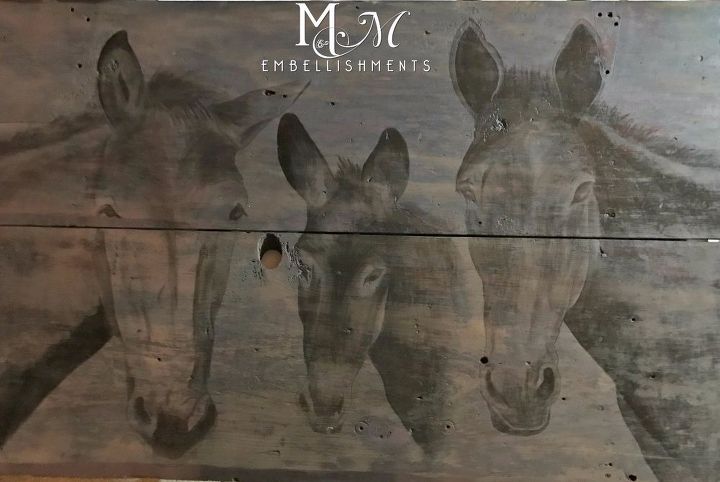
My customer, MissW, told me they have mules and ride the mules up to their camp. At first she wanted to have a piece with the mules and the Elk on one piece. But the more we discussed, I thought it might be better to have them on two separate pieces and she agreed.
I found this hinged barnwood door that I thought we could use one for the Elk and the other for the mules.
My customer has a camp in the mountainous area of Northwestern PA known as Benezette. This area is particularly known for its abundant Elk and admirers come from all over to enjoy the Elk roaming free for photo ops and just to enjoy their majestic beauty.
My customer, MissW, told me they have mules and ride the mules up to their camp. At first she wanted to have a piece with the mules and the Elk on one piece. But the more we discussed, I thought it might be better to have them on two separate pieces and she agreed.
I found this hinged barnwood door that I thought we could use one for the Elk and the other for the mules.
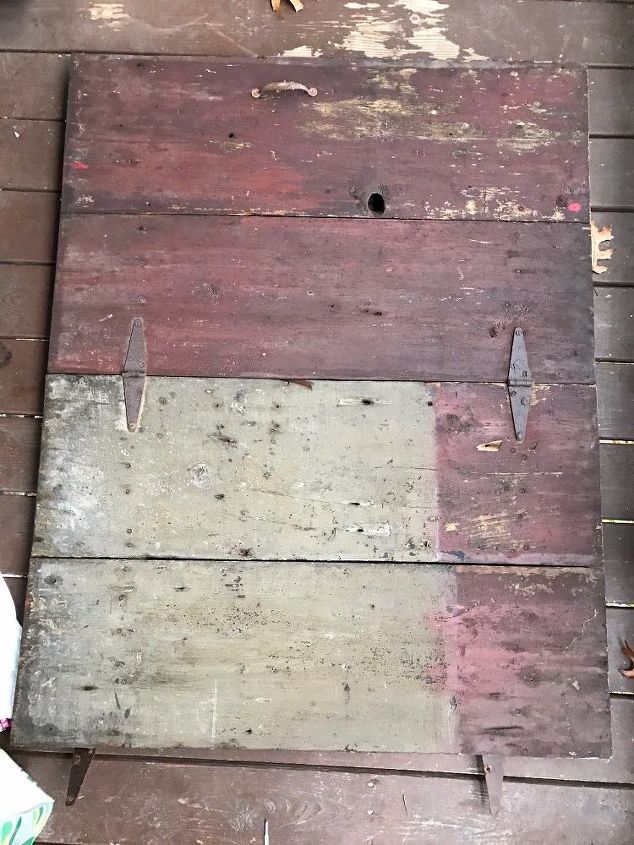
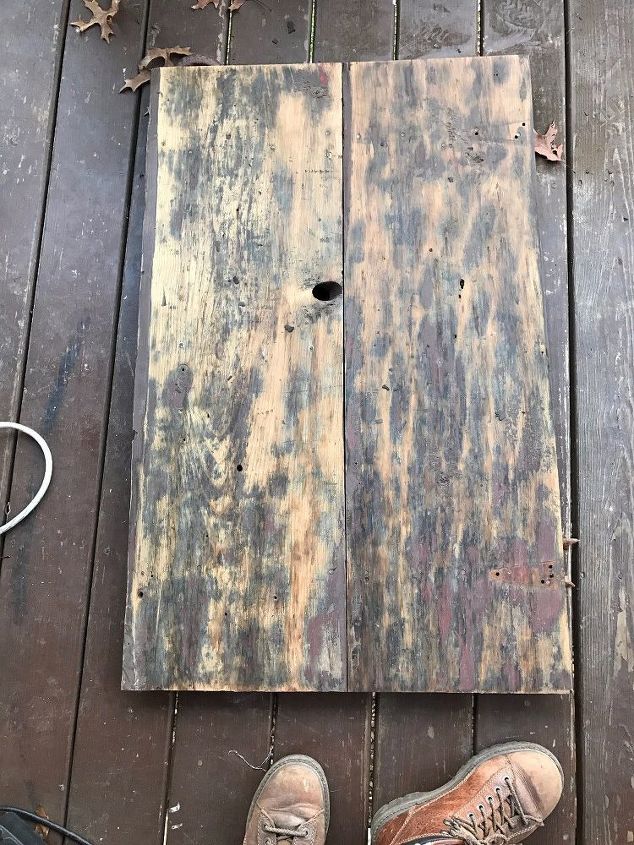
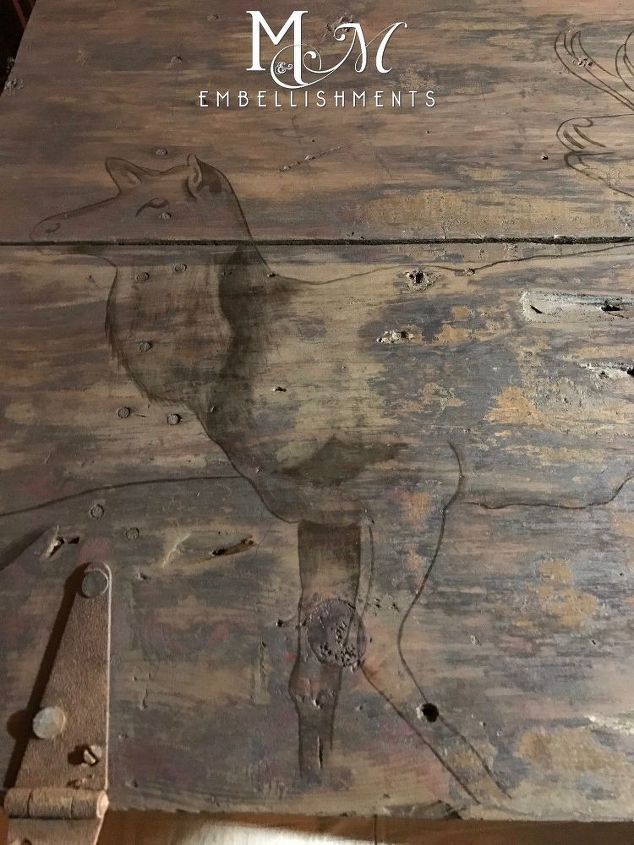
The problem was that paint. We wanted to keep the integrity of the old wood, so I started sanding and finally got it down to this
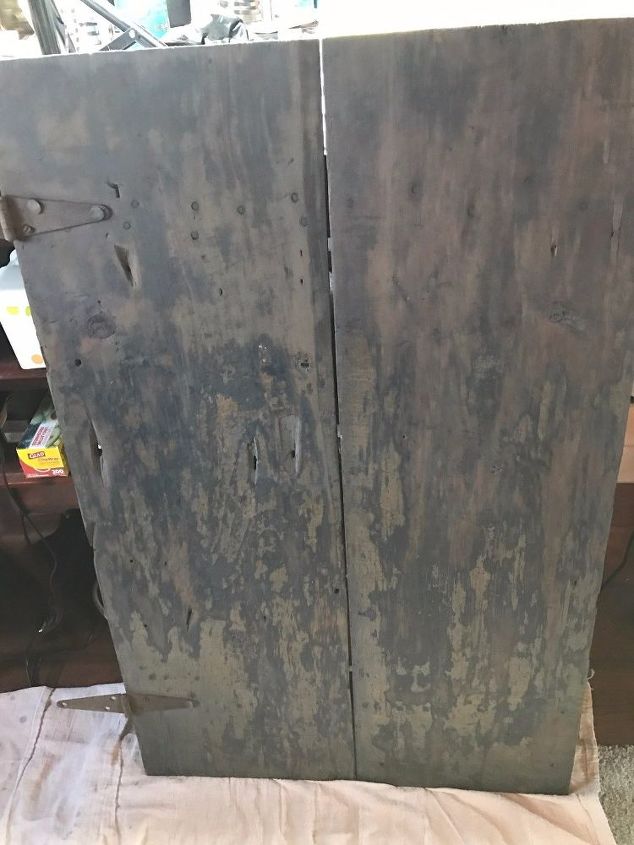
At this point, I knew I had to have it more uniform. I would have loved to put a paint wash over it, but I knew that wasn't the look she was going for. So, I decided to put a grey stain over it and see where that got us.
I thought I might be able to work with this, but in the back of my mind I feared the stained art would not have enough depth. I decided to go ahead and give it a try and started the staining.
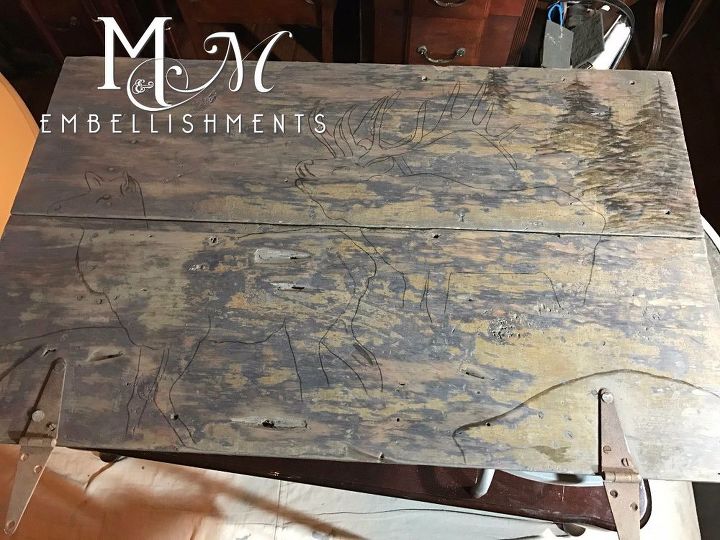
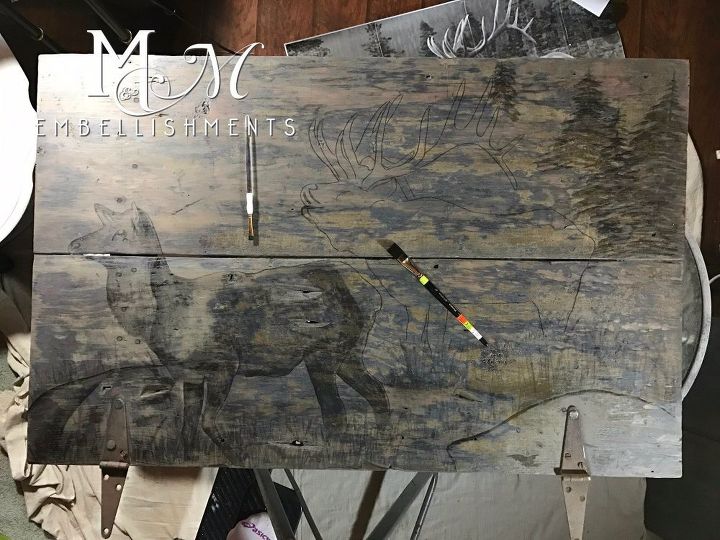
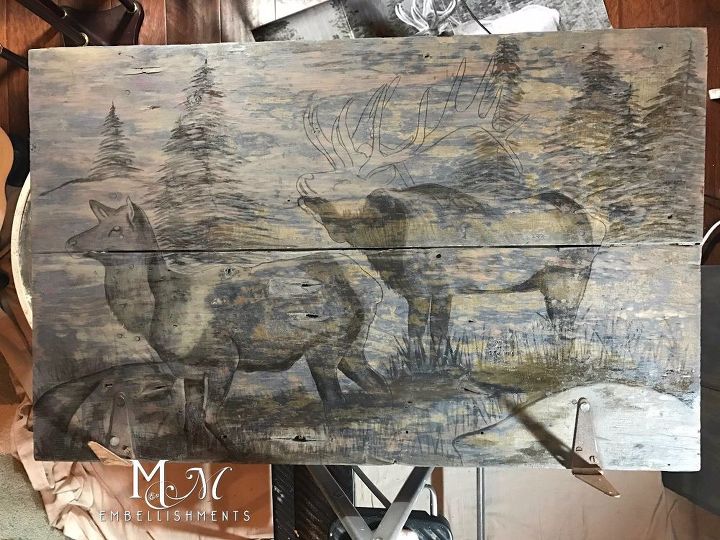
At this point, I was quite fearful it was not going to be enough depth and contrast. I was ready to scrap it and do a paint wash over the wood and start over. So, I showed MissW and also got some feedback from my furniture flipping groups. The feedback I got from all was to step away from it and it was going to look great...
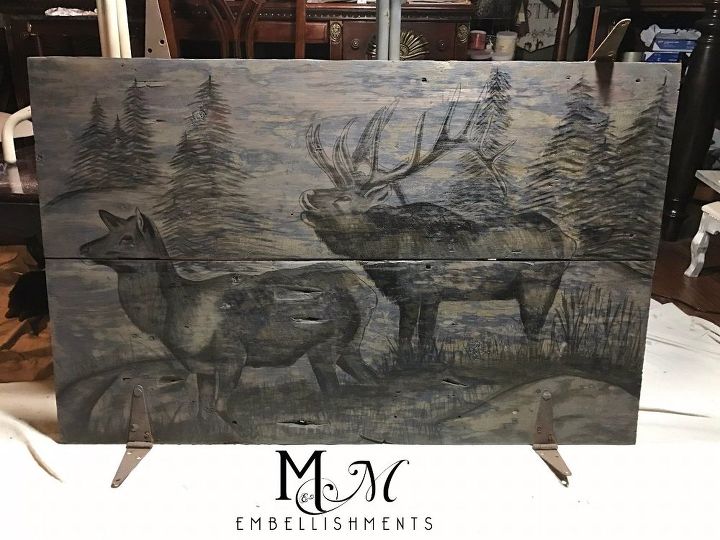
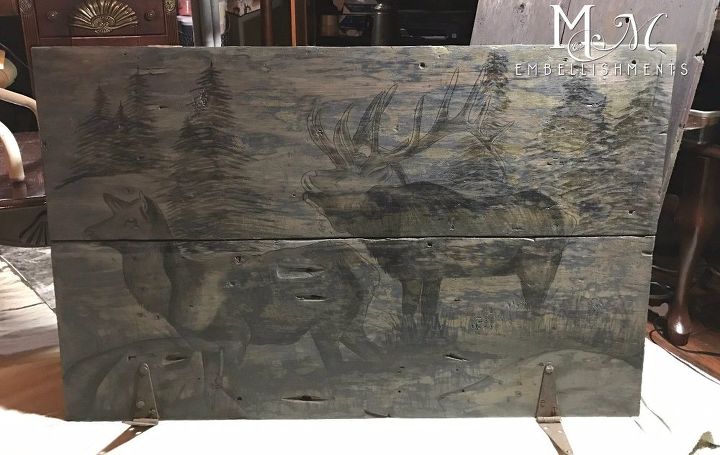
And it worked!! I think I was able to keep the integrity of the old wood and get the dimension I wanted. And most importantly, MissW is thrilled!!!
Comments
Join the conversation
5 of 44 comments
-
Your piece looks really great!! I hope you will post the mule piece when you are done with it. Thanks for sharing your talent!!
-
Beautiful..


Frequently asked questions
Have a question about this project?