Bathroom Board And Batten Wall

Our kids bathroom needed a little refresh! This poor bathroom had been neglected for a long time, and was in need of a little facelift. This simple wall treatment added just enough interest and style to make this bath shine again. Best of all, this project is quick and easy! So, if you are new to home projects this is a good project to start with.
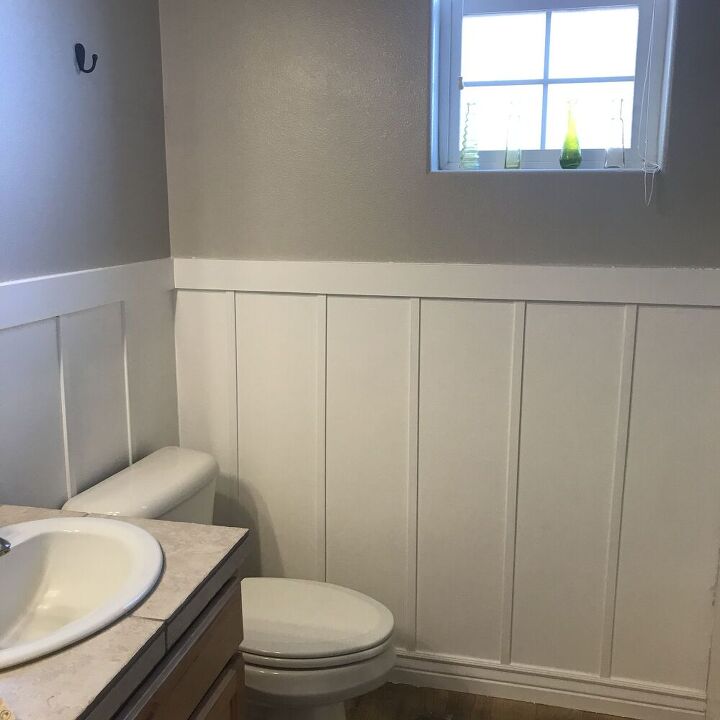
Finished Board And Batten Wall
I love how this wall updates our bathroom.
Before picture
This bathroom was asking for a lot of help!
Adding trim
I first added the trim to the wall by gluing and nailing it in. Then filling the nail holes. I had too short of nail at first, and it wasn't attaching to the wall very well, so I have more holes than usual. Good thing you can patch those holes. 
Skim Coat
Next, I added this joint compound to the wall. I wanted a smooth surface for my board and batten. I love this stuff and how it quickly transforms the texture of the walls. Let it dry and then sand with a sanding block.
Paint
Next, you can start painting! I just used a nice semi-gloss white paint I already had on hand.
Painting Supplies
Make sure you pick up all the painting supplies you need. Don't forget the paint stick. I tend to forget those!
Painted Wall
Painted wall is done!
Lattice Strips
I had these left over lattice strips from another project, and thought they'd be great for my board and batten. They are super cheap, and I think look really cute on the wall.
More painting
Hurry and spray painted the lattice strips since they were stained
Lattice Spacing
Using a board is an easy trick to space your trim. It keeps everything perfectly spaced and makes the project go quick.















Frequently asked questions
Have a question about this project?
Where is the "after" picture?
What color gray did you paint the top half of the wall? I like the gray/white contrast.
How did you get the strips behind the toilet? Did you remove the toilet? Also, explain using the joint compound in more detail, did you apply all over the wall or how did you exactly use it?