


Blessed Sign
by
Stephanie
4 Materials
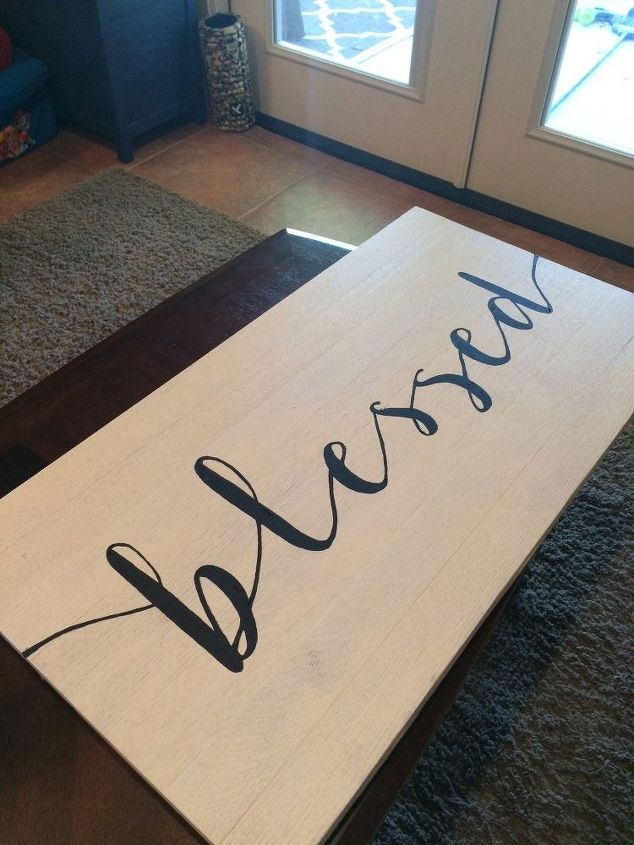
I saw a sponsored ad on Facebook that had a sign that said "blessed". I loved it and decided I could probably make it myself for next to nothing.
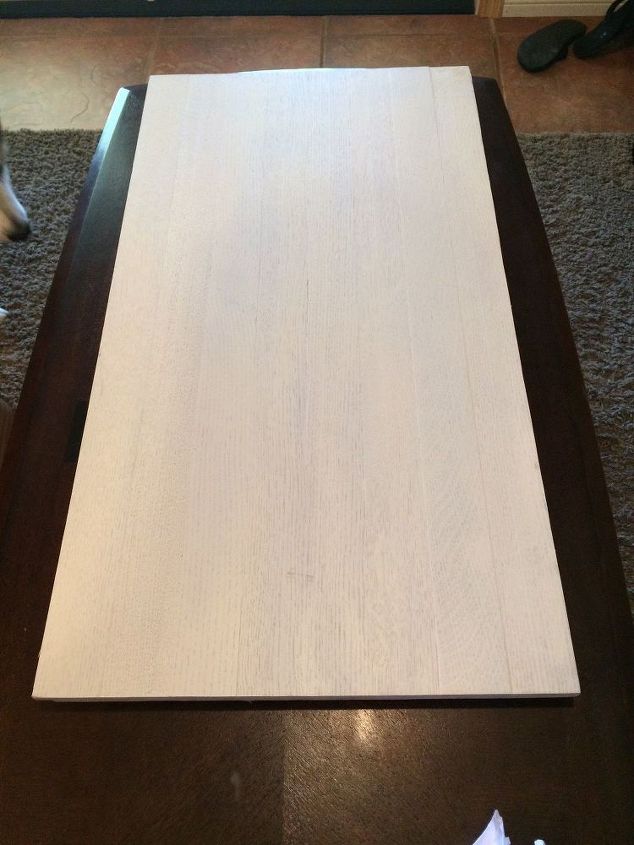
Thankfully, my dad (a master carpenter) had a few extra boards from a project. I grabbed a few to make the sign and my husband glued them up and added some strips on the back for extra support.
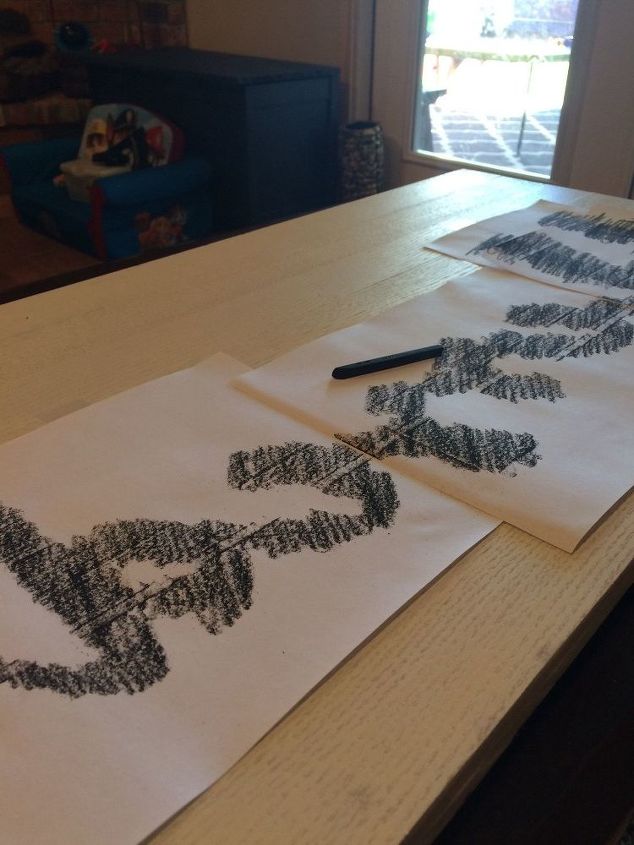
Next, I decided on a font I liked and printed it large enough to cover the length of the sign. You could use a font in any word processor or purchase one you like.
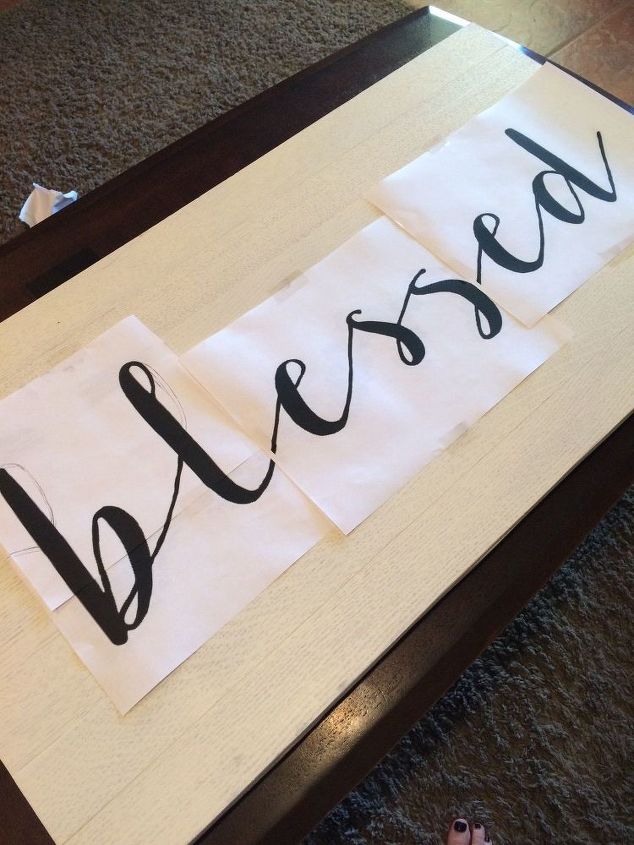
Once you have the back of the paper colored in, flip it over and tape it to the board. Here is where you want to make sure your word/words are centered and exactly where you want them.
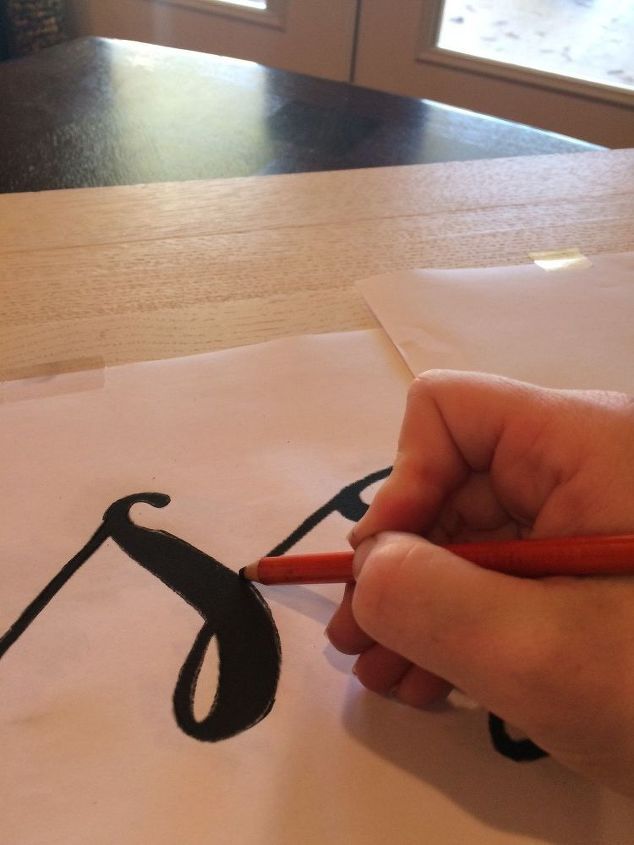
Then, just trace over the letters to transfer your word or phrase to the sign.
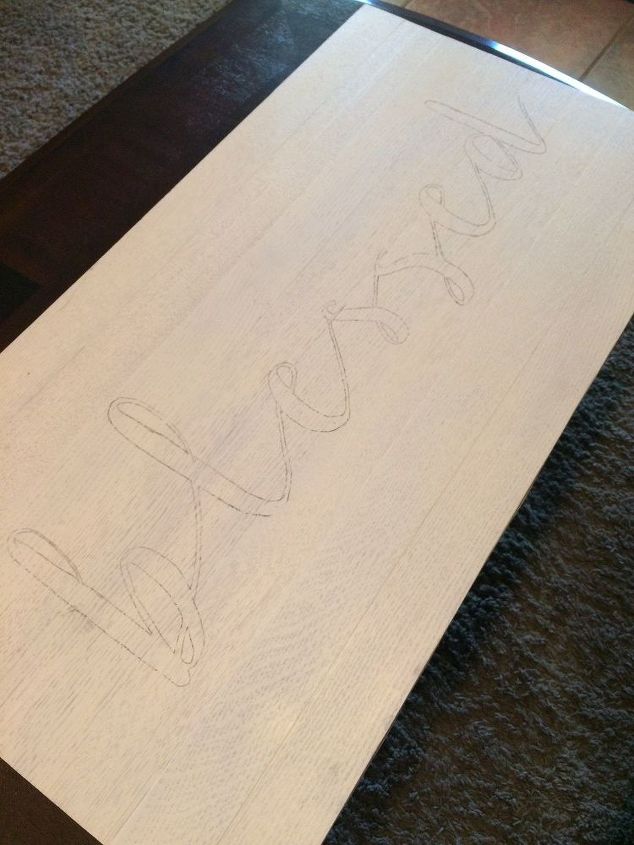
I added some loops to the first two letters to get the look I was going for.
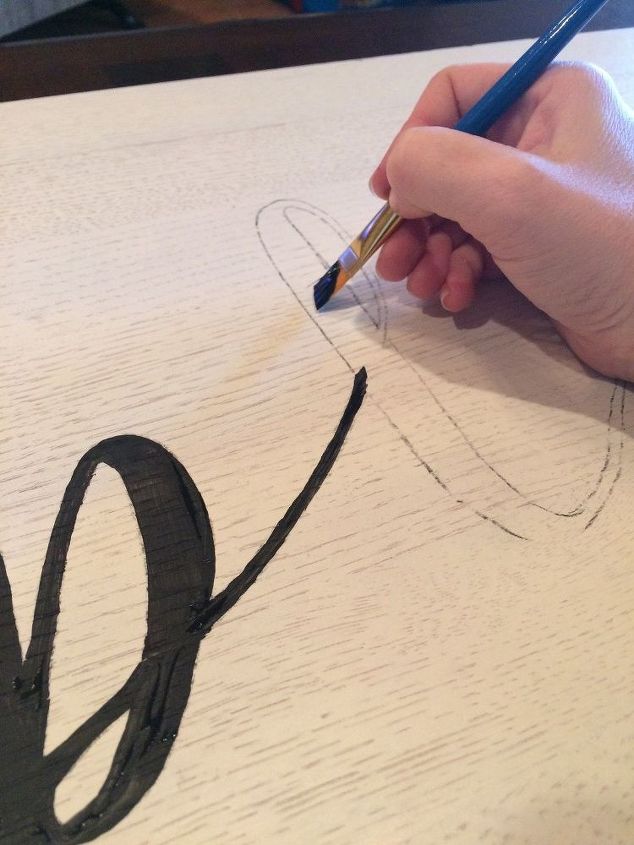
After that, just paint in any color you like. I sanded mine to distress it a bit a soften up the edges of my word.

Comments
Join the conversation
2 of 11 comments
-
What font is this pls
-
Love this!!


Frequently asked questions
Have a question about this project?