


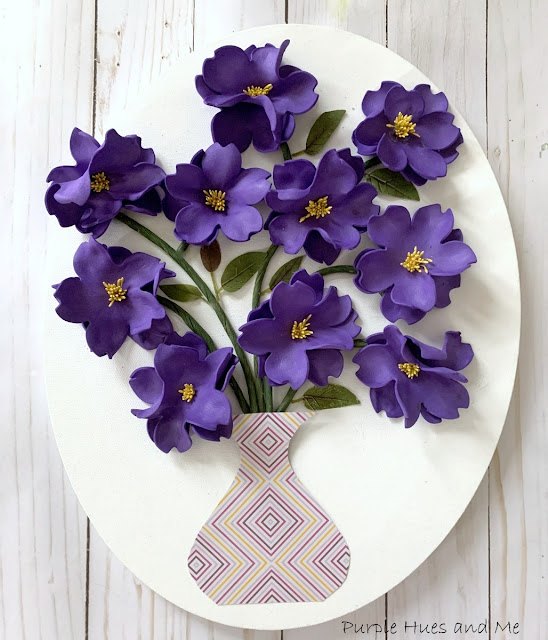
DIY Foam Flowers On Canvas
Have you been looking for that special type of wall art to create for your home? Why not try making foam flowers on canvas! All you need is a blank canvas and some foam sheets! Foam flowers give off an amazing realistic effect - a perfect alternative to the real thing! You can also get creative with just about any color, too - like using my favorite color, purple! Lol! And you won't believe how easy it is to incorporate pretty foam flowers into canvas wall art
Materials Needed:
- Foamiran Sheets - 1mm or under
- Printer paper
- Flower Petal Punch
- Iron
- Bamboo skewer stick
- Ball tool (round end of utensil)
- Sponge (Dollar Tree)
- Stamens
- Floral wire
- 3-in-1 Beacon Advanced Craft Glue
- Canvas
- Cardstock paper
- Scissors
- Paper rush (stems)
- Acrylic paint/brush
For this project we will be using foamiran (foam) sheets. These are not the usual craft foam sheets you find in craft stores. Those are too thick to make realistic looking flowers. You will need thin sheets between 1mm-0.6mm thick. The thinner, the better. Unfortunately, this type of foam sheets need to be ordered online. I can't find them in craft stores anymore - Dollar Tree use to sell packs of the thin foam sheets a couple of years ago and I loved them for making flowers, but they're no longer available.

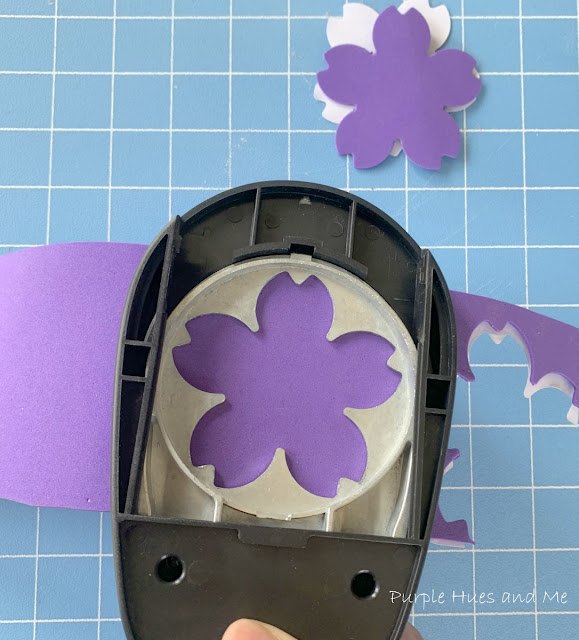
Next, is using a flower puncher to make the petals. If you're making a lot of flowers, it's so much easier to punch them out then to draw and cut out individually. And the best way to do this is by sandwiching a sheet of printer paper together with the foam sheet in order to get nice, sharp edges on the flower petals. For this, I punched out twenty or more petals. But you can always make the petals by hand as I did here.
Next, set an iron on medium hot temperature with no steam. Then place the petal on the iron, holding in place with the end of a skewer stick until the edges curl.
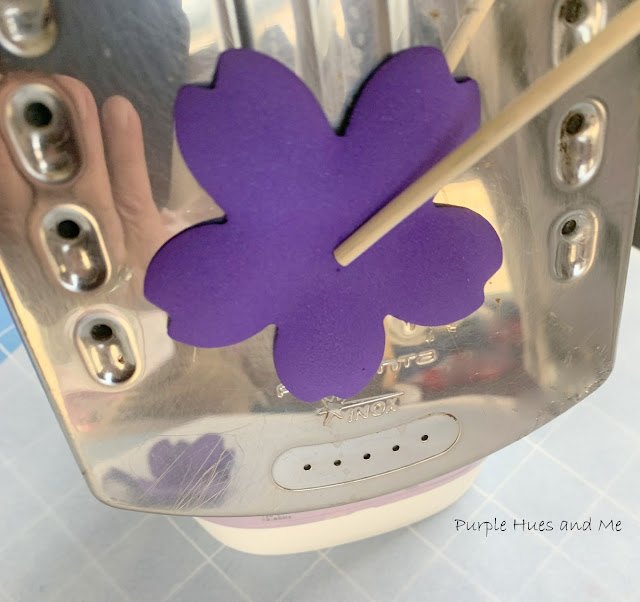
Once the petal curls (after a few seconds), let the foam petal fall off the iron, quickly picking it up and rolling it between your fingers. Unroll the petal and shape each petal, stretching with thumbs and fingers while it is still warm.
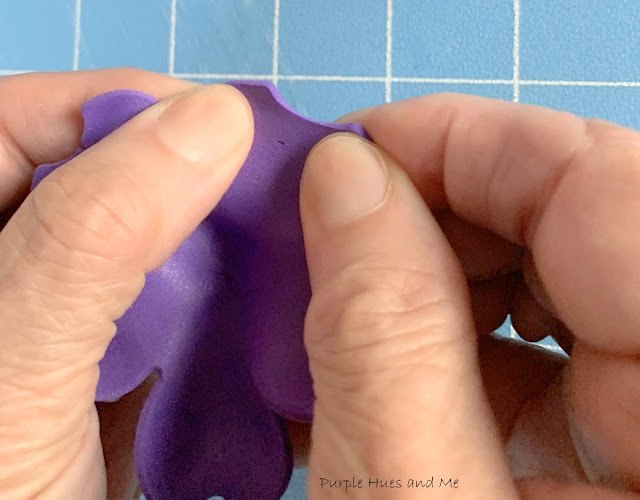
Then place the petal on a soft sponge and use the round end of a utensil to add curvature and shape.
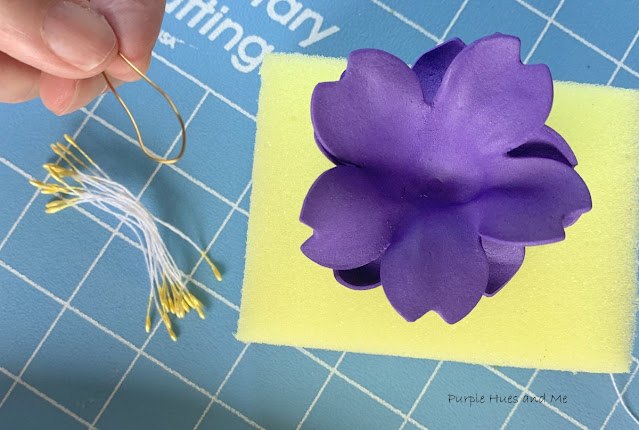
For the center, fold a piece of floral wire (6") in half, then group lots of stamen together . . .
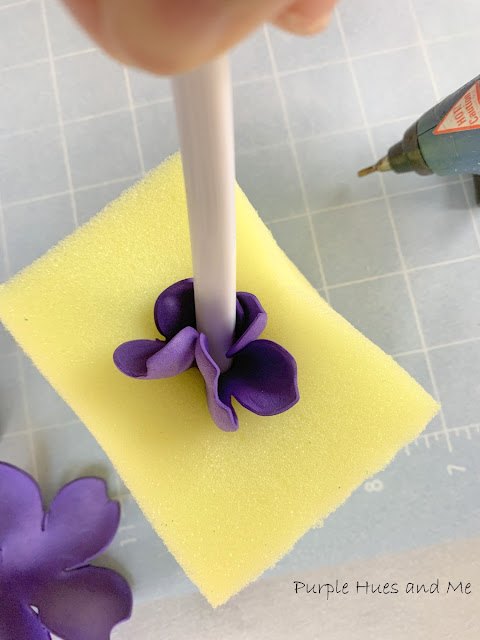
wrapping the wire loop around the center of the stamens - folding them together while twisting the wire. Then insert the wire ends into the center of one flower petal pulling the stamen threads down . .
through the center until just the stamen tops are showing.
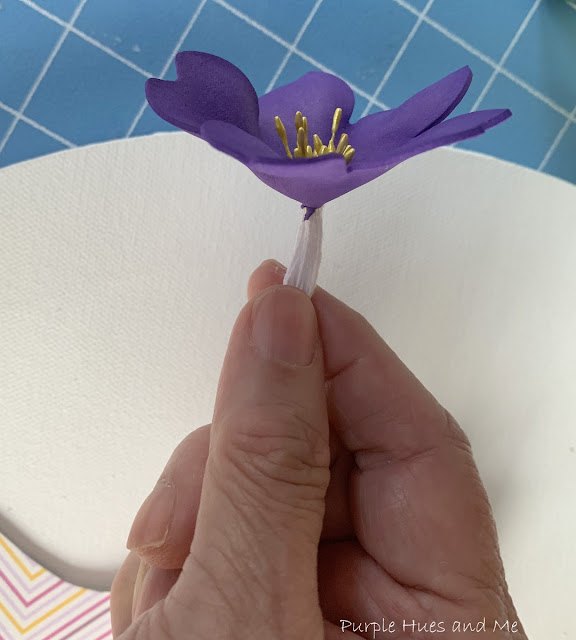
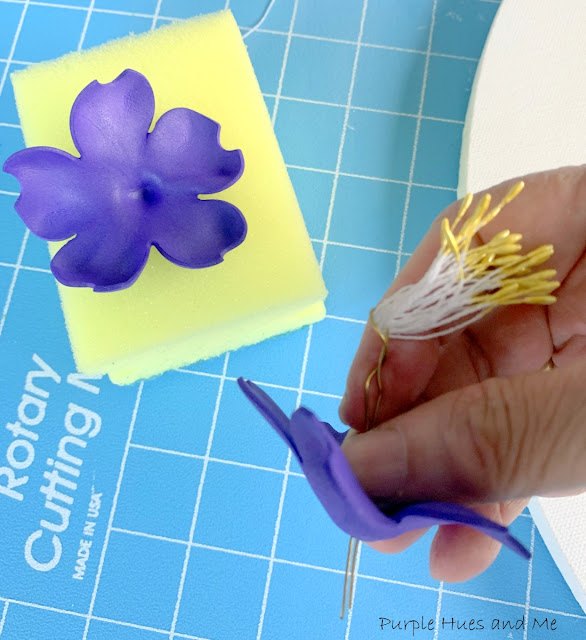
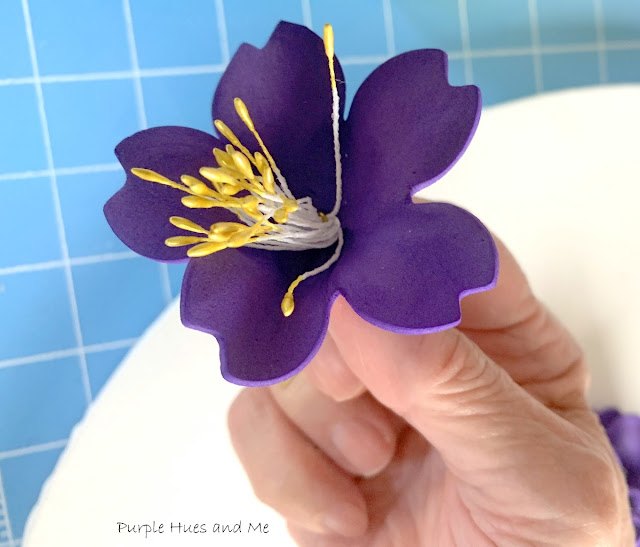
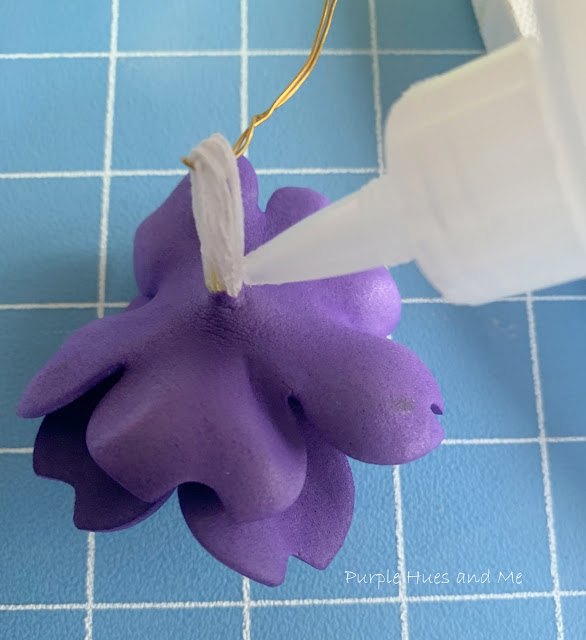
Next, get another flower petal and pull the stamen thread through the same way. Then add multi-purpose glue to the stamen threads near the foam and bottom of the flower petal to seal in place. Let dry and cut off excess stamen threads so the flower bottom center will be somewhat flat.
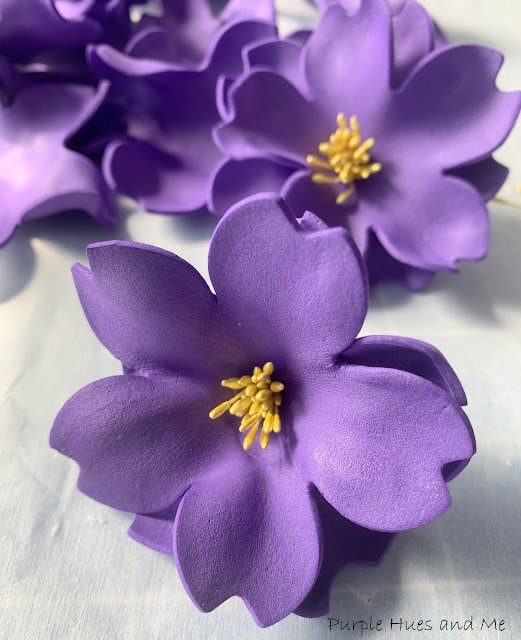
Then create nine more flowers the same way as before.
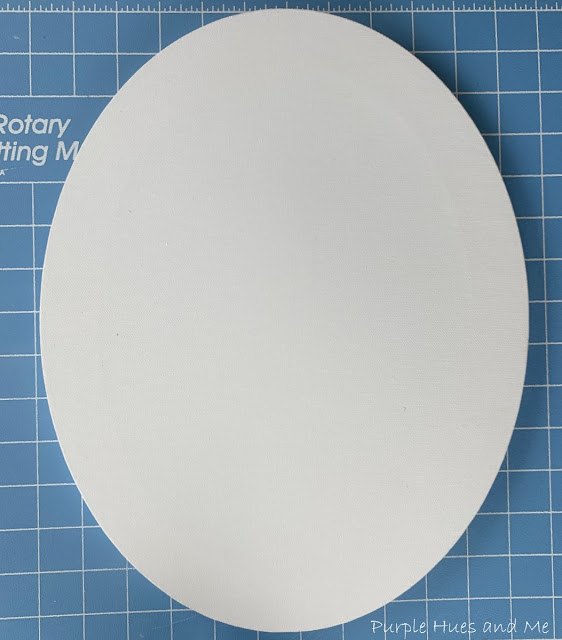
Now it's time to arrange the flowers on the canvas. I already had an oval canvas left over from a previous project and I decided to use it for this. But perhaps you might like a rectangular shape canvas instead. It's up to you!
Anyway, I drew a vase shape on decorative cardstock and cut it out.
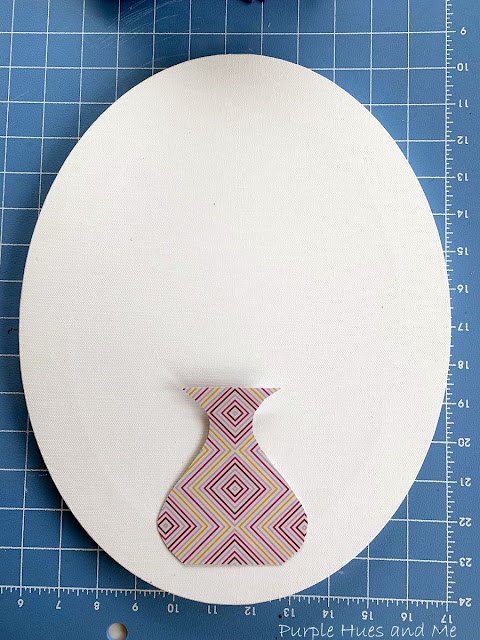
Then glued it on the bottom center of the canvas. The top of the vase was left open to place the stems inside.
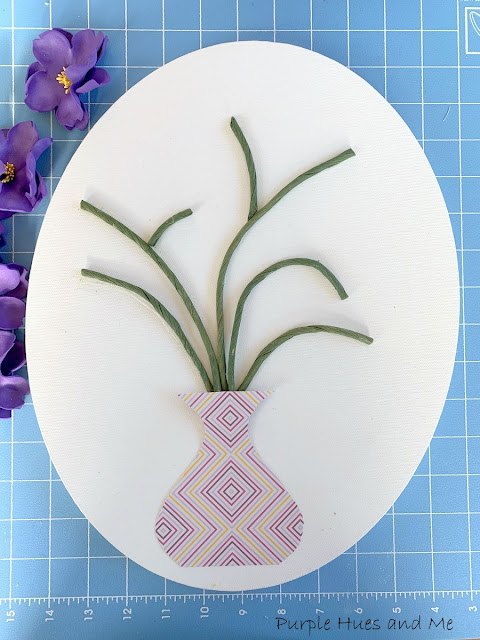
Next, I cut off paper rush pieces from a roll that I had and painted them green. Once the stems were dry, I arranged and glued them on the canvas.
And then began gluing on the flowers!
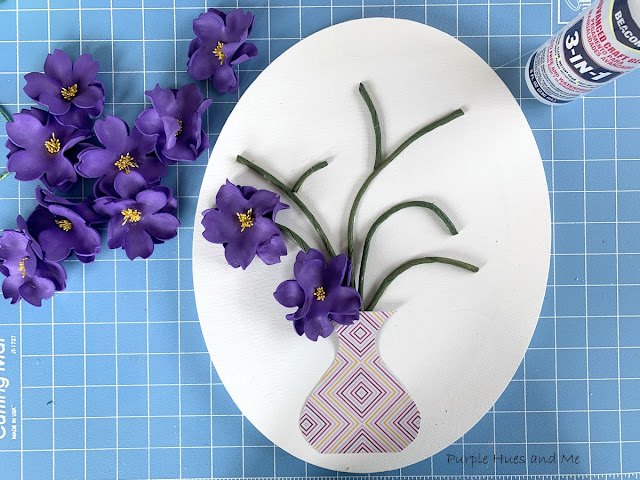
Don't the flowers look fabulous on canvas!
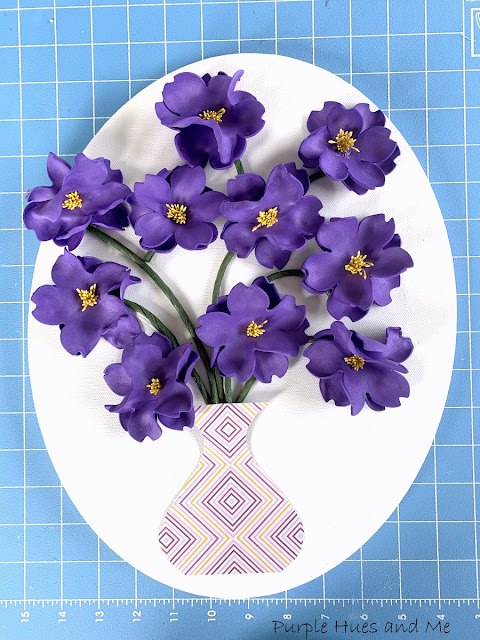
And finally, added a few small faux leaves to complete the look!
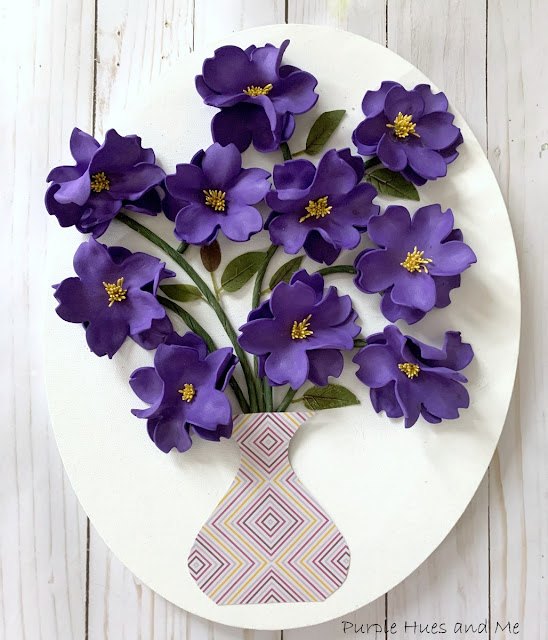
What a strikingly beautiful dimensional foam flowers on canvas project!
Resources for this project:
See all materials


Comments
Join the conversation
-
So pretty and so creative that it made me curious to look at your website. Wow - so many beautiful and creative ideas. You are a talent and an inspiration. Just when I thought I couldn't possibly fill my home with anymore creations, you filled me with more ideas and projects for the future.
-
Oh wow, Melody - a million thanks to you for your very sweet comment! I hope you enjoy making some of my creations!💜


Frequently asked questions
Have a question about this project?