


House Sign

Does your house have a name? Here at the beach many people give their house a name. This is one that I made for a customer of mine. Possibilities are endless.
Let’s get started!
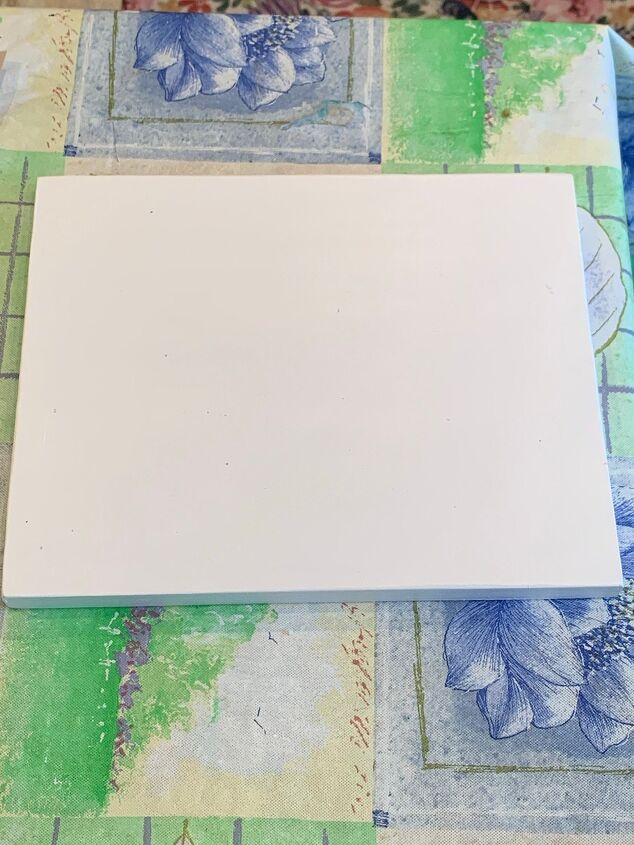
My customer wanted a small sign to use indoors. I cut a piece of wood that I had in my stash to measure 8” x 10”. And then I painted it white on all sides.
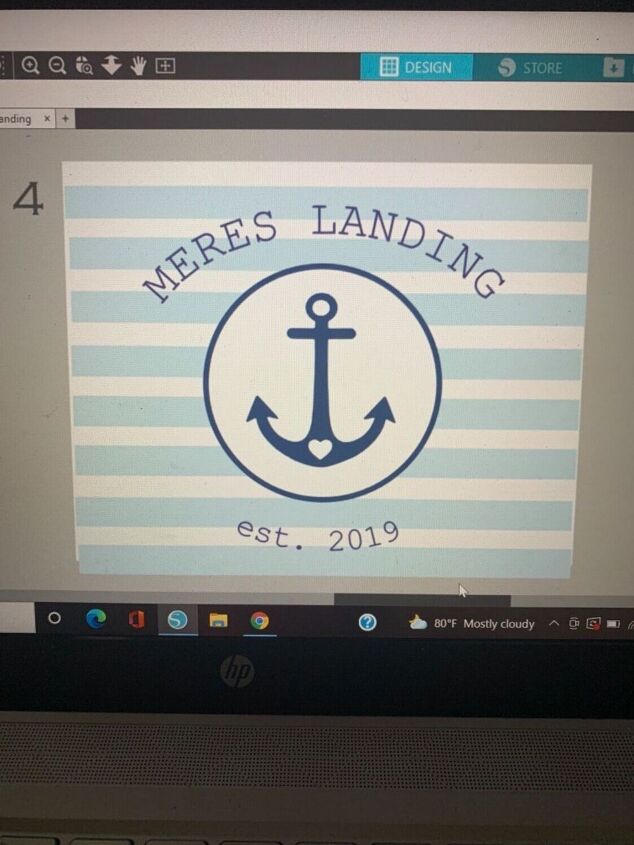
I make several computer designs for my customers to pick from. This is the one that she decided on. The trick will be to easily get the light blue stripes under a portion of the design but not under the circled anchor.
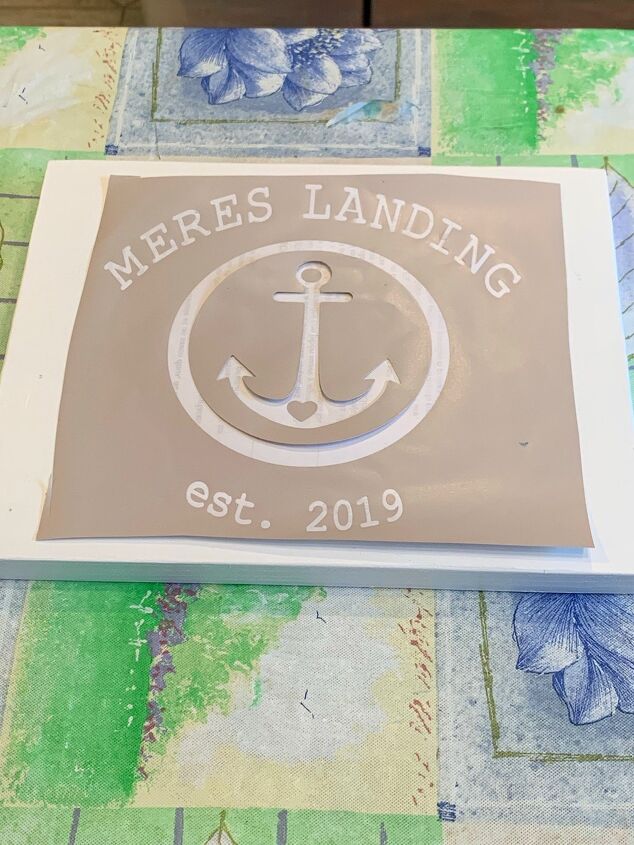
I have a silhouette machine that listens to my computer and cuts the stencil. I use inexpensive shelf liner for my stencil material. But how do I get the stripes where they need to be and not in the center? Keep reading to see my solution.
I went back to the computer and designed a circle the size of the area that needed to be free of stripes. My silhouette machine cut out the circle and then I had to be very careful to place it exactly where I needed it to be. Easy Peezy!
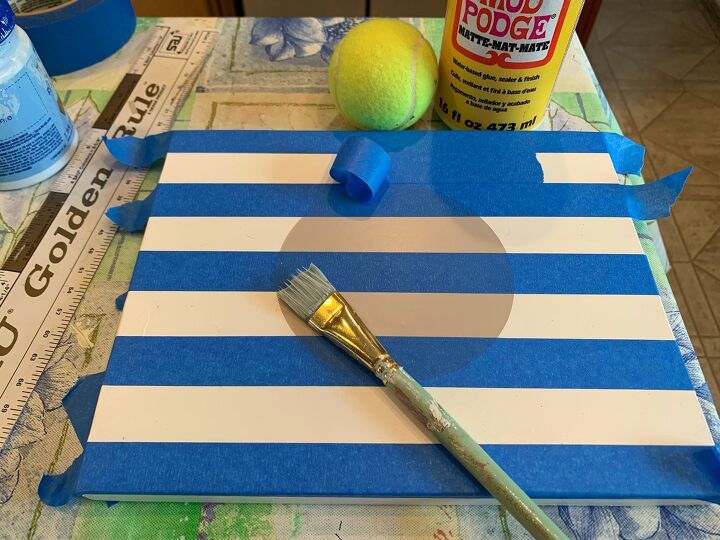
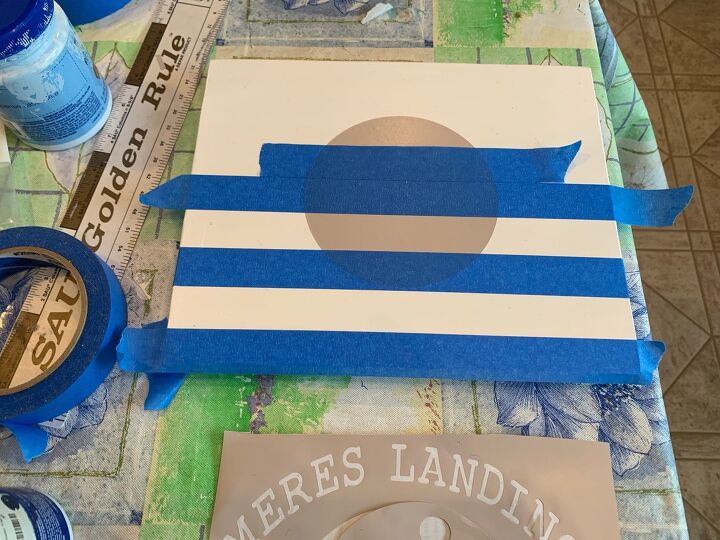
Using painters tape I made the striped areas. As you can see I used an additional piece of painters tape to help me space them. Before painting I’d take a tennis ball to smash down the edges of the painters tape. Then I used some mod podge to really seal the edges.
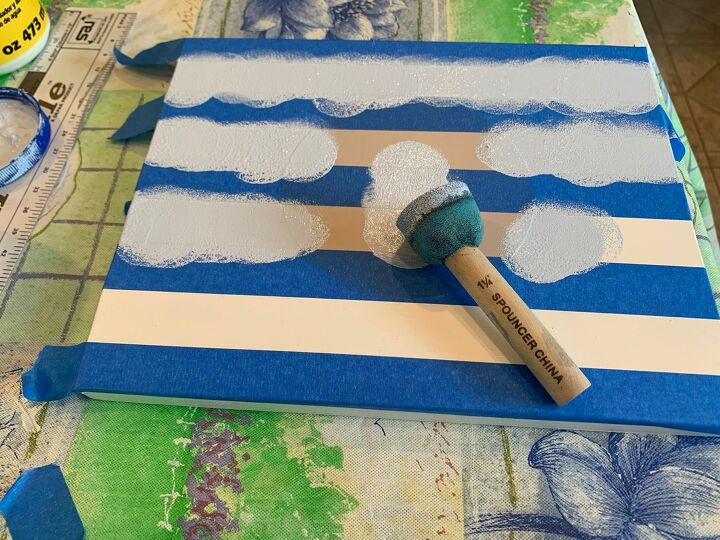
Using a sponge bouncer brush I carefully add the light blue paint to this project. Before it dries you need to pull up the painters tape slowly and carefully. If any paint seeped under the tape this would be the time for touchup.
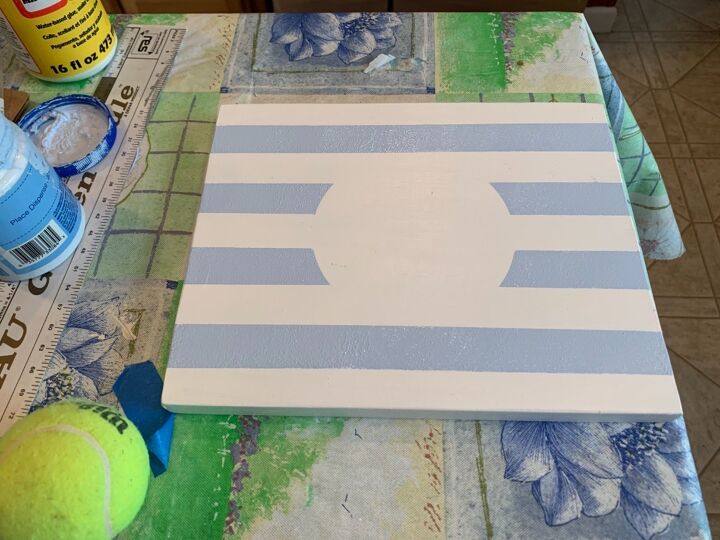
The painters tape worked really well in this case and I ended up with sharp straight edges.

Here is the stencil I need to use to finish the project. I put the stencil in place and then carefully peeled off the backing so it will stick nicely on the board. I then paint on mod podge to seal the edges. After the mod podge dries I went back with the sponge bouncer brush and added the dark blue paint.
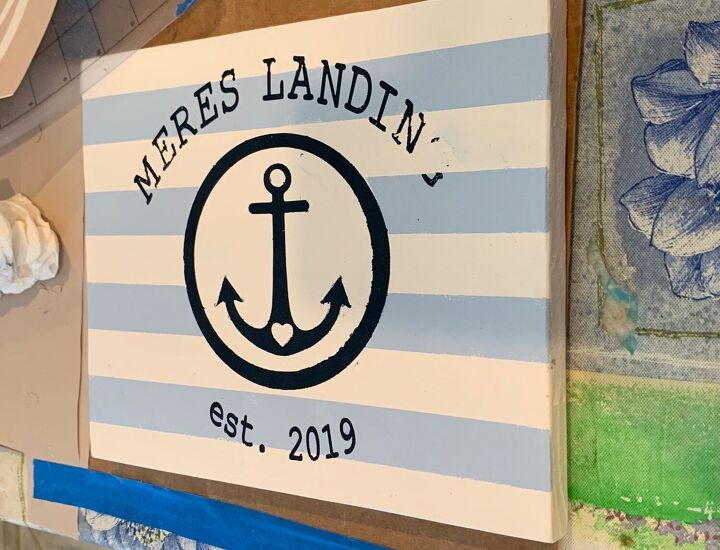
Before the paint dries completely you need to pull up the stencil. Removing the stencil while the paint is still a little bit wet should have avoided this problem. But it didn’t. Some of the painted letters pulled up with the stencil. Ugh! I hate when this happens. It seems to happen more often if my paint is older and thicker. To fix it I get out a tiny liner brush and add the letters back in by hand
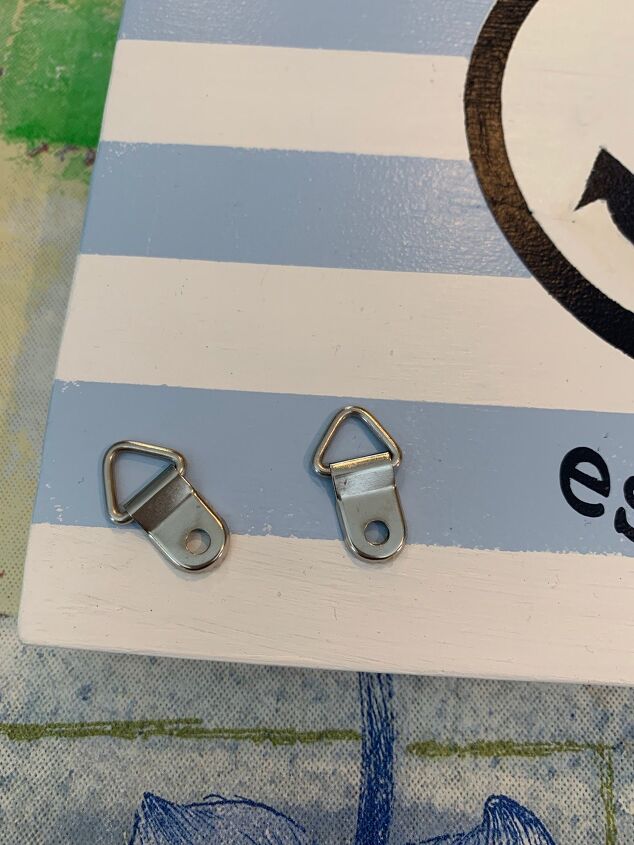
After I did some touch up work I coated the entire project several times with polycrylic to keep it protected. Once everything dried on all sides I added D hooks to the back.
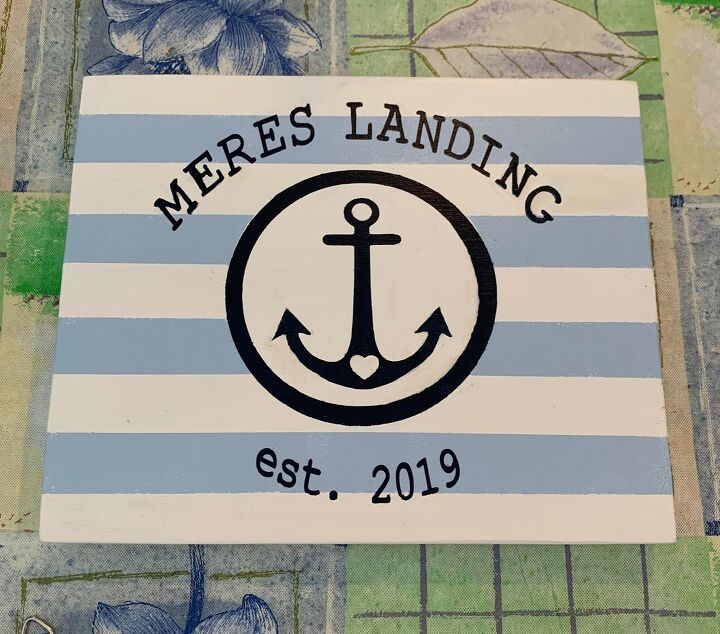
My customer was very pleased with the results.
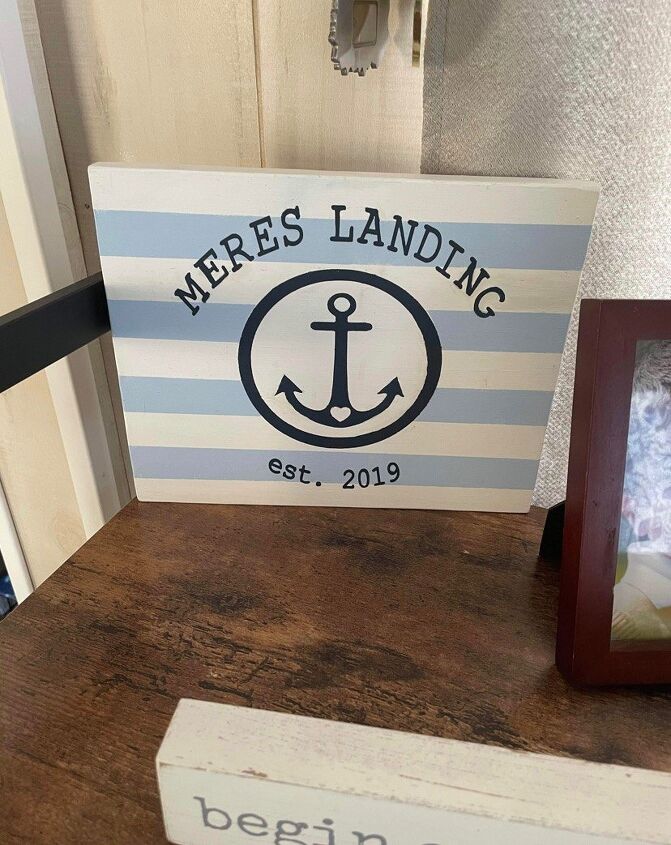
Here is the sign displayed in her home. I hope this tutorial inspires you to make a similar project.
Let me know if you have questions.
Thanks


Frequently asked questions
Have a question about this project?