


Simple Pallet Wood Photo Display

Simple DIY reclaimed pallet wood picture display intended to hold a standard 4" x 6" picture. This budget project can be made out of any old pallet and just a few materials.
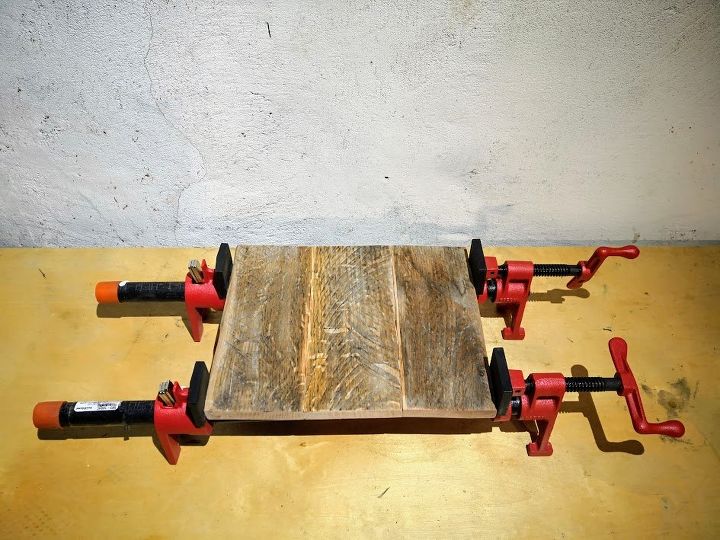
First, measure and cut your three pallet wood pieces to a length of 8". Feel free to change this length to better fit your gusto. I'm cutting mine to 8" to create an 8" x 8" frame.
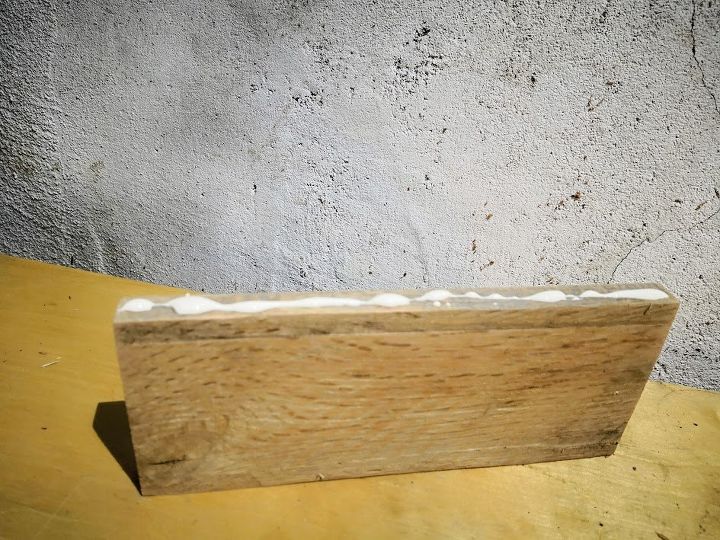
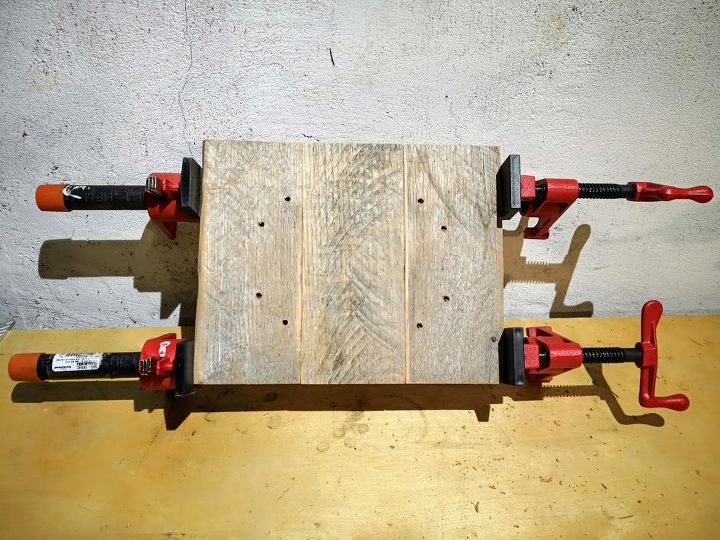
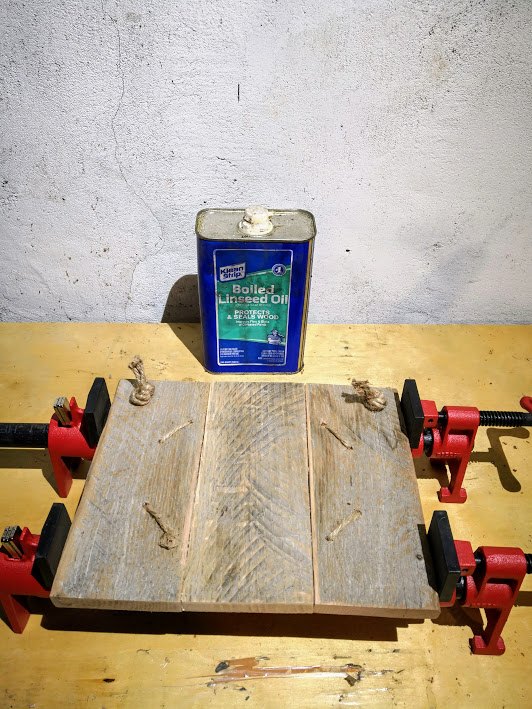
Sand your wood and add wood glue to the edge of two of your pieces.
Align your wood pieces and clamp them together with light pressure. Let it sit for at least an hour.
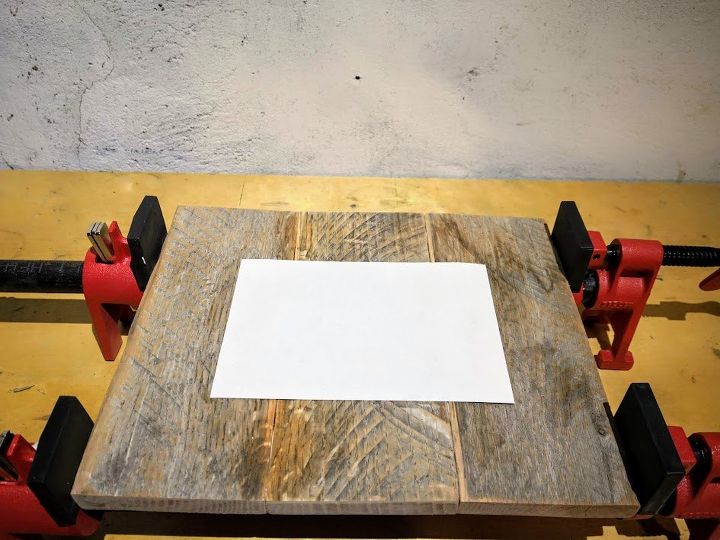
Once the glue is dry, place a 4" x 6" photo in the center of your three pieces. This project is 8" x 8", so I will be measuring 2" between the photo and each edge.
Next, measure 3/4" horizontally and vertically from each corner of your photo. You will make two marks on the wood at 3/4" just beyond each corner of your photo. These marks are represented by the red dots in the following photo:
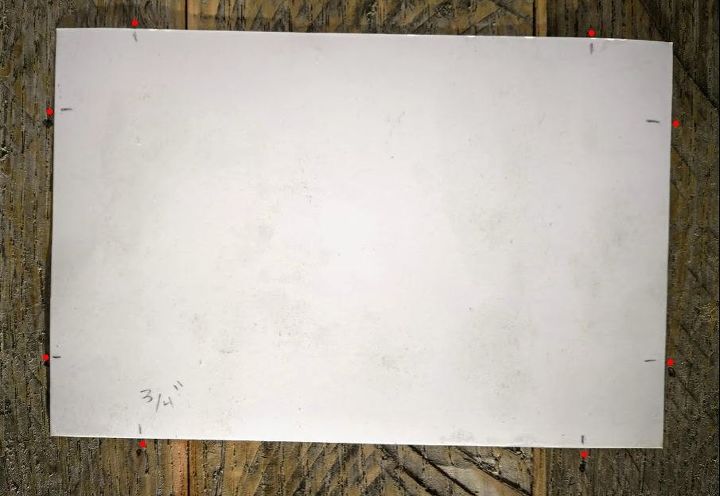
Drill a hole at each 3/4" mark you made. Make sure the holes are large enough for your twine to pass through. I drilled my holes using a 13/64" drill bit.
Then, on the top corners of your project, measure 1" in from the top and sides, indicated by the red dots in the following photo.
Drill a hole at the two 1" marks you made that is large enough for your twine to pass through. My twine is fairly large, so I drilled a starter hole using a 13/64" drill bit then made it larger using a 1/4" drill bit.

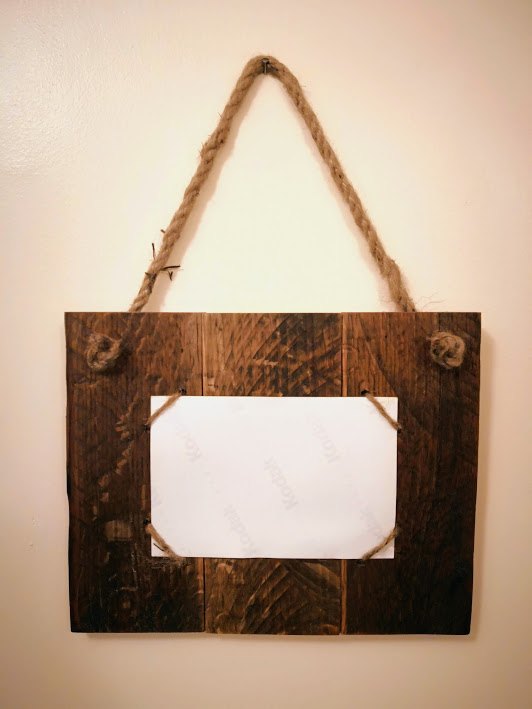
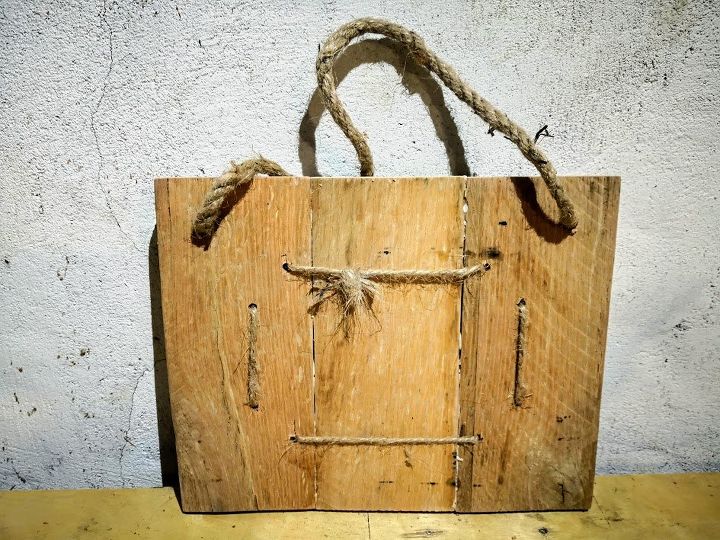
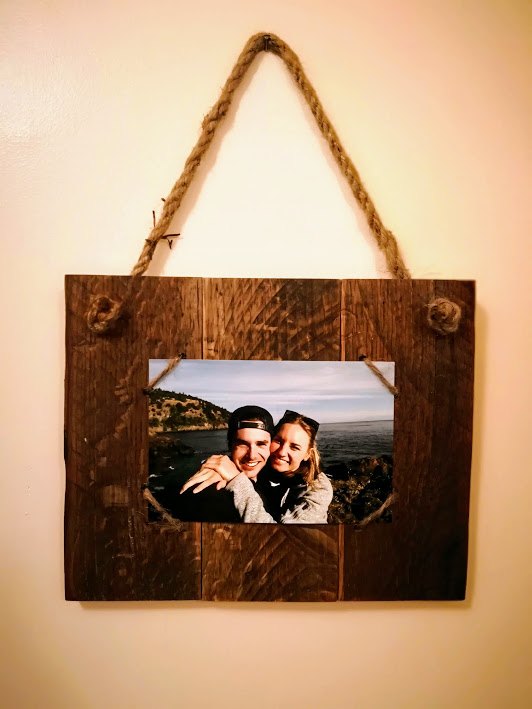
Thread your twine through the holes and tie it off!
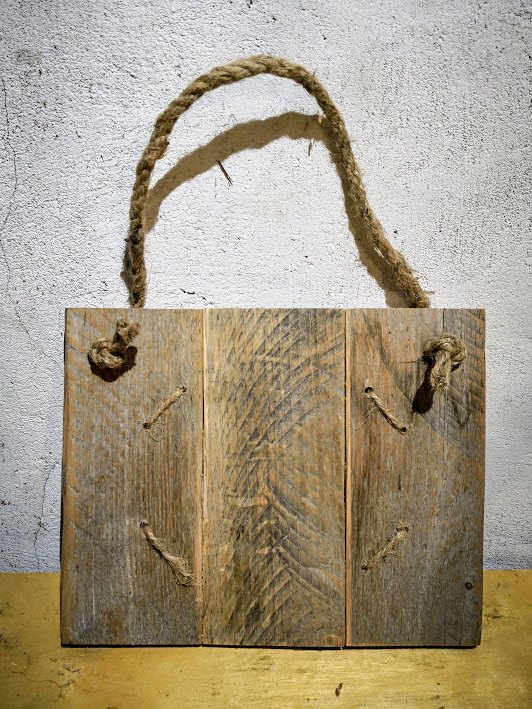
Add some boiled linseed oil or your favorite finish to add an extra touch to this project. Let it dry overnight.
Add a 4" x 6" picture, hang, and enjoy!
Resources for this project:
See all materials


Comments
Join the conversation
-
Love these pallet frames! So clever and easy!
-
Yes I would


Frequently asked questions
Have a question about this project?