


Update Your Home With Stencils! Pro Tips on Getting Crisp Edges.
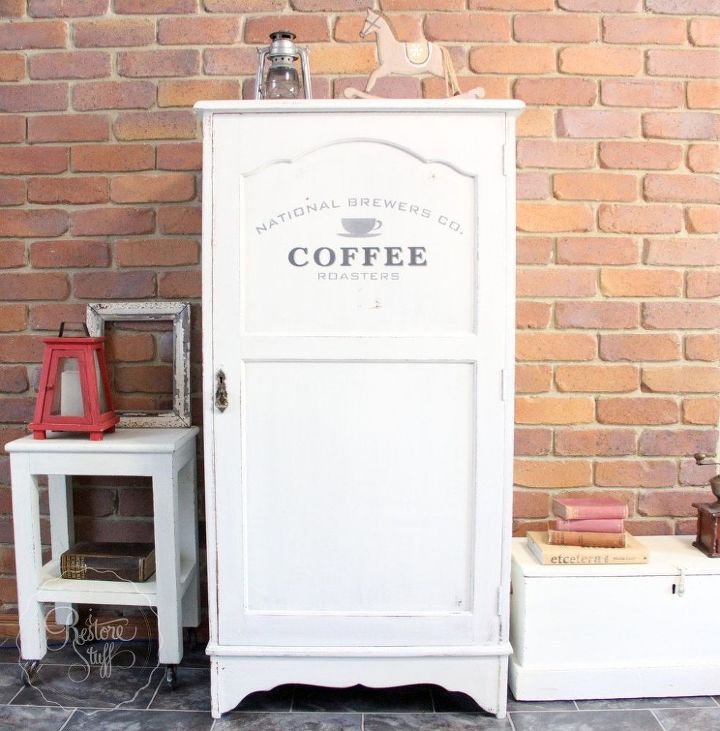
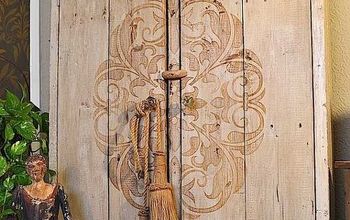
Stencilling is popular right now and there are a few different places you can use these around the home for some interest. Here are just a couple. Then I'll show you my tips for creating nice crisp edges on your stencil projects. Add stencils to furniture ... (see full post of this Farmhouse cupboard on my blog via the link here at Hometalk)
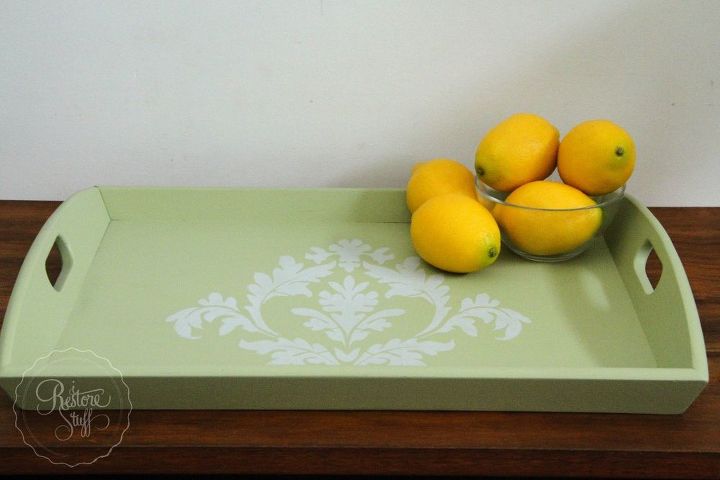
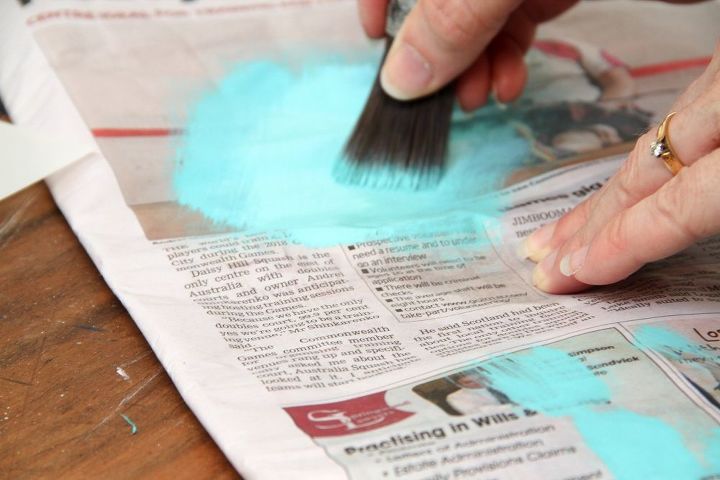
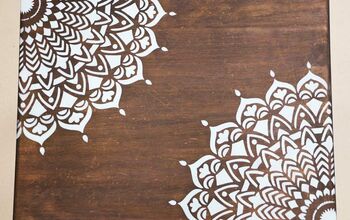
Stencil your decor ...
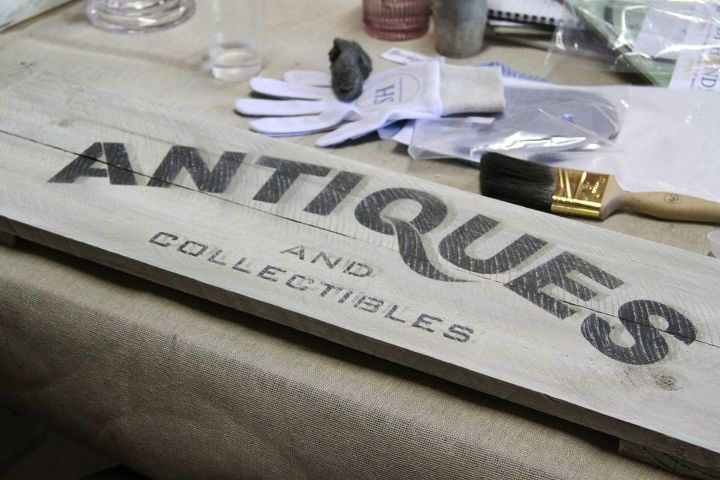
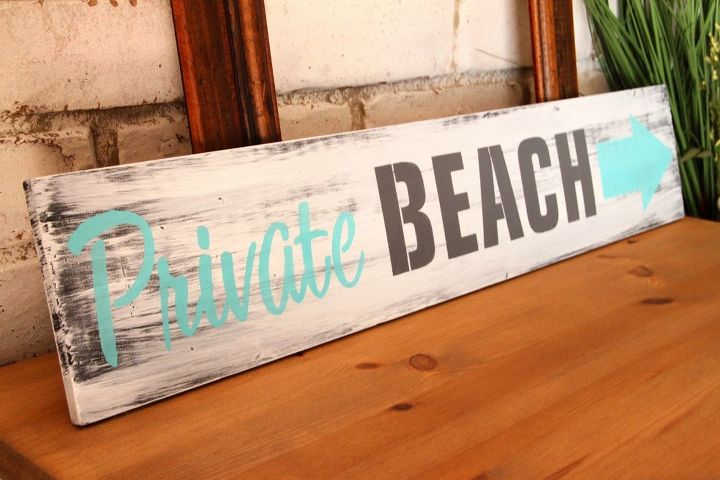
Create some wall art with a stencilled sign ...
Here are my tips for getting those edges crisp and to prevent paint from seeping under the edge of your stencils:
Hold your stencil firmly in place.
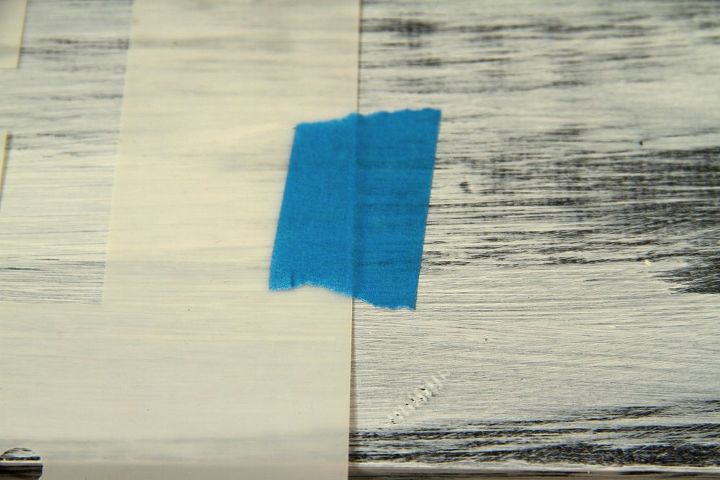
Use painters tape to keep the stencil from moving.
You may like to also use adhesive spray on the back of your stencil to hold it in place.
A big key to crisp edges is having a DRY BRUSH!
Dip just the tips into your paint and "offload" your brush onto paper or towel until there is hardly any paint left on your brush. It should appear dry.
Two ways to stencil:
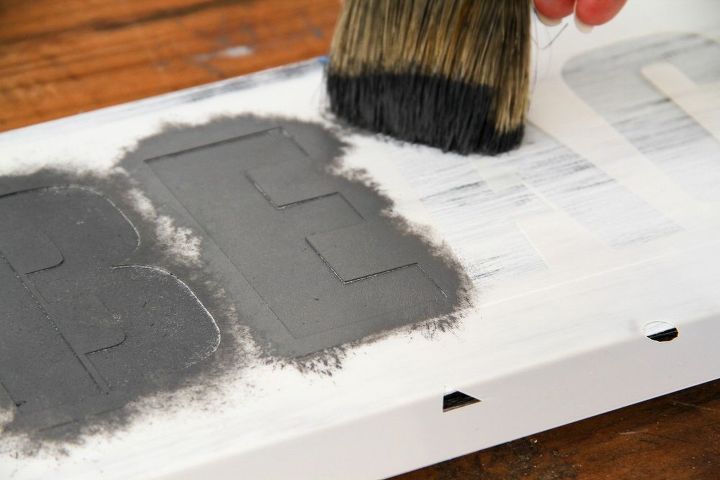
1. Stippling - holding your brush vertically, tap it up and down on the stencil. This prevents paint from bleeding under the edges of the stencil.
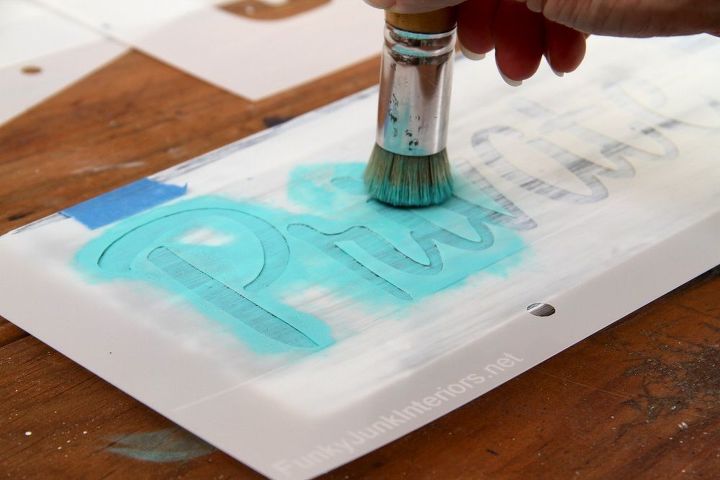
2. Swirling - having a very dry brush, gently swirl the brush around your stencil with the brush vertical. With a dry brush, you will not get paint bleeding under the edges. In the pic below, note that my brush bristles were too long, so I grabbed closer to the paint, creating more control over my swirling.
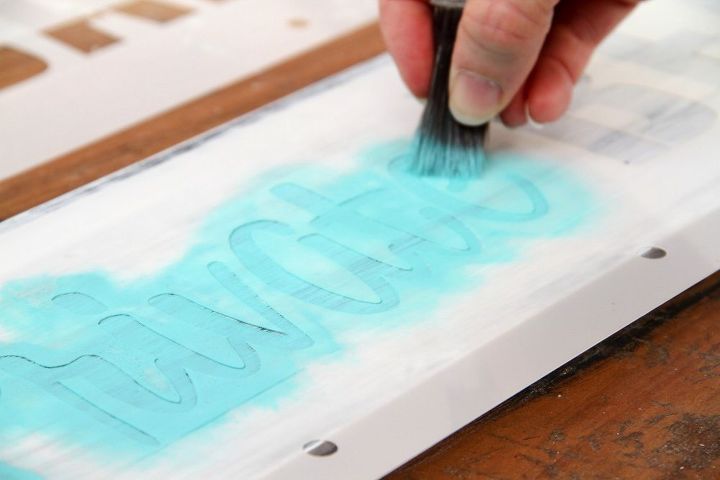
See, nice crisp edges ...
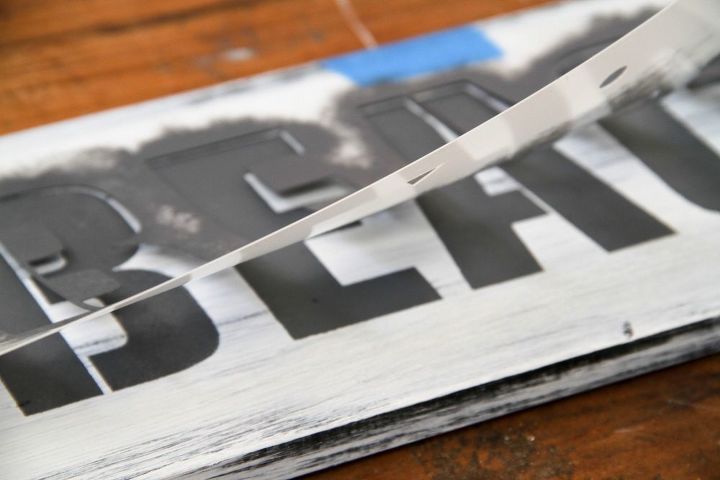
When the paint is dry, you can create more of a rustic, worn look by gently sanding the stencilled area to reveal some of the background.
I didn't do this for this particular sign, as I'll be showing another technique that you can add to this sign during my Hometalk Live this week. ;)

Comments
Join the conversation
-
This is awesome! Love the last one :)
-
I'm inspired!! Thank-you so much for sharing... especially the drop shadow!!


Frequently asked questions
Have a question about this project?