


Thrift Store Headboard Bench Rescued – DIY Makeover
Ya’ll already know how much I love visiting thrift stores. I probably sound like a broken record (sorry)!
I normally look for cheap bargains, like the $1, $2 items, you get the idea. However, sometimes a piece of furniture just touches my heart and I must bring it home no matter what the cost (eeek, did I just say that)!
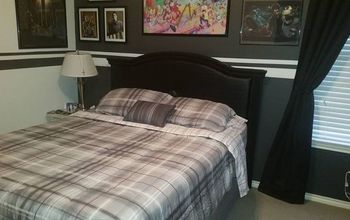
I spotted this headboard bench. I couldn’t believe that someone went through all the trouble to build it, and then just give it away! So sad :-(
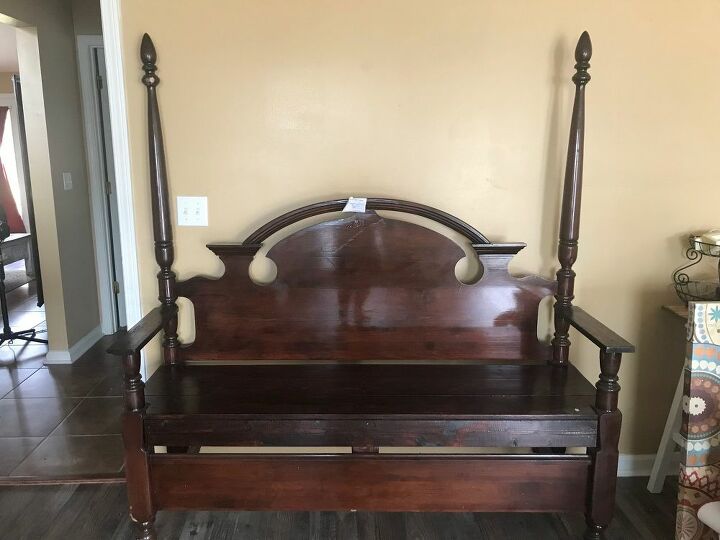
Anyways, it was $59.99. That is the most I have EVER paid for something from the Goodwill, but I just had to rescue it.
We were attending an upcoming Vintage Market and I knew it would be perfect for our booth.
Here is what we did to bring this thrown out headboard bench back to life.
Supply List:
Waverly Chalk Paint in White
220 Grit Sandpaper
DeWalt Orbital Sander
DeWalt Circular Saw
Spray Polycrylic in Matte
Zinsser Primer Water Based
Cricut Machine (You can use a stencil!)
While getting the bench ready for the prep work, I noticed that the headboard post looked weird. They were to long for this size bench.
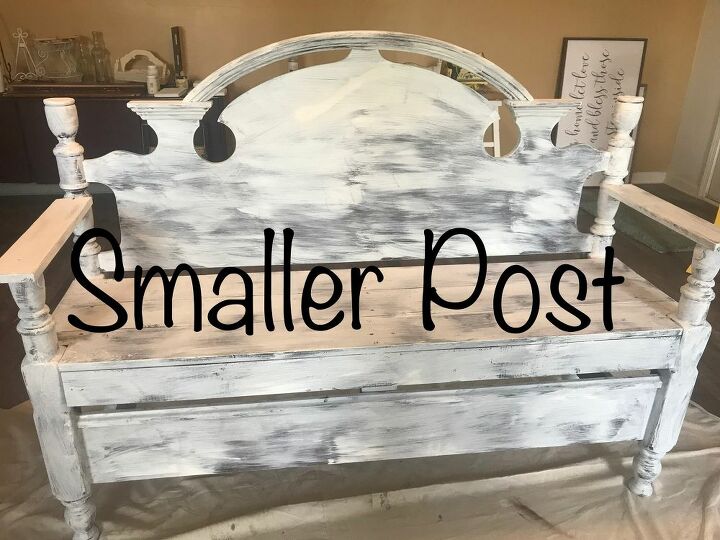
The Hubs to the rescue! He used his circular saw and cut them down. I then sanded the tops of the post to smooth them out. I totally forgot to take a picture before I added the primer, but you can see how they were cut in this photo.
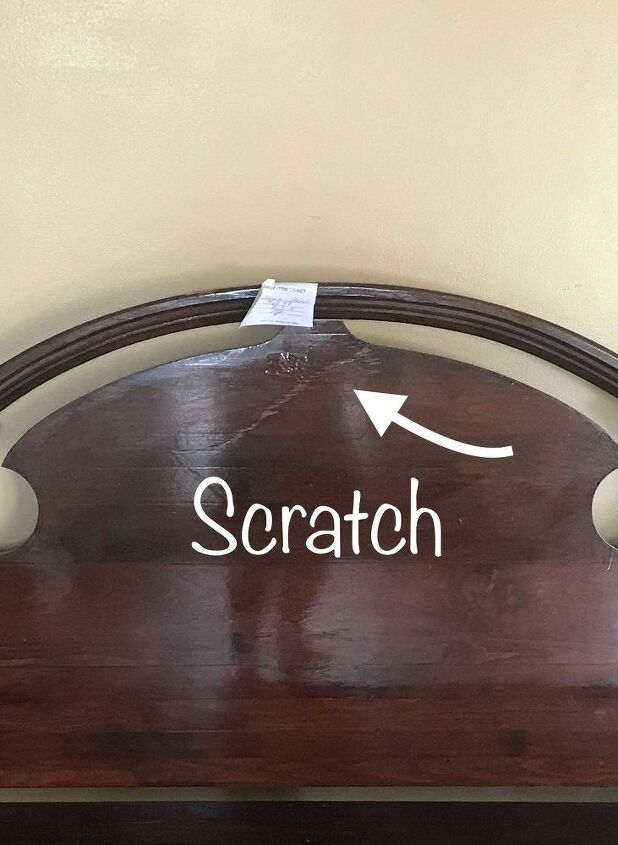
After I sanded the post tops, I gave the entire bench a light sanding concentrating on the scratch in the middle of the headboard (you can see in this picture).
I cleaned the entire piece with vinegar and water and made sure it was dry before I started priming.
I applied two coats of primer. I did not want to have any bleed through. Normally when applying white to any type of cherry colored wood, you will have some bleed through in spots. Better to take precautions! Here is one coat of primer:
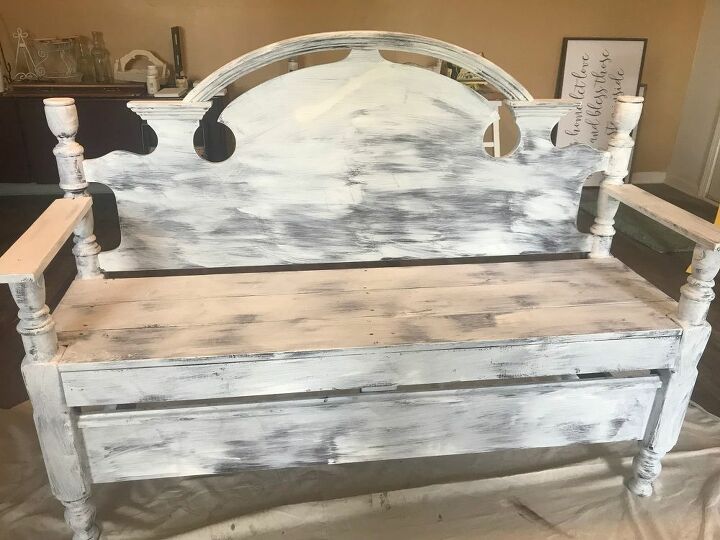
I allowed the primer to dry overnight. The next day I applied the paint. The bench took two coats of the white paint, allowing about 2-3 hours drying time between each coat.
After the paint had fully dried (overnight preferably) I used a piece of 220 grit sandpaper and distressed the bench by hand. I wanted the distressing to be heavy because I wanted the bench to look worn.
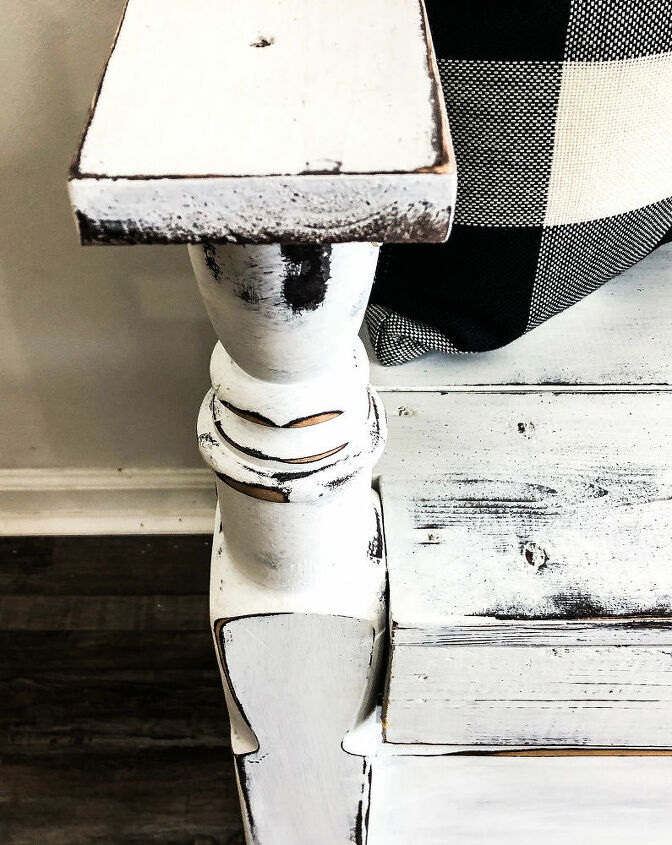
After wiping the sanding dust off with a piece of tack cloth, I decided it was still missing something. I thought a farmhouse quote would give the bench a little more character. The Hubs made me the vinyl quote using our Cricut. I swear that man loves the Cricut Machine more than he does me! (haha) You can use a stencil if you do not have a vinyl machine, get creative!
After applying the vinyl quote, I gave the entire bench two coats of spray Polycrylic in matte.
Rescued from the thrift store! Isn't she a beauty!

Don't forget to visit me over on my blog at  www.christinafayerepurposed.com where you can get DIY's delivered straight to your inbox for FREE!
Resources for this project:
See all materials


Comments
Join the conversation
-
This turned out gorgeous.......what a transformation.
 Glad to see you cut the poles off. It didn't need those at all!! In fact, the entire pole could be cut down.
 -
Beautiful piece! Looks so much better painted and trimmed down!


Frequently asked questions
Have a question about this project?