


DIY $20 Baseboard Upgrade!
Our baseboards were ugly to say the least- they match our floor, but that is a different post all together. I needed to spruce them up a bit, but without spending much... More like spending close to nothing at all.
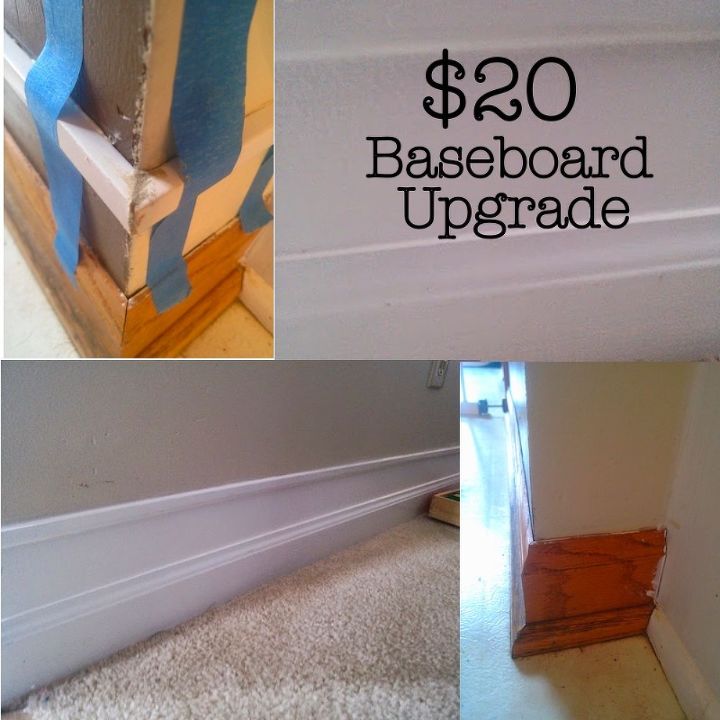
I was able to upgrade our kitchen, living room, mudroom and laundry area for $20!
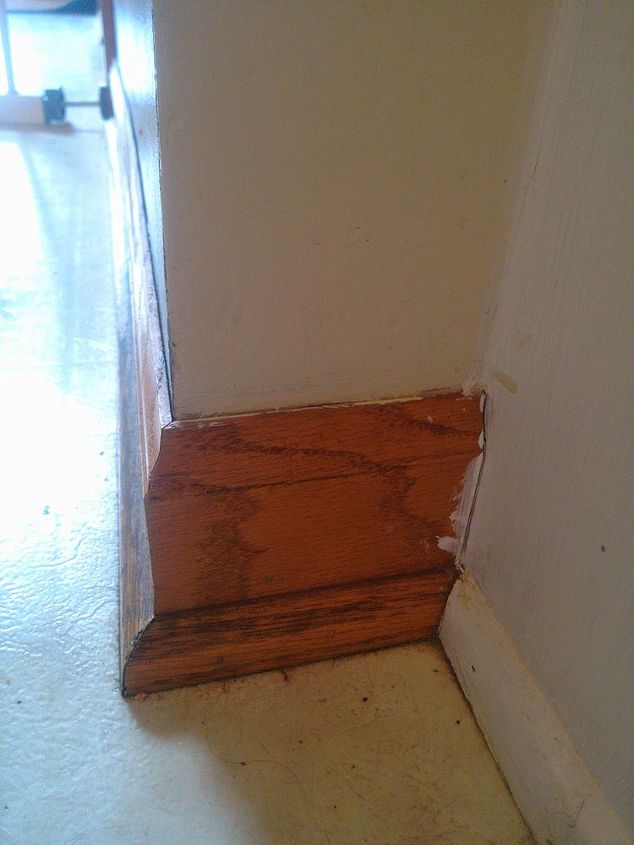
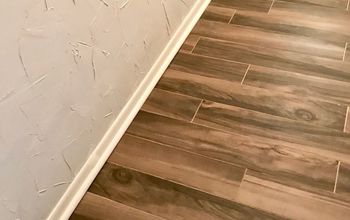
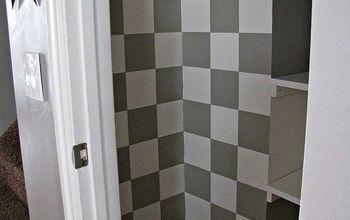
This is an extreme close-up of our hideous baseboard. I know- frightening isn't it? It's okay, we're going to make it better.
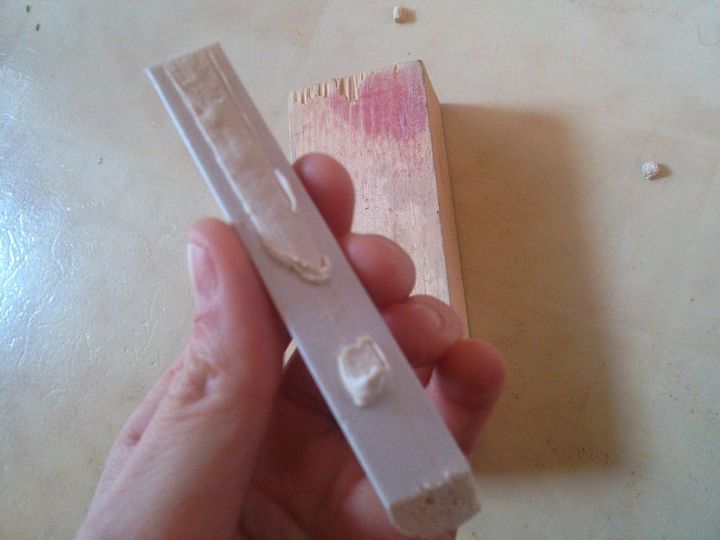
First you need to measure your baseboard your going to be upgrading, then go to your favorite home improvement store and buy that much polystyrene shoe moulding. At mine, I was about $3.00 per 8ft. Pretty cheap.
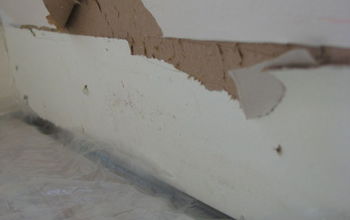
Use a miter box for the corners and a really sharp bread knife to cut the moulding to size. I like to give it just a light sanding to get the edge smooth after cutting. Once it's cut to size, add some adhesive to the back and smooth.
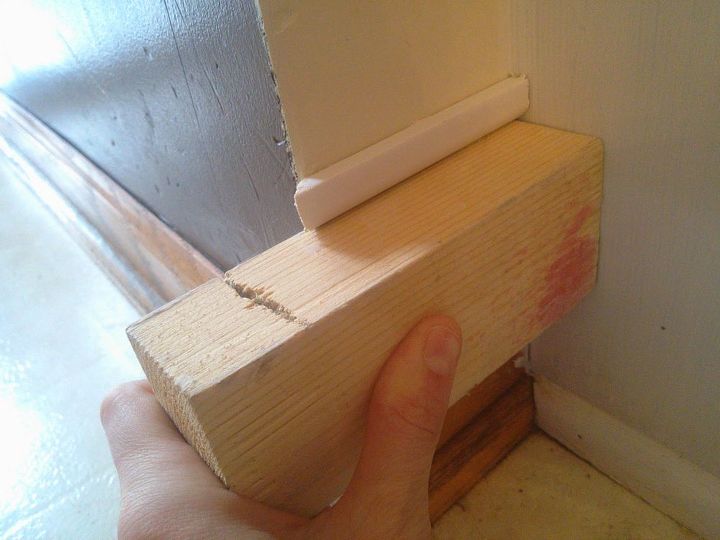
Using a block of wood the size you want your finished faux baseboard to be- mine is a scrap piece of 2x3, rest it on your existing baseboard and place the shoe moulding on top. Basically, your using the wood as a spacer block to ensure your moulding is uniform.
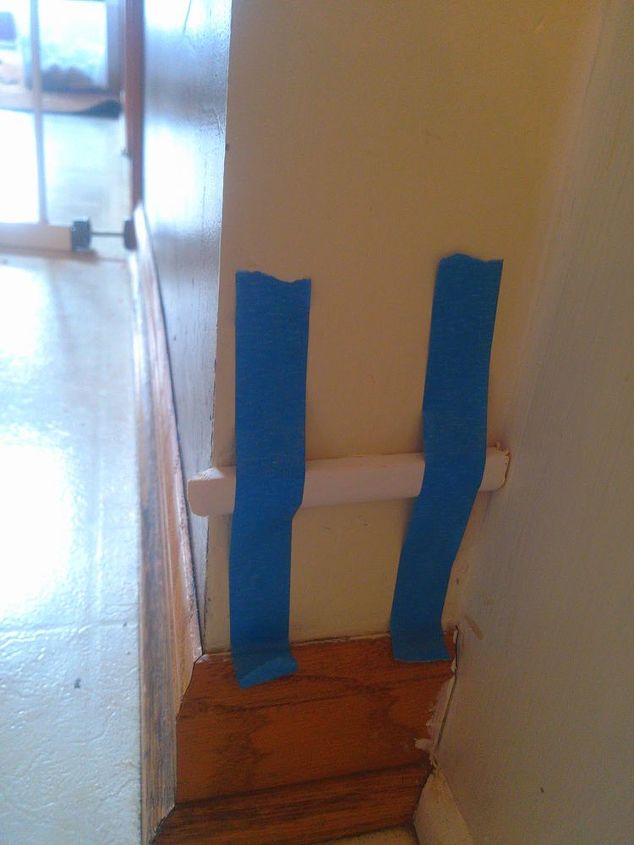
Use tape to hold the moulding to the wall overnight while the adhesive dries. Once dried, lightly sand down the moulding and the baseboard before painting. Paint the wall between your existing baseboard and the shoe moulding. Viola, chunky, beautiful baseboard.
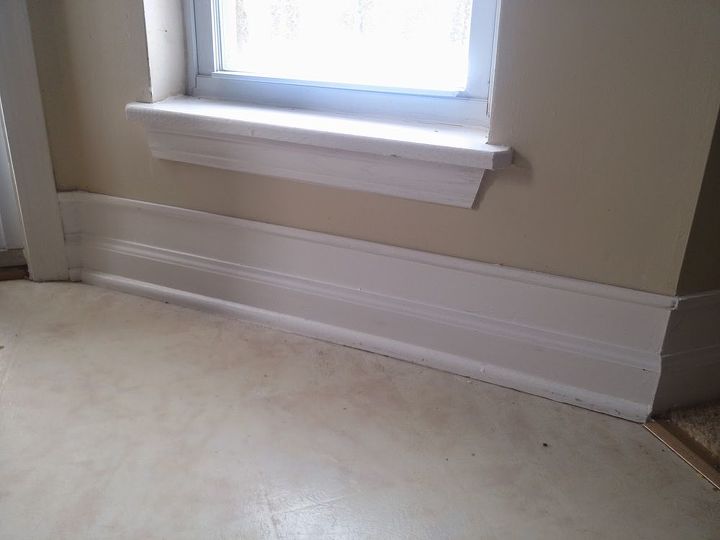
There ya have it, a $20 baseboard upgrade. Please click over to my blog for step by step instructions and also some tips/tricks to get a very finished look.
Resources for this project:
See all materials


Comments
Join the conversation
-
Looks nice.
-
I just bought the same for my kitchen dining area (only needs about 30 ft) but I intend to use caulk type construction adhesive. Good to see how yours looks too!!


Frequently asked questions
Have a question about this project?
It looks like you put the flat side up and the curved side down toward the existing baseboard. Is that right? Very cool effect.
I'm confused about the cost ... If the cost is $3 for 8', you only get 56' for $21. How big were the rooms you did? Or, was it $20 for each room? Still a bargain! Looks nice. I hope you answer the question about the"bumping".